To convert the Cowboy Coloring Pages (Free PDF Printables) from a PDF format to a more accessible and editable format, we will be using the Optical Character Recognition (OCR) formula. This formula allows us to extract the text and images from the PDF file and convert them into a Word document, making it easier to edit and modify. By using this formula, we can preserve the original layout and design of the coloring pages while making them more user-friendly for those who need to make changes or add their own text and images.
Free Printable Cowboy Coloring Pages – Download Now
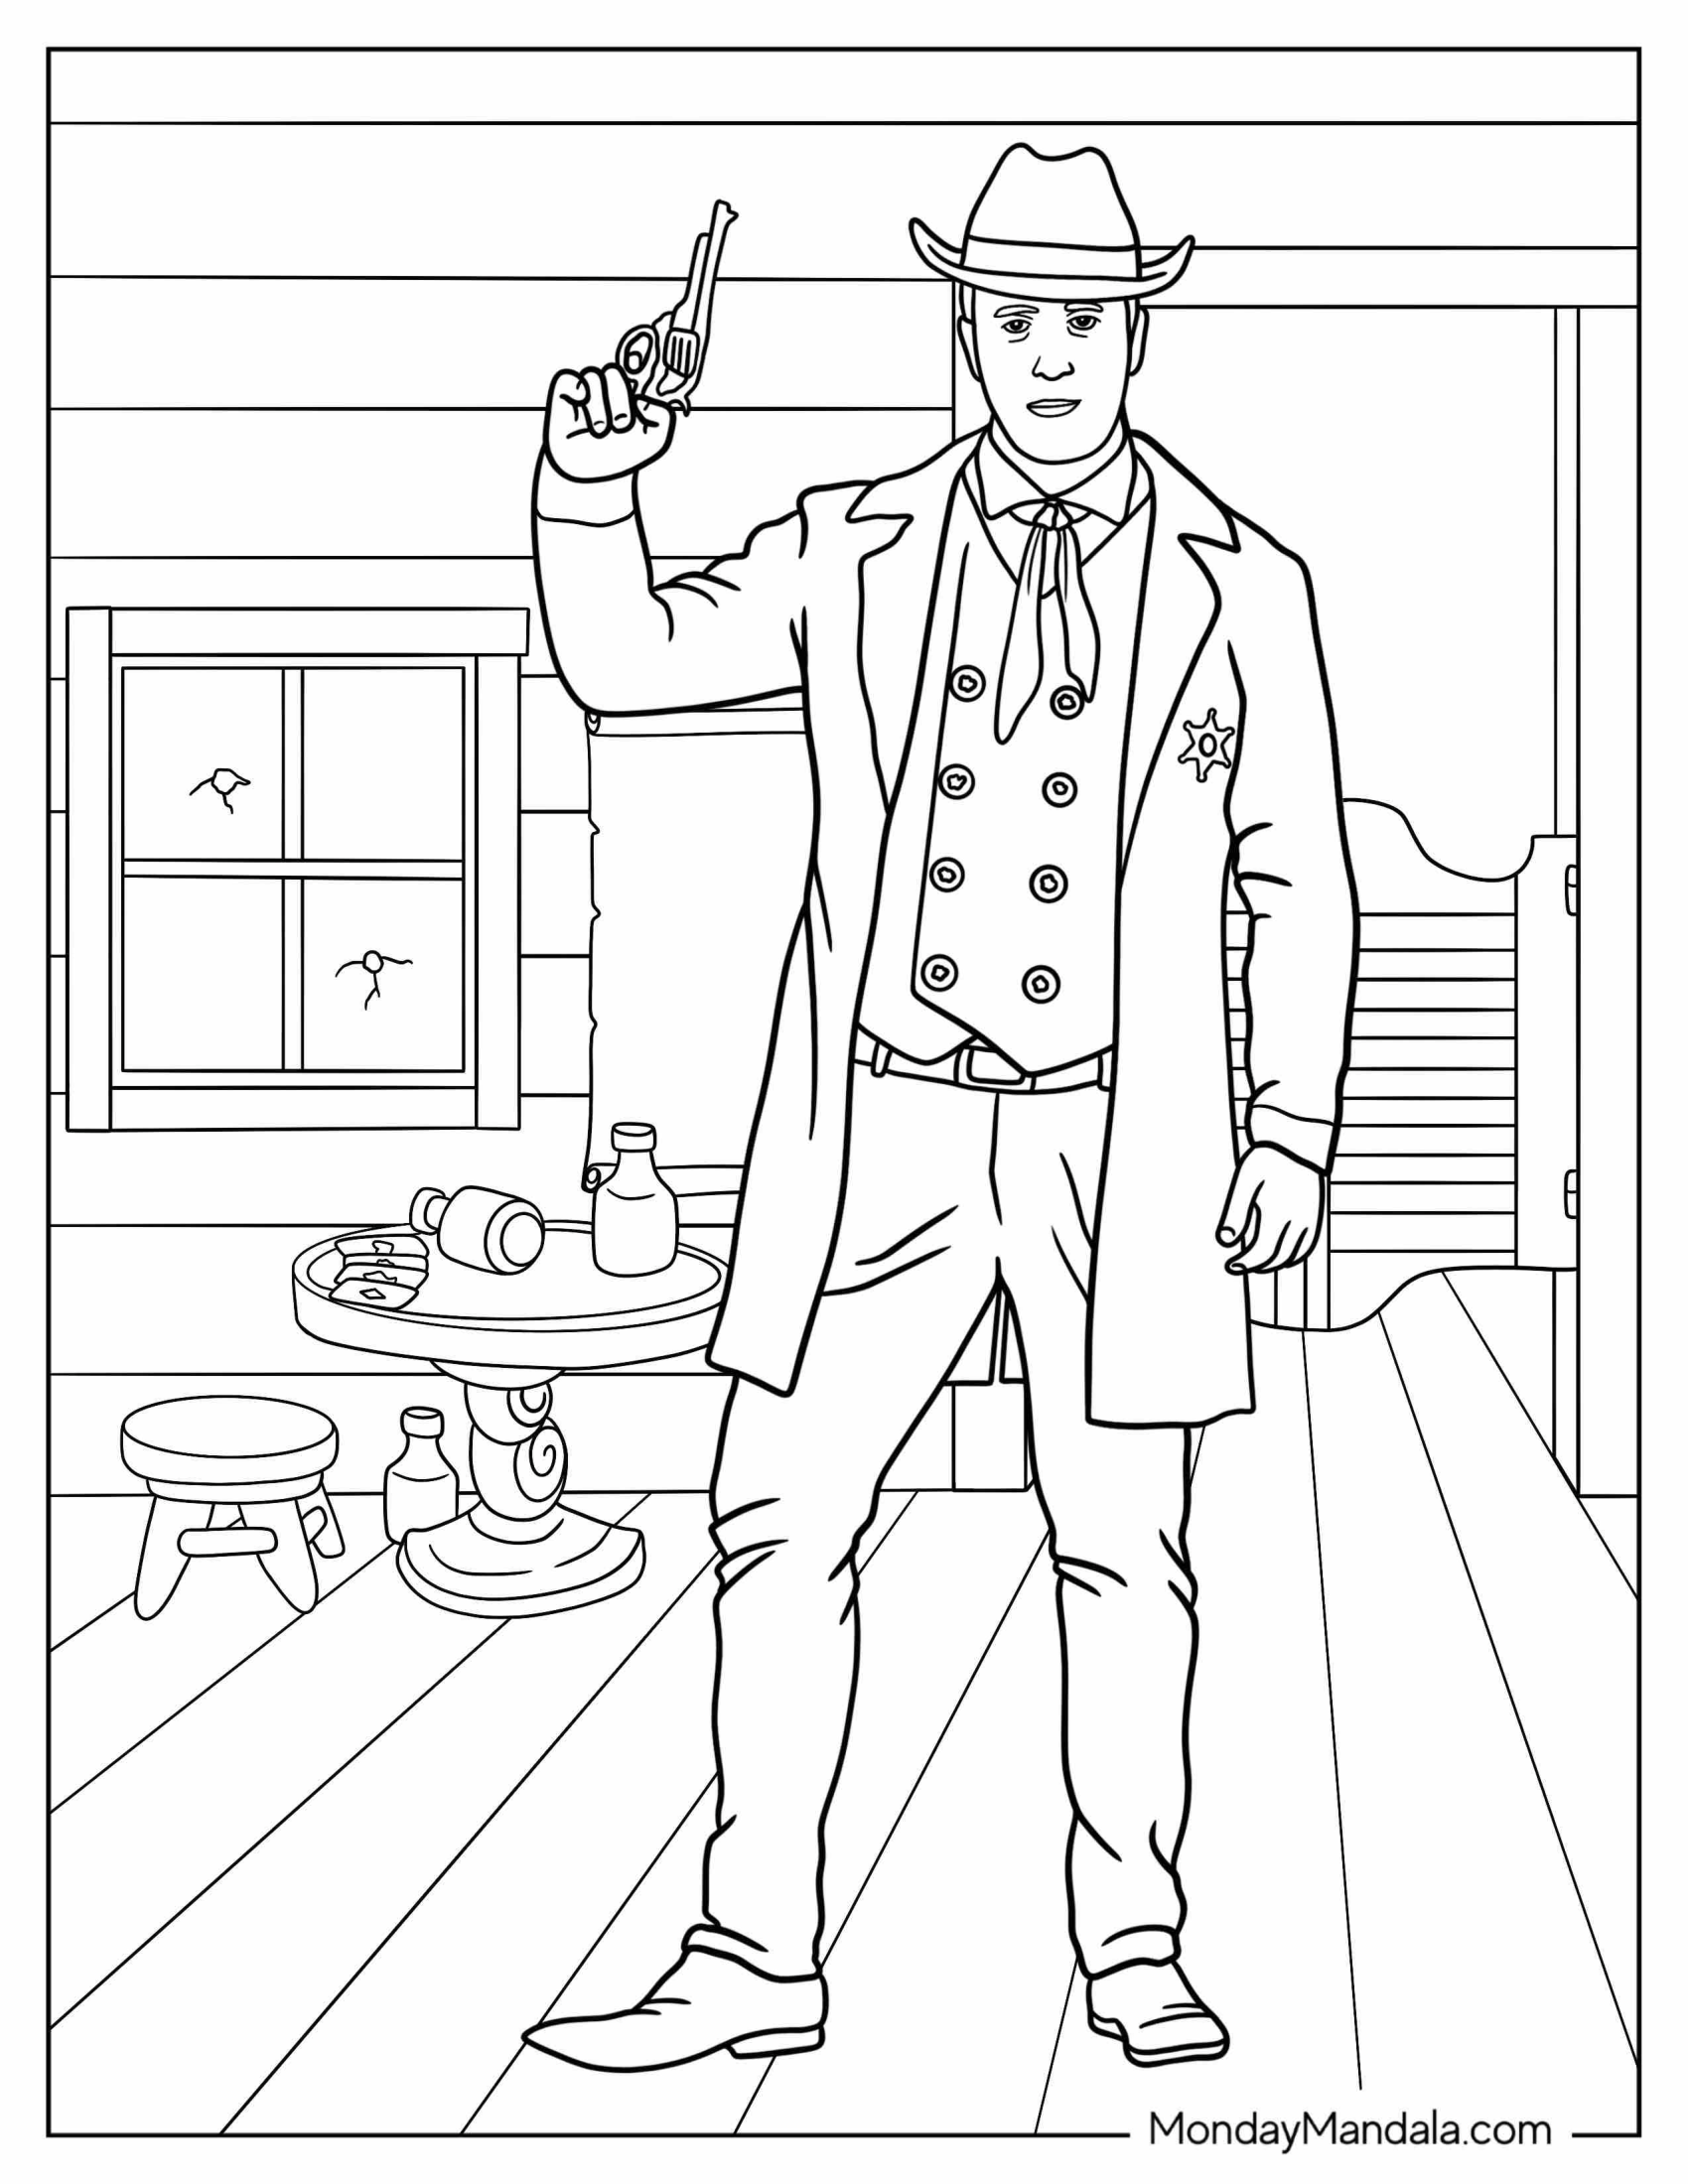
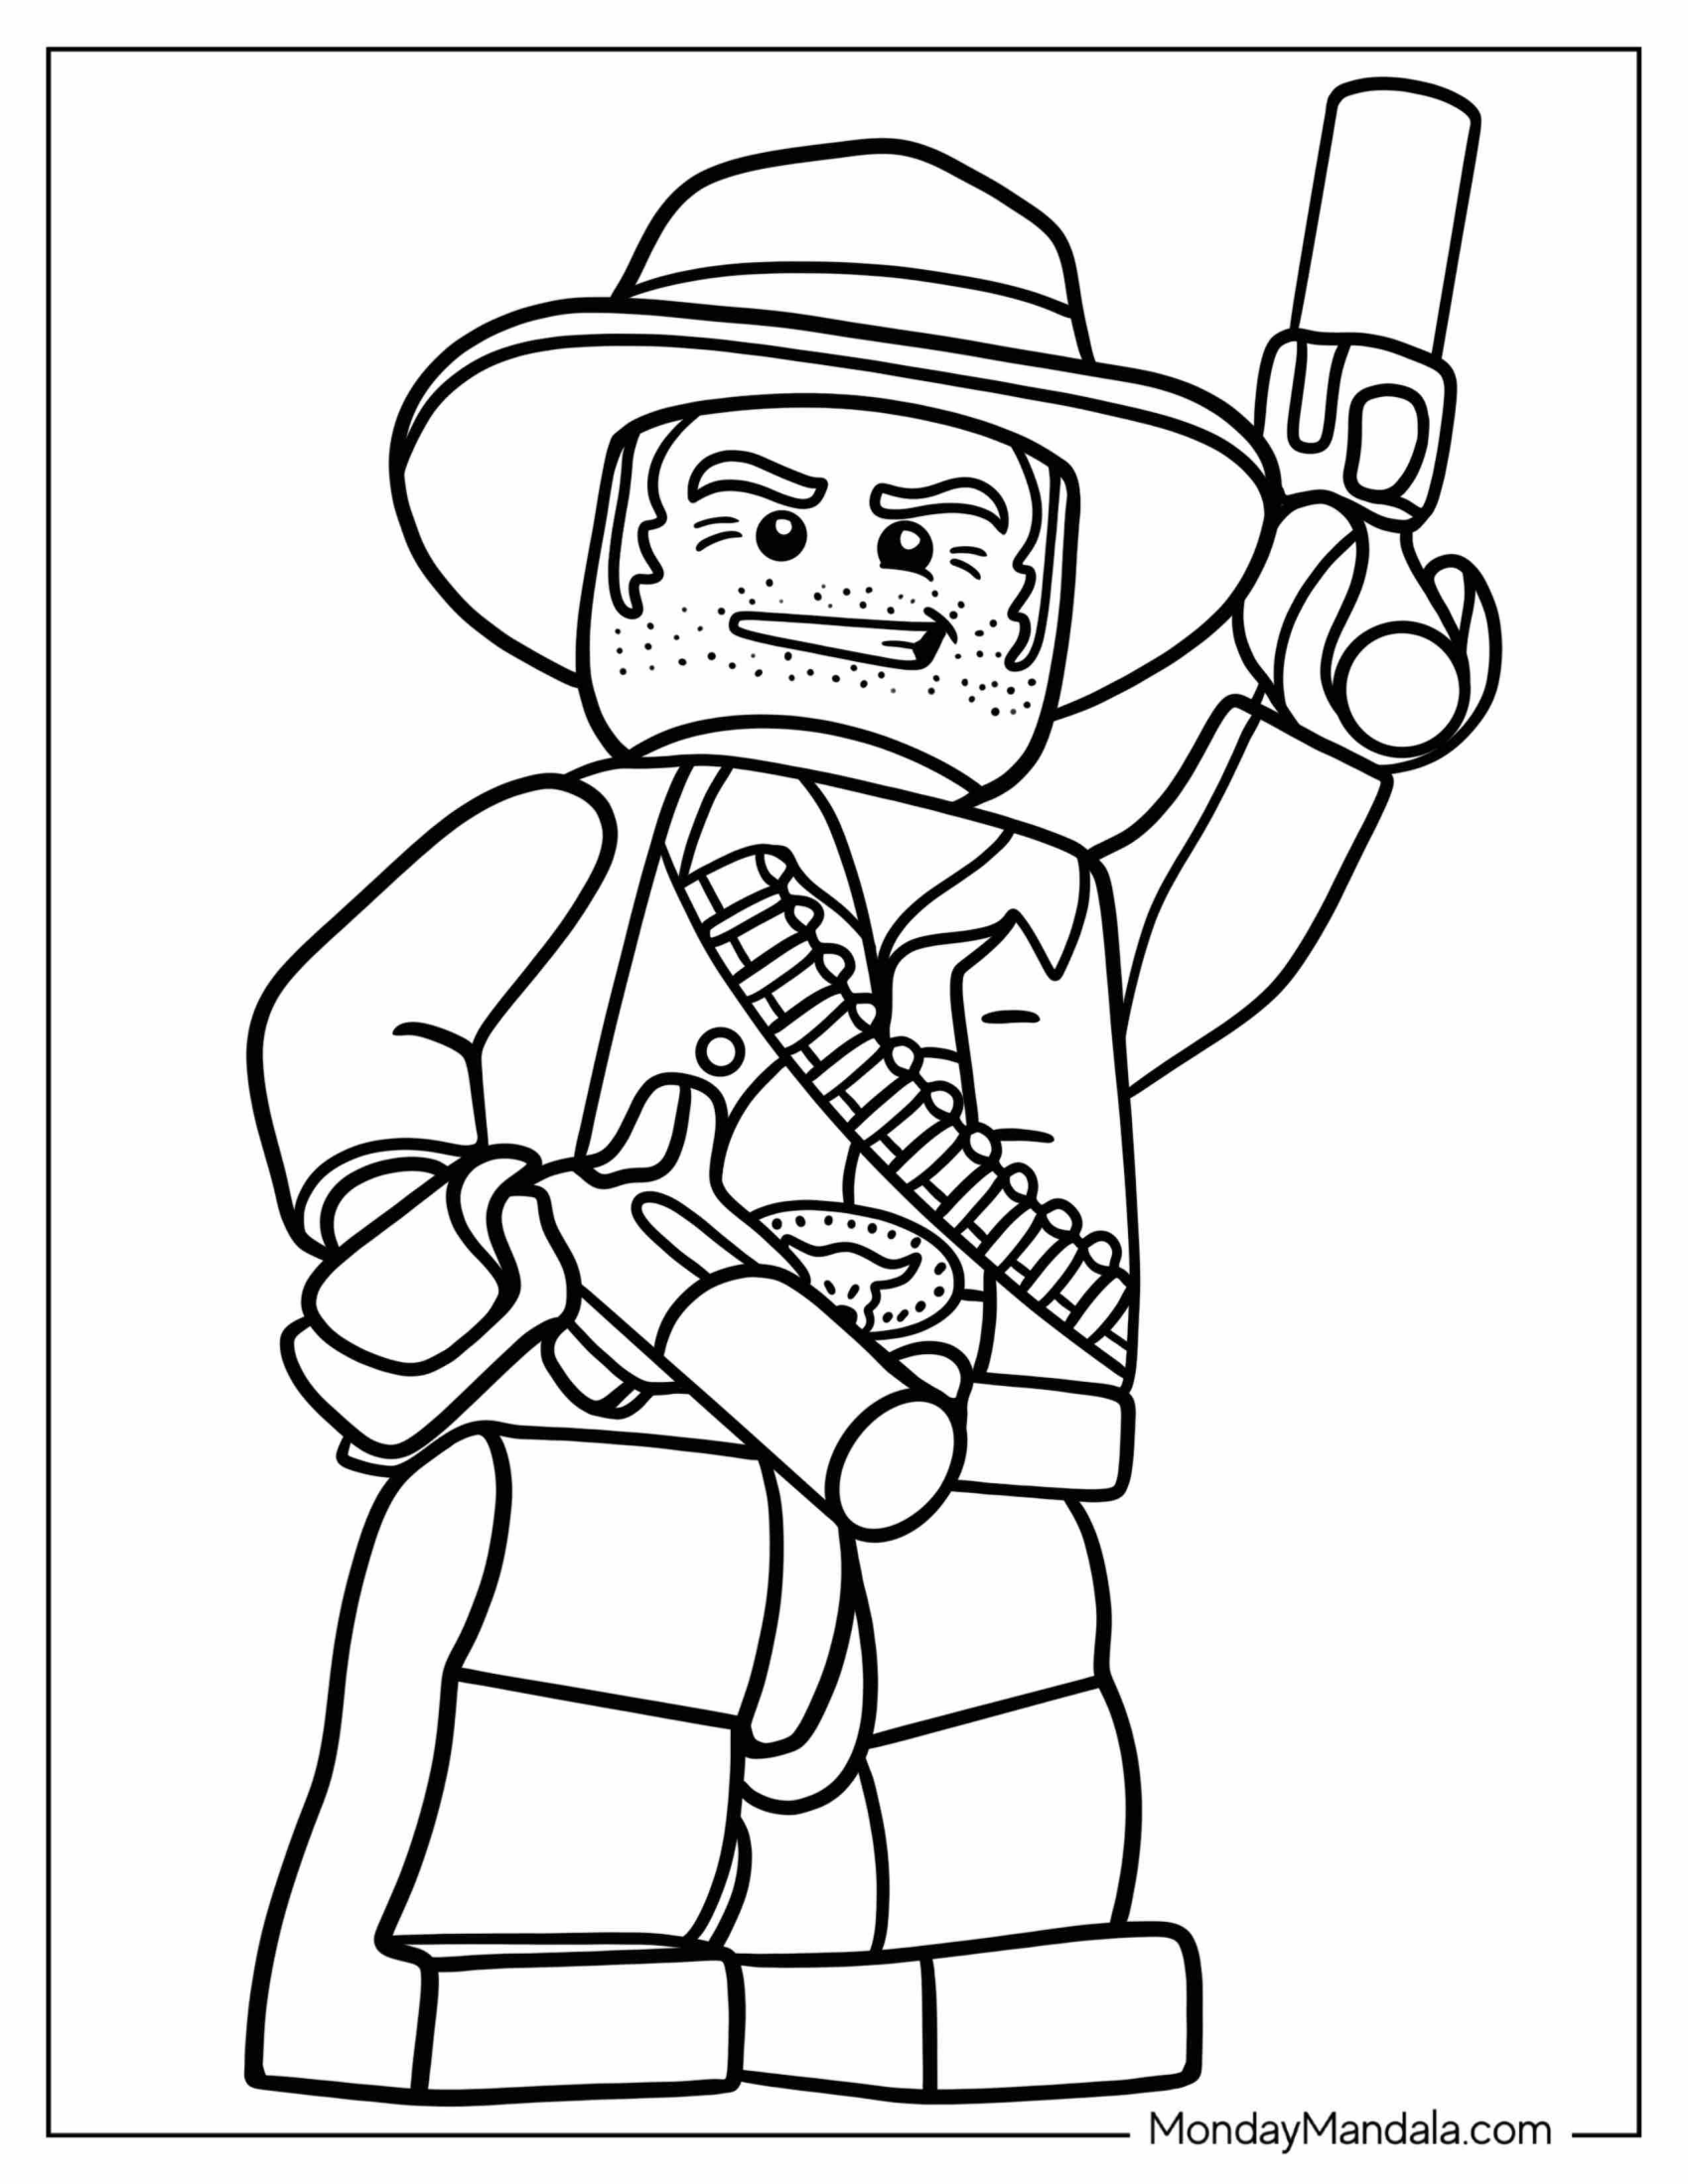
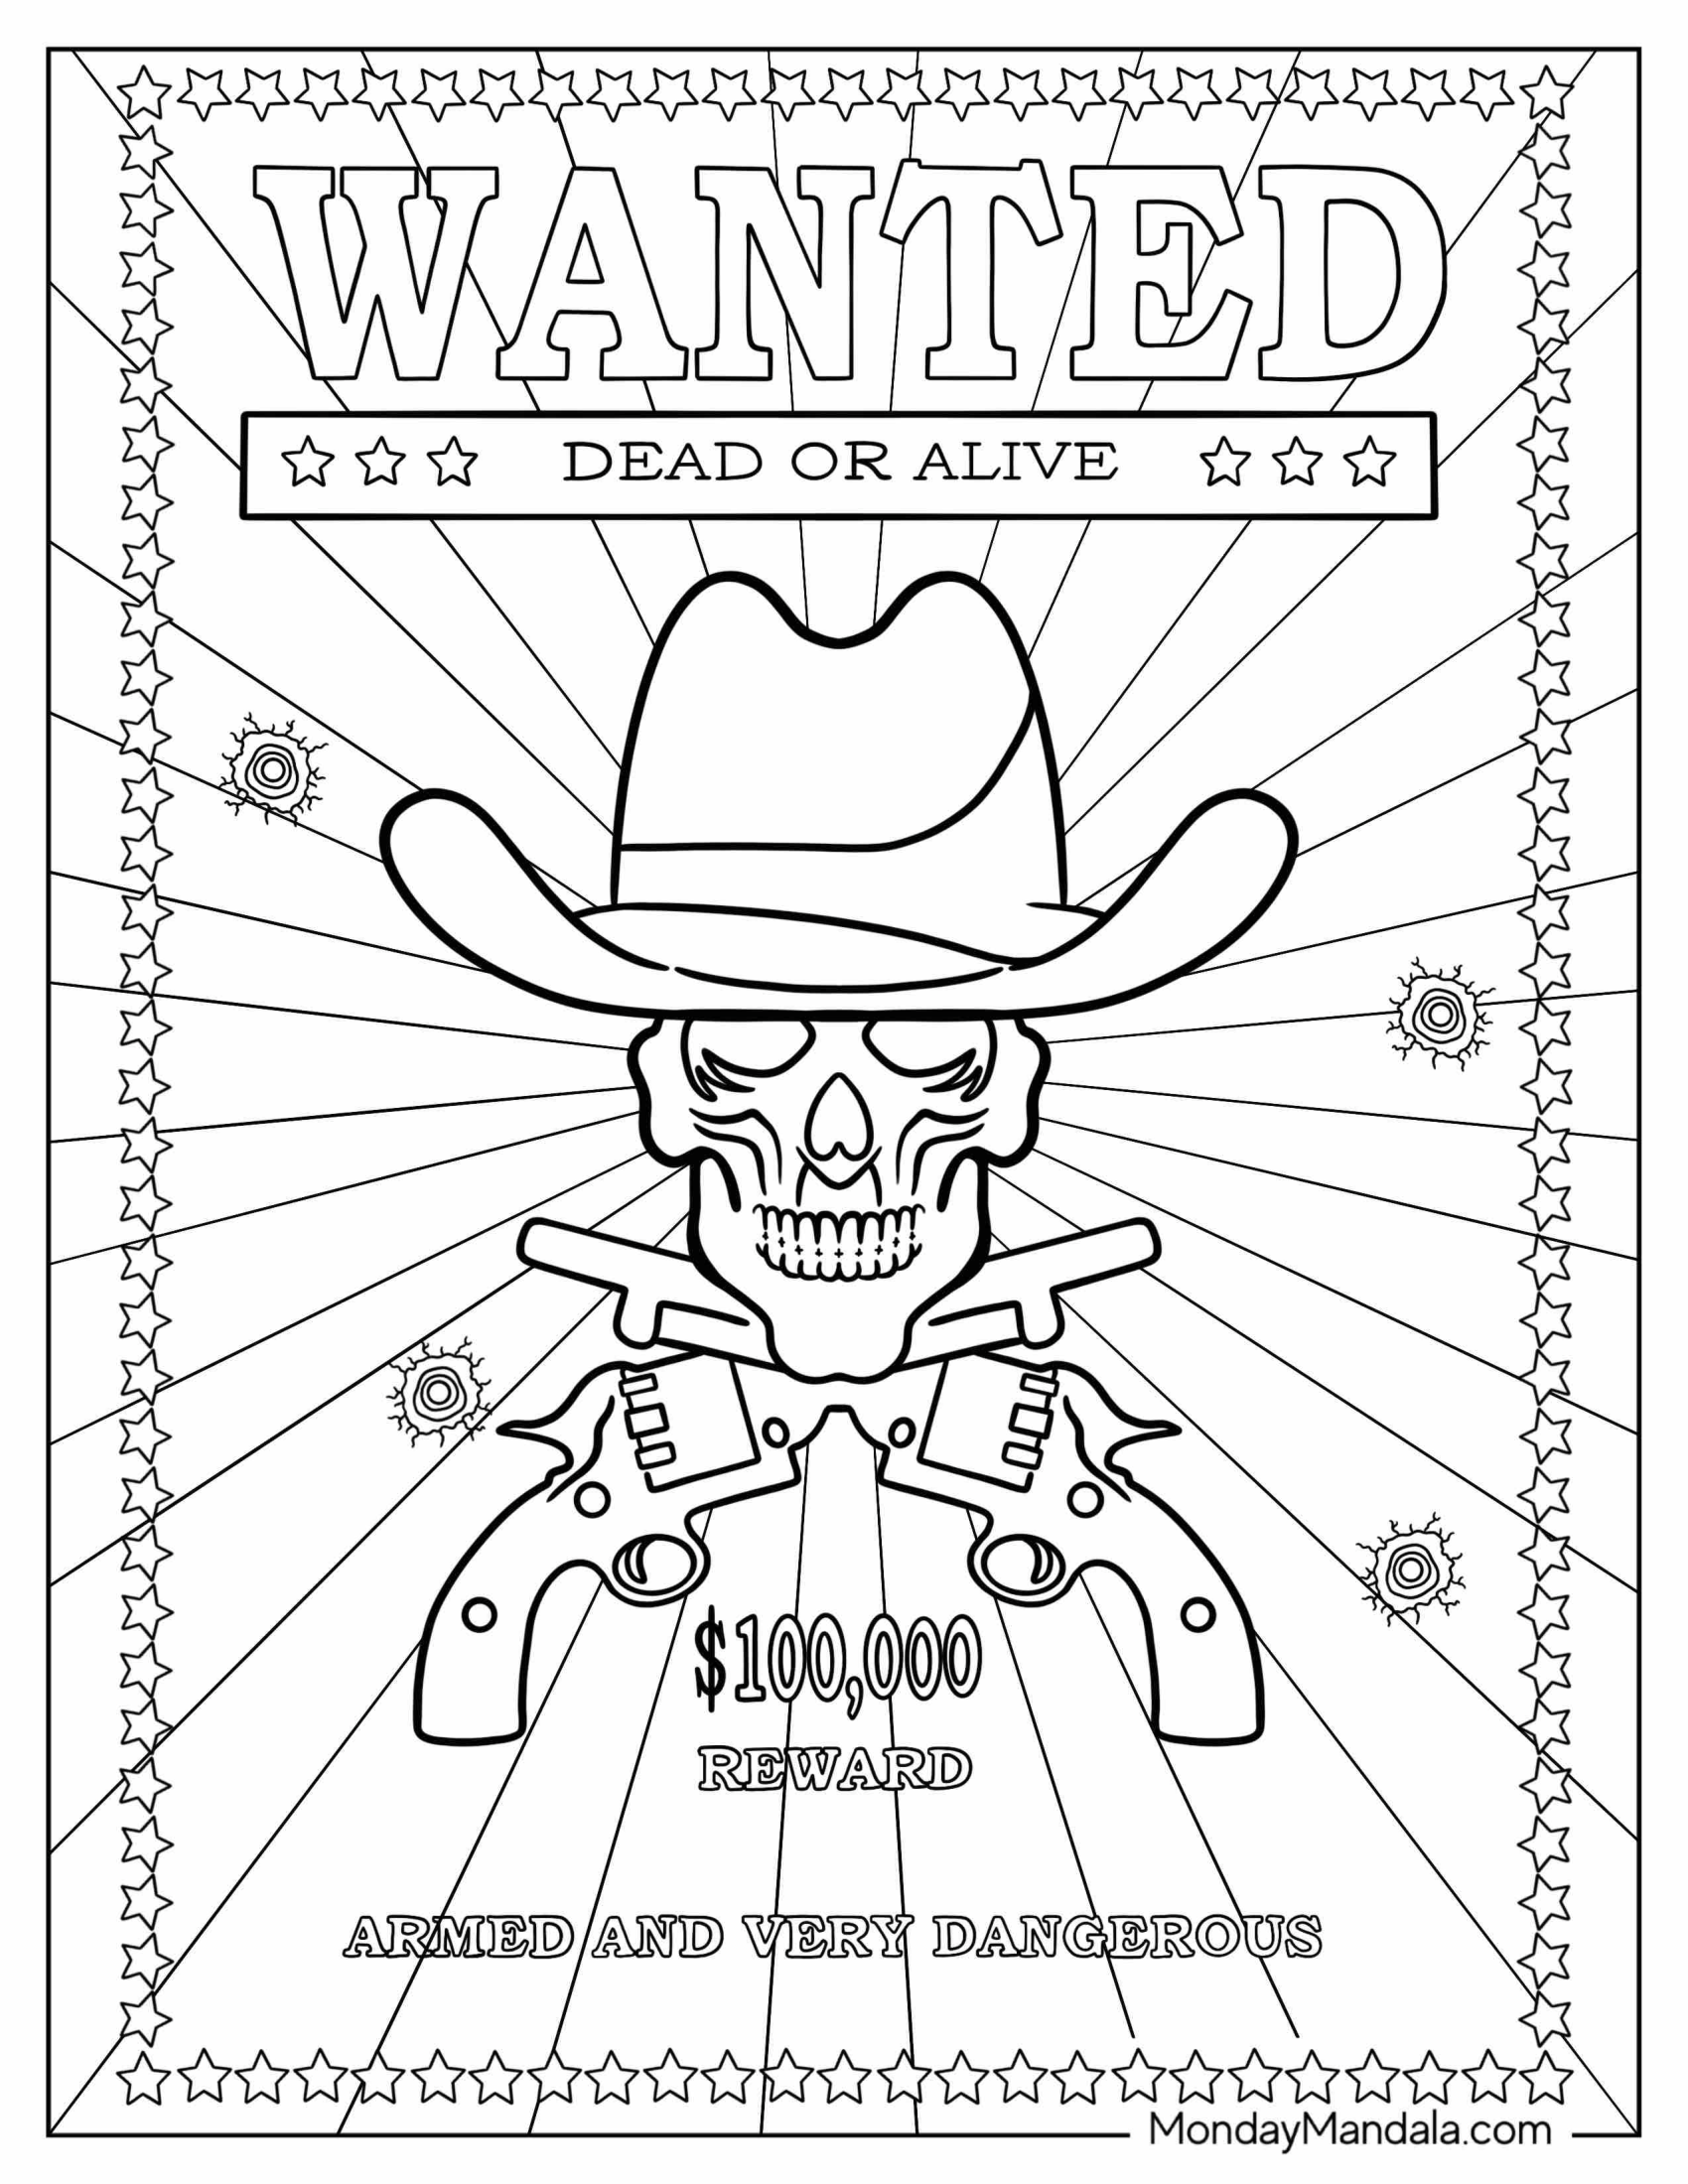
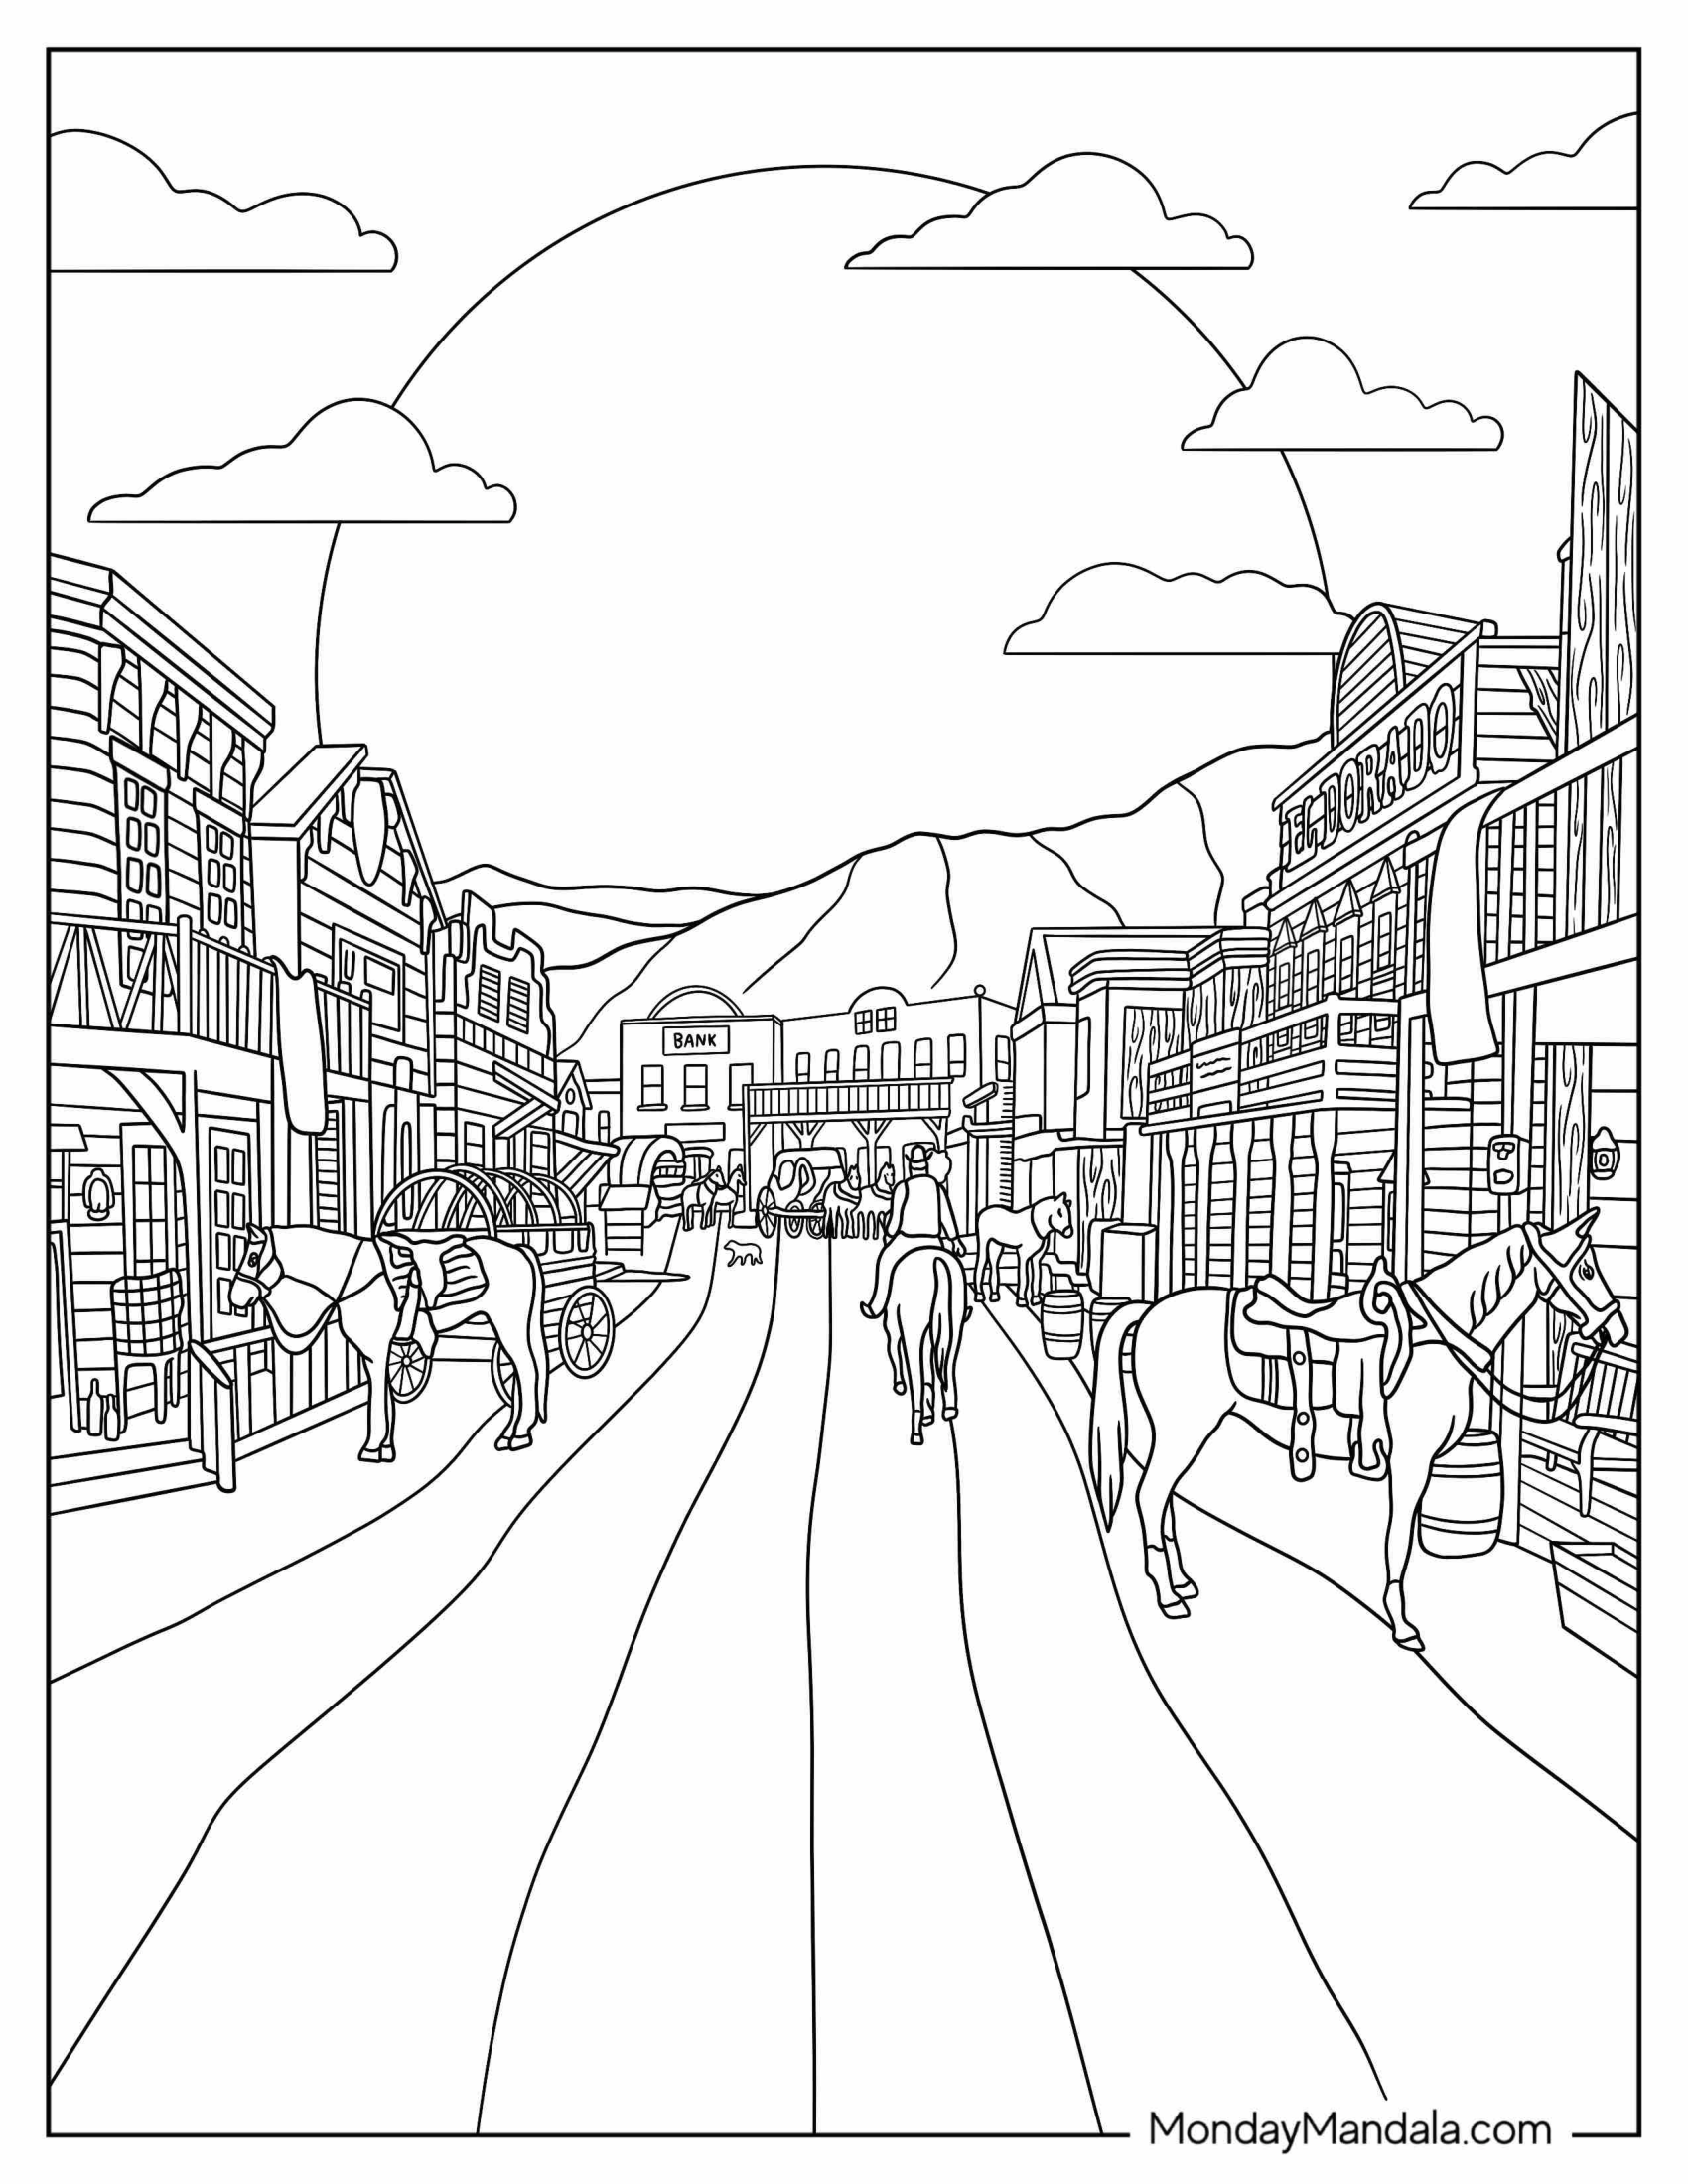
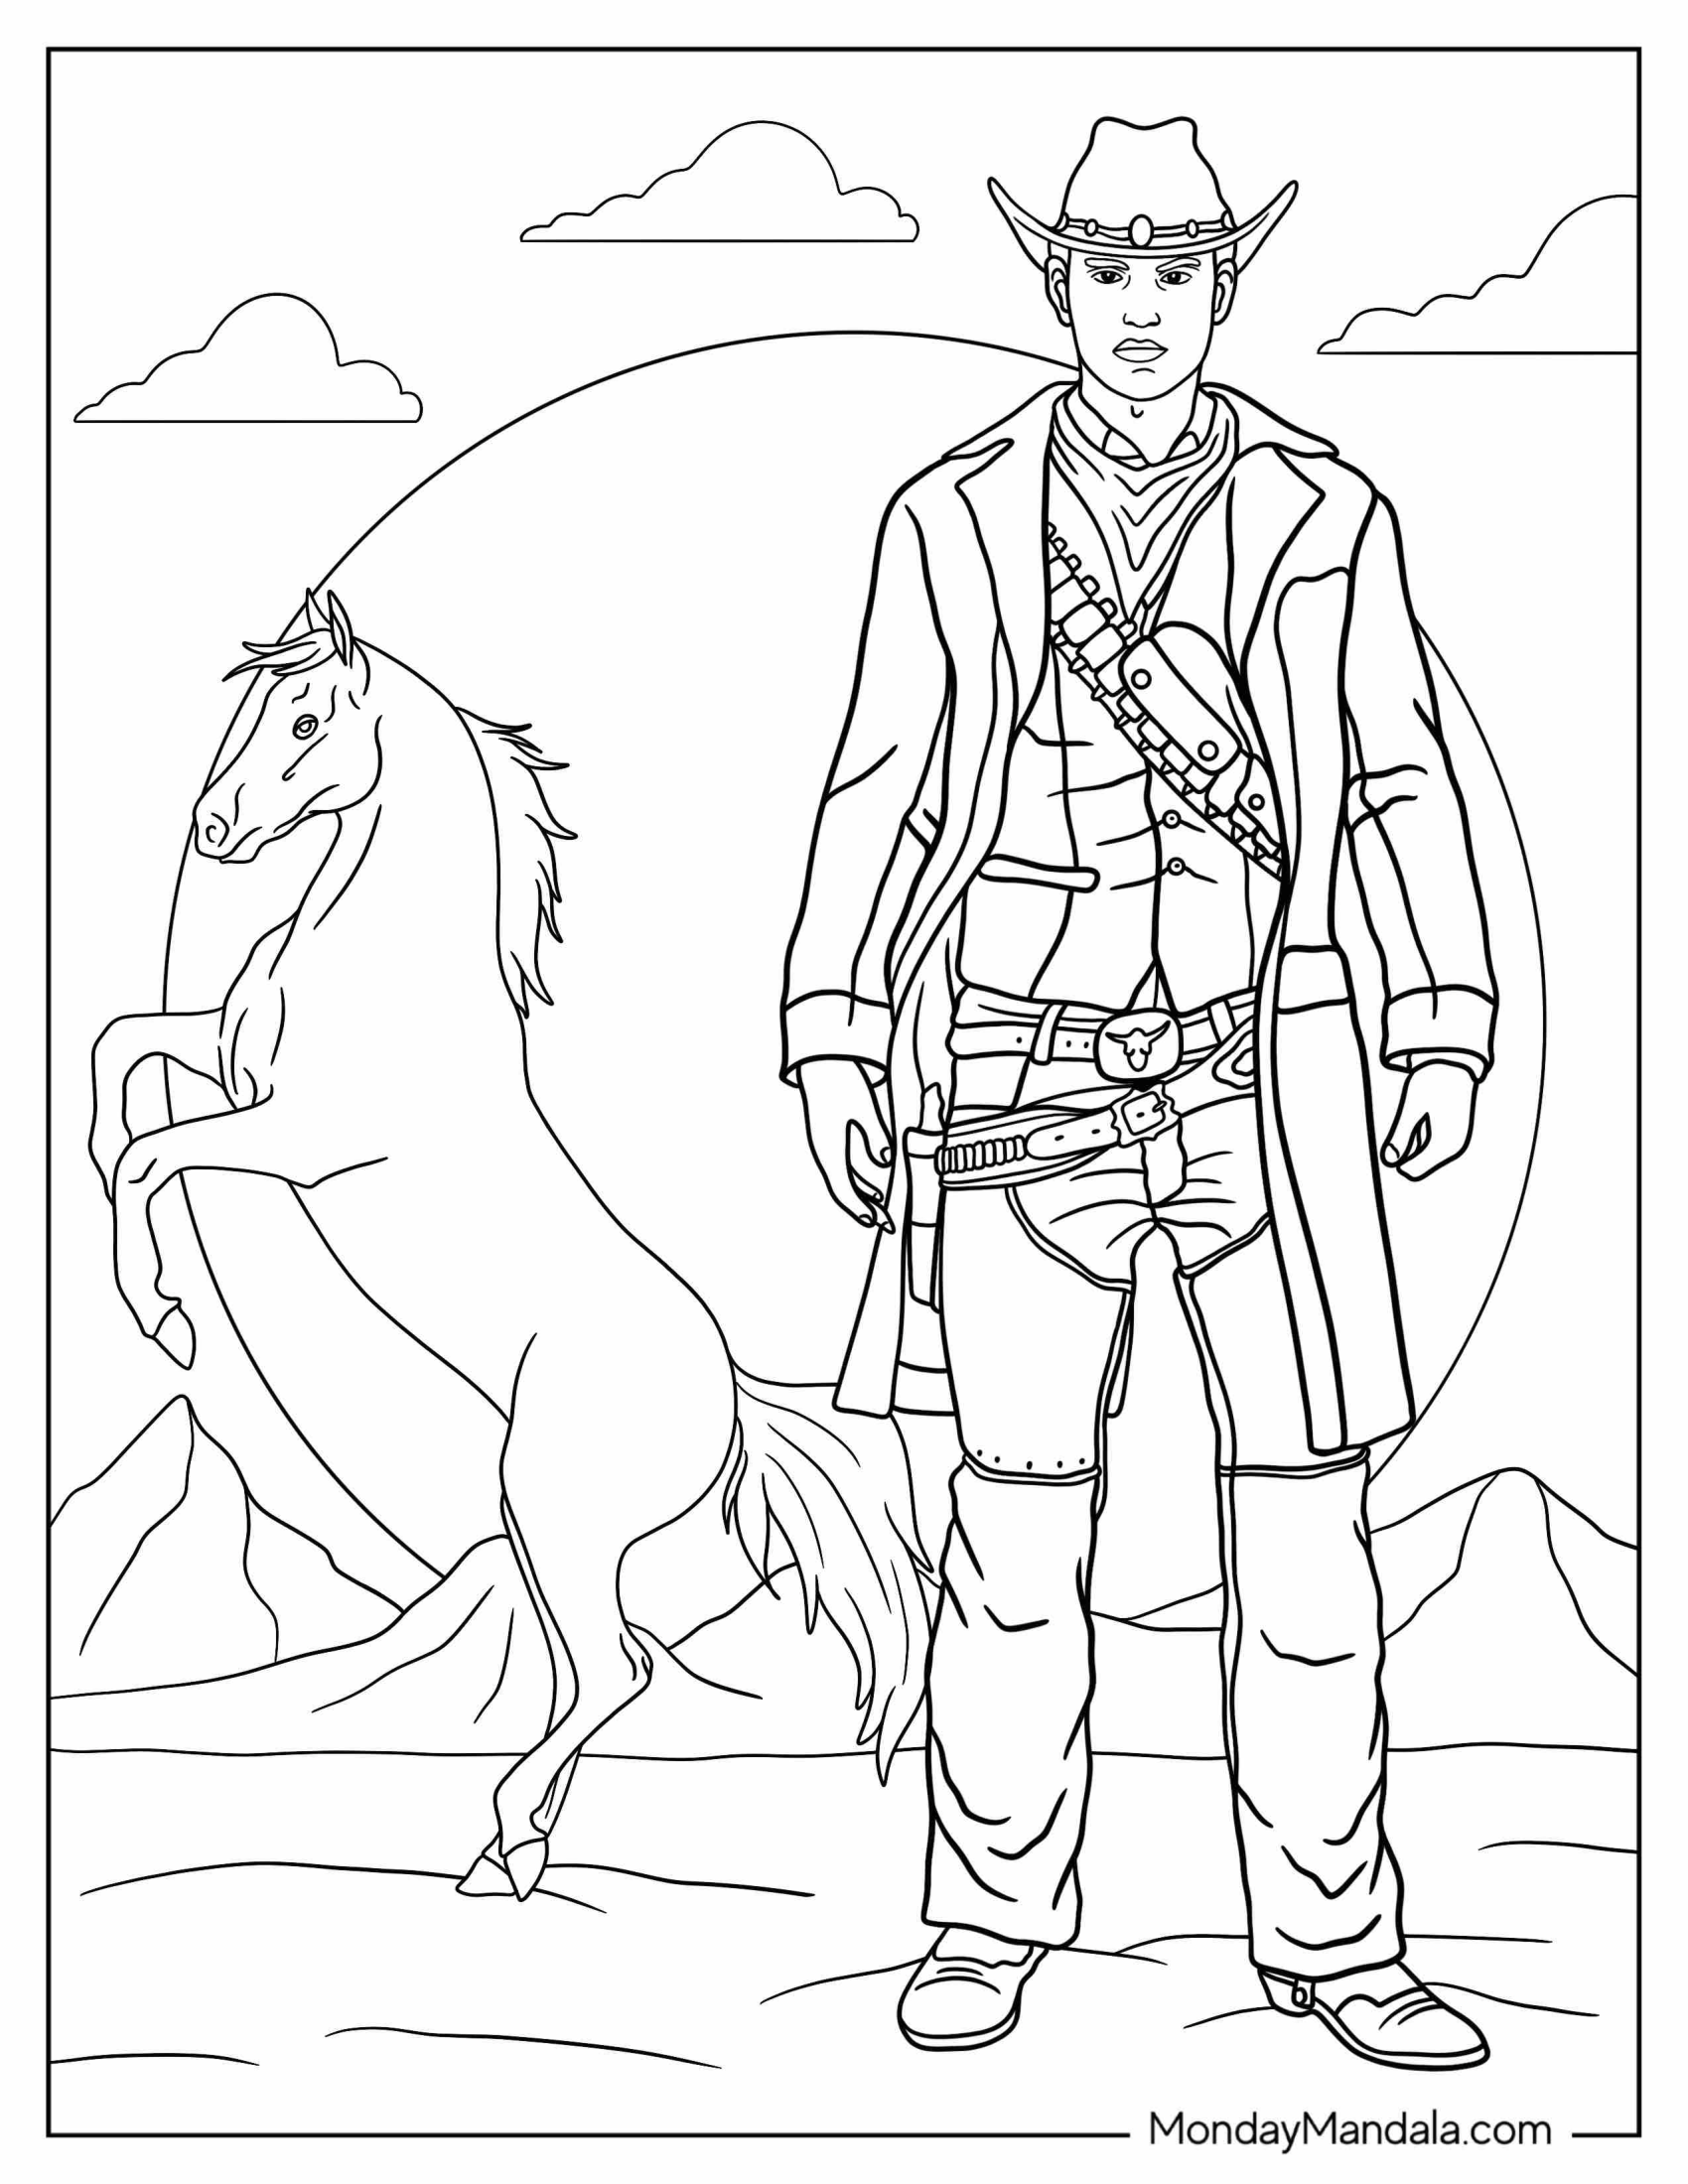
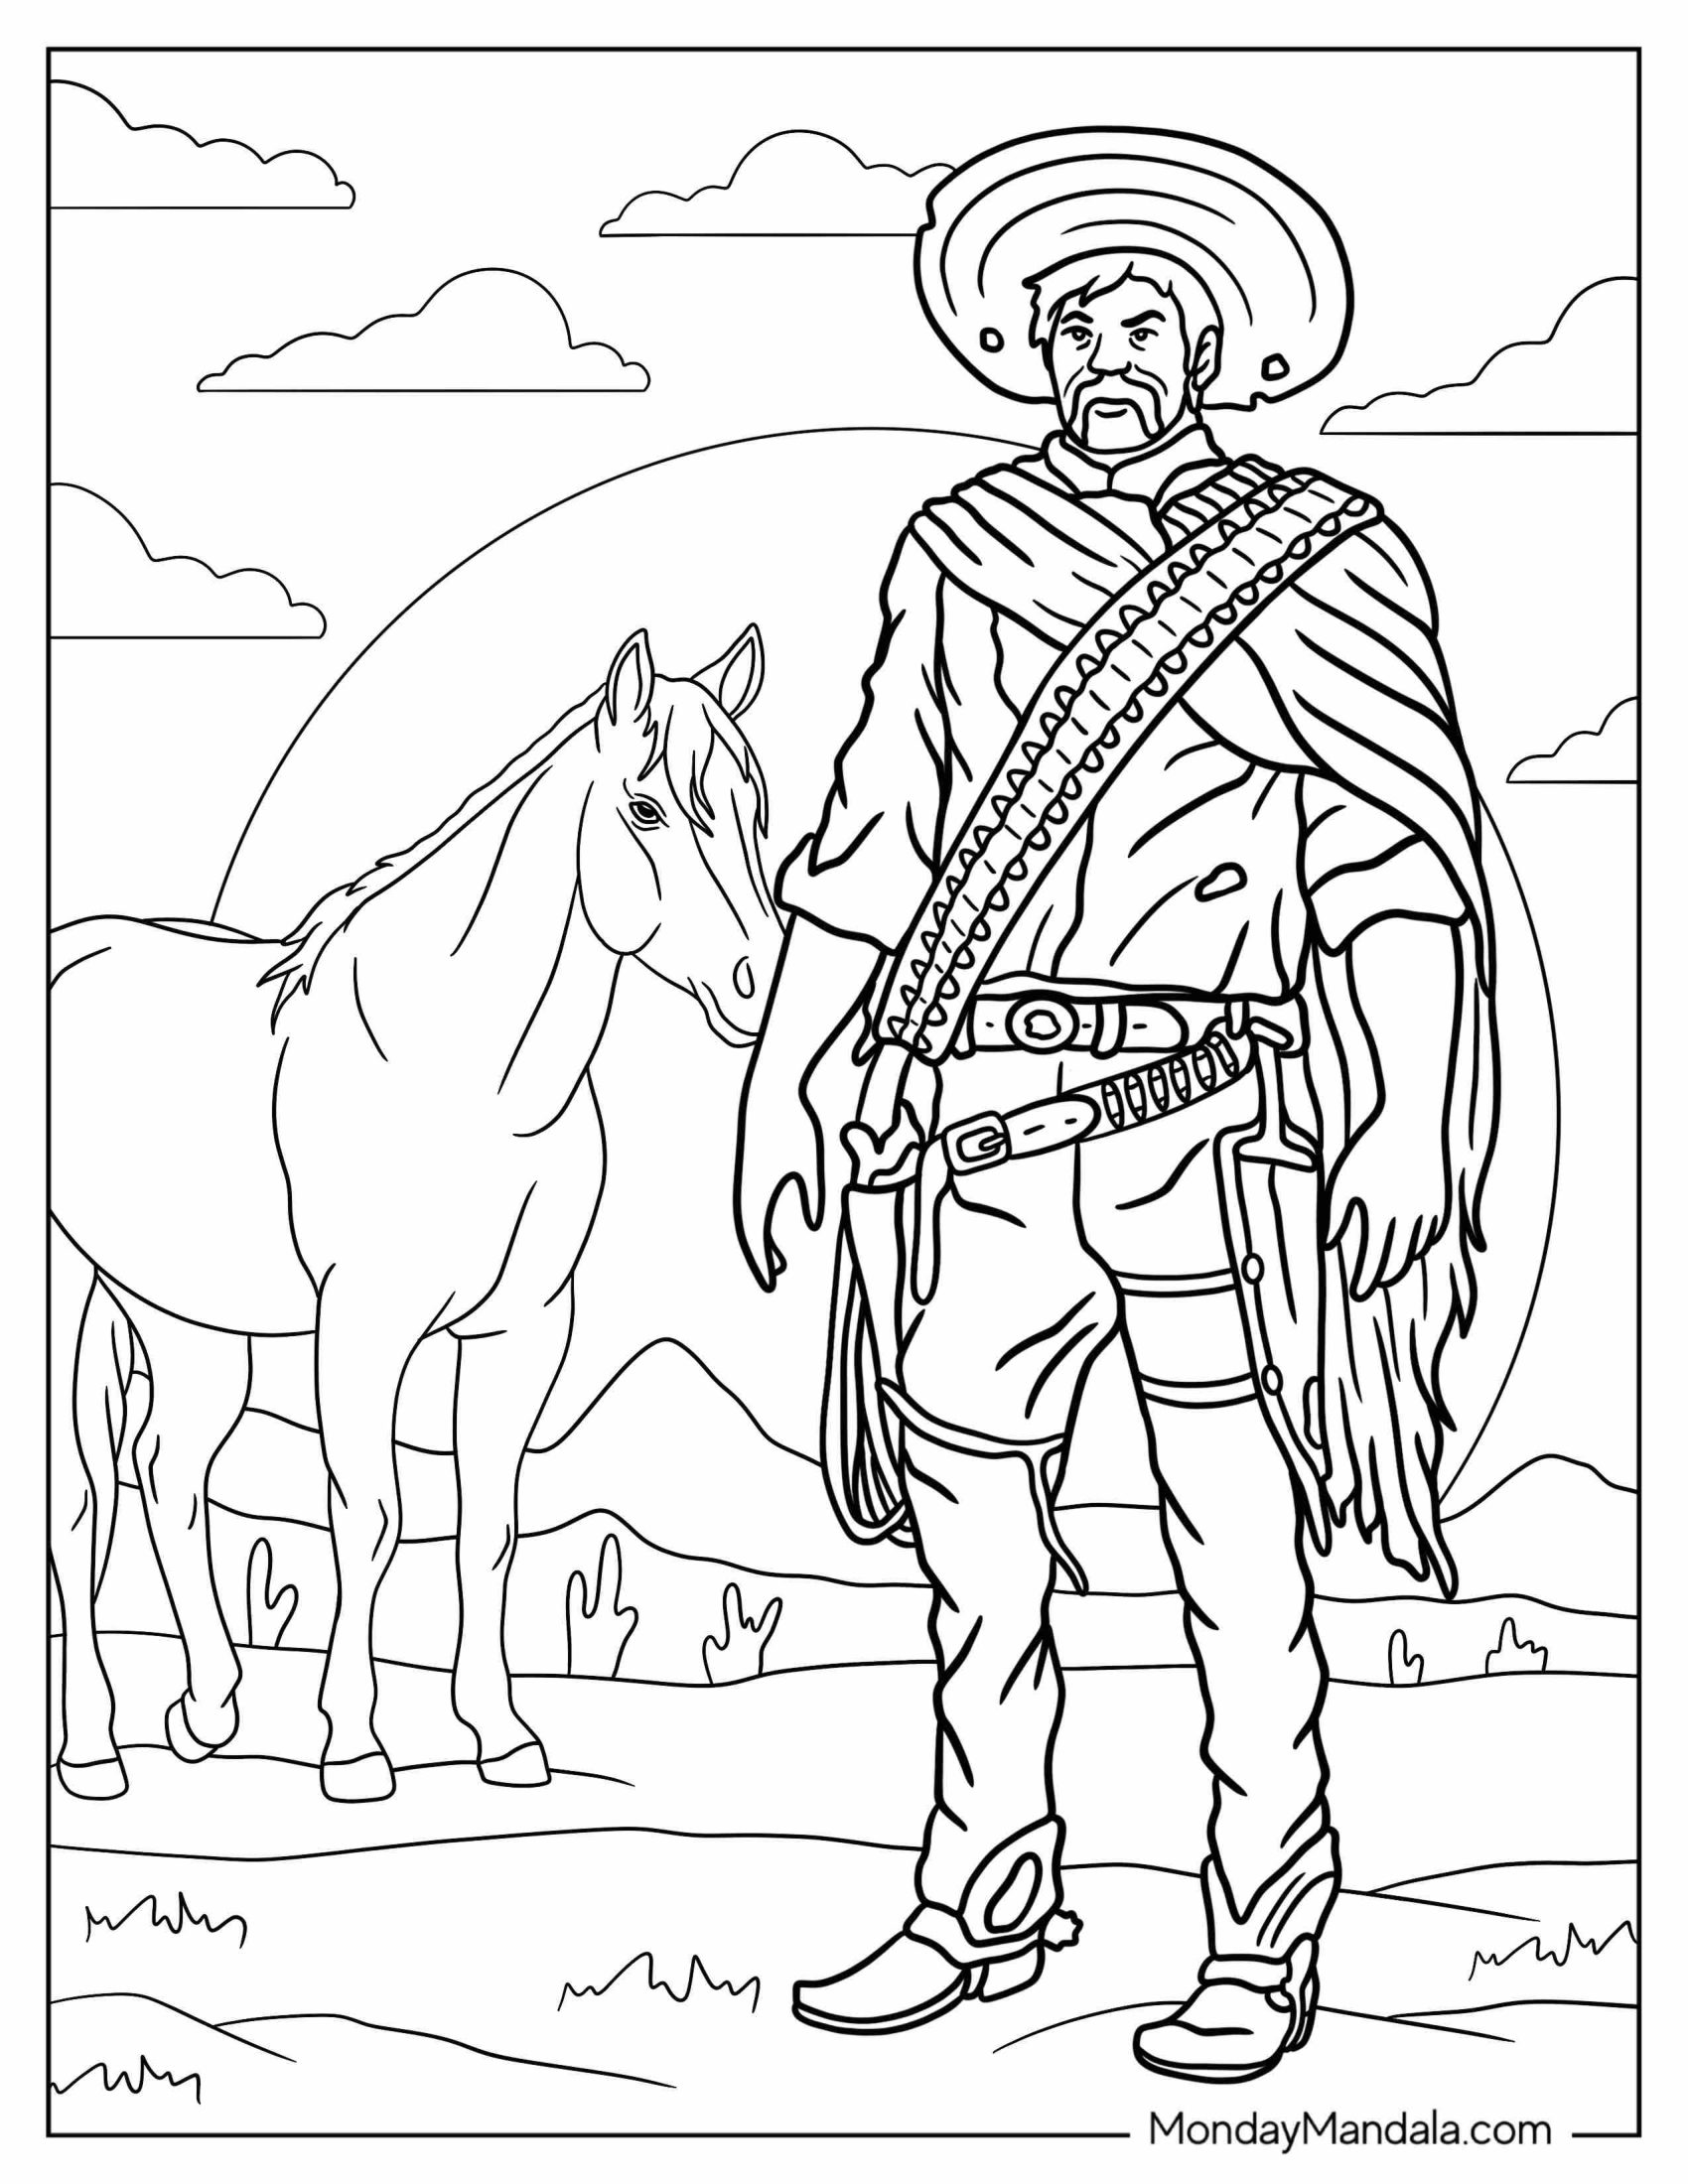
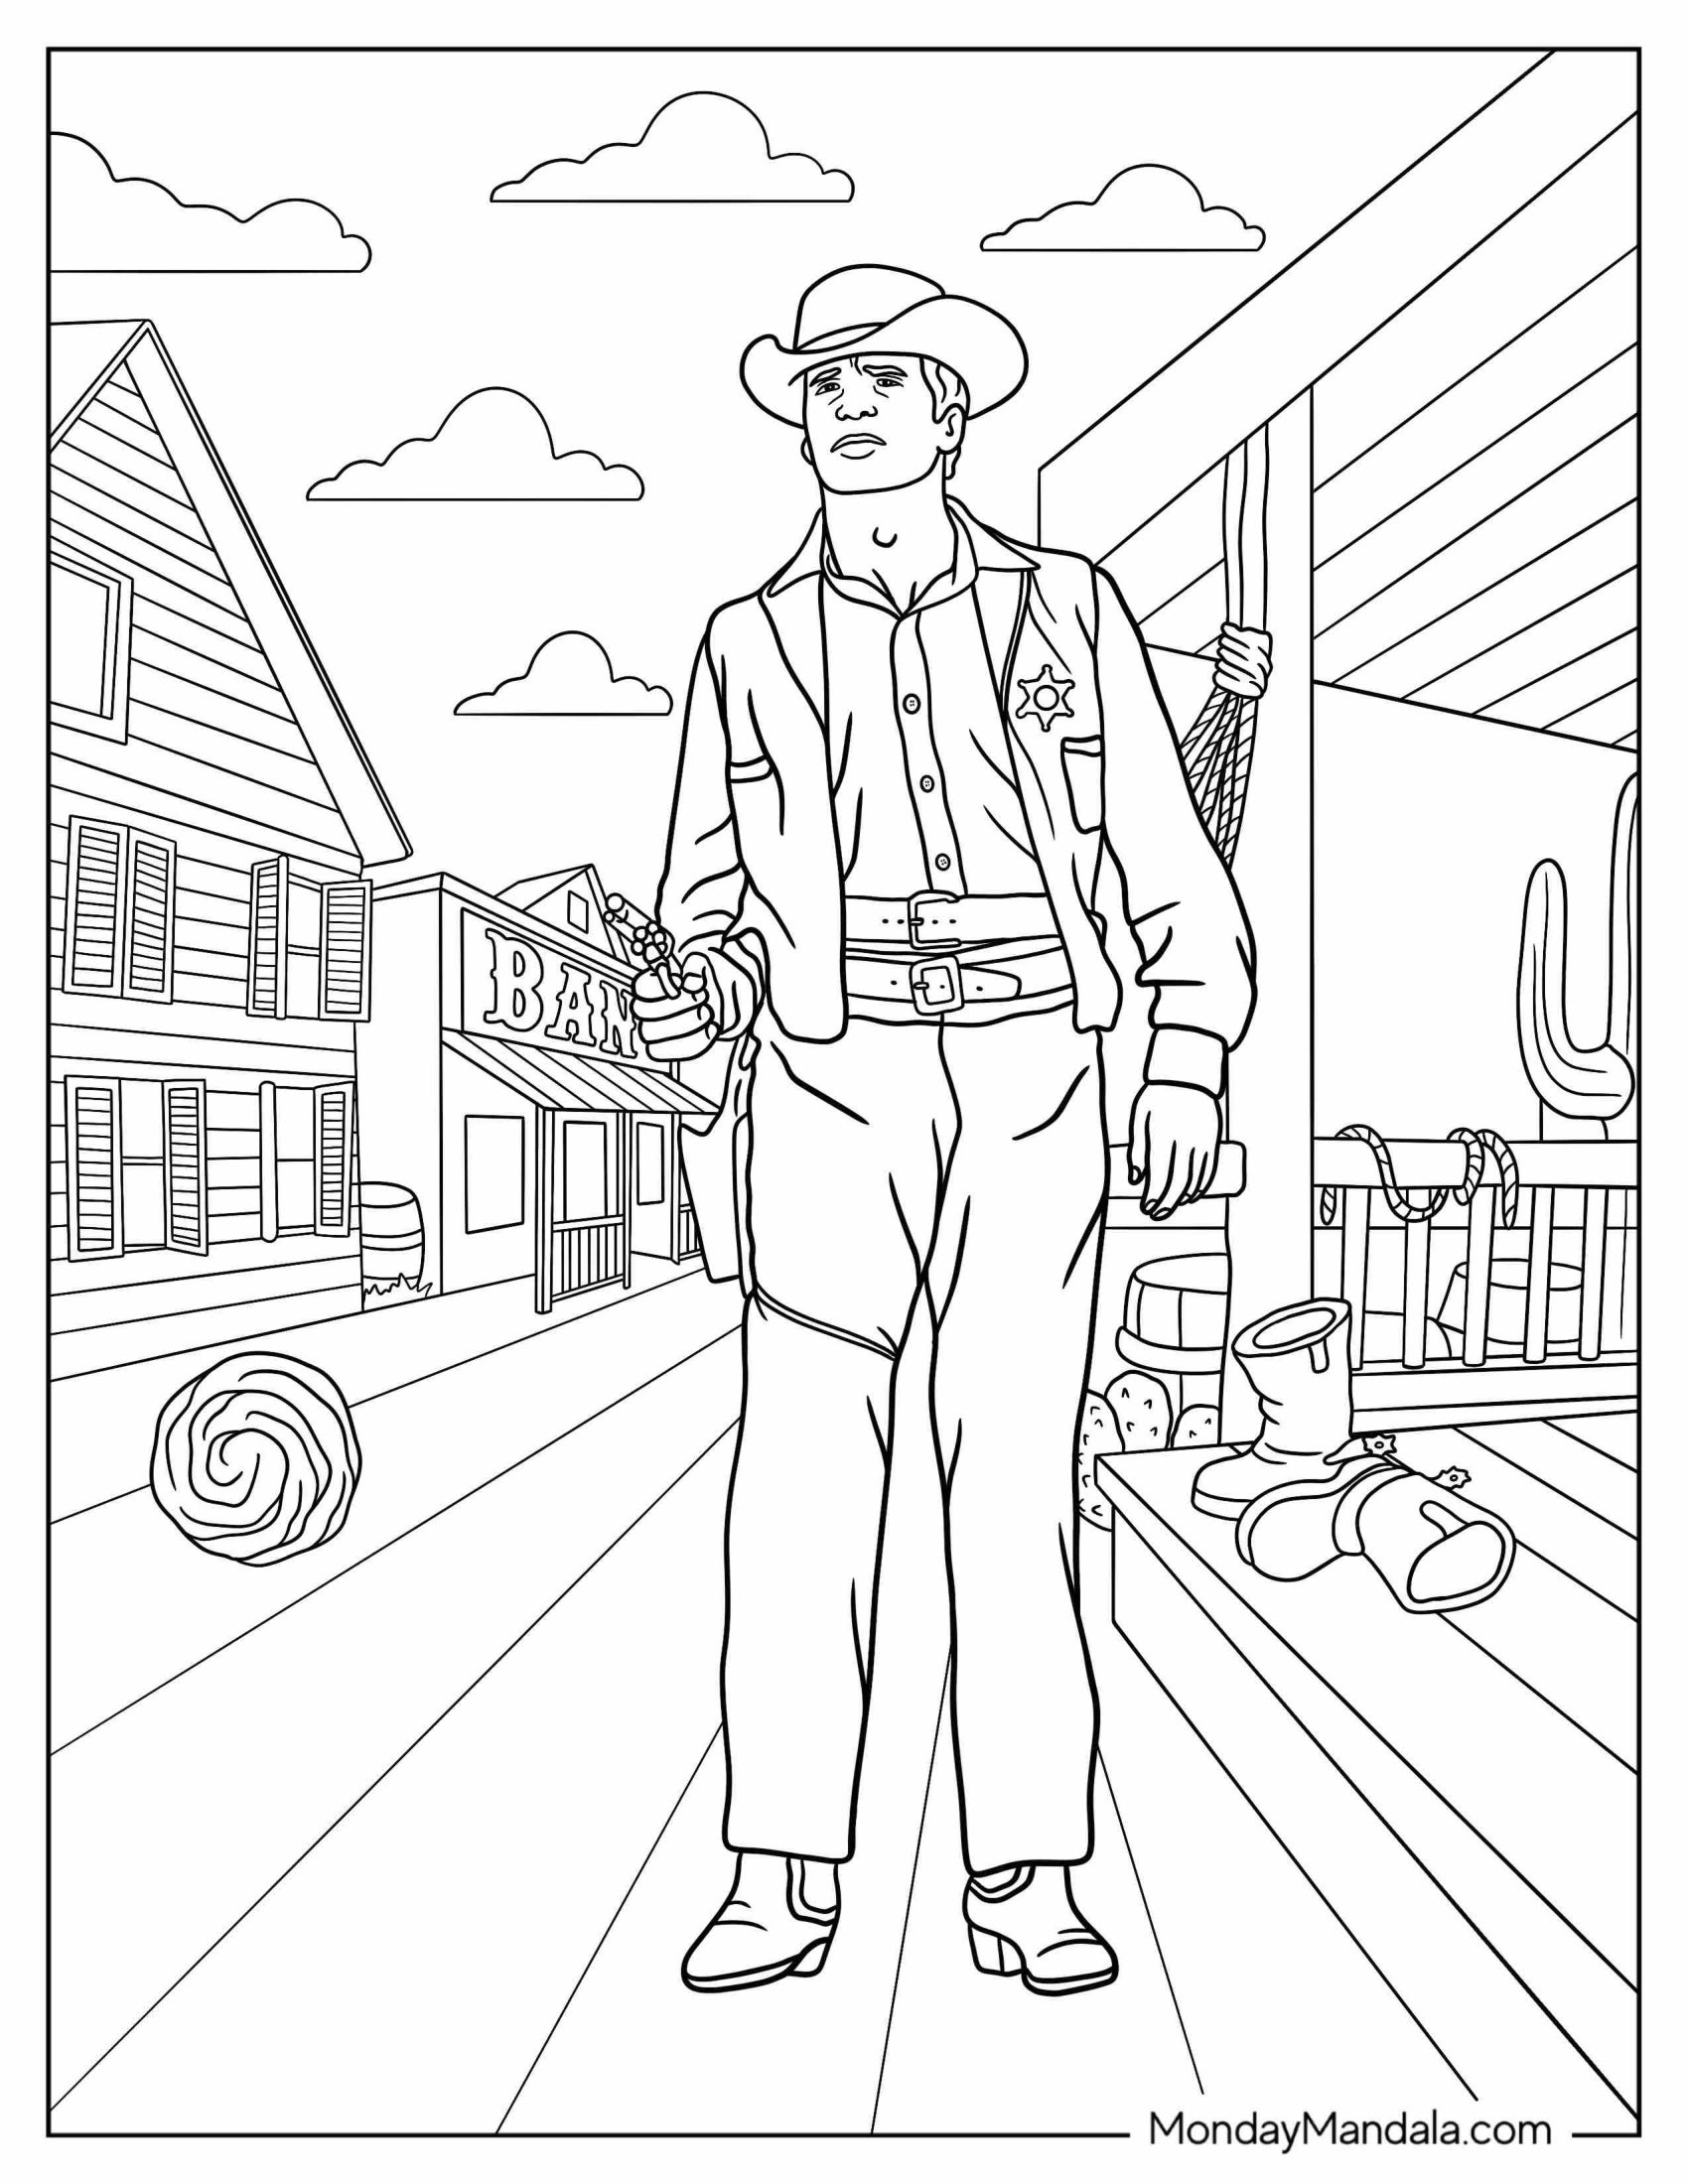
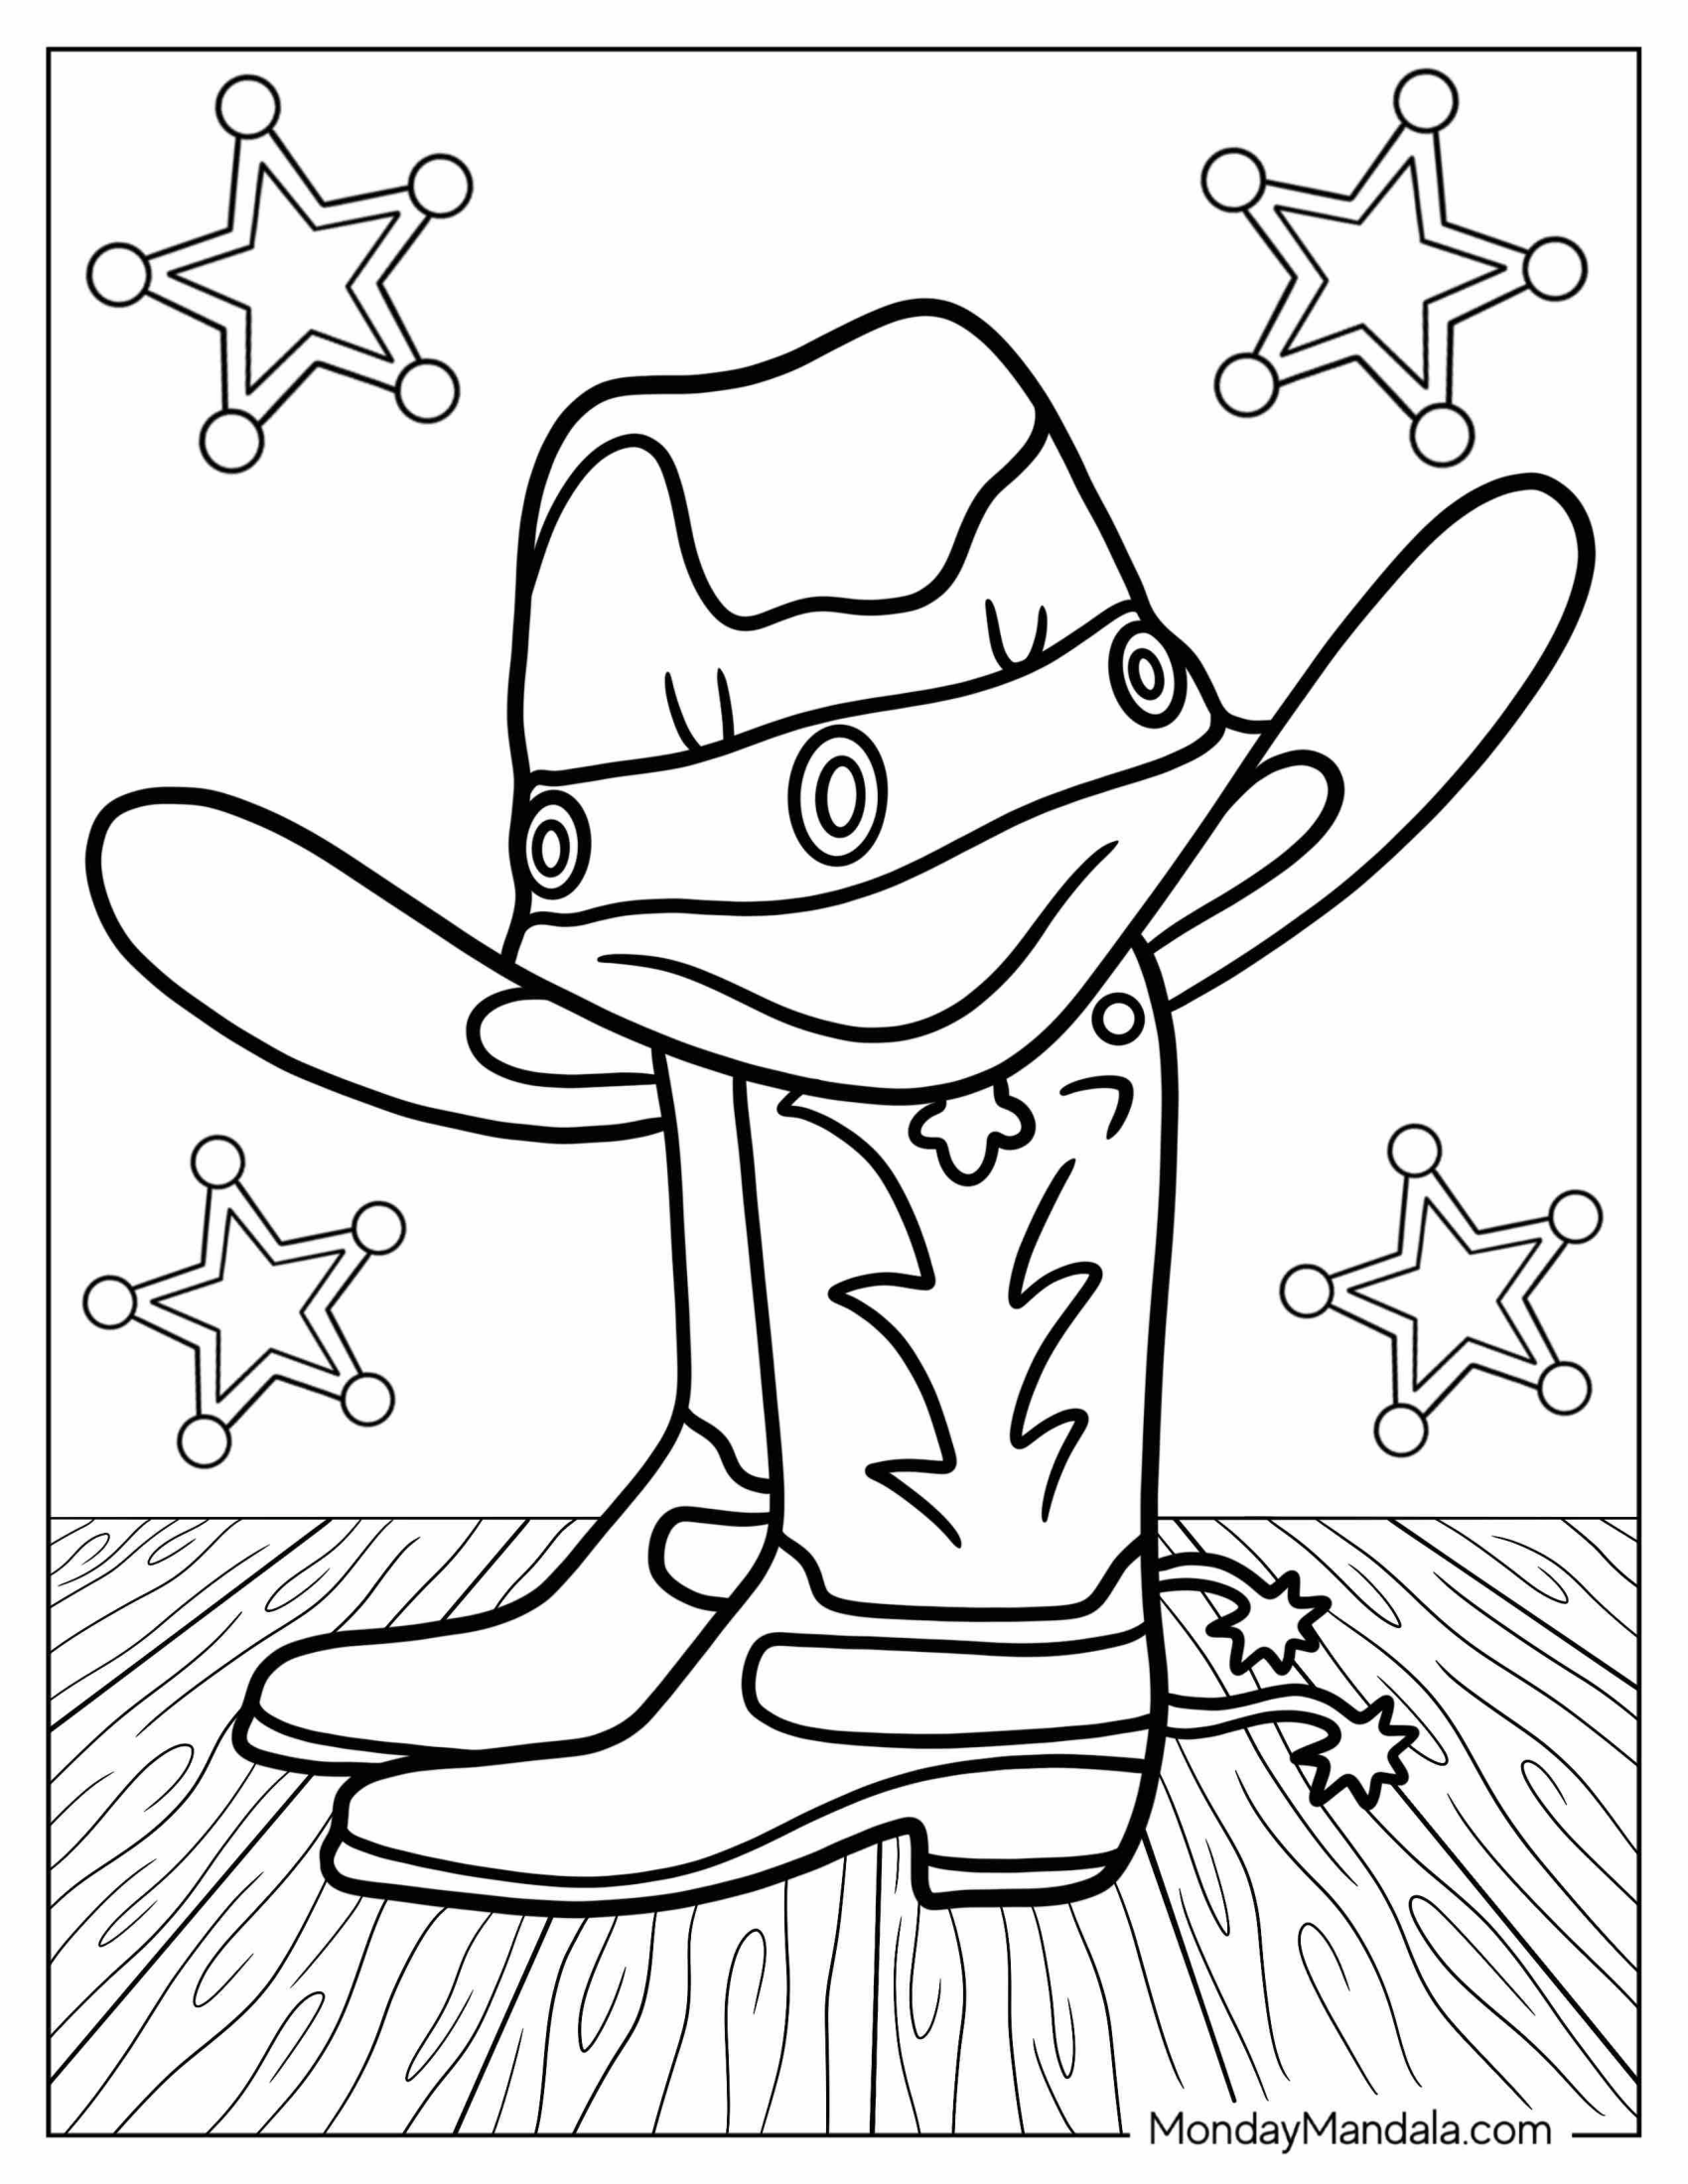

Unleash Your Creativity with Free Cowboy Coloring Pages
Cowboy coloring pages are a fun and creative way to bring the Wild West to life for kids and adults alike. In this article, we’ve explored the benefits of coloring, including stress relief, improved focus, and enhanced creativity. We’ve also provided a collection of free PDF printables featuring cowboy-themed coloring pages, complete with horses, cowboys, and cattle. Whether you’re looking for a fun activity to do with your kids or a way to unwind and relax, our cowboy coloring pages are the perfect solution. So saddle up and get ready to ride off into the sunset with a set of colorful cowboy coloring pages!