Are you ready to unleash your creativity and bring the majestic Cheetah to life? We’ve got you covered! Our Cheetah Coloring Pages (Free PDF Printables) are now available in a digital format, making it easy to convert them into a stunning piece of art. Using a simple formula of combining vibrant colors and intricate designs, these printables are perfect for kids and adults alike who love animals and art. With just a few clicks, you can transform these digital pages into a beautiful masterpiece, ready to be displayed or shared with friends and family.
Free Printable Cheetah Coloring Pages – Download Now
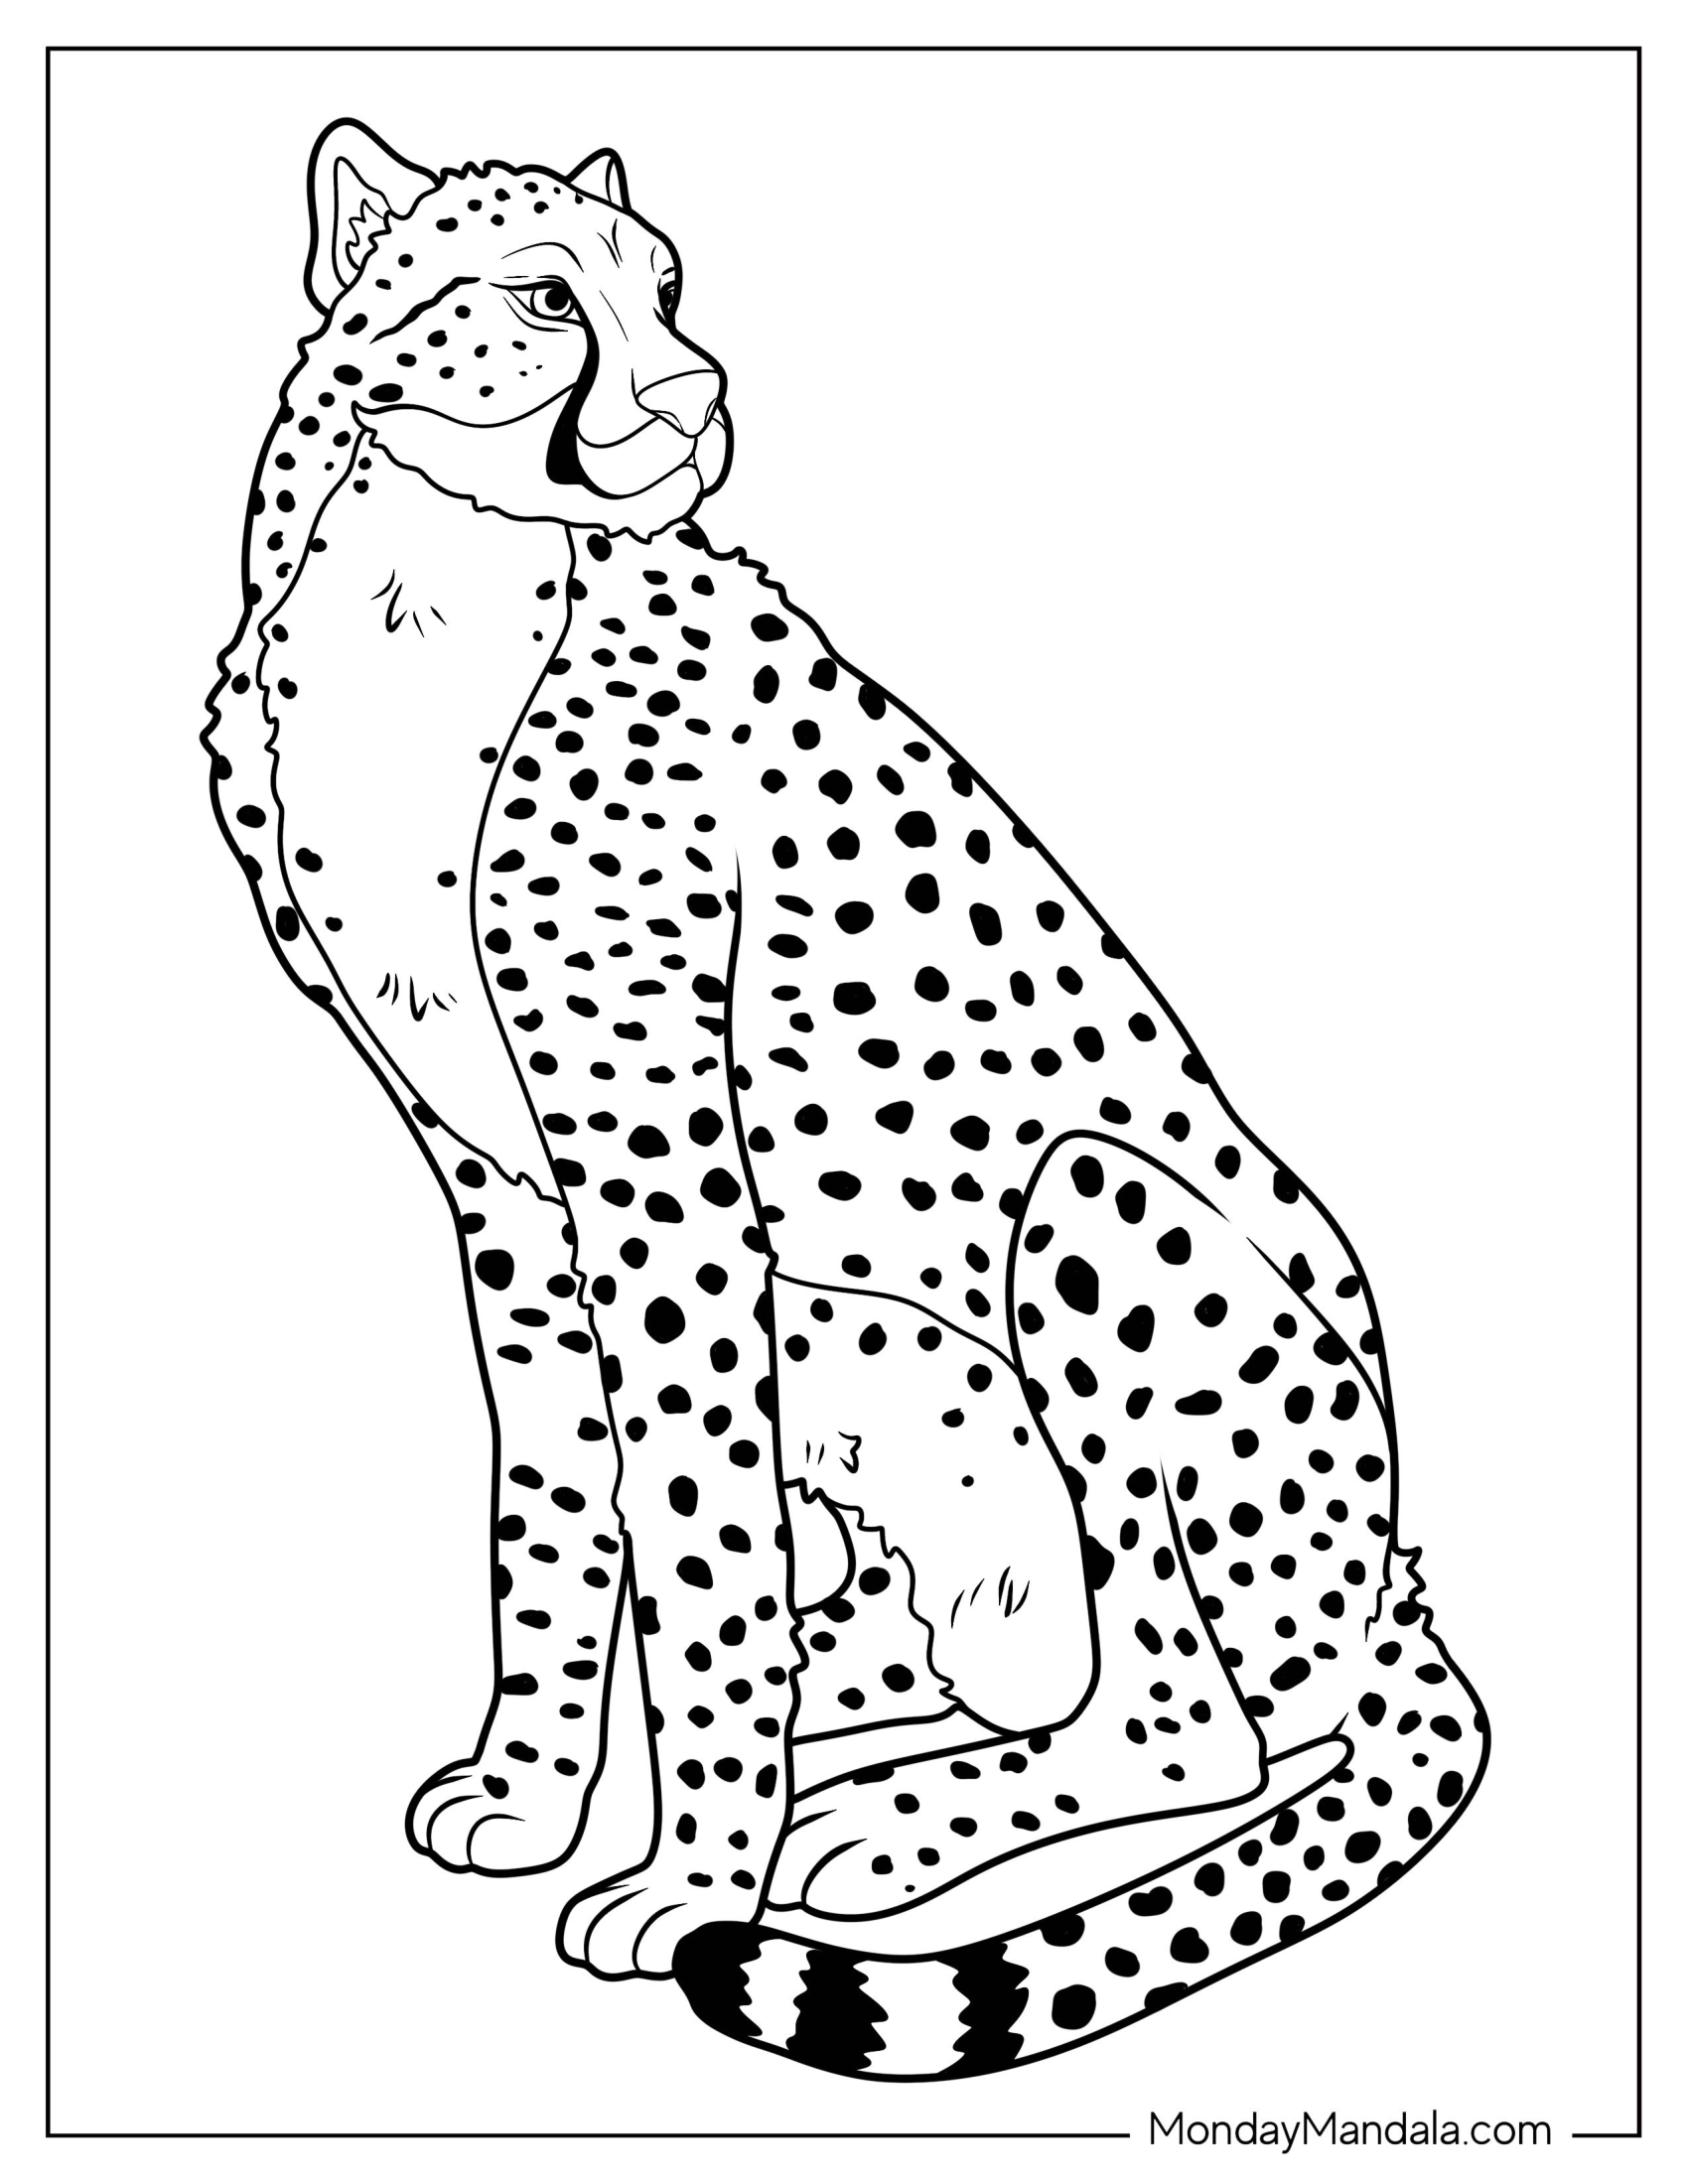
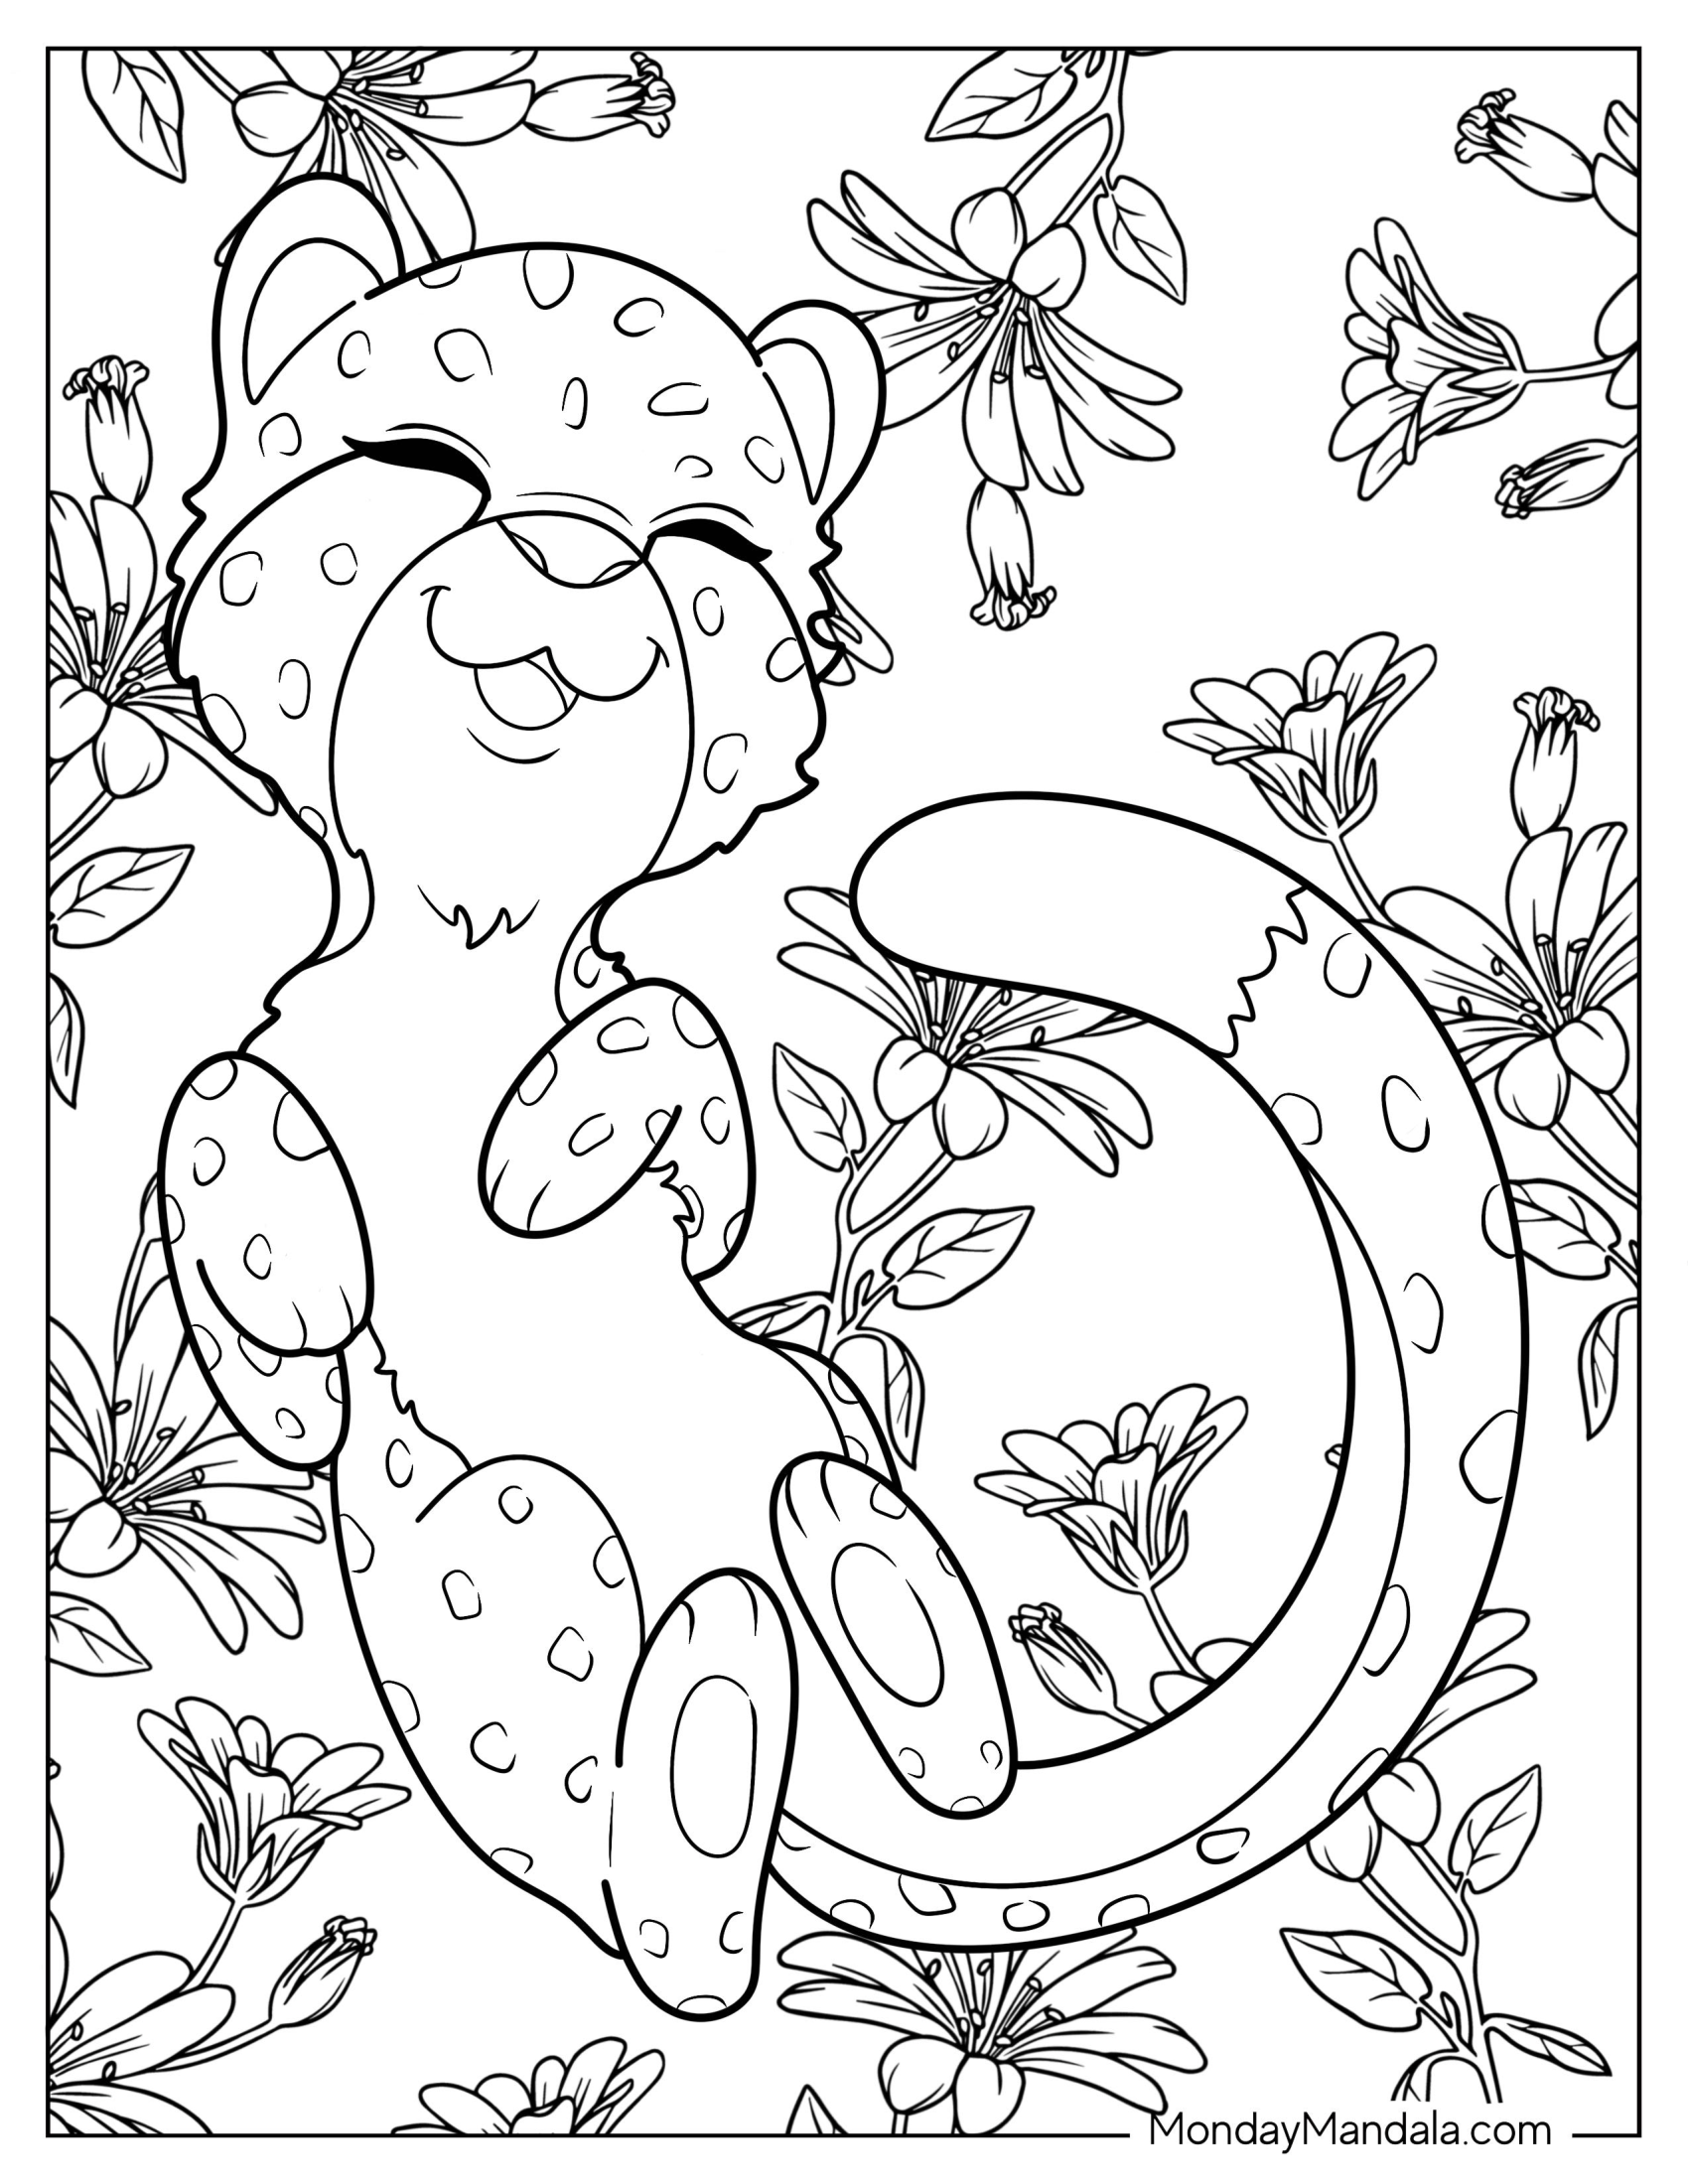
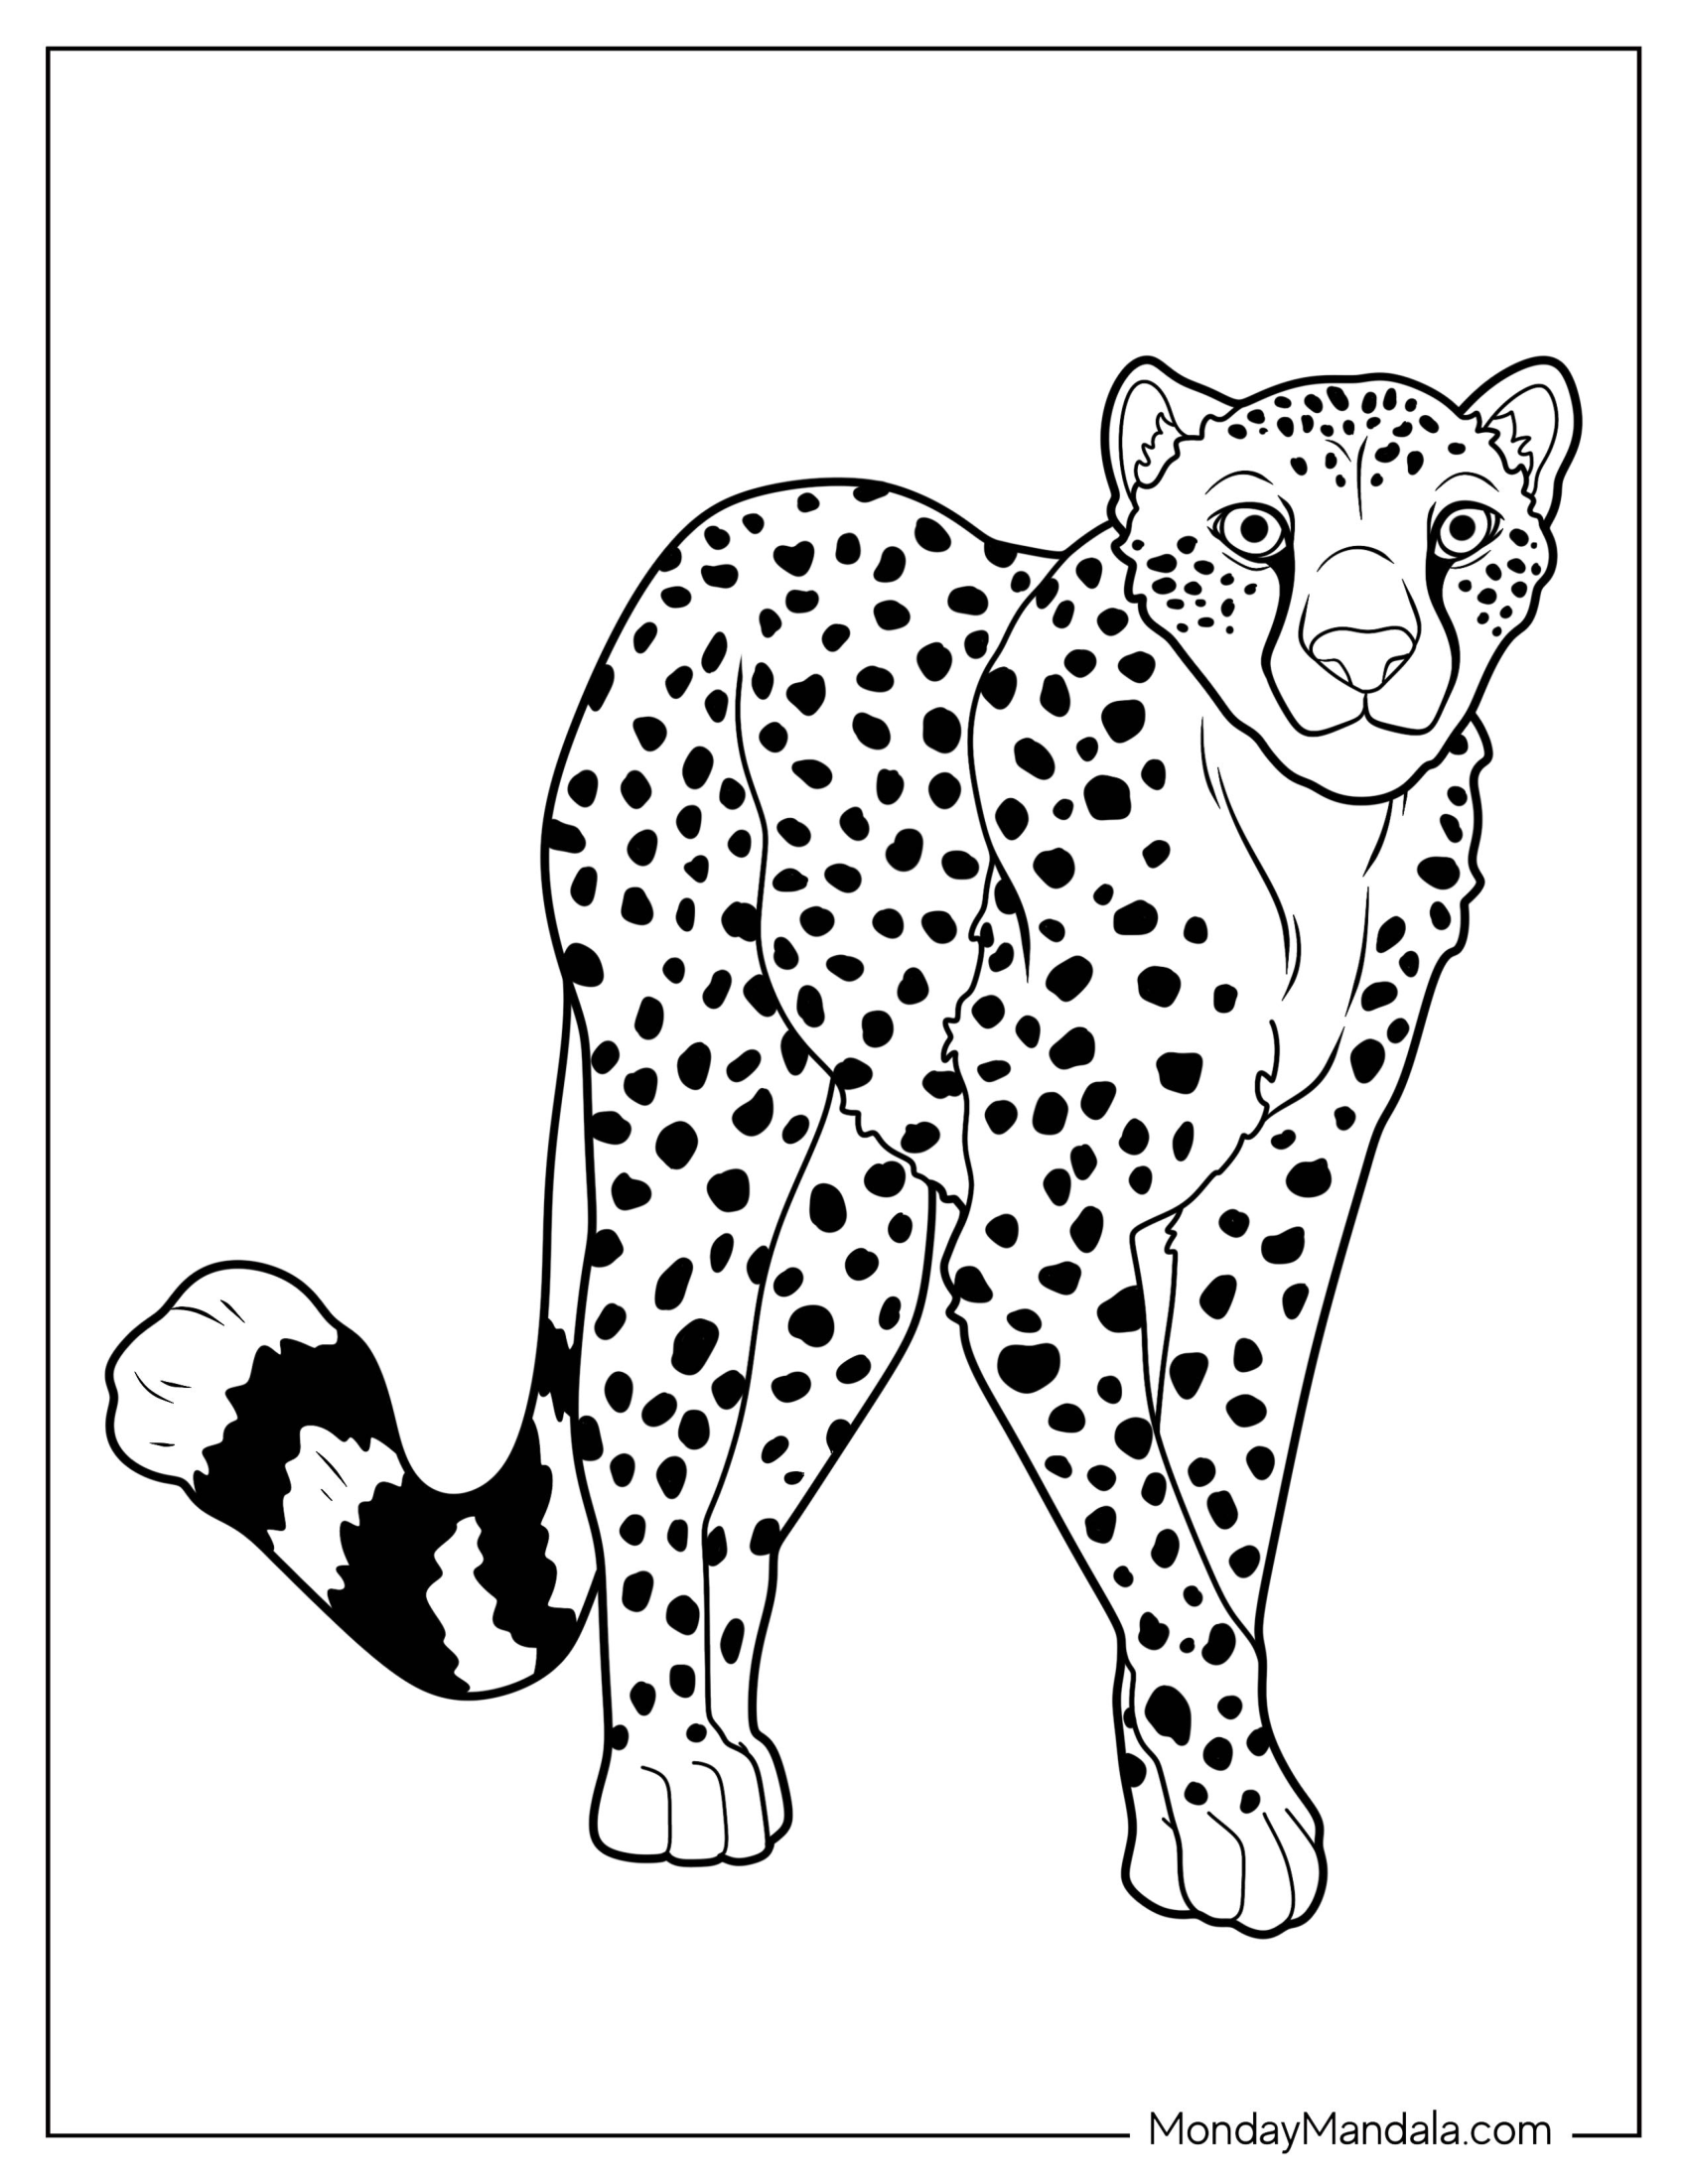
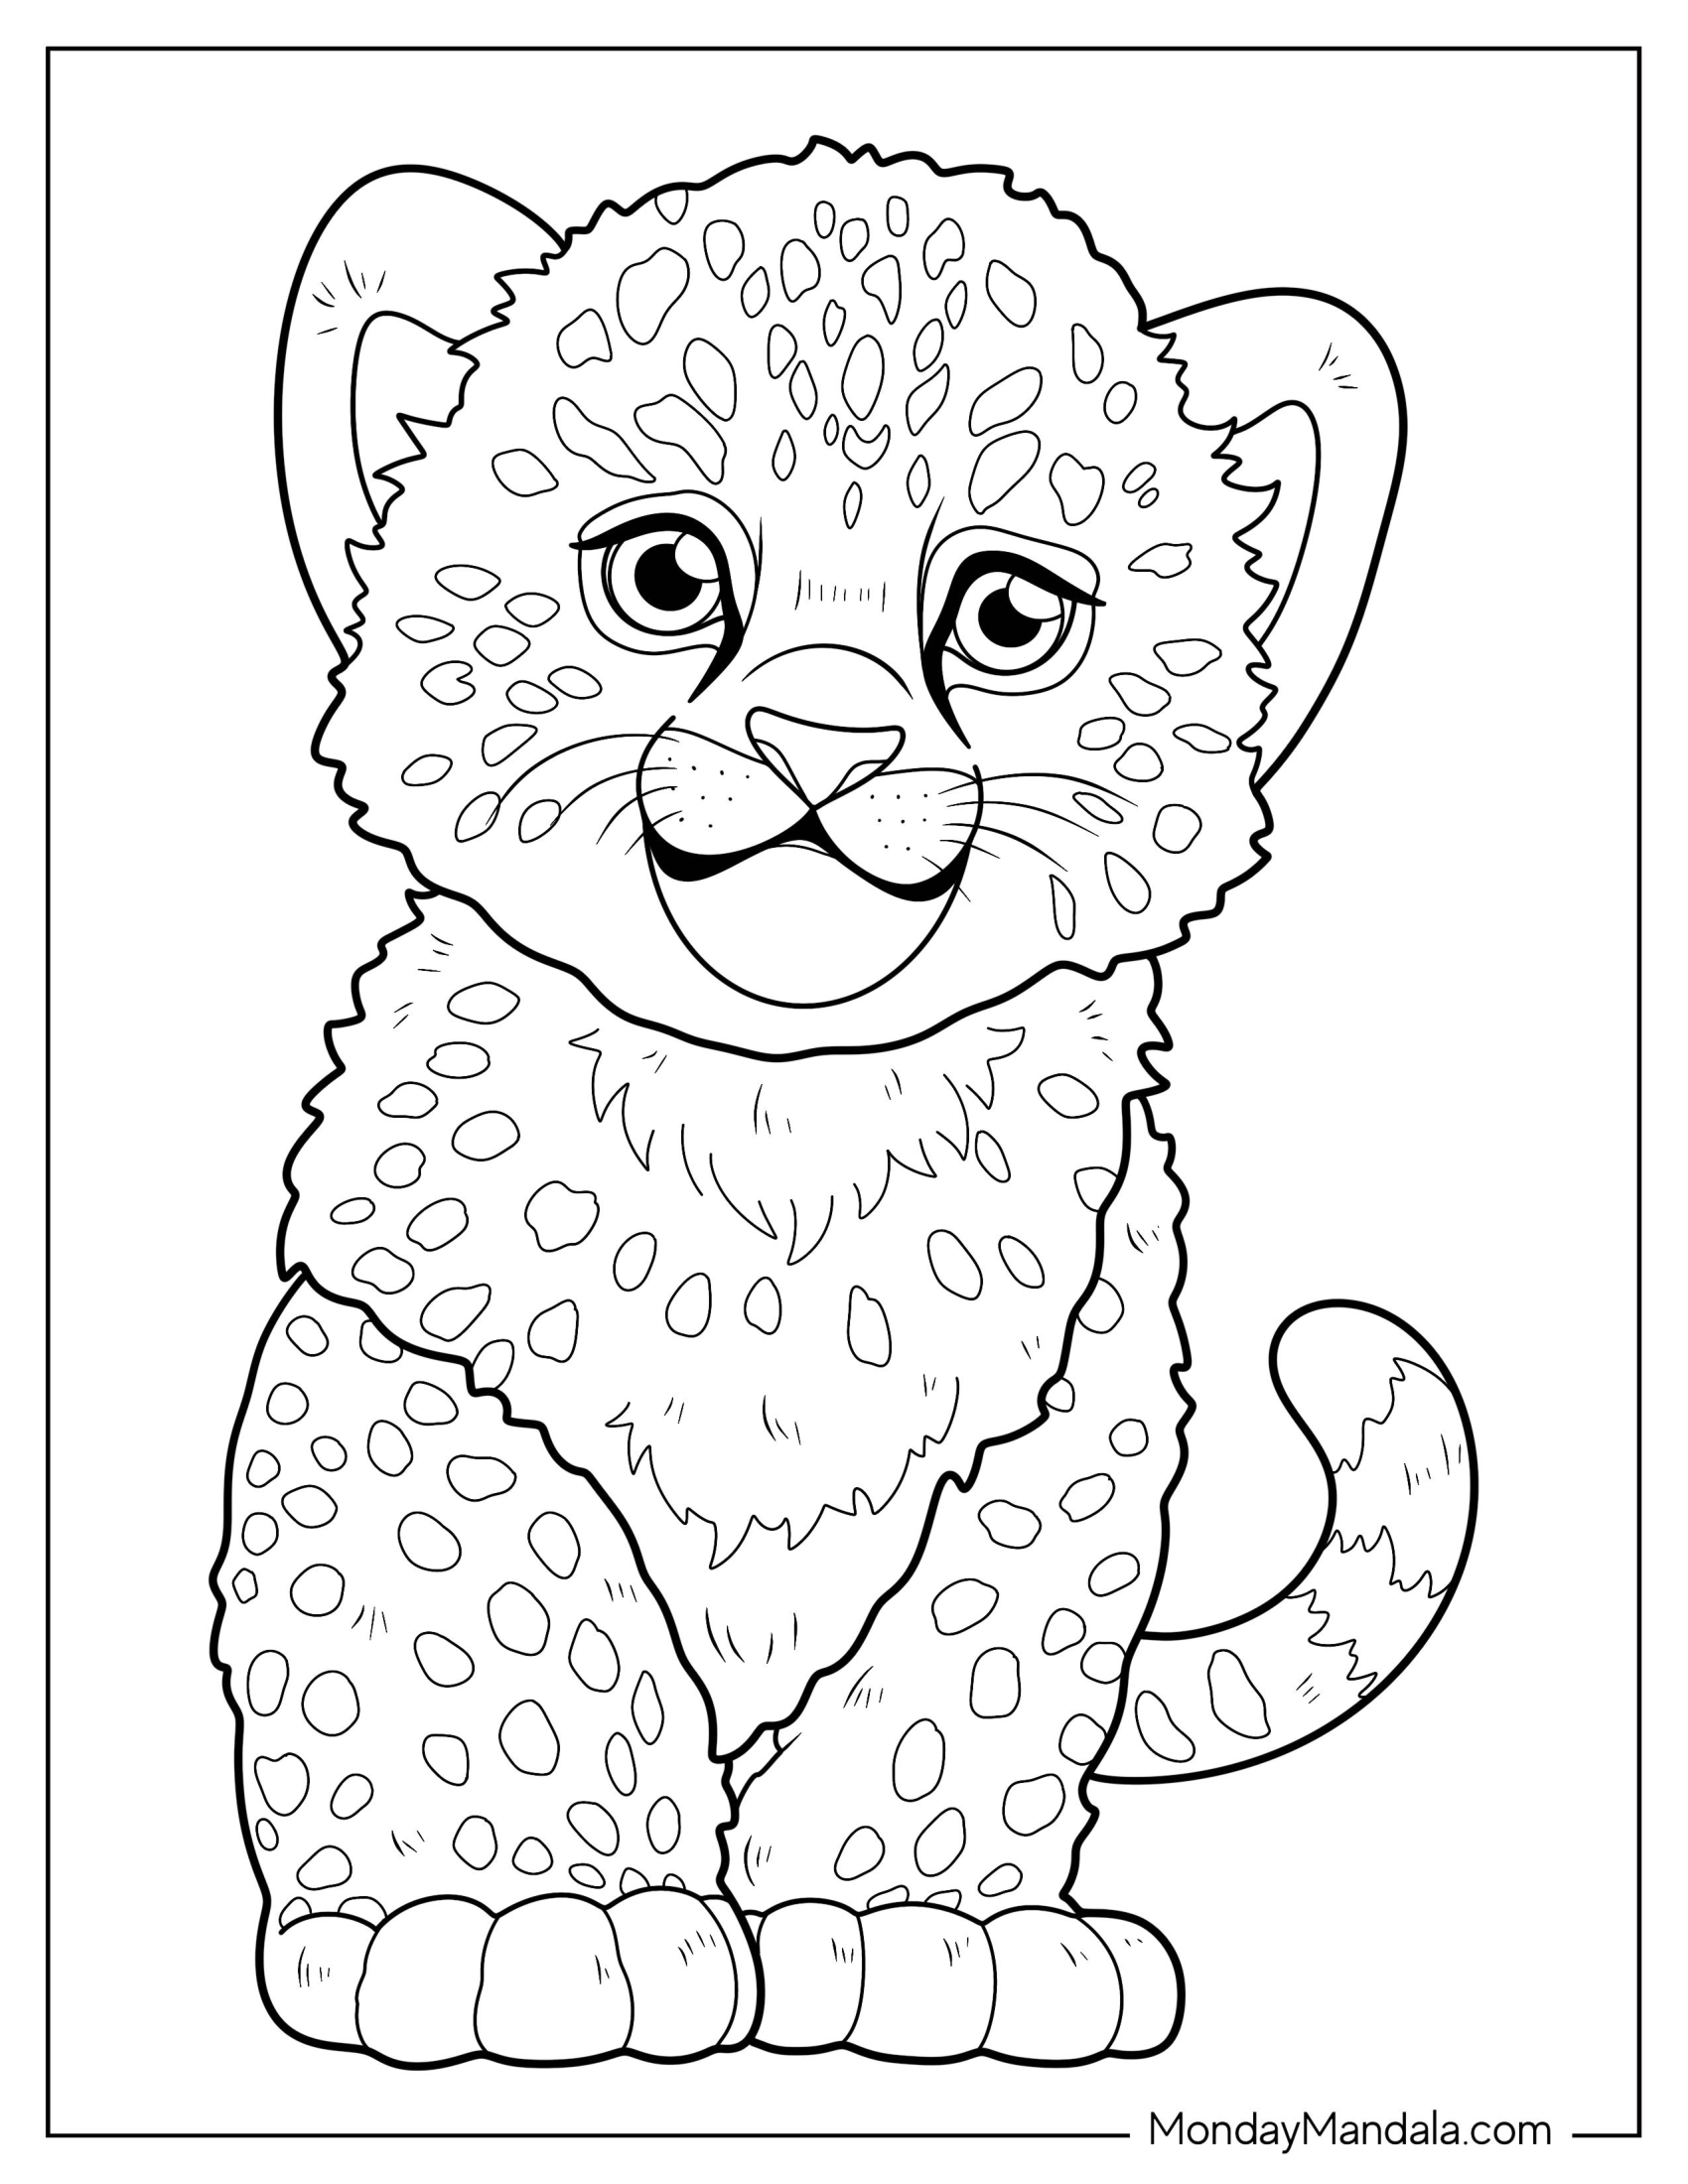
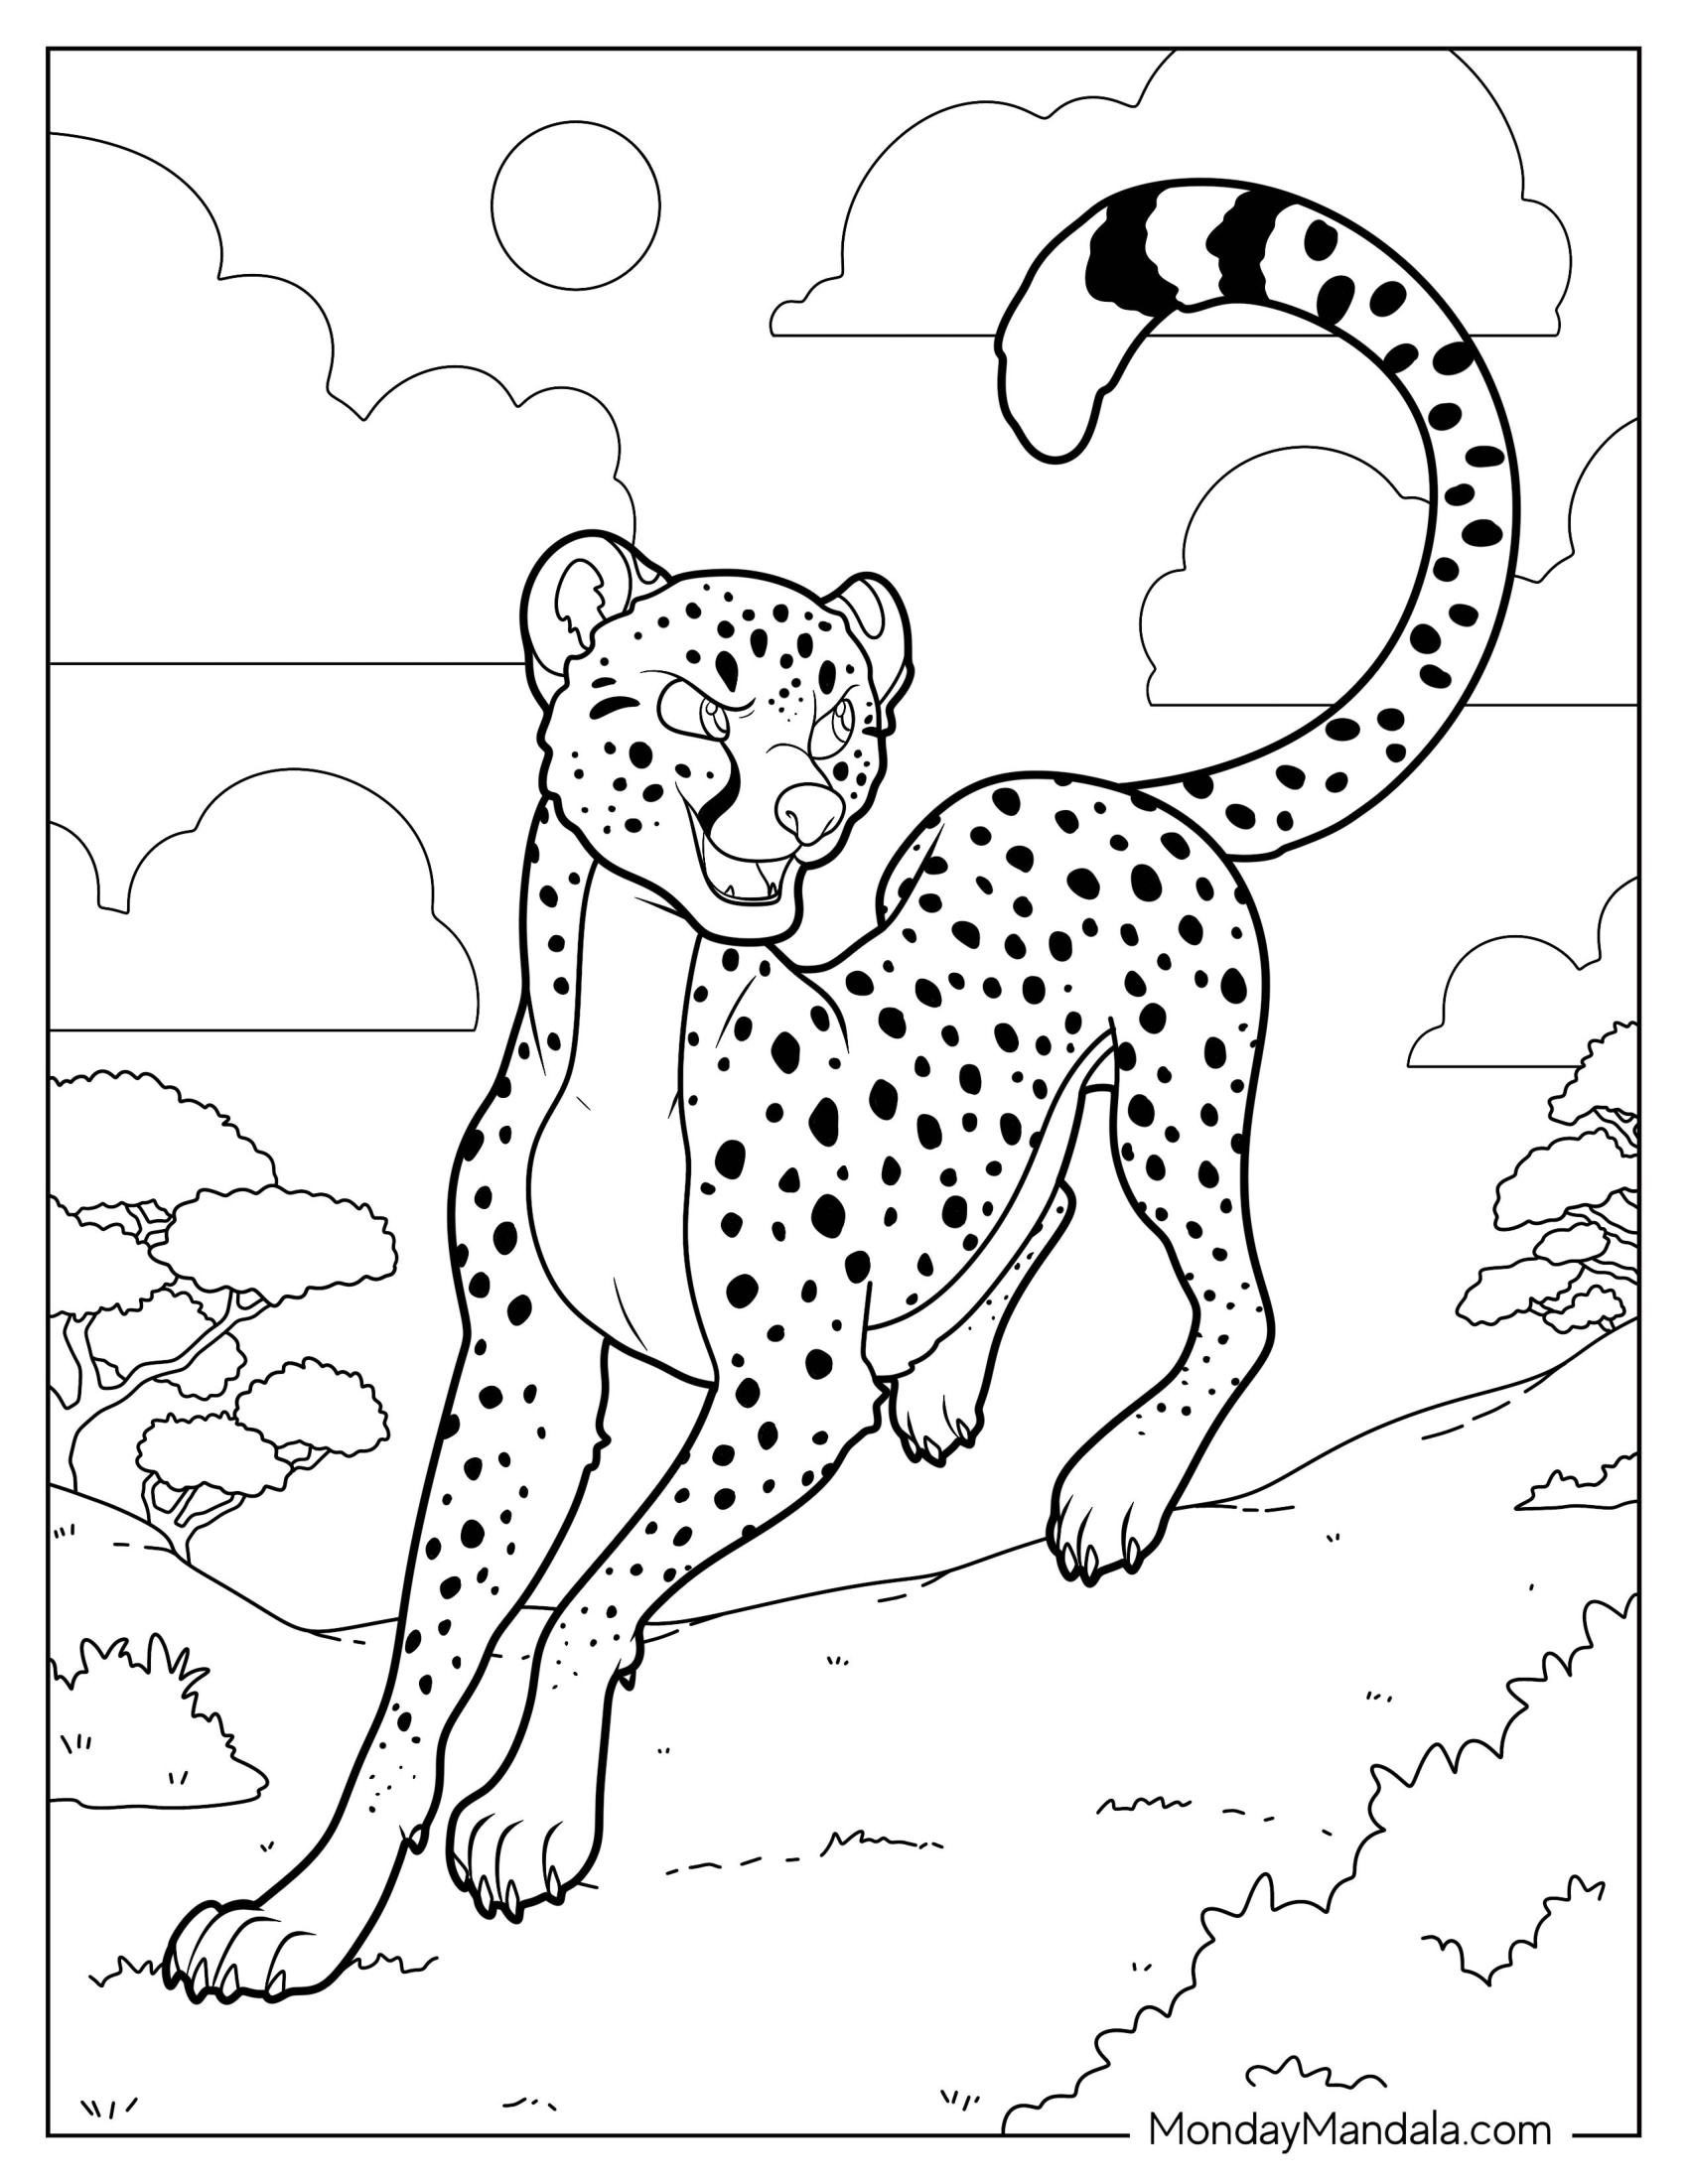
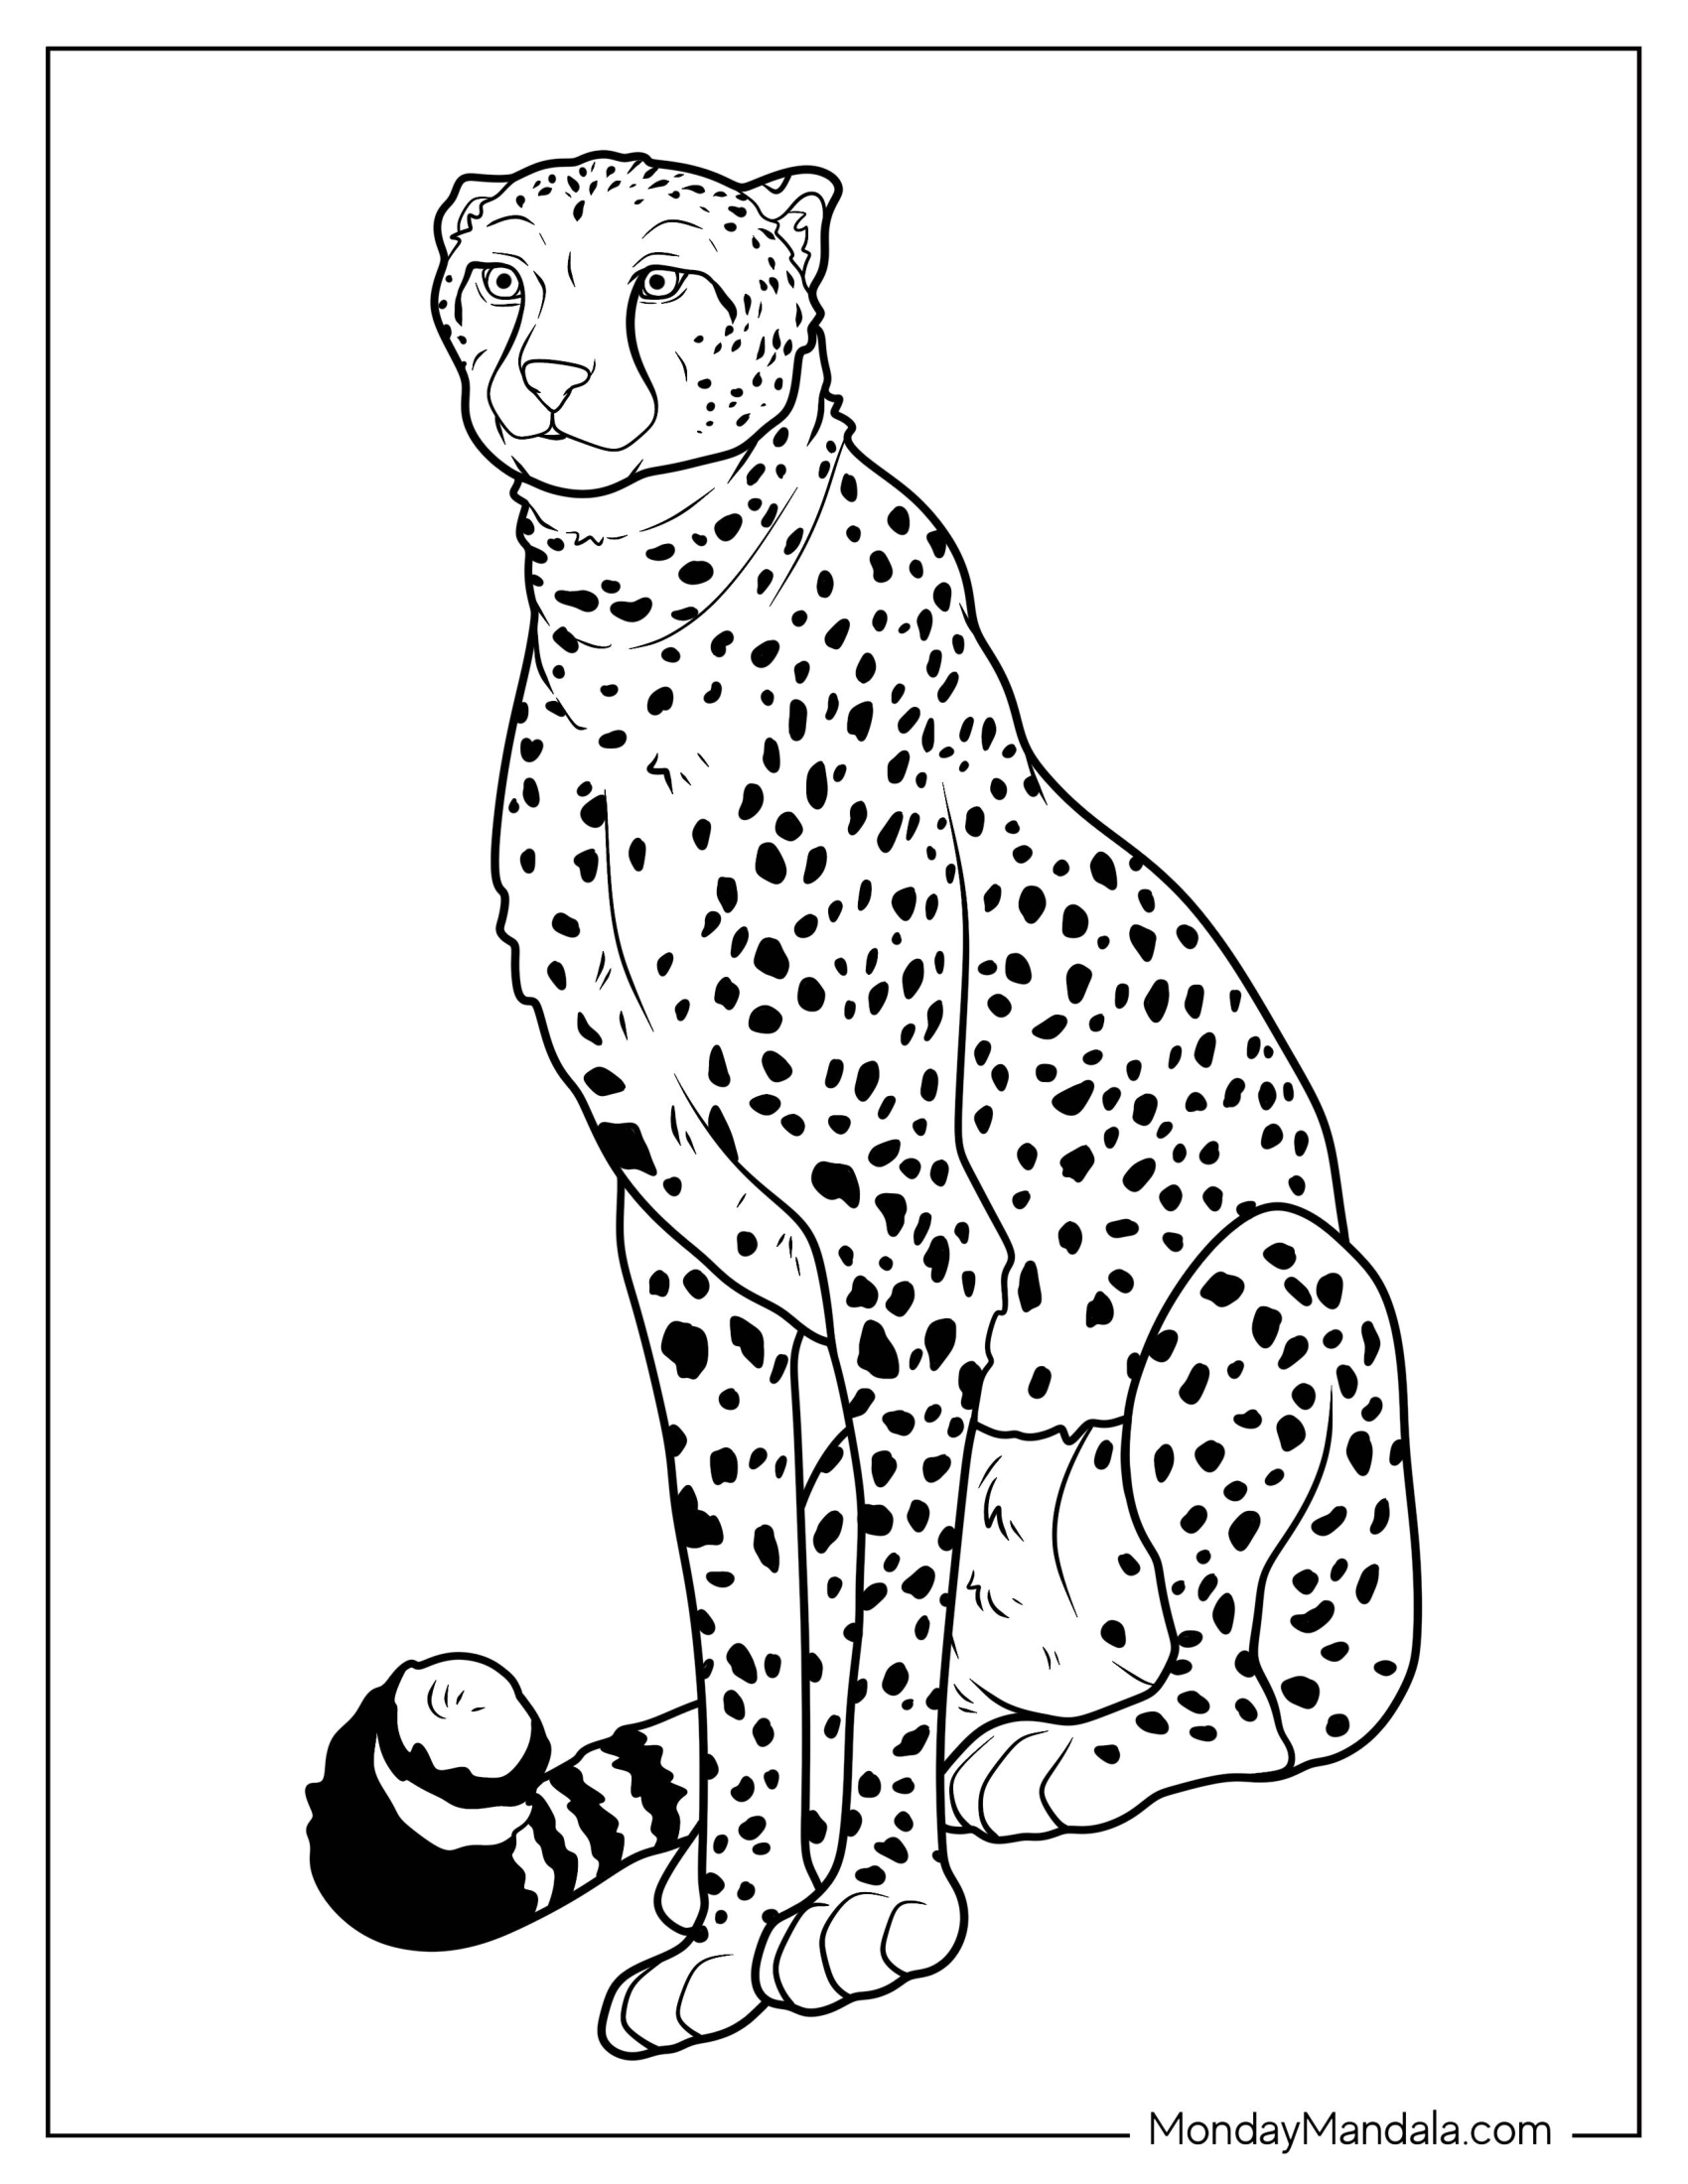
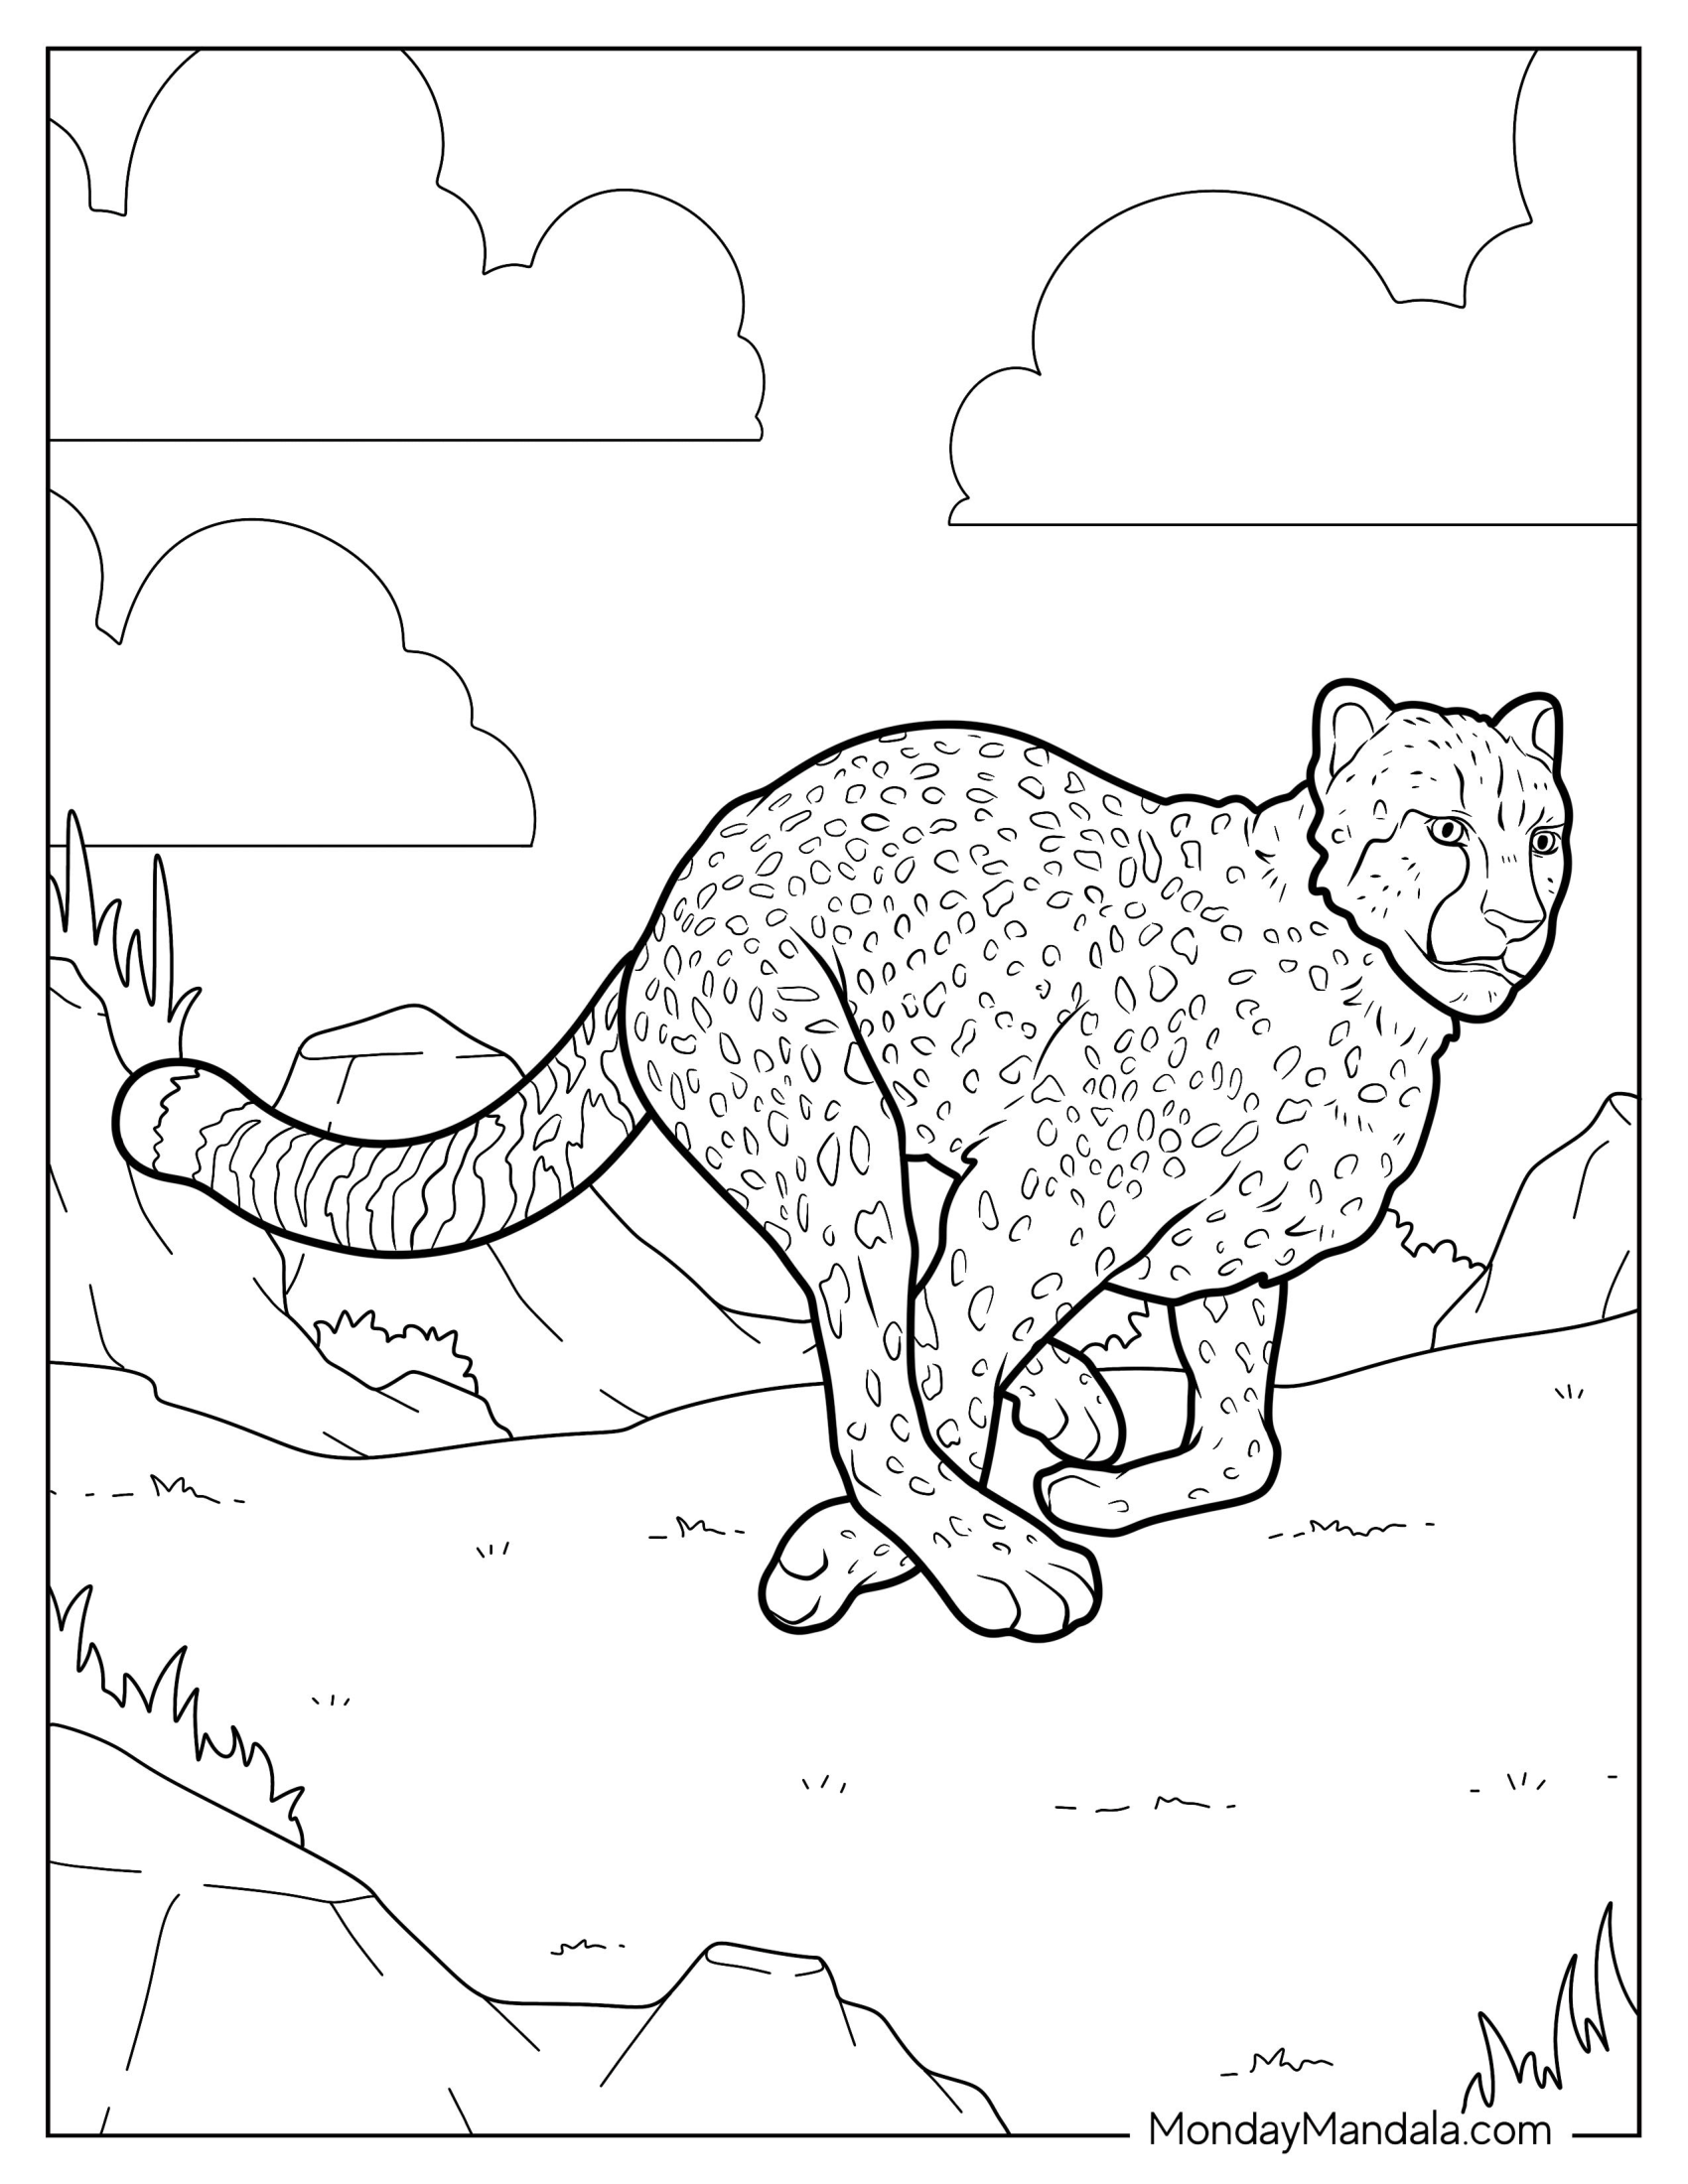
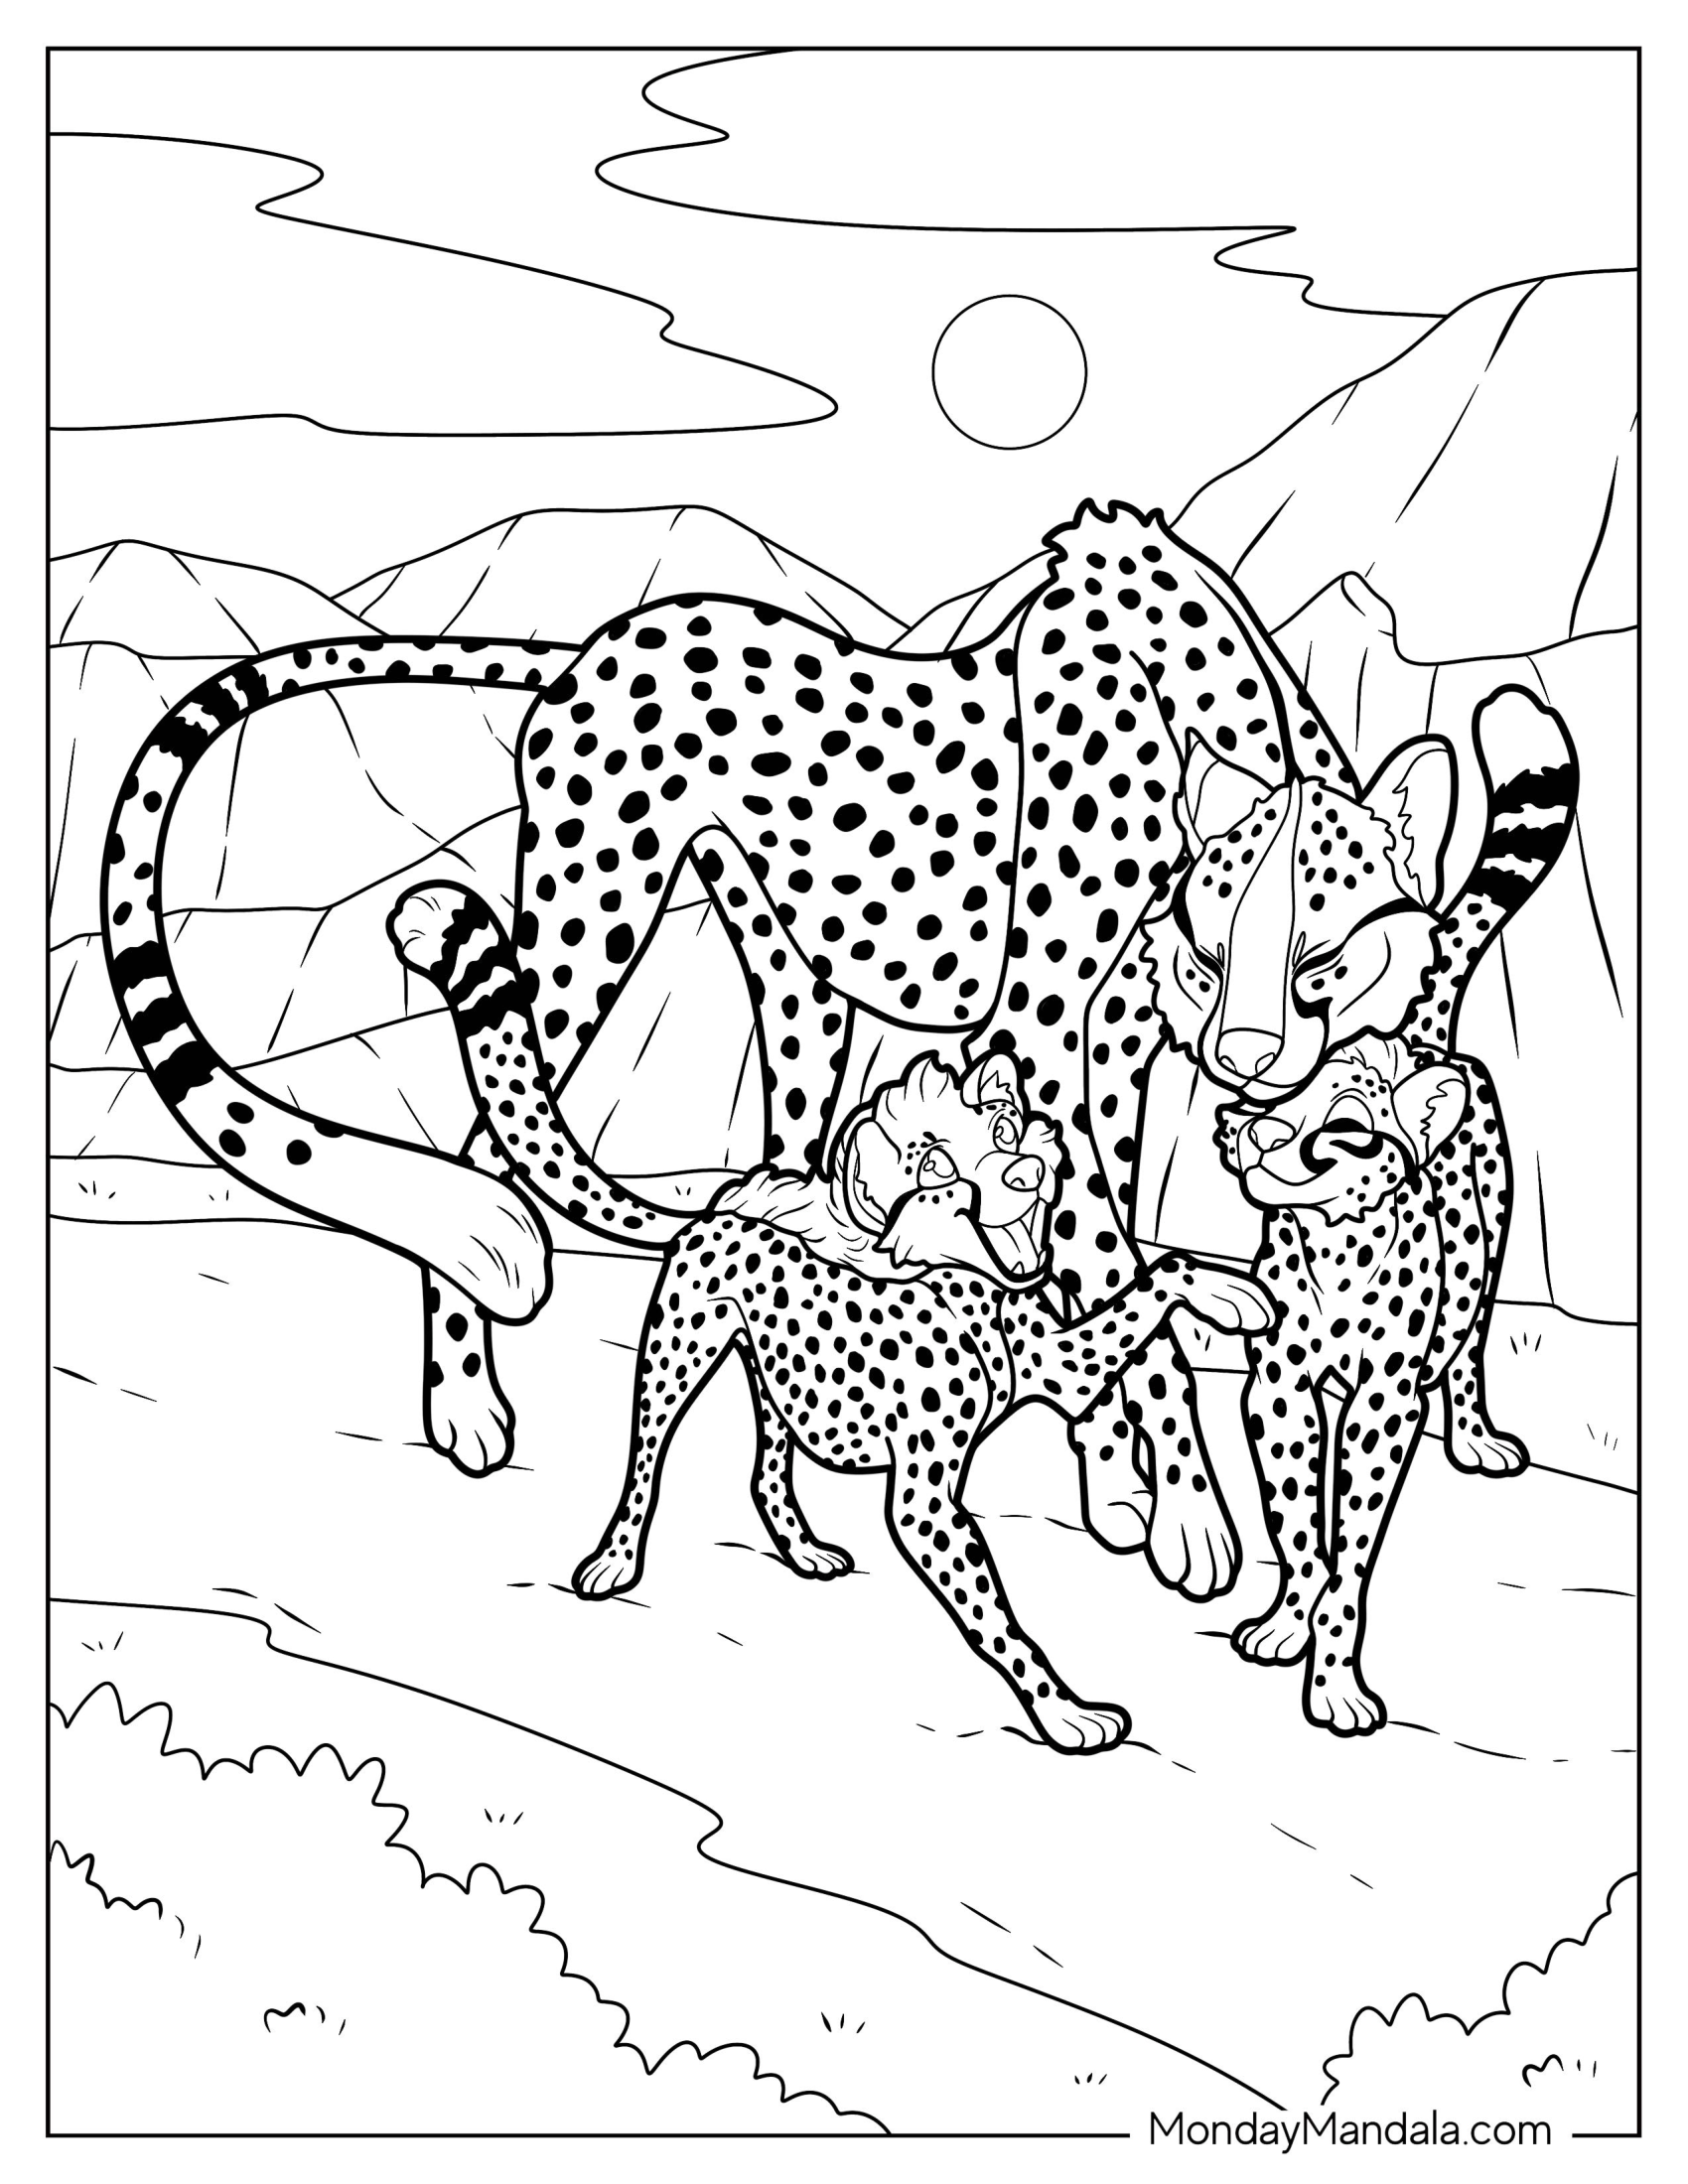
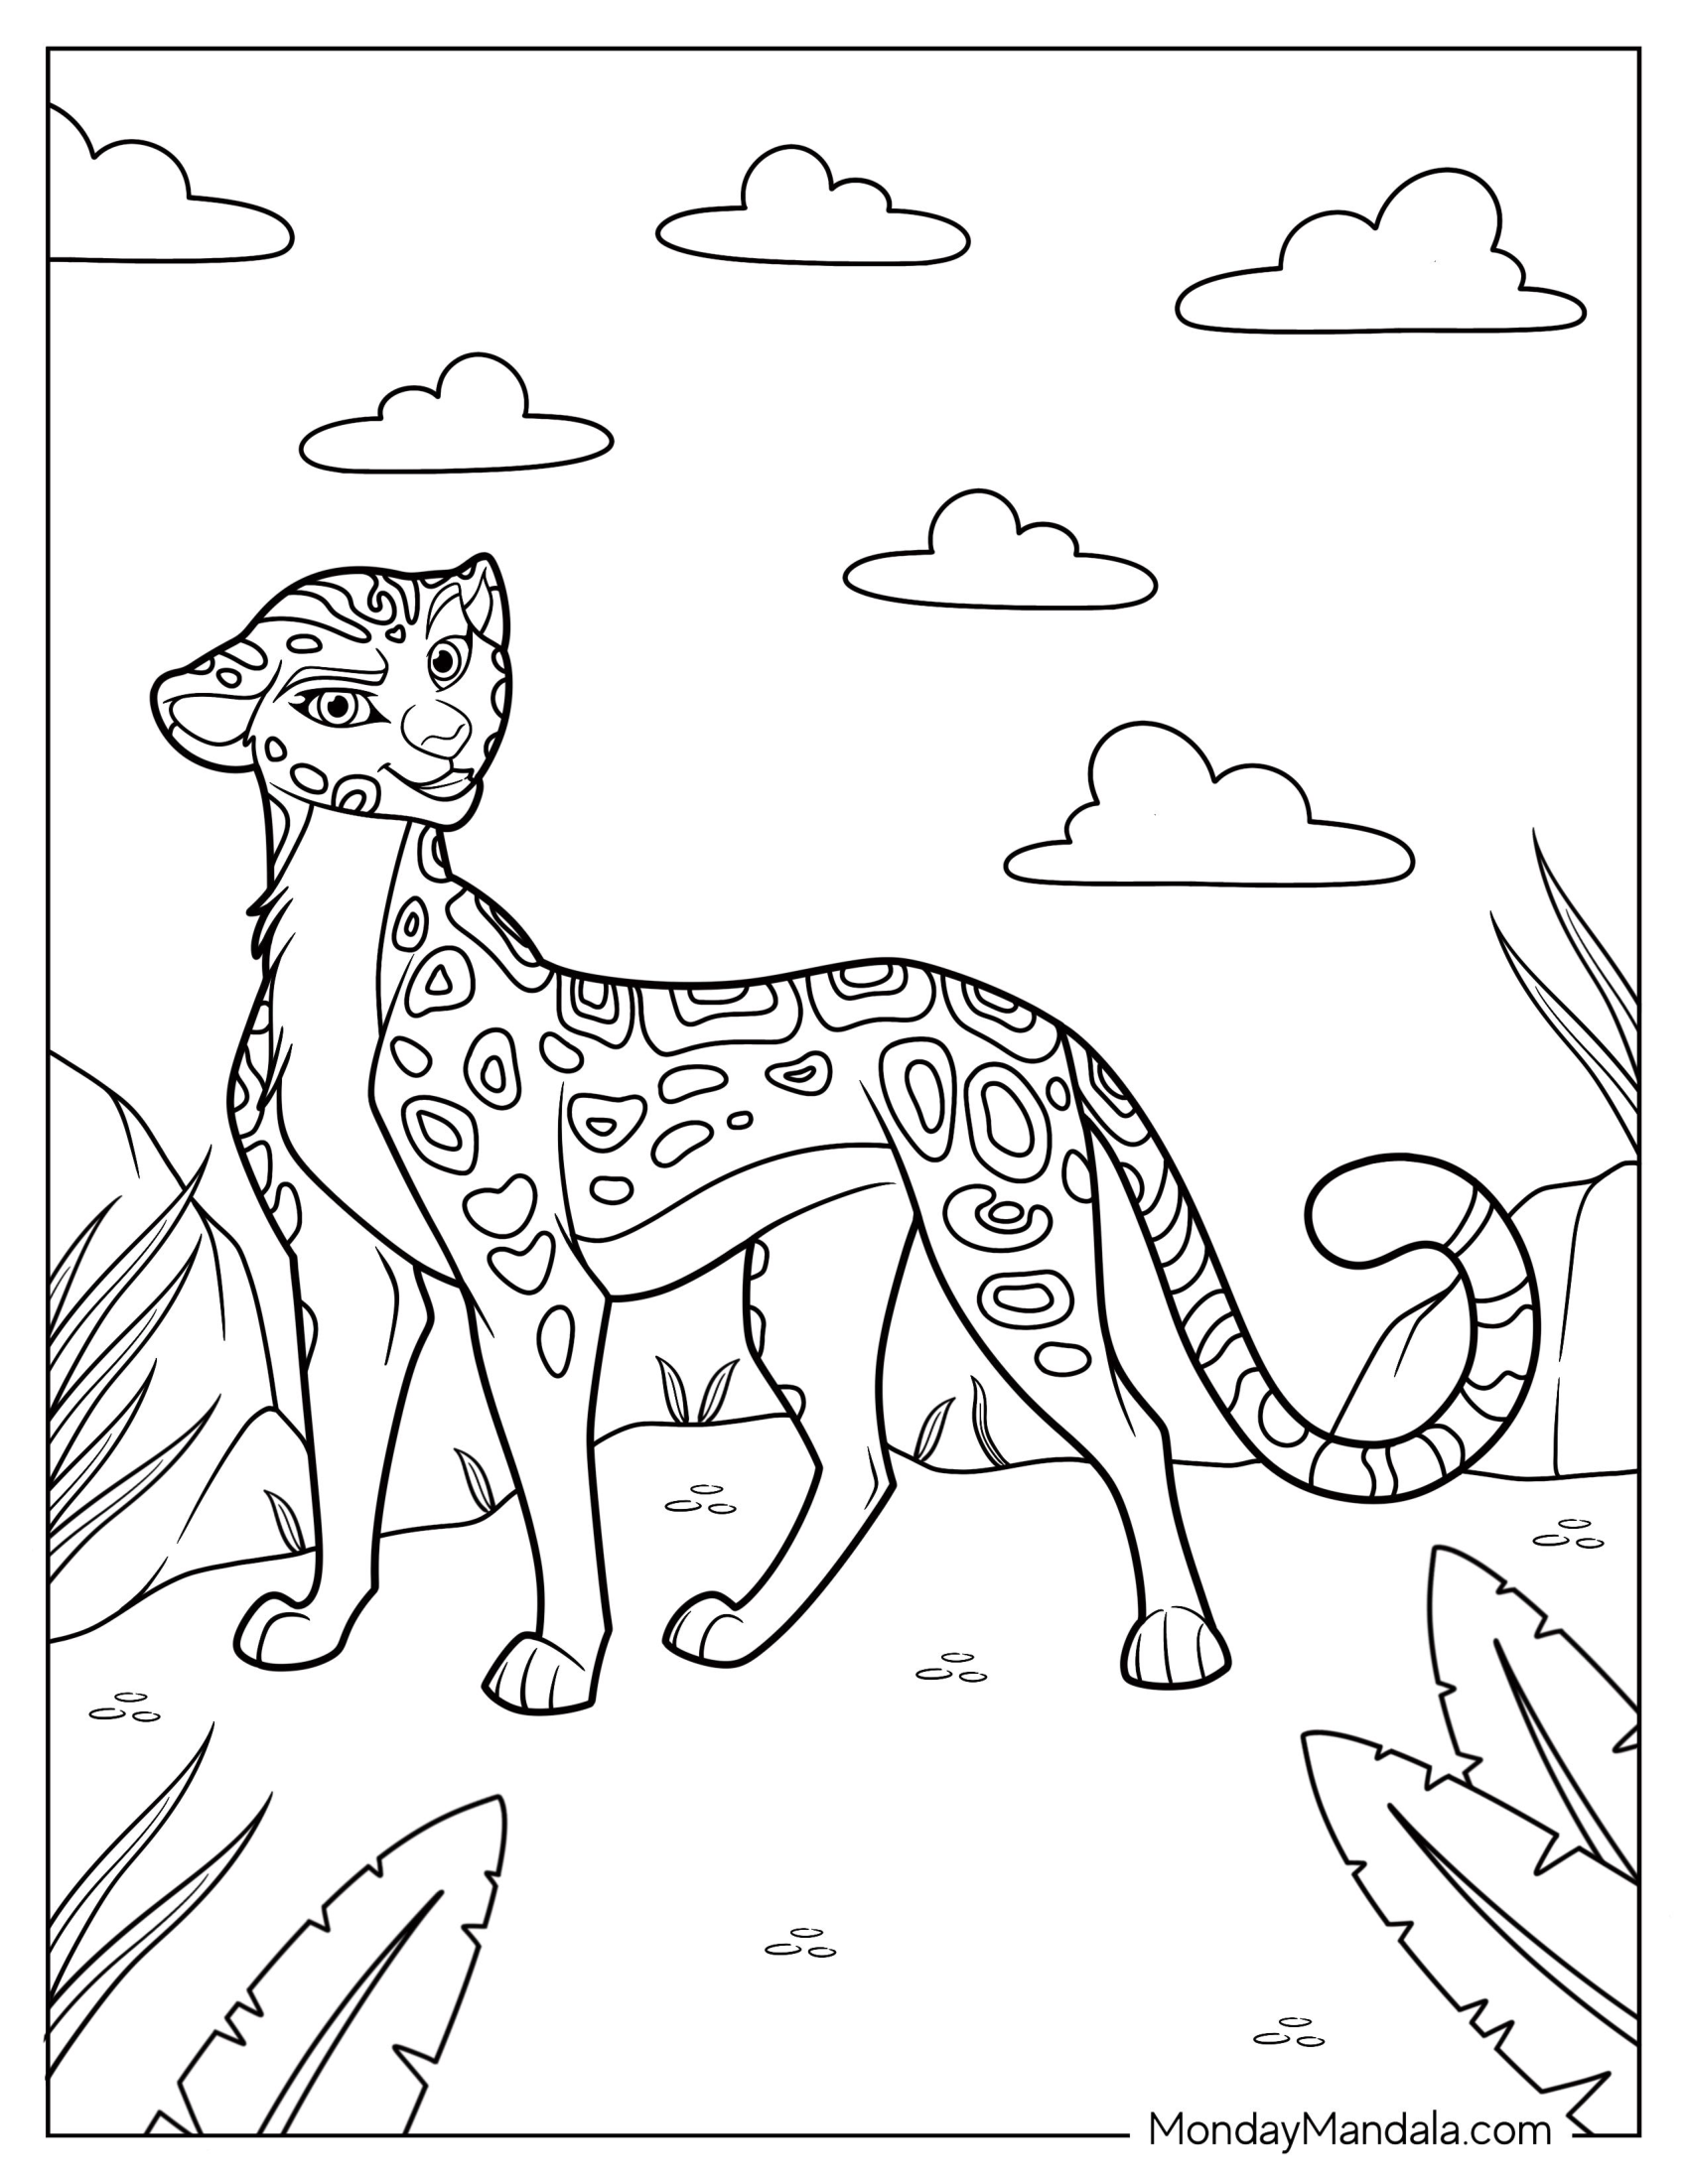
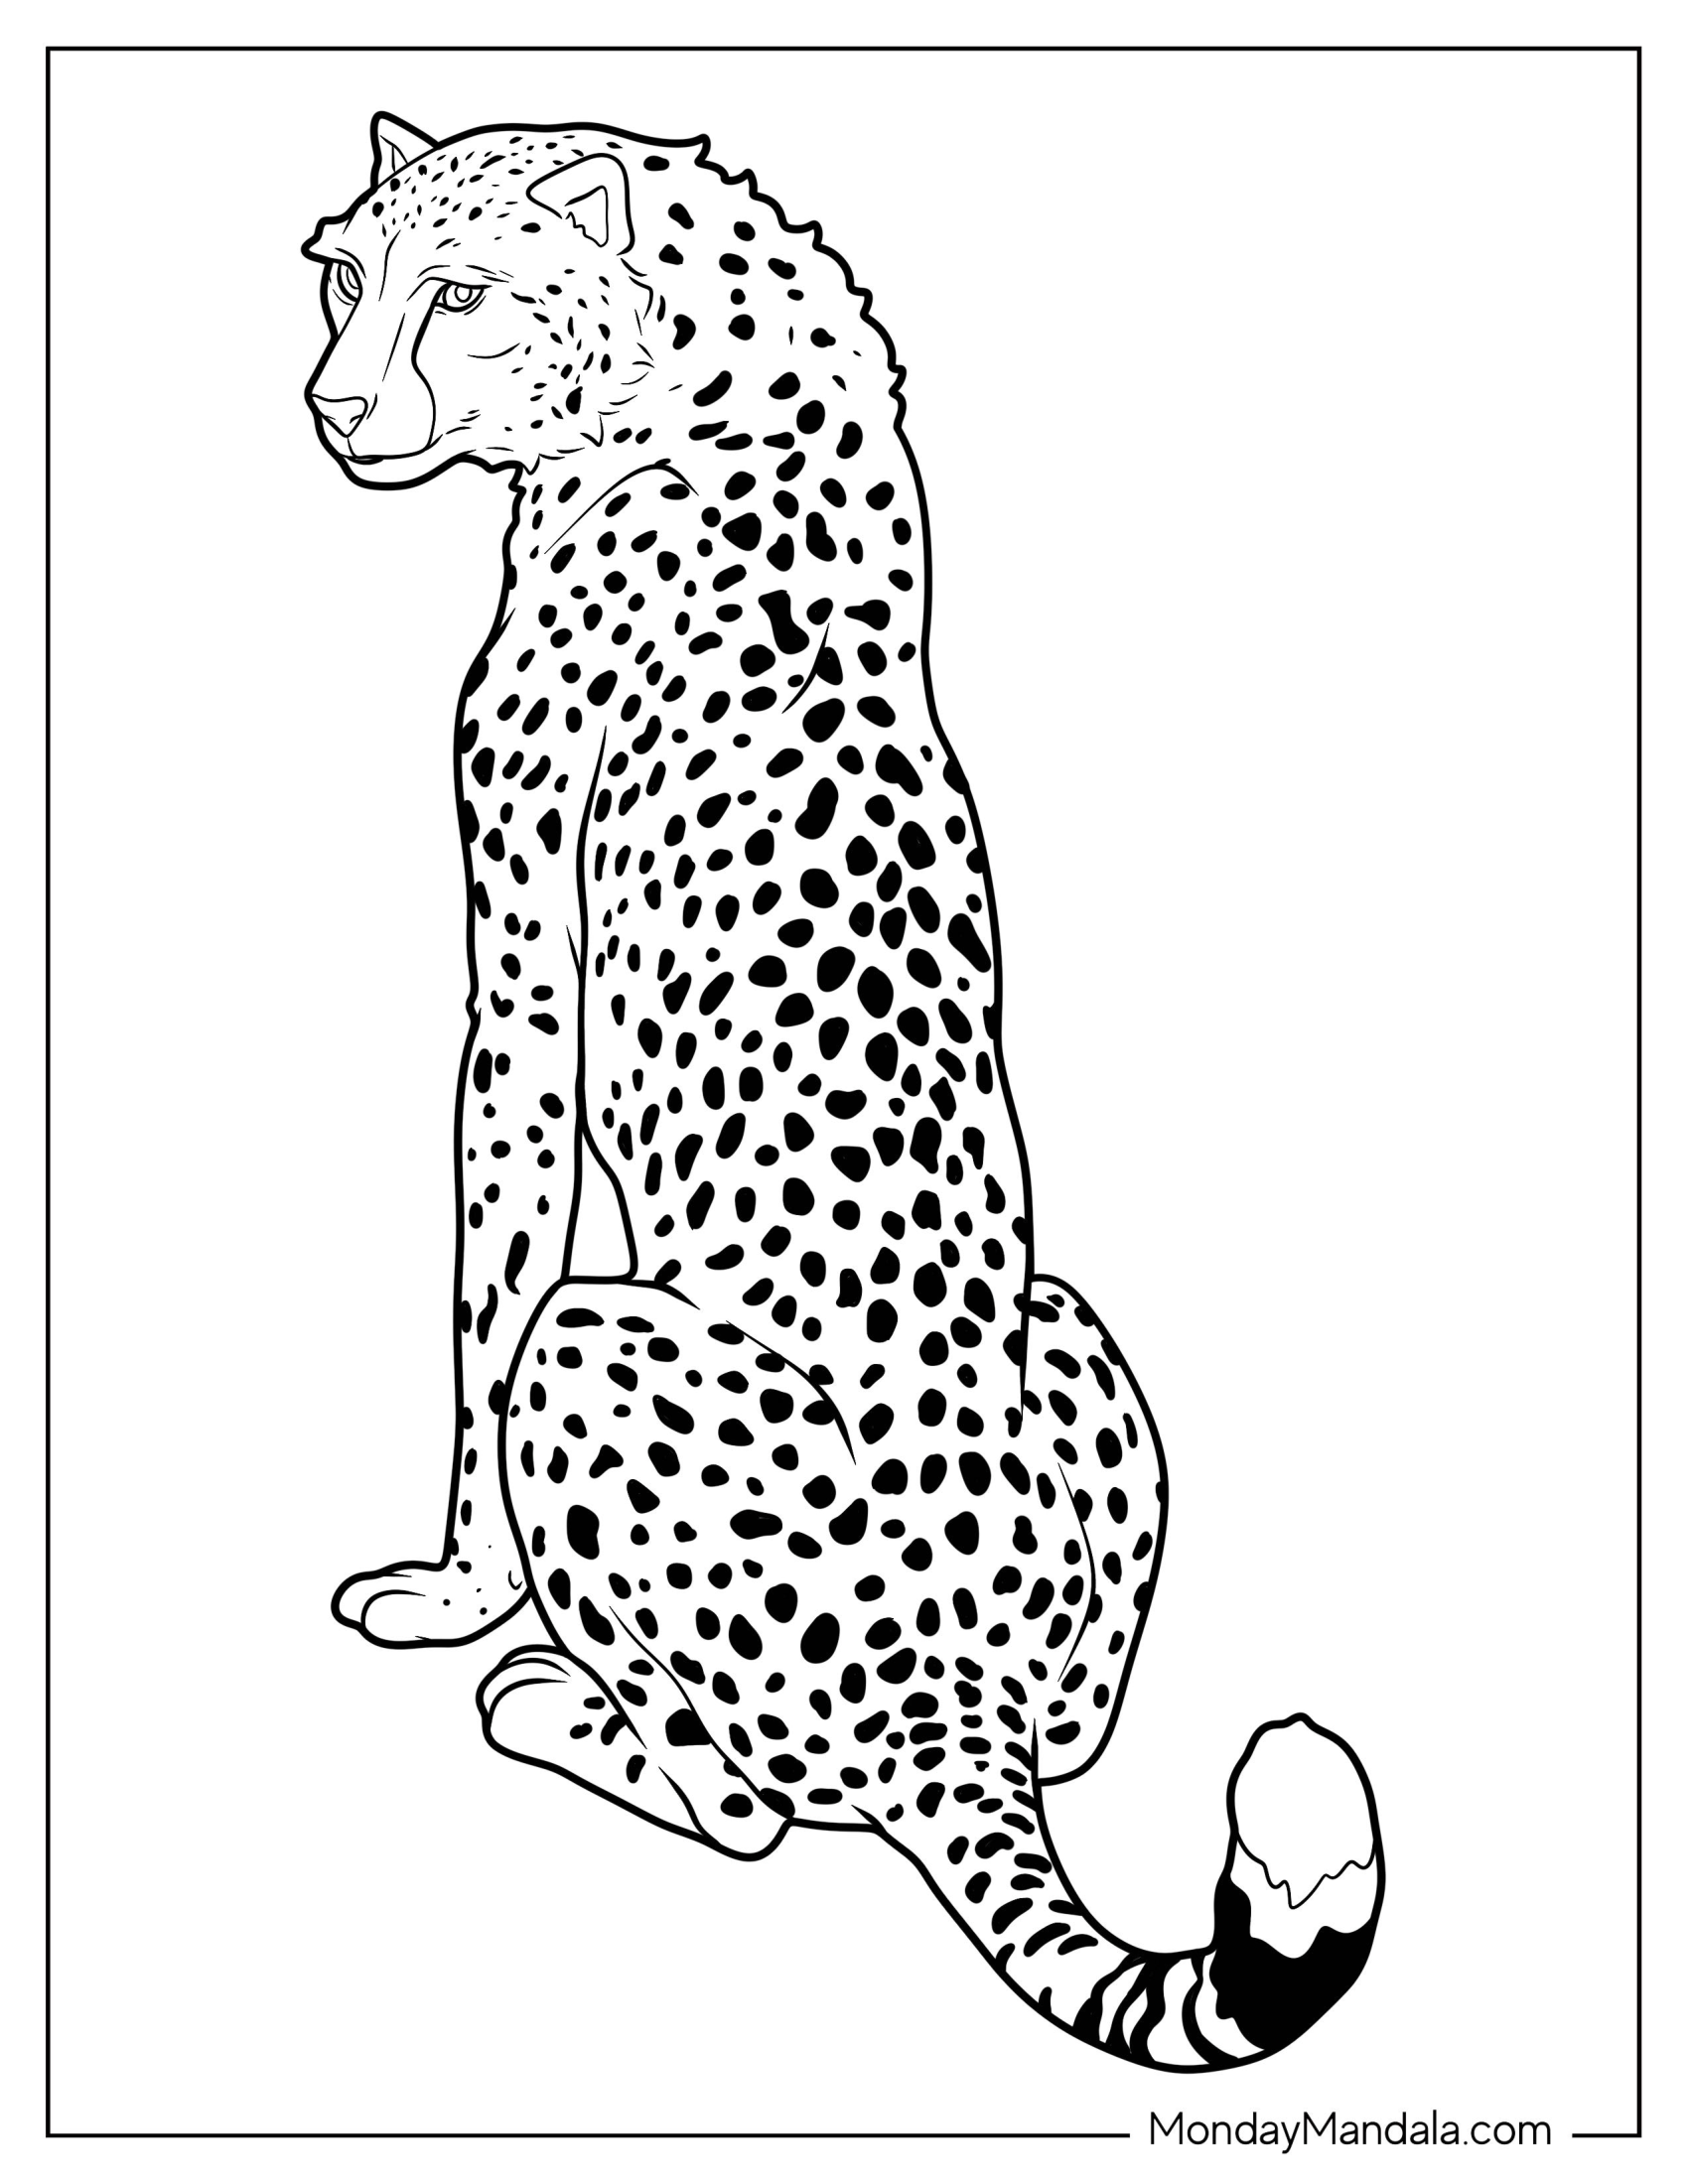
Unleash Your Creativity with Free Cheetah Coloring Pages
Cheetah coloring pages are a fun and creative way to learn about these amazing animals. In this article, we provided a collection of free PDF printables that feature cheetahs in various poses and scenes. We also discussed the benefits of coloring for kids, including improved fine motor skills, reduced stress, and enhanced creativity. Additionally, we touched on the importance of conservation efforts to protect cheetahs and their habitats. Whether you’re a parent, teacher, or simply a cheetah enthusiast, these coloring pages are a great way to engage with these incredible creatures and promote a love for nature and wildlife. So grab some crayons and get ready to unleash your inner artist and cheetah lover!