Are you looking for a fun and creative activity to do with your kids? Look no further! We’ve converted the popular Alvin and the Chipmunks coloring pages into free PDF printables, making it easy for you to print and enjoy with your little ones. To convert the coloring pages, we used a simple formula: taking the original images and resizing them to fit standard A4 or Letter-sized paper, while maintaining their original charm and detail. The result is a set of high-quality, printable coloring pages that are perfect for kids of all ages to express their creativity and have a blast with their favorite chipmunk characters.
Free Printable Alvin And The Chipmunks Coloring Pages – Download Now


Unleash Your Creativity with Free Alvin And The Chipmunks Coloring Pages
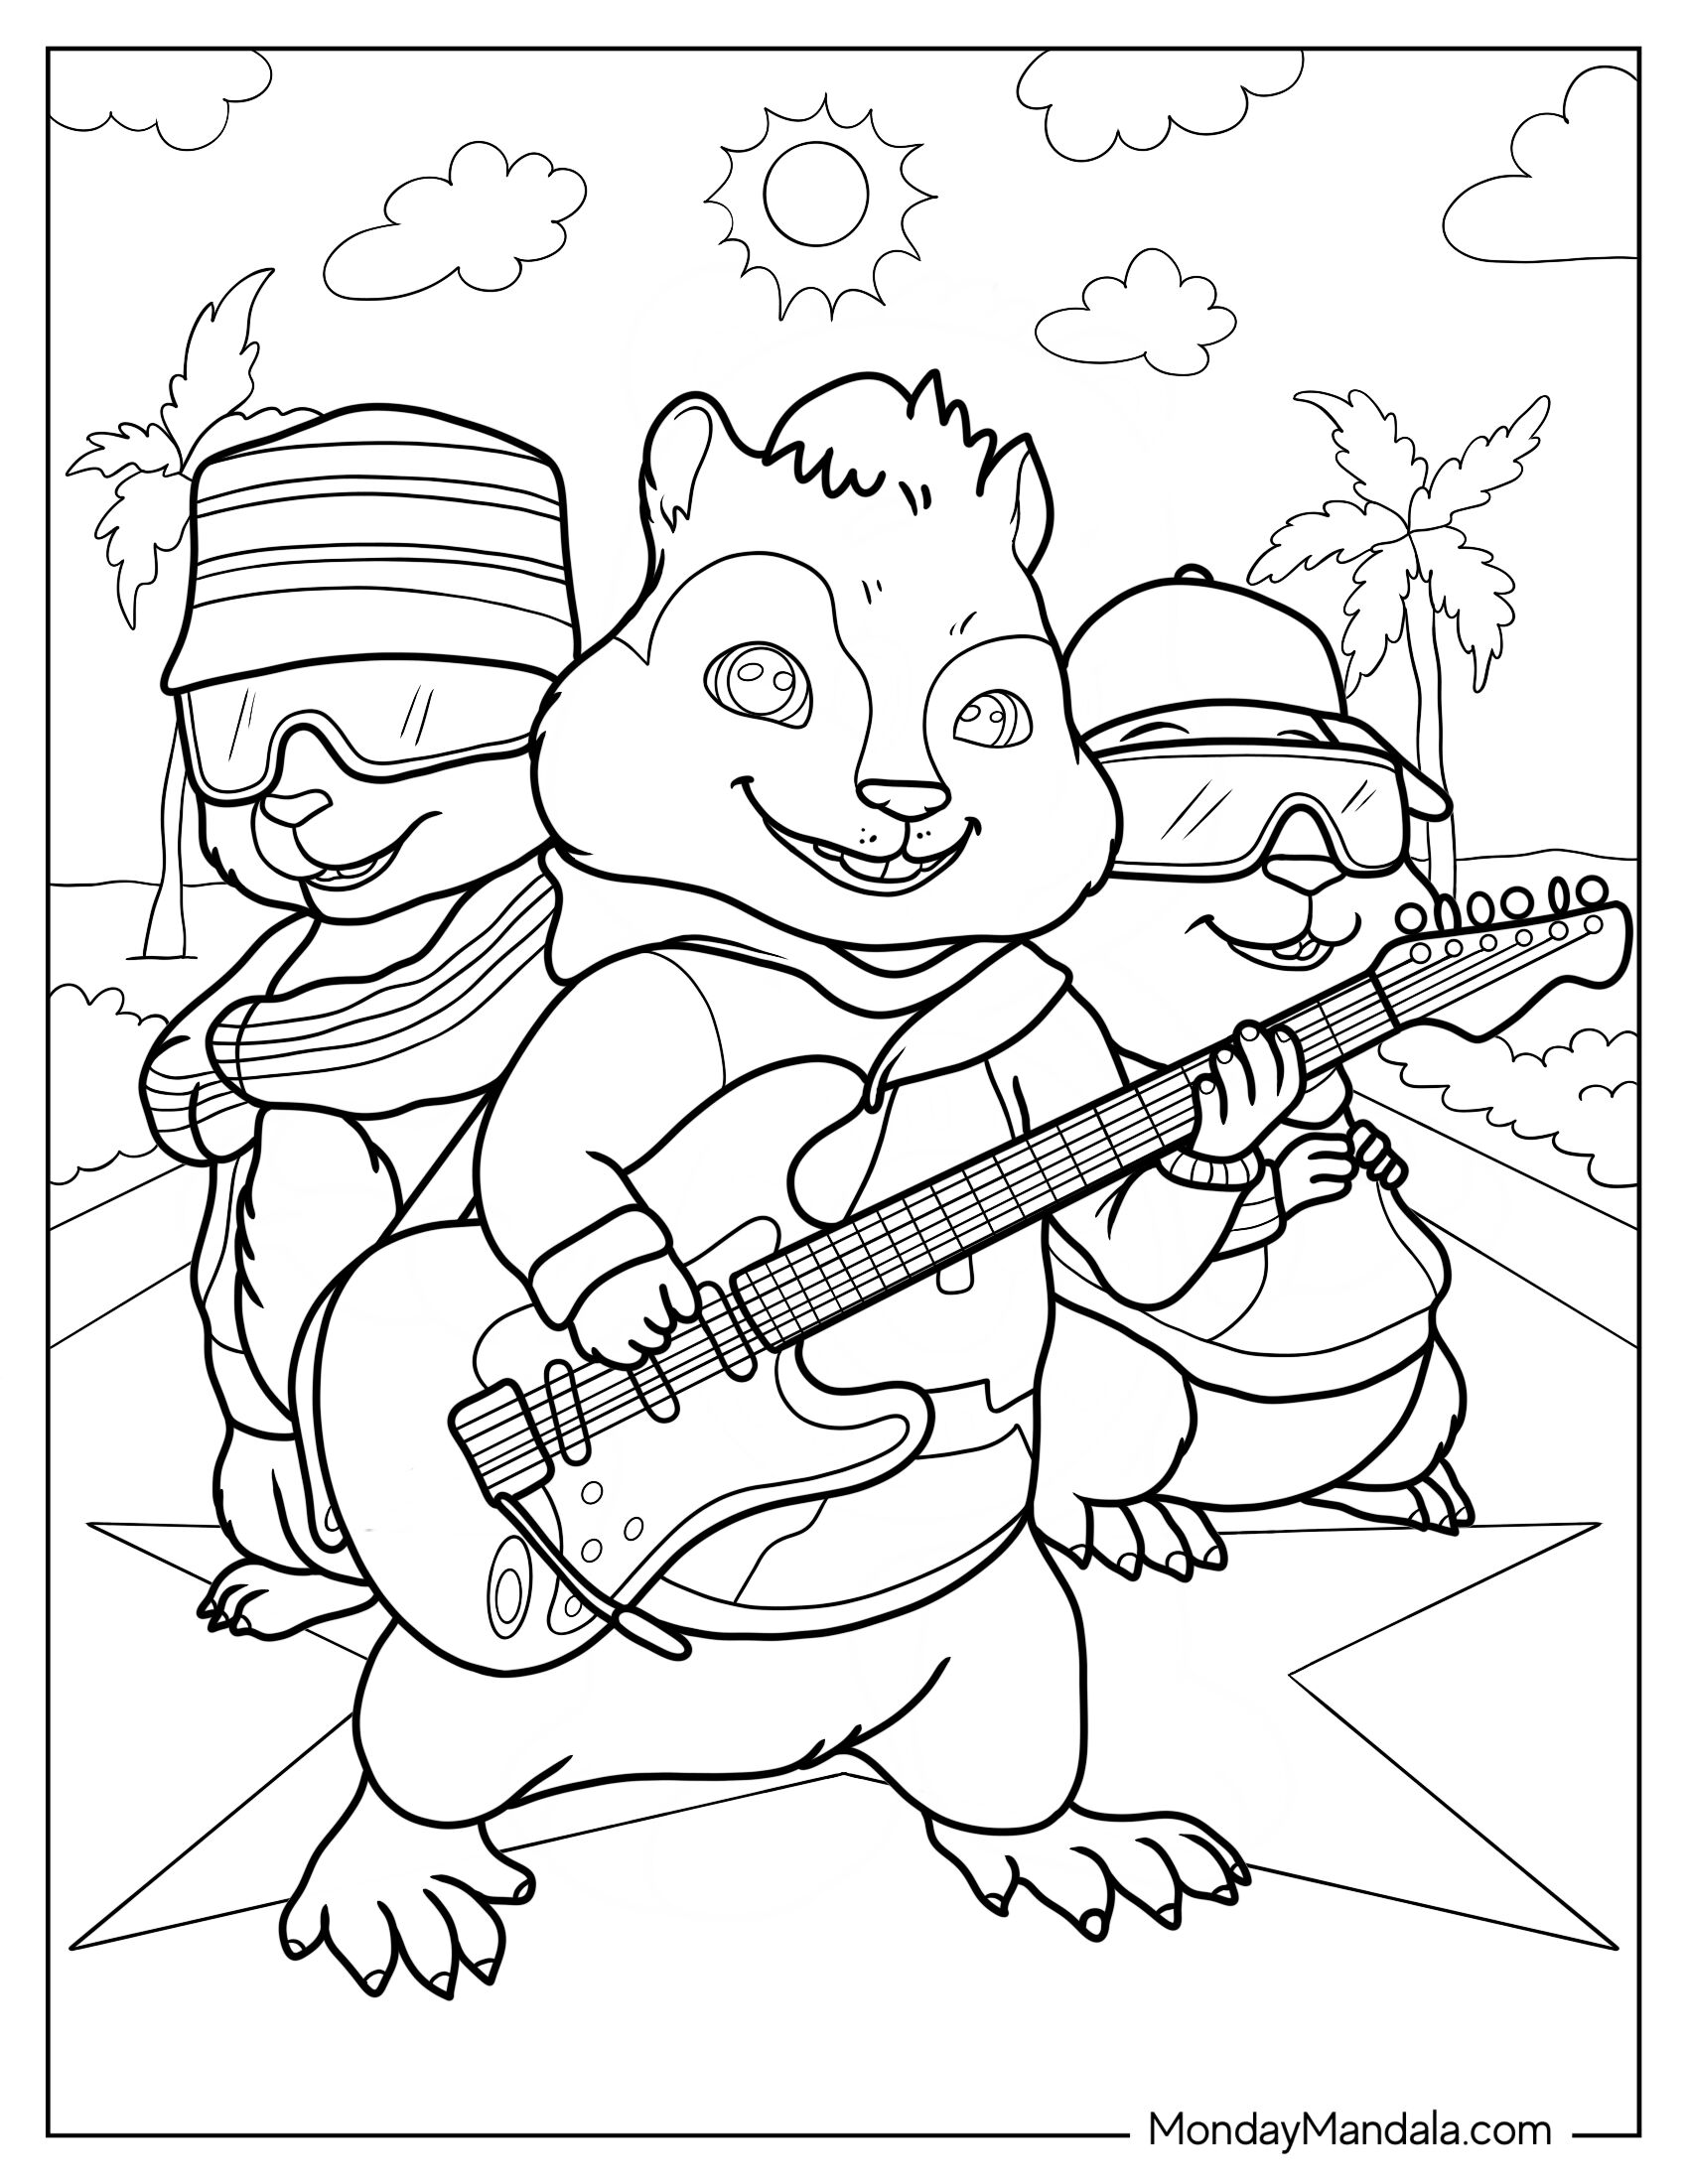
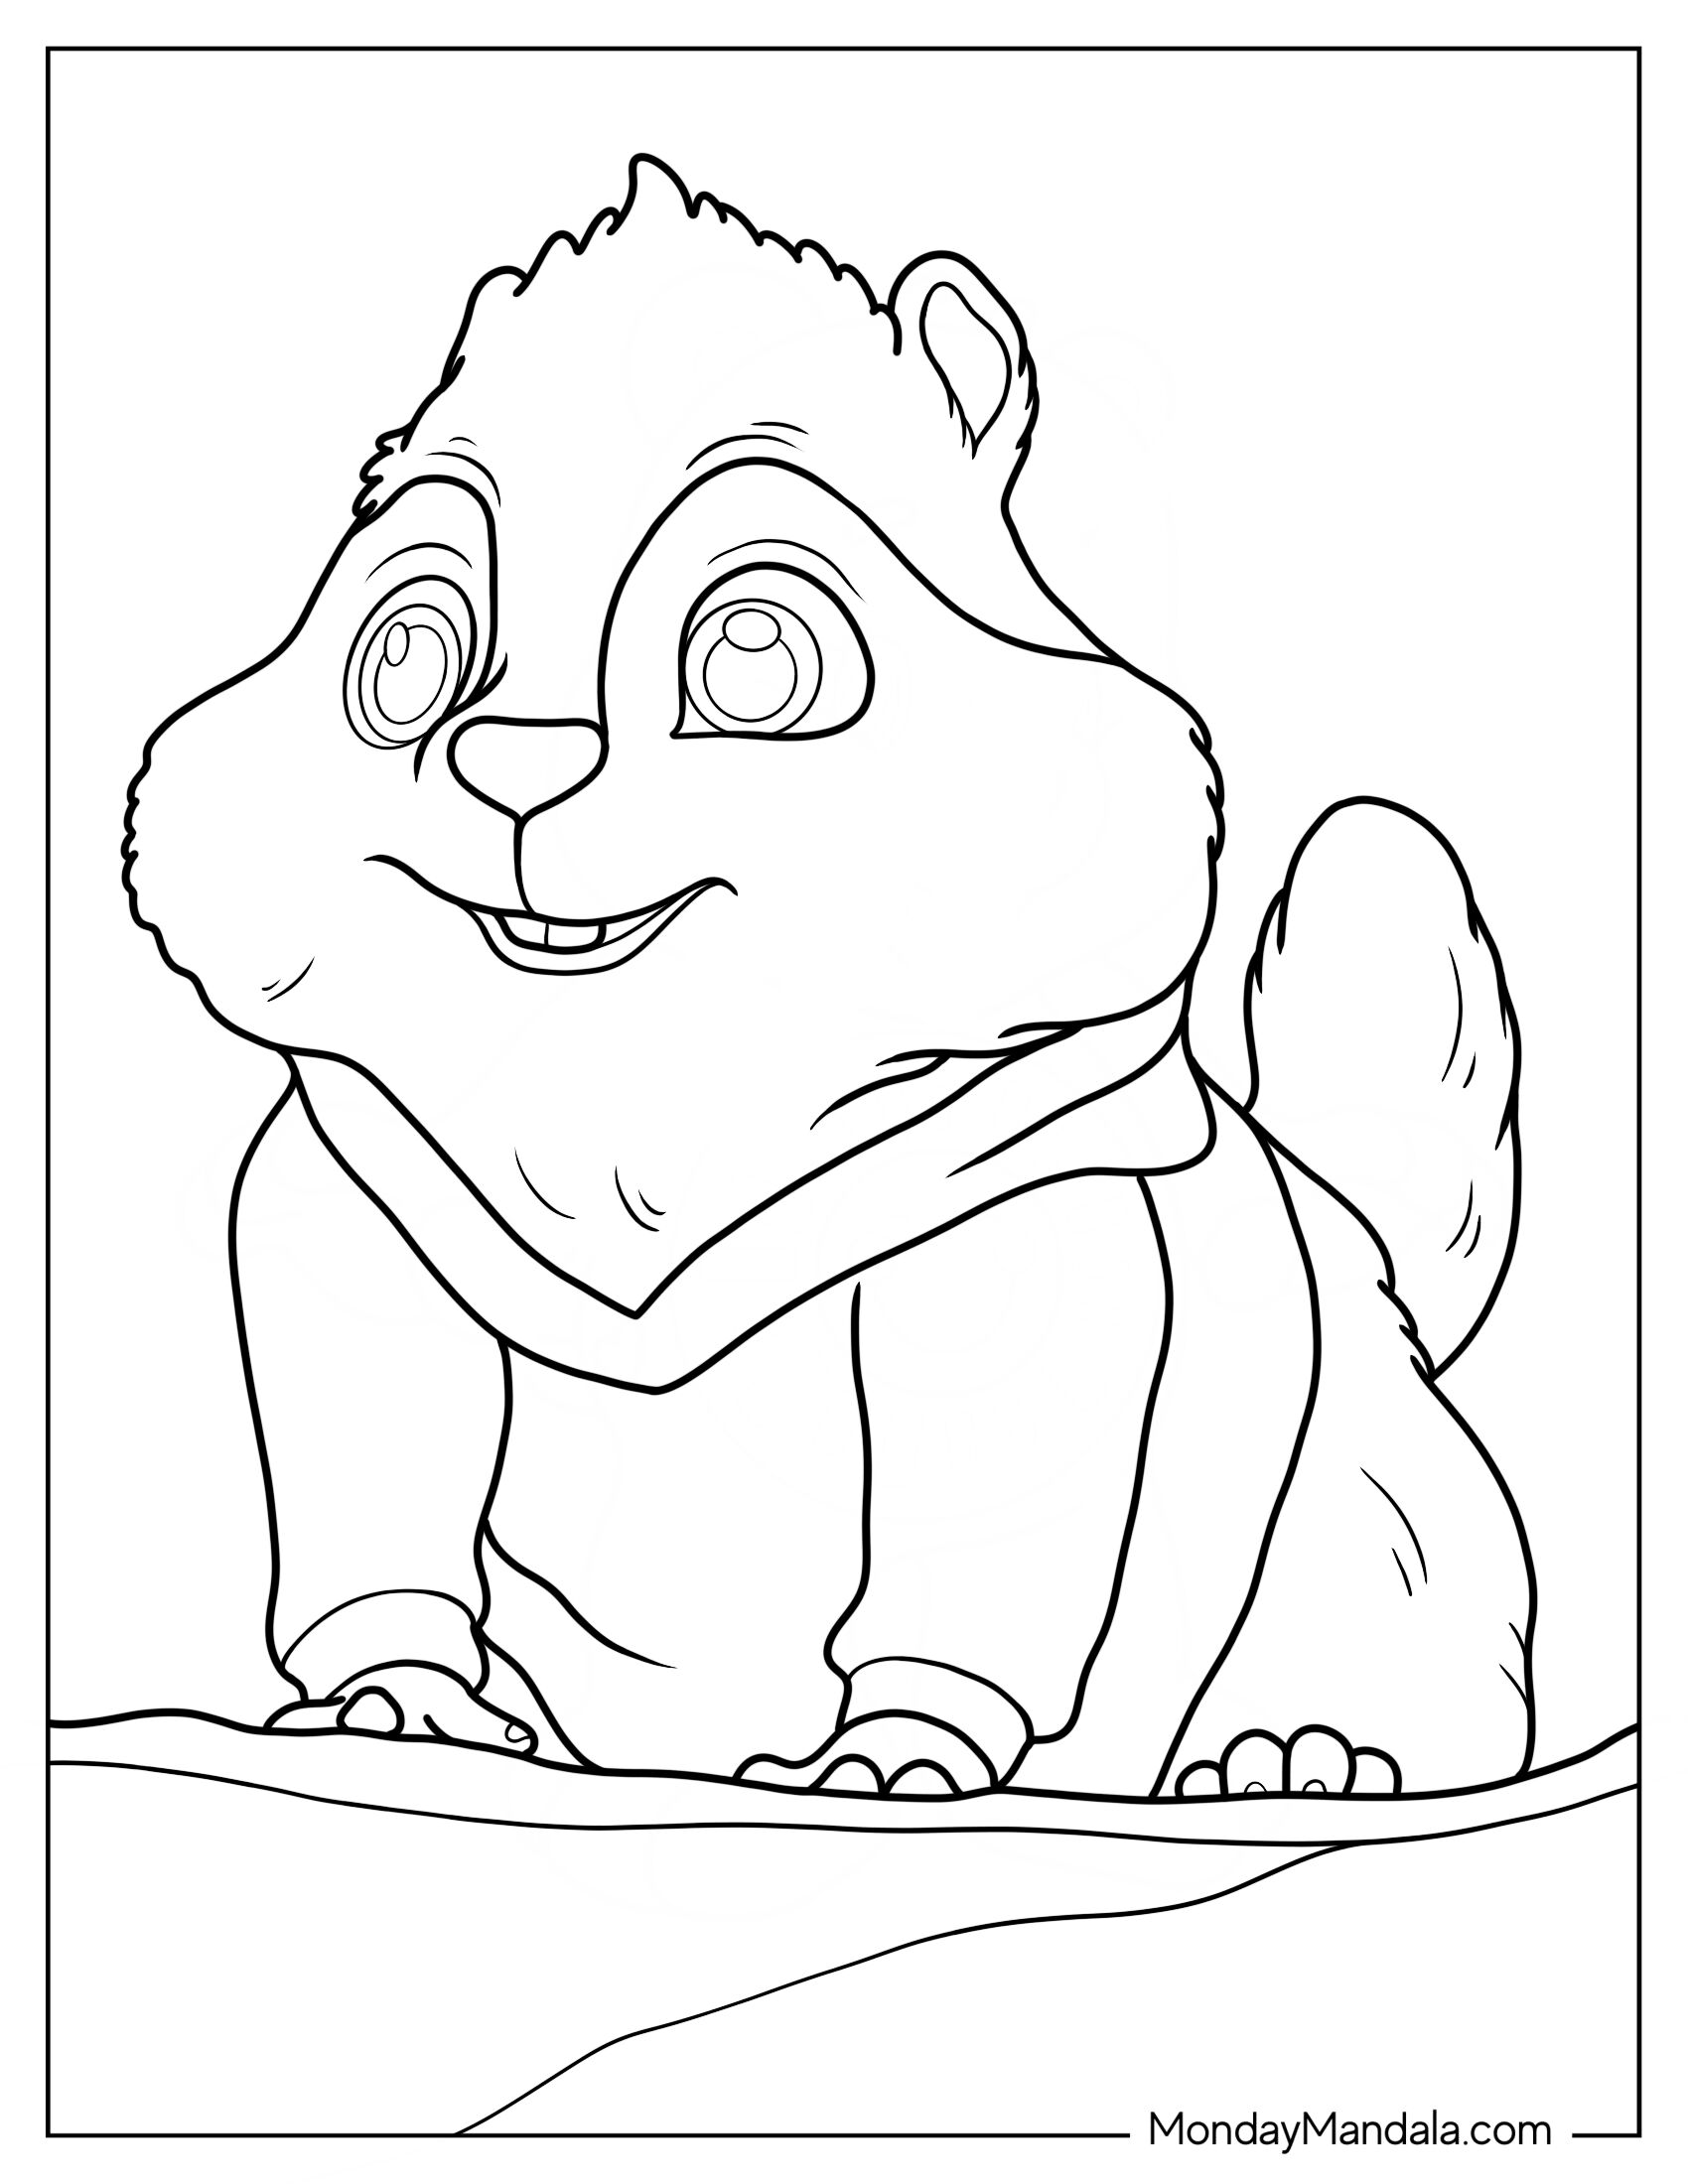
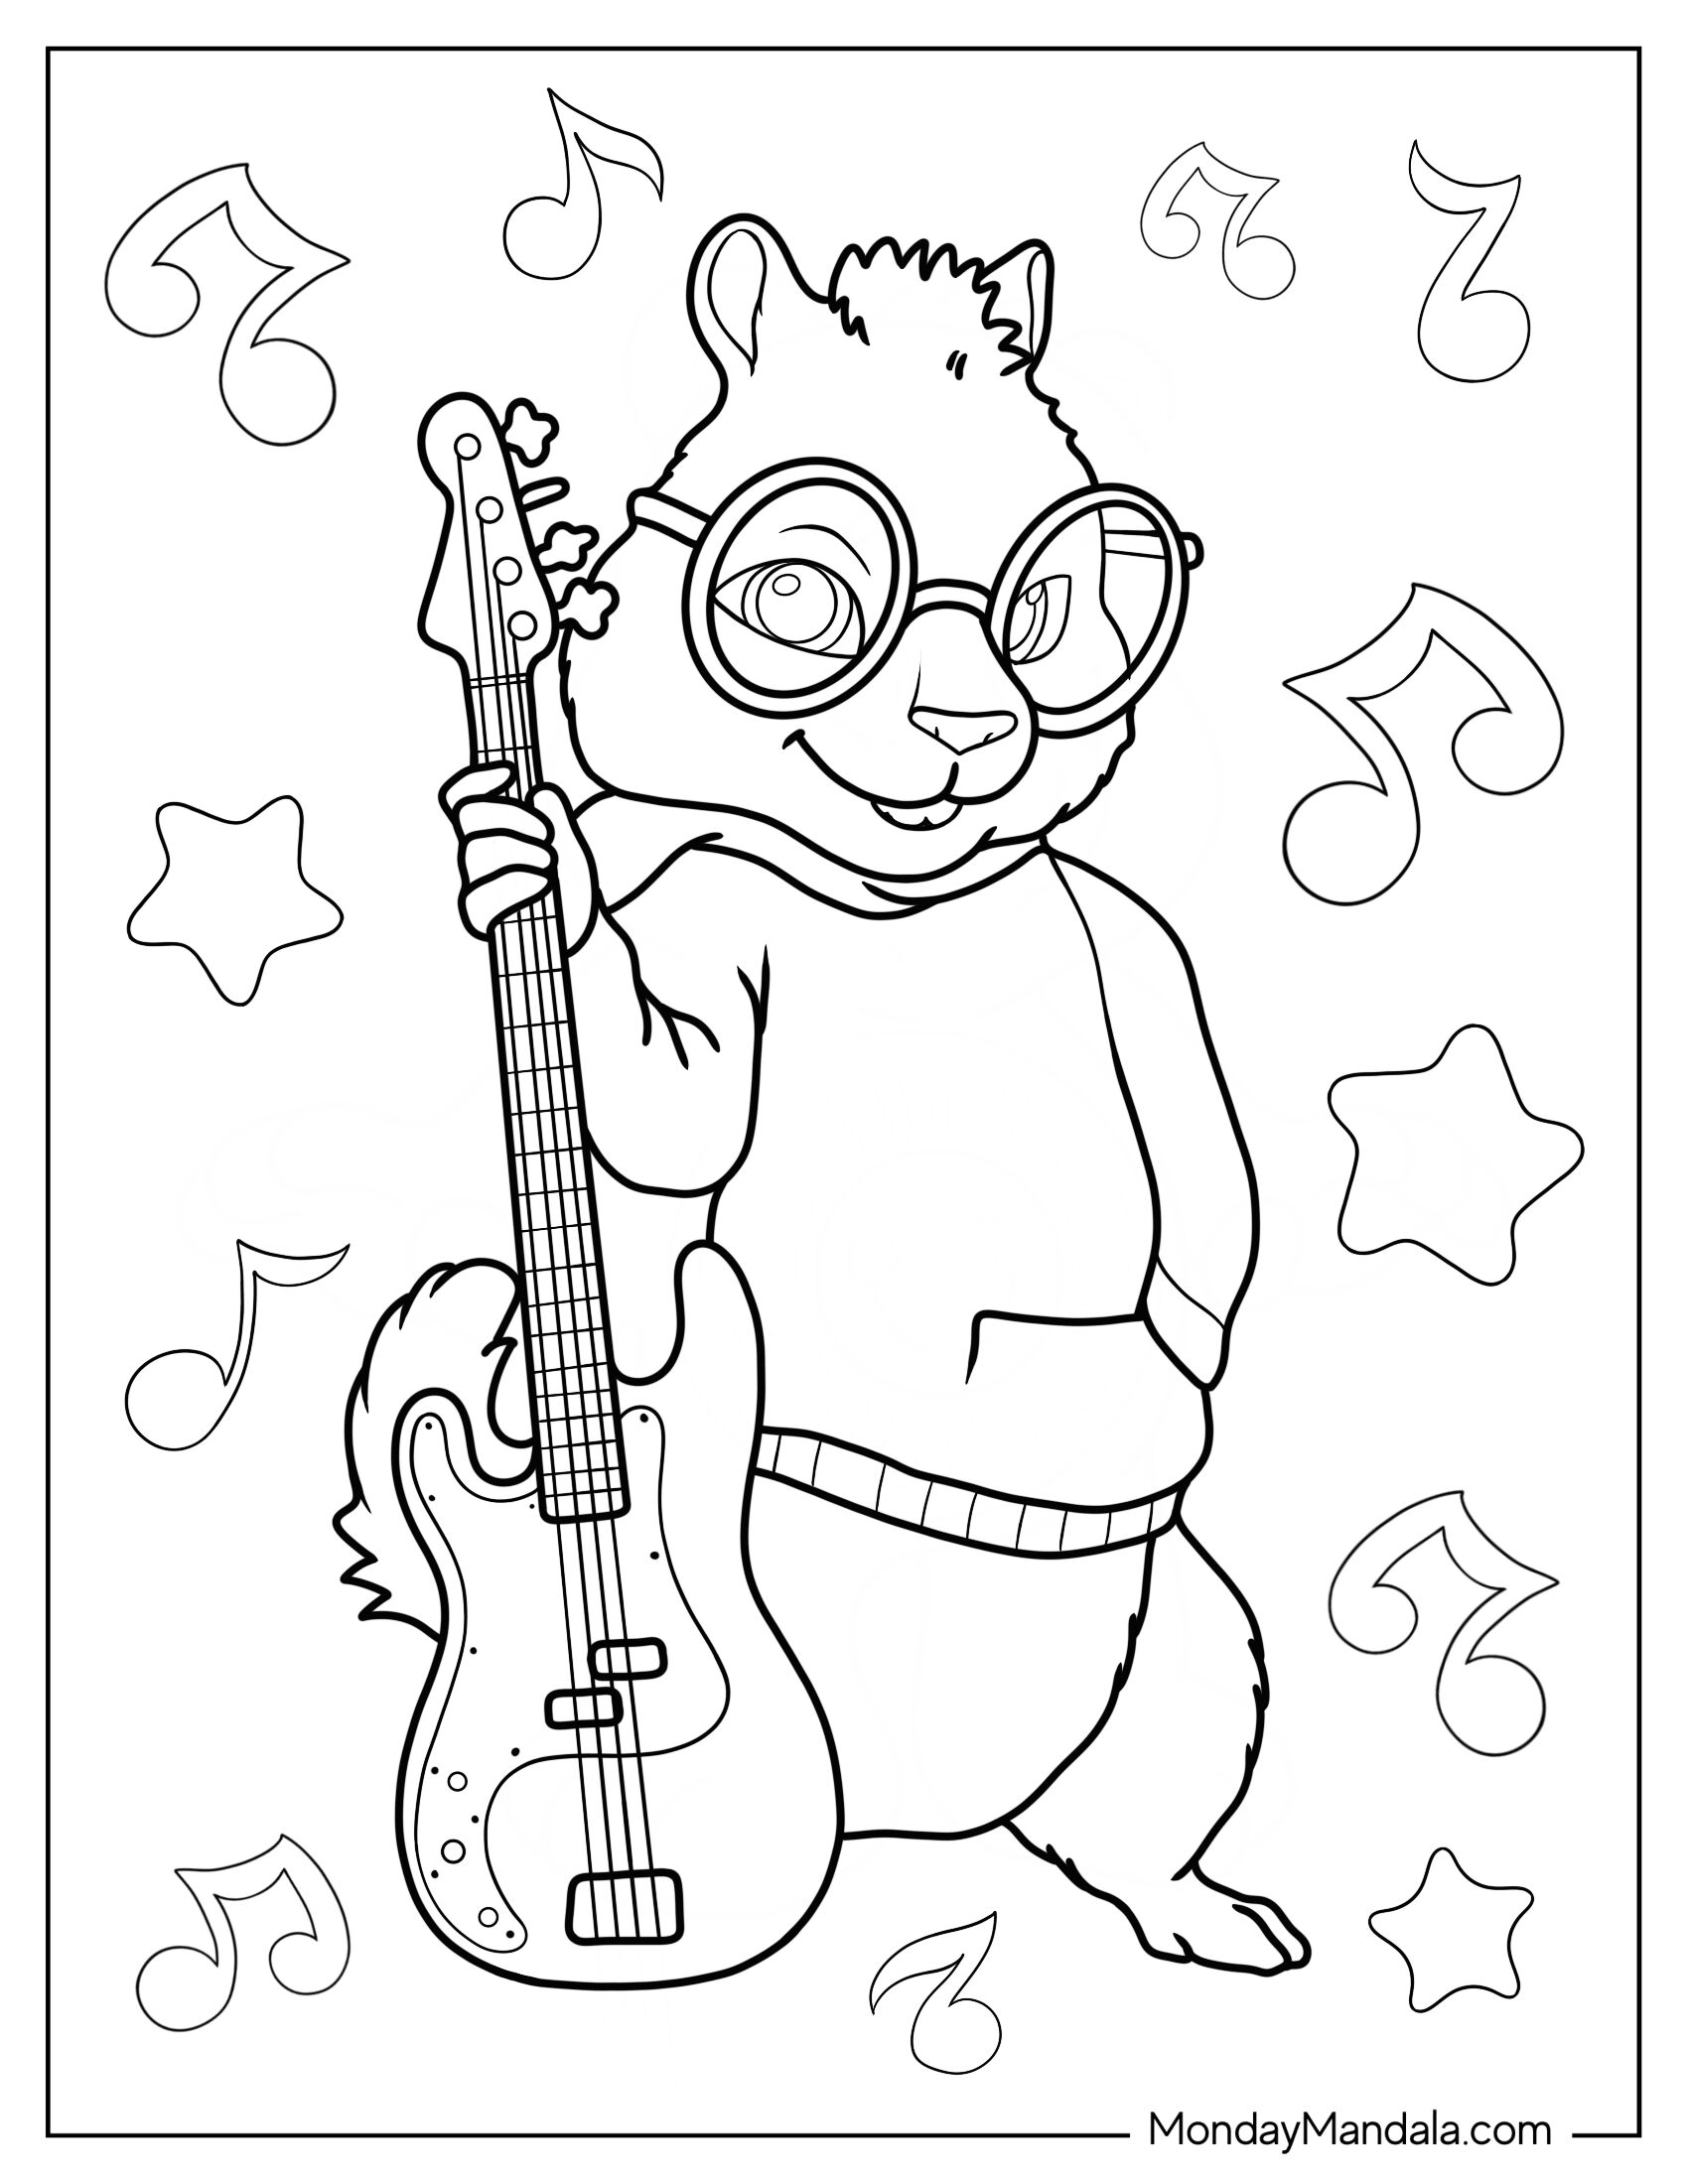
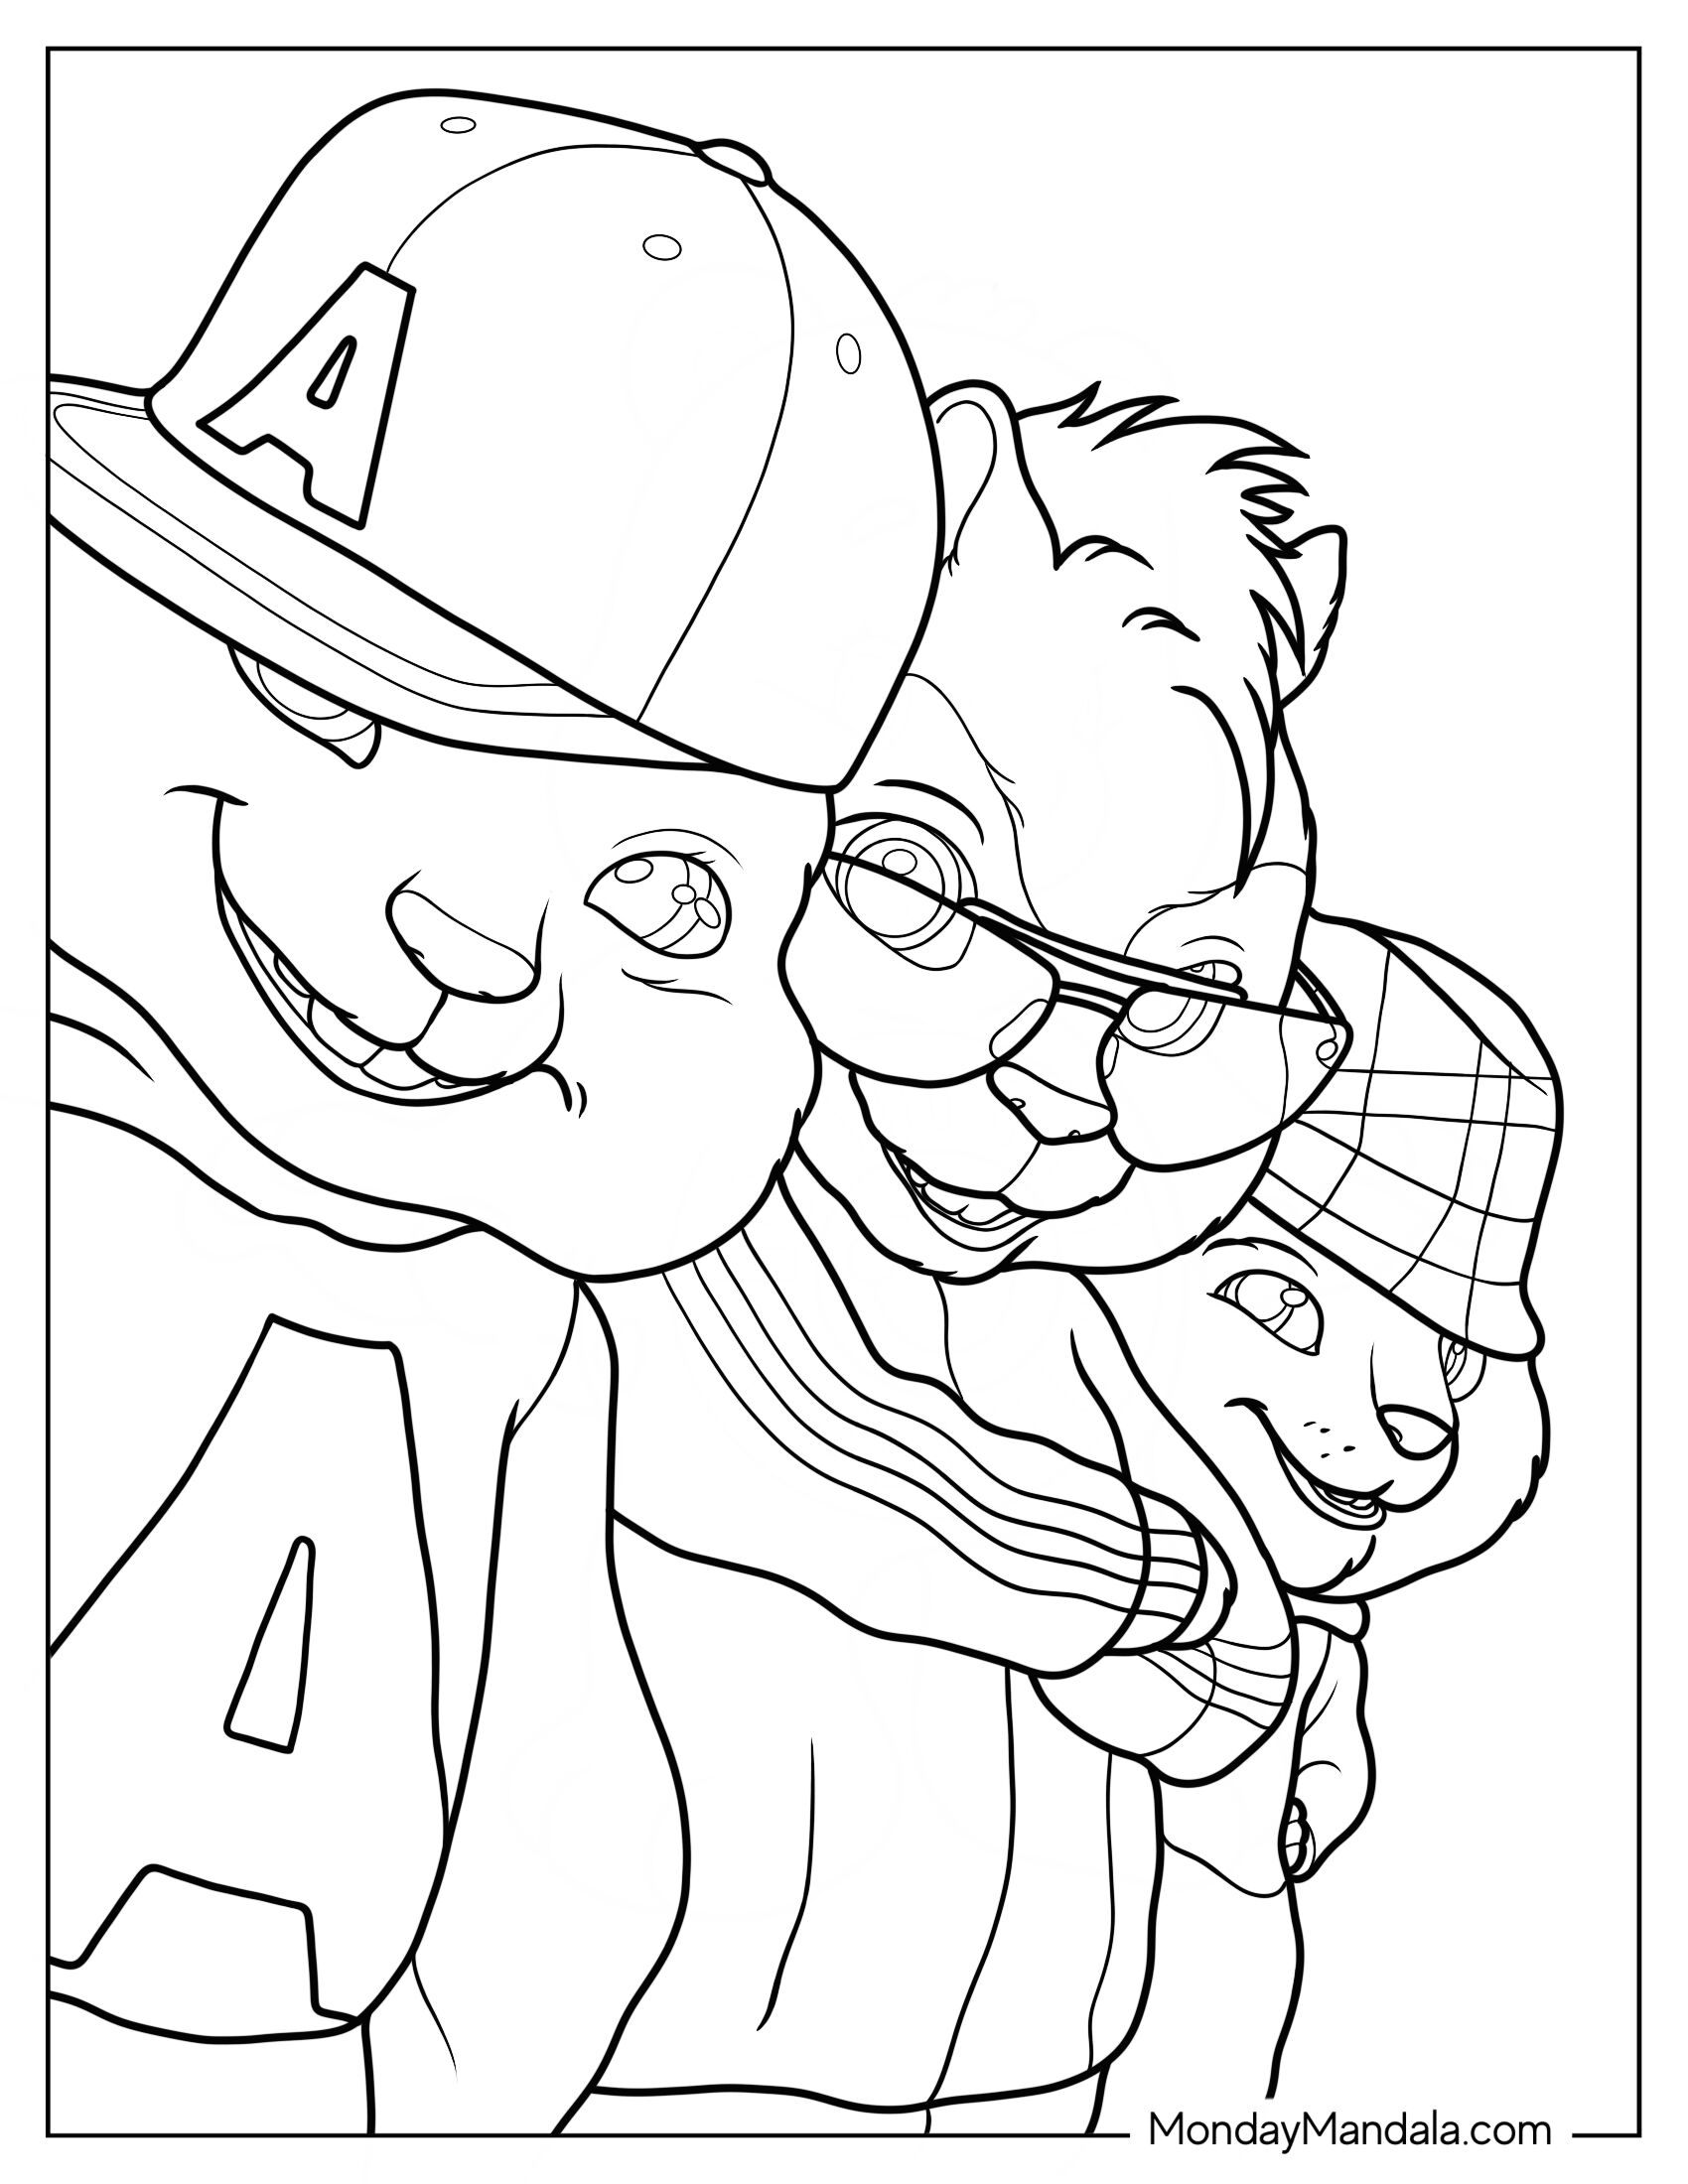
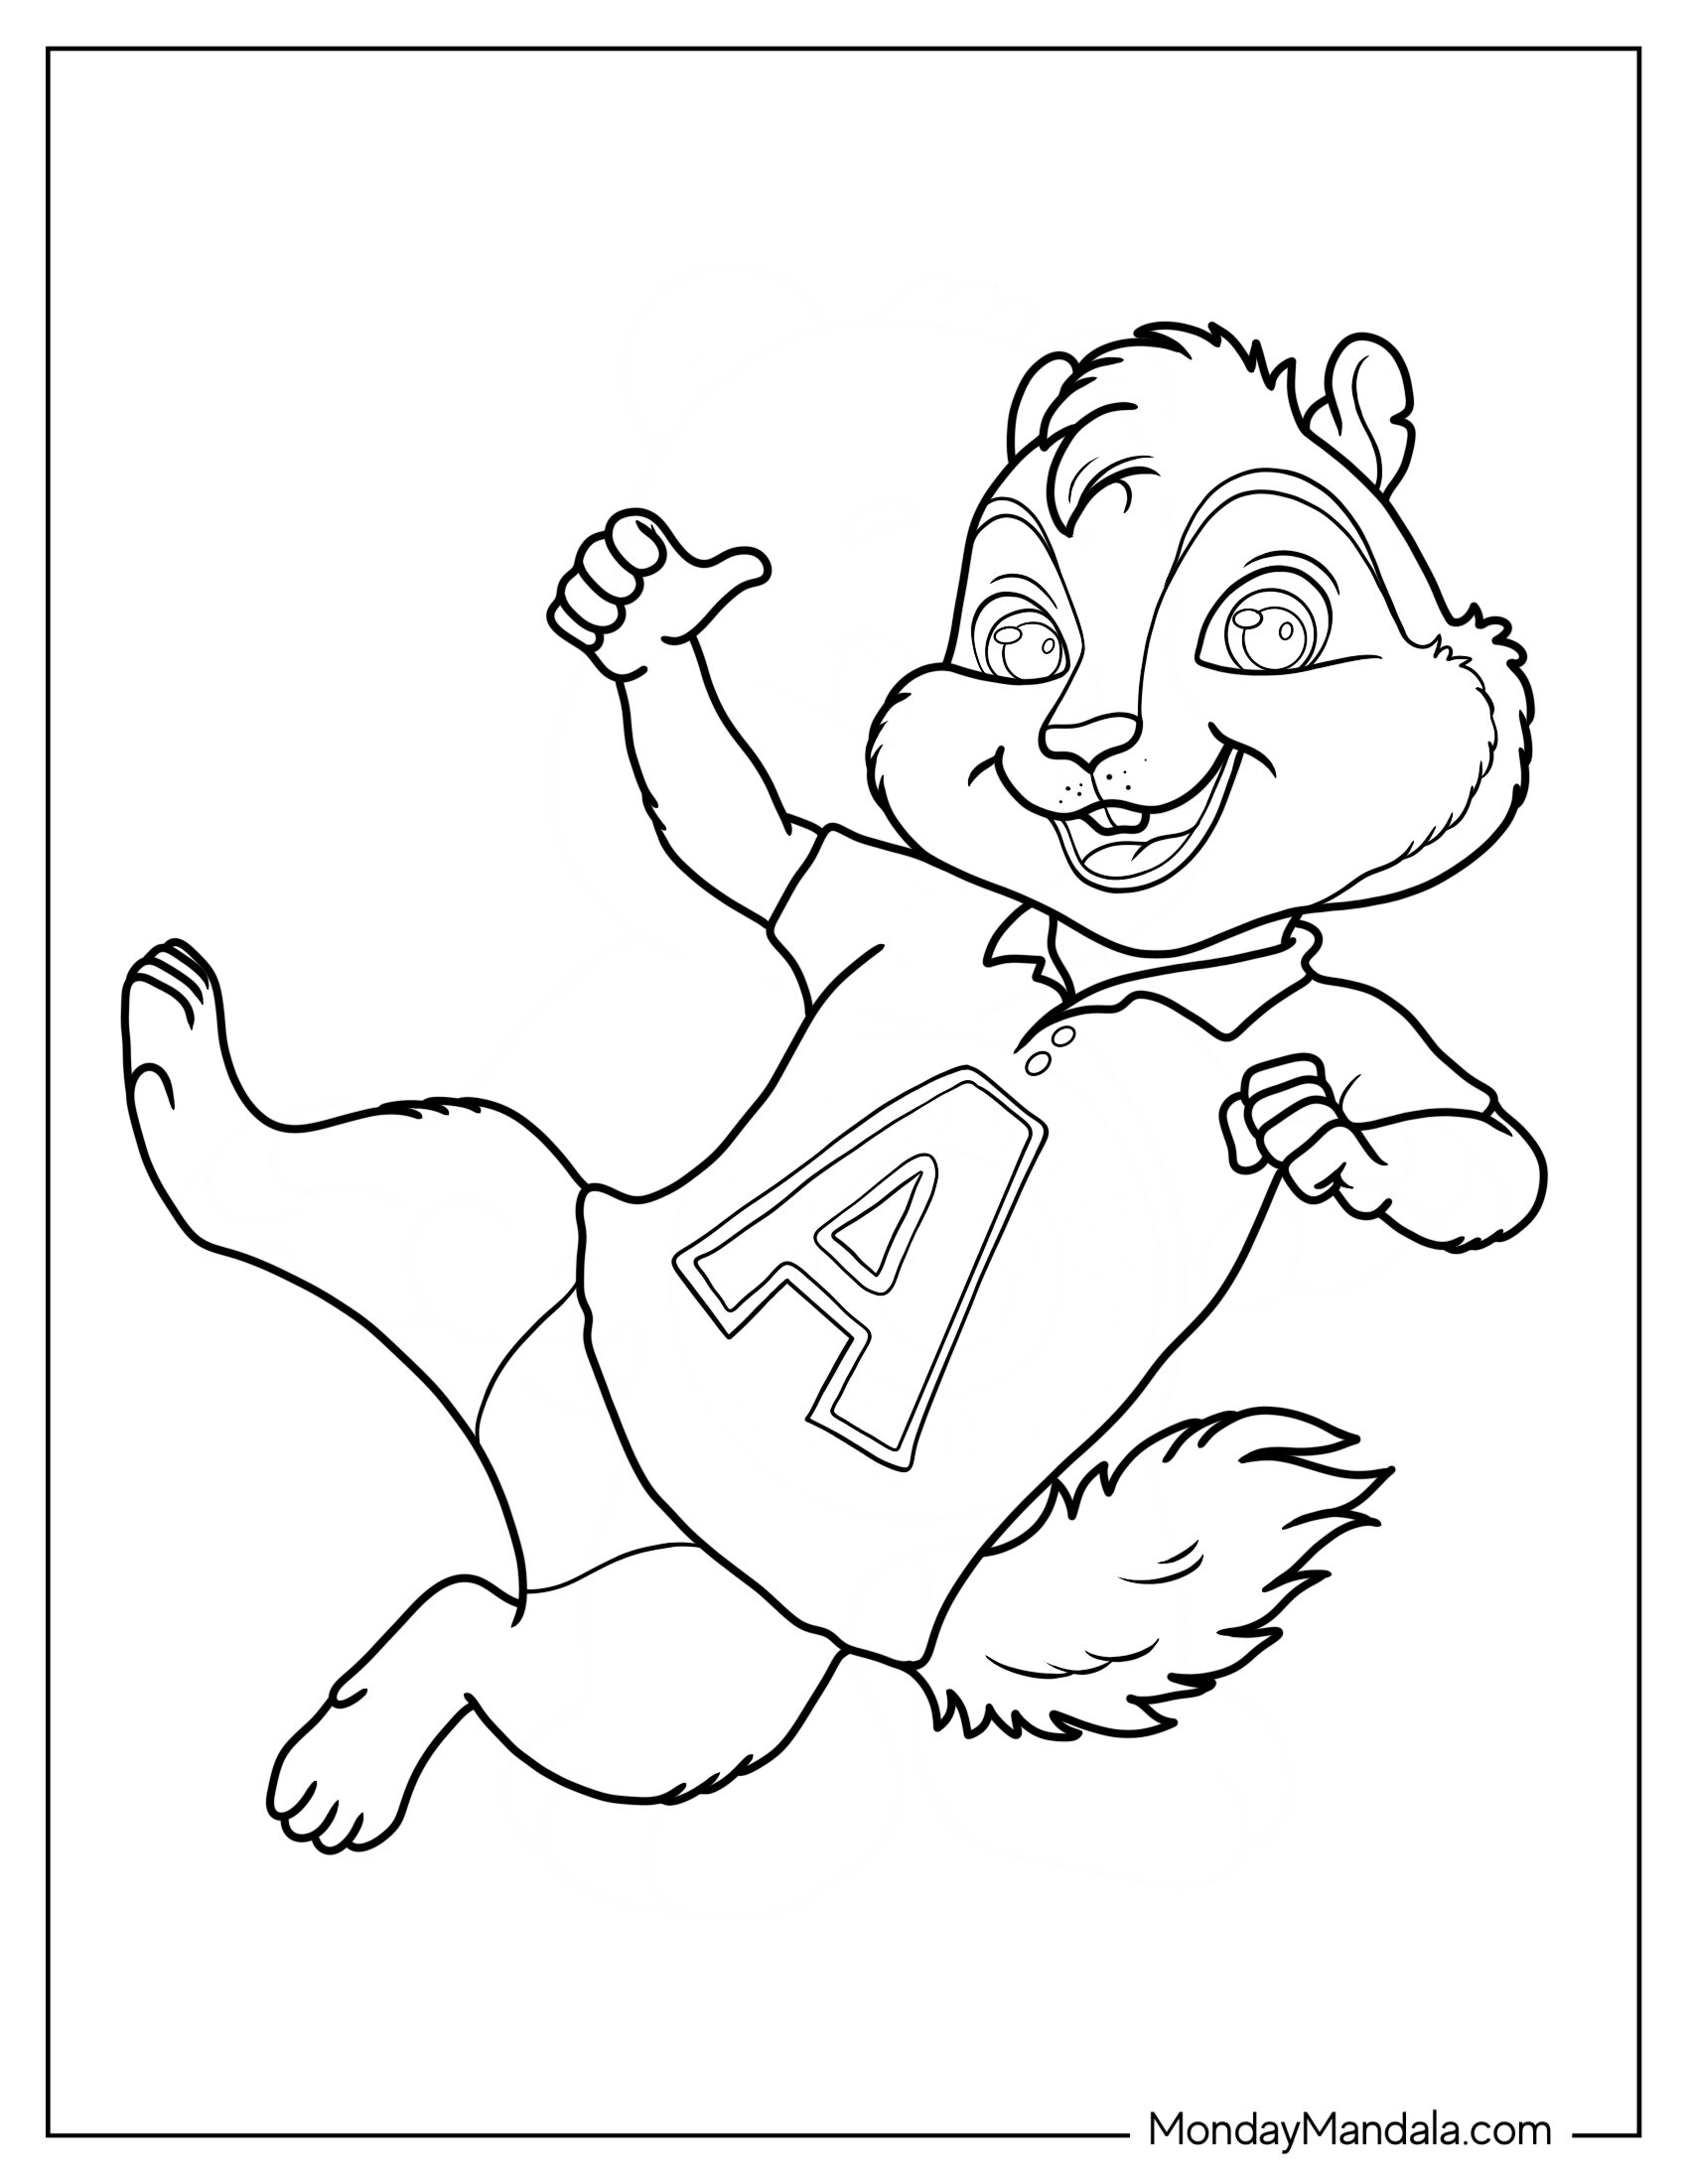
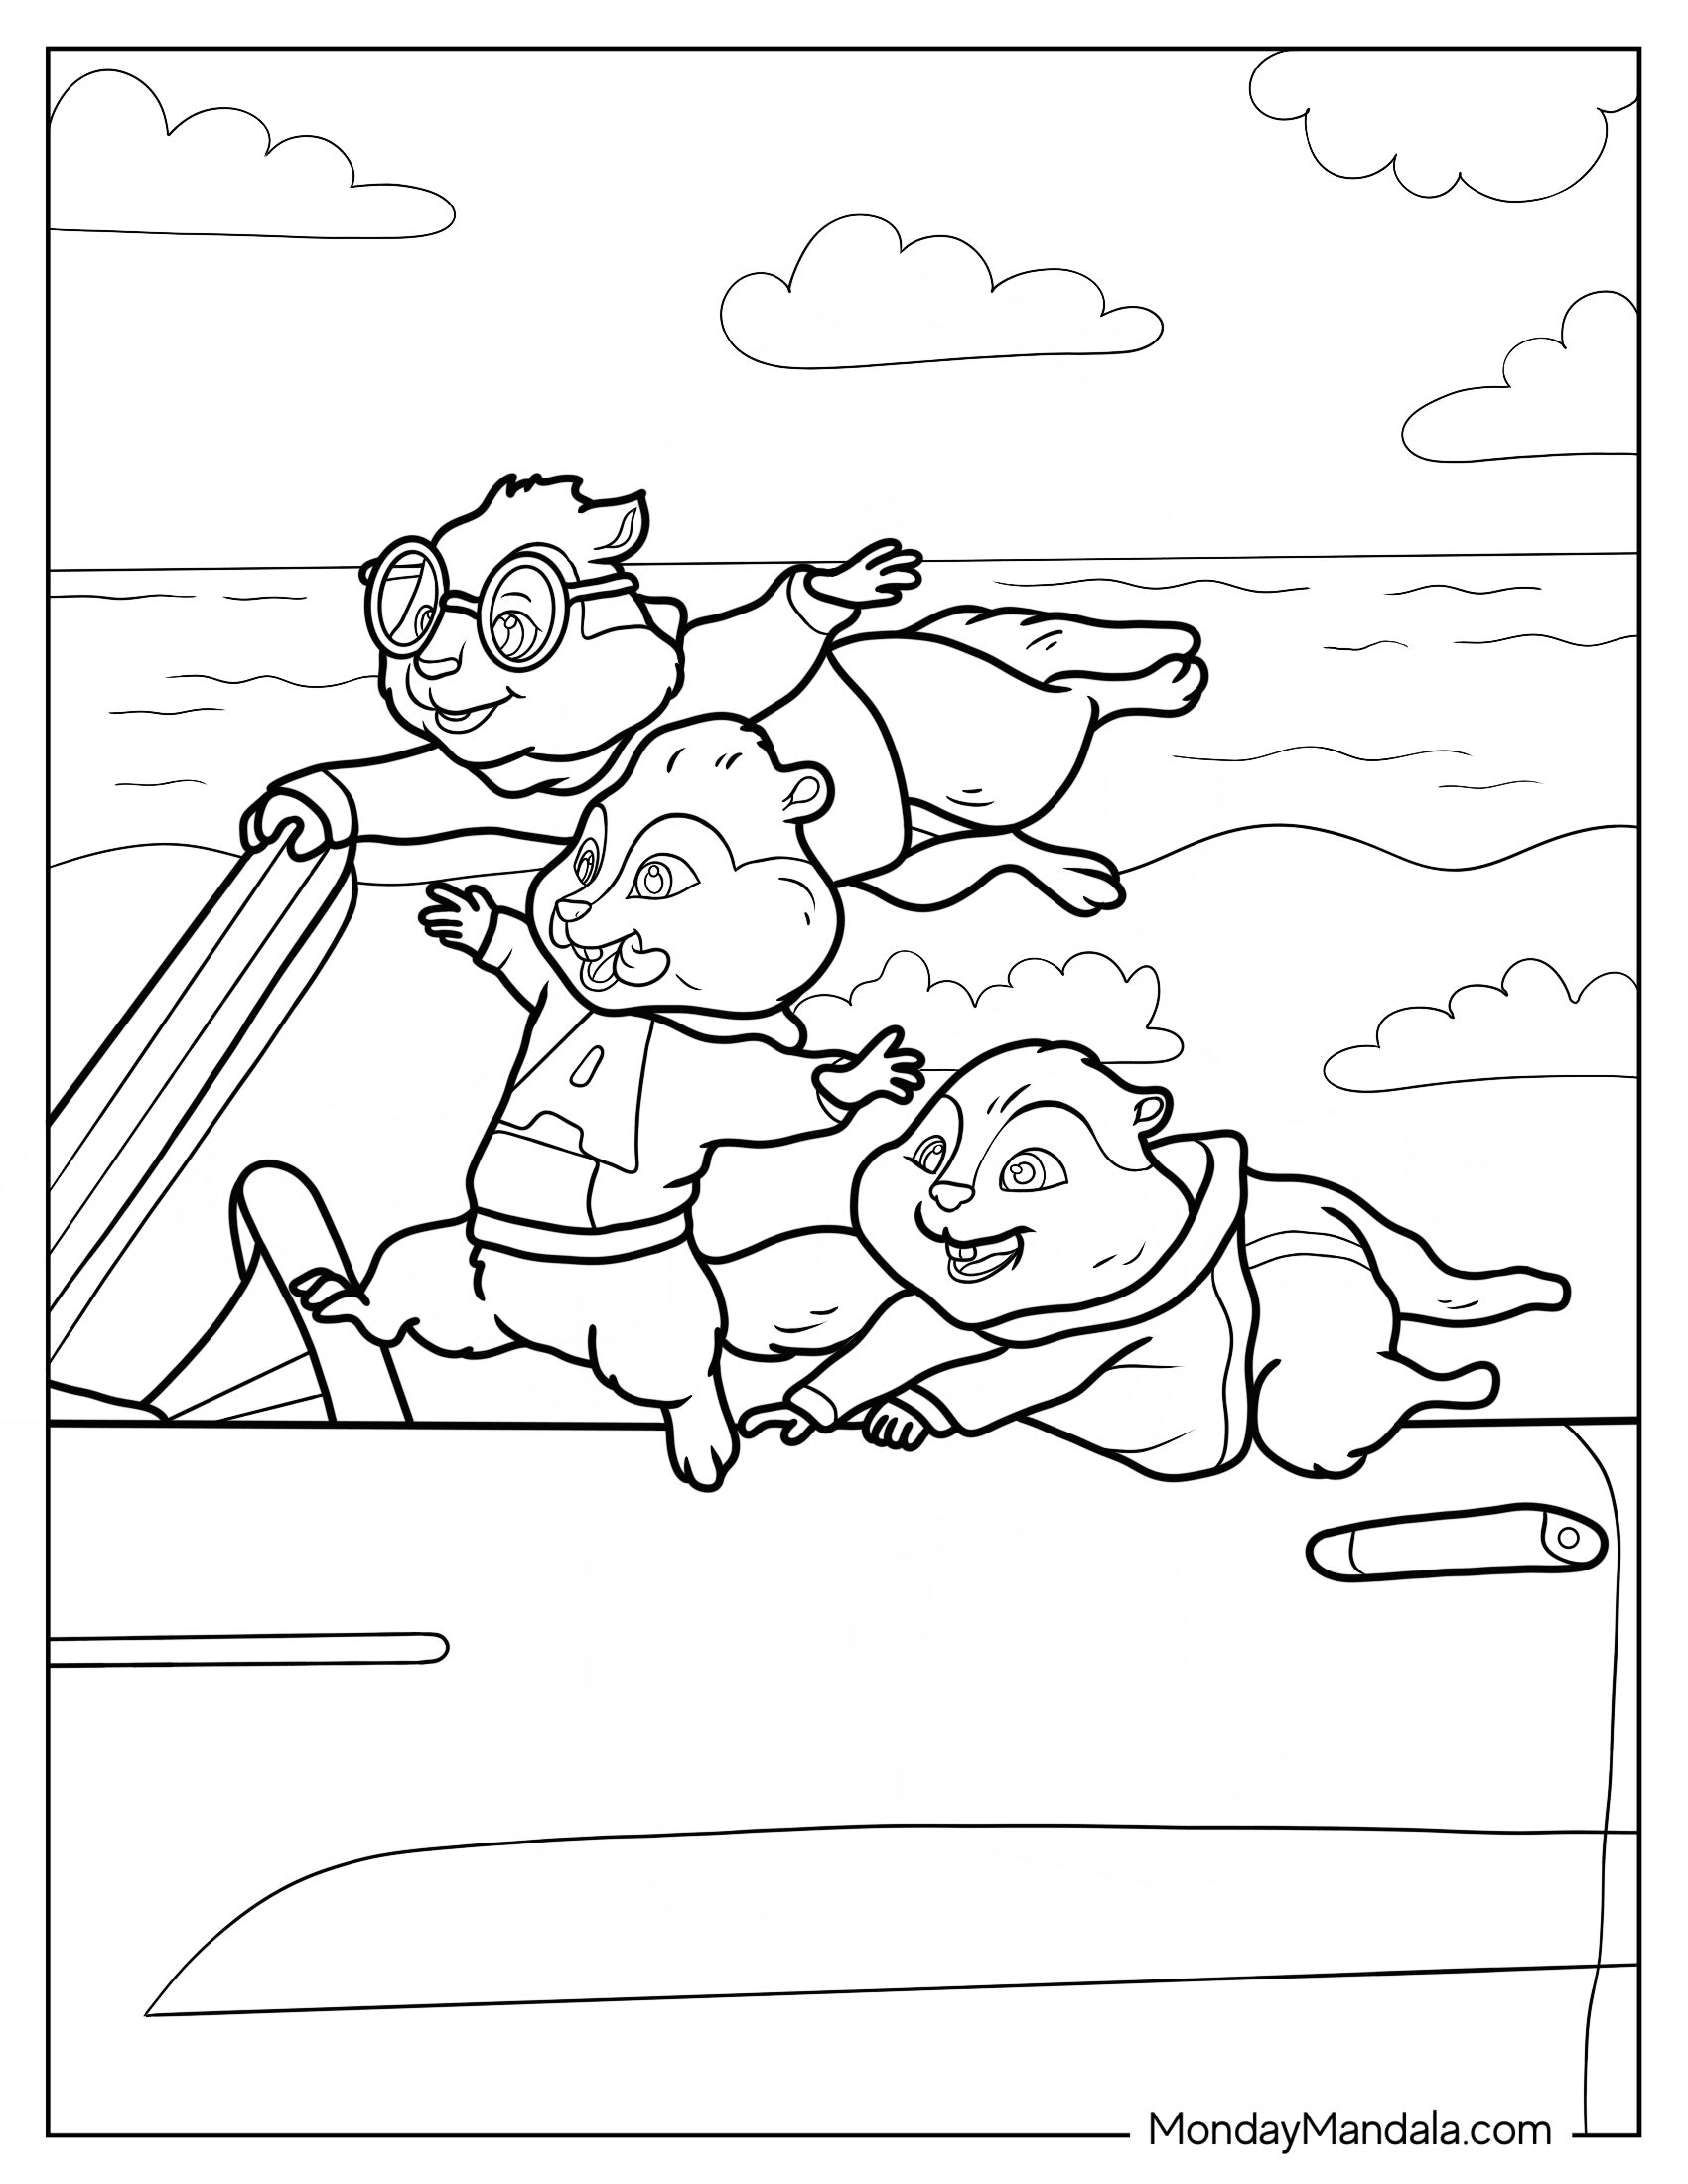
Alvin and the Chipmunks coloring pages are a fun and creative way to engage kids with the beloved cartoon characters. The free PDF printables provided in this article offer a range of designs and themes, from Alvin’s mischievous grin to Simon’s clever inventions. With these coloring pages, kids can unleash their imagination and creativity while developing their fine motor skills and hand-eye coordination. Whether you’re a parent, teacher, or simply a fan of the Chipmunks, these free printables are a great way to bring some joy and entertainment into your life. So why not grab a crayon and get coloring with Alvin and the gang today!