Are you ready to set sail on a creative adventure with the iconic RMS Titanic? We’re excited to introduce our exclusive collection of Titanic coloring pages, now available in a convenient and printable PDF format! To convert our original designs into downloadable PDFs, we employed a simple yet effective formula: combining high-quality graphics with easy-to-use templates, ensuring that every page is both visually stunning and easy to print. With our free Titanic coloring pages, you can bring the majestic ship to life with vibrant colors and imagination, making it a perfect activity for kids and adults alike. Whether you’re a history buff, an art enthusiast, or simply looking for a fun and relaxing activity, our Titanic coloring pages are sure to delight and inspire. So, what are you waiting for? Download your free PDF printables now and start coloring your way to a memorable experience!
Free Printable Titanic Coloring Pages – Download Now
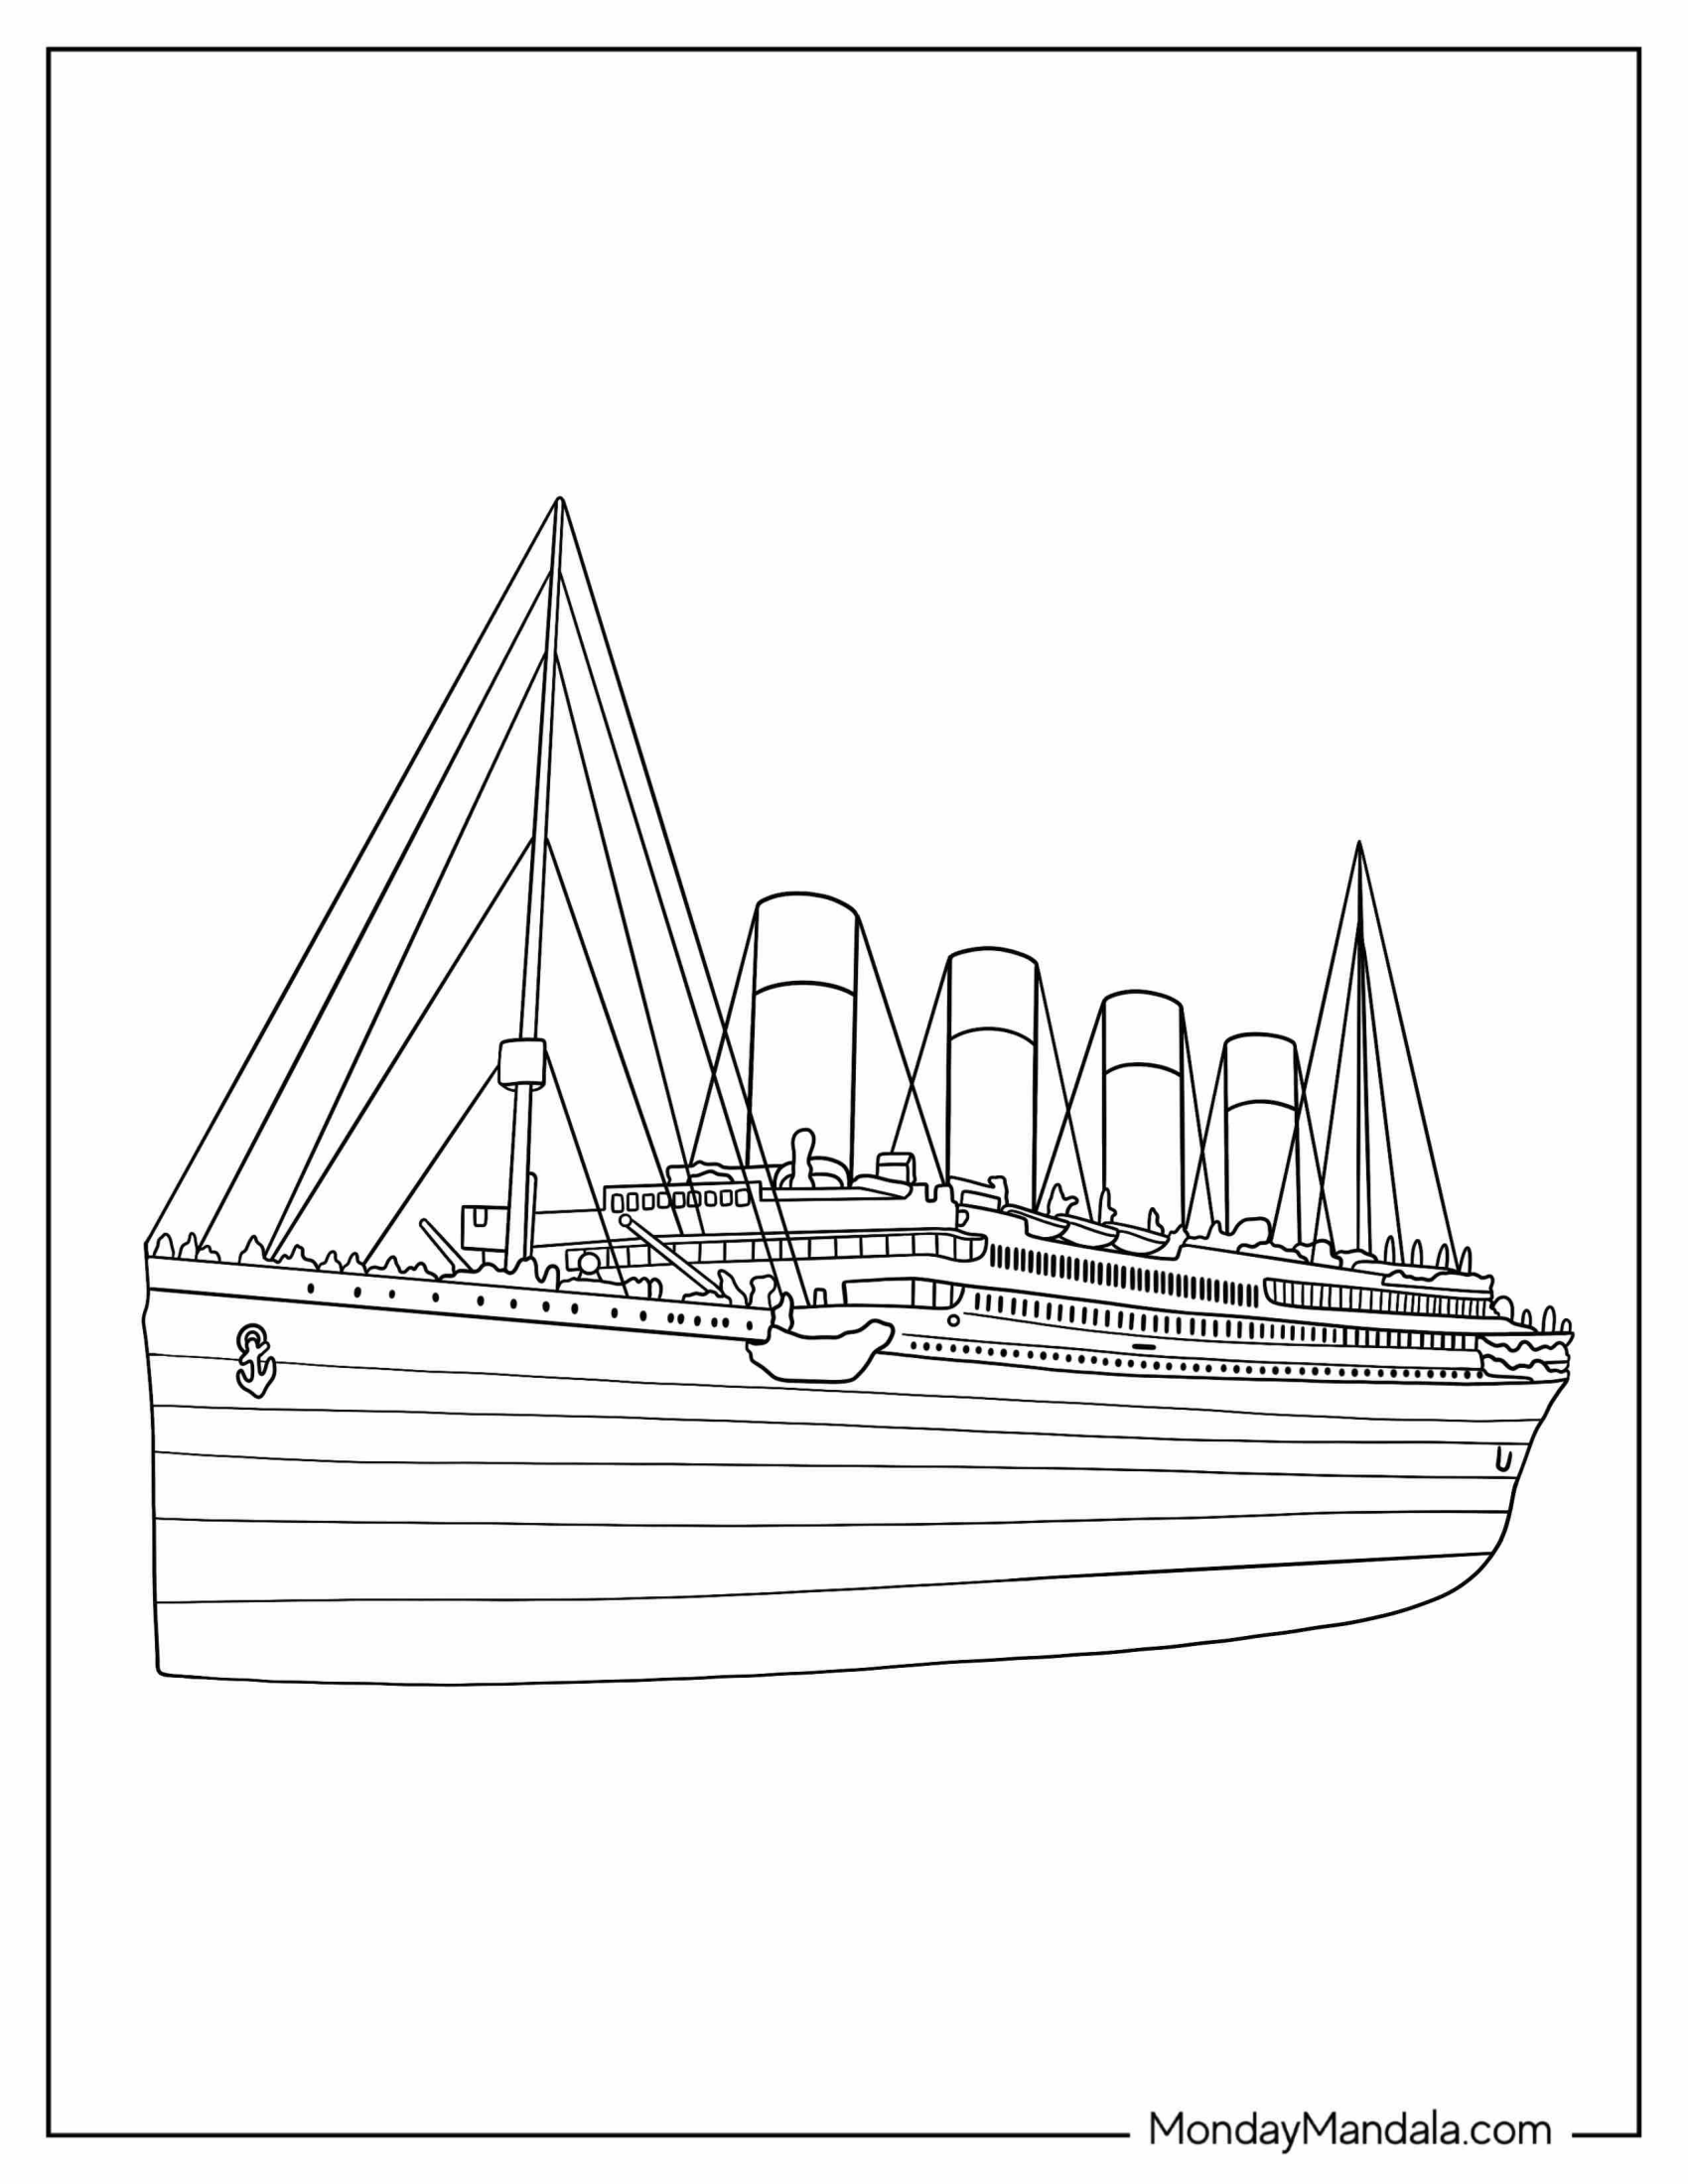
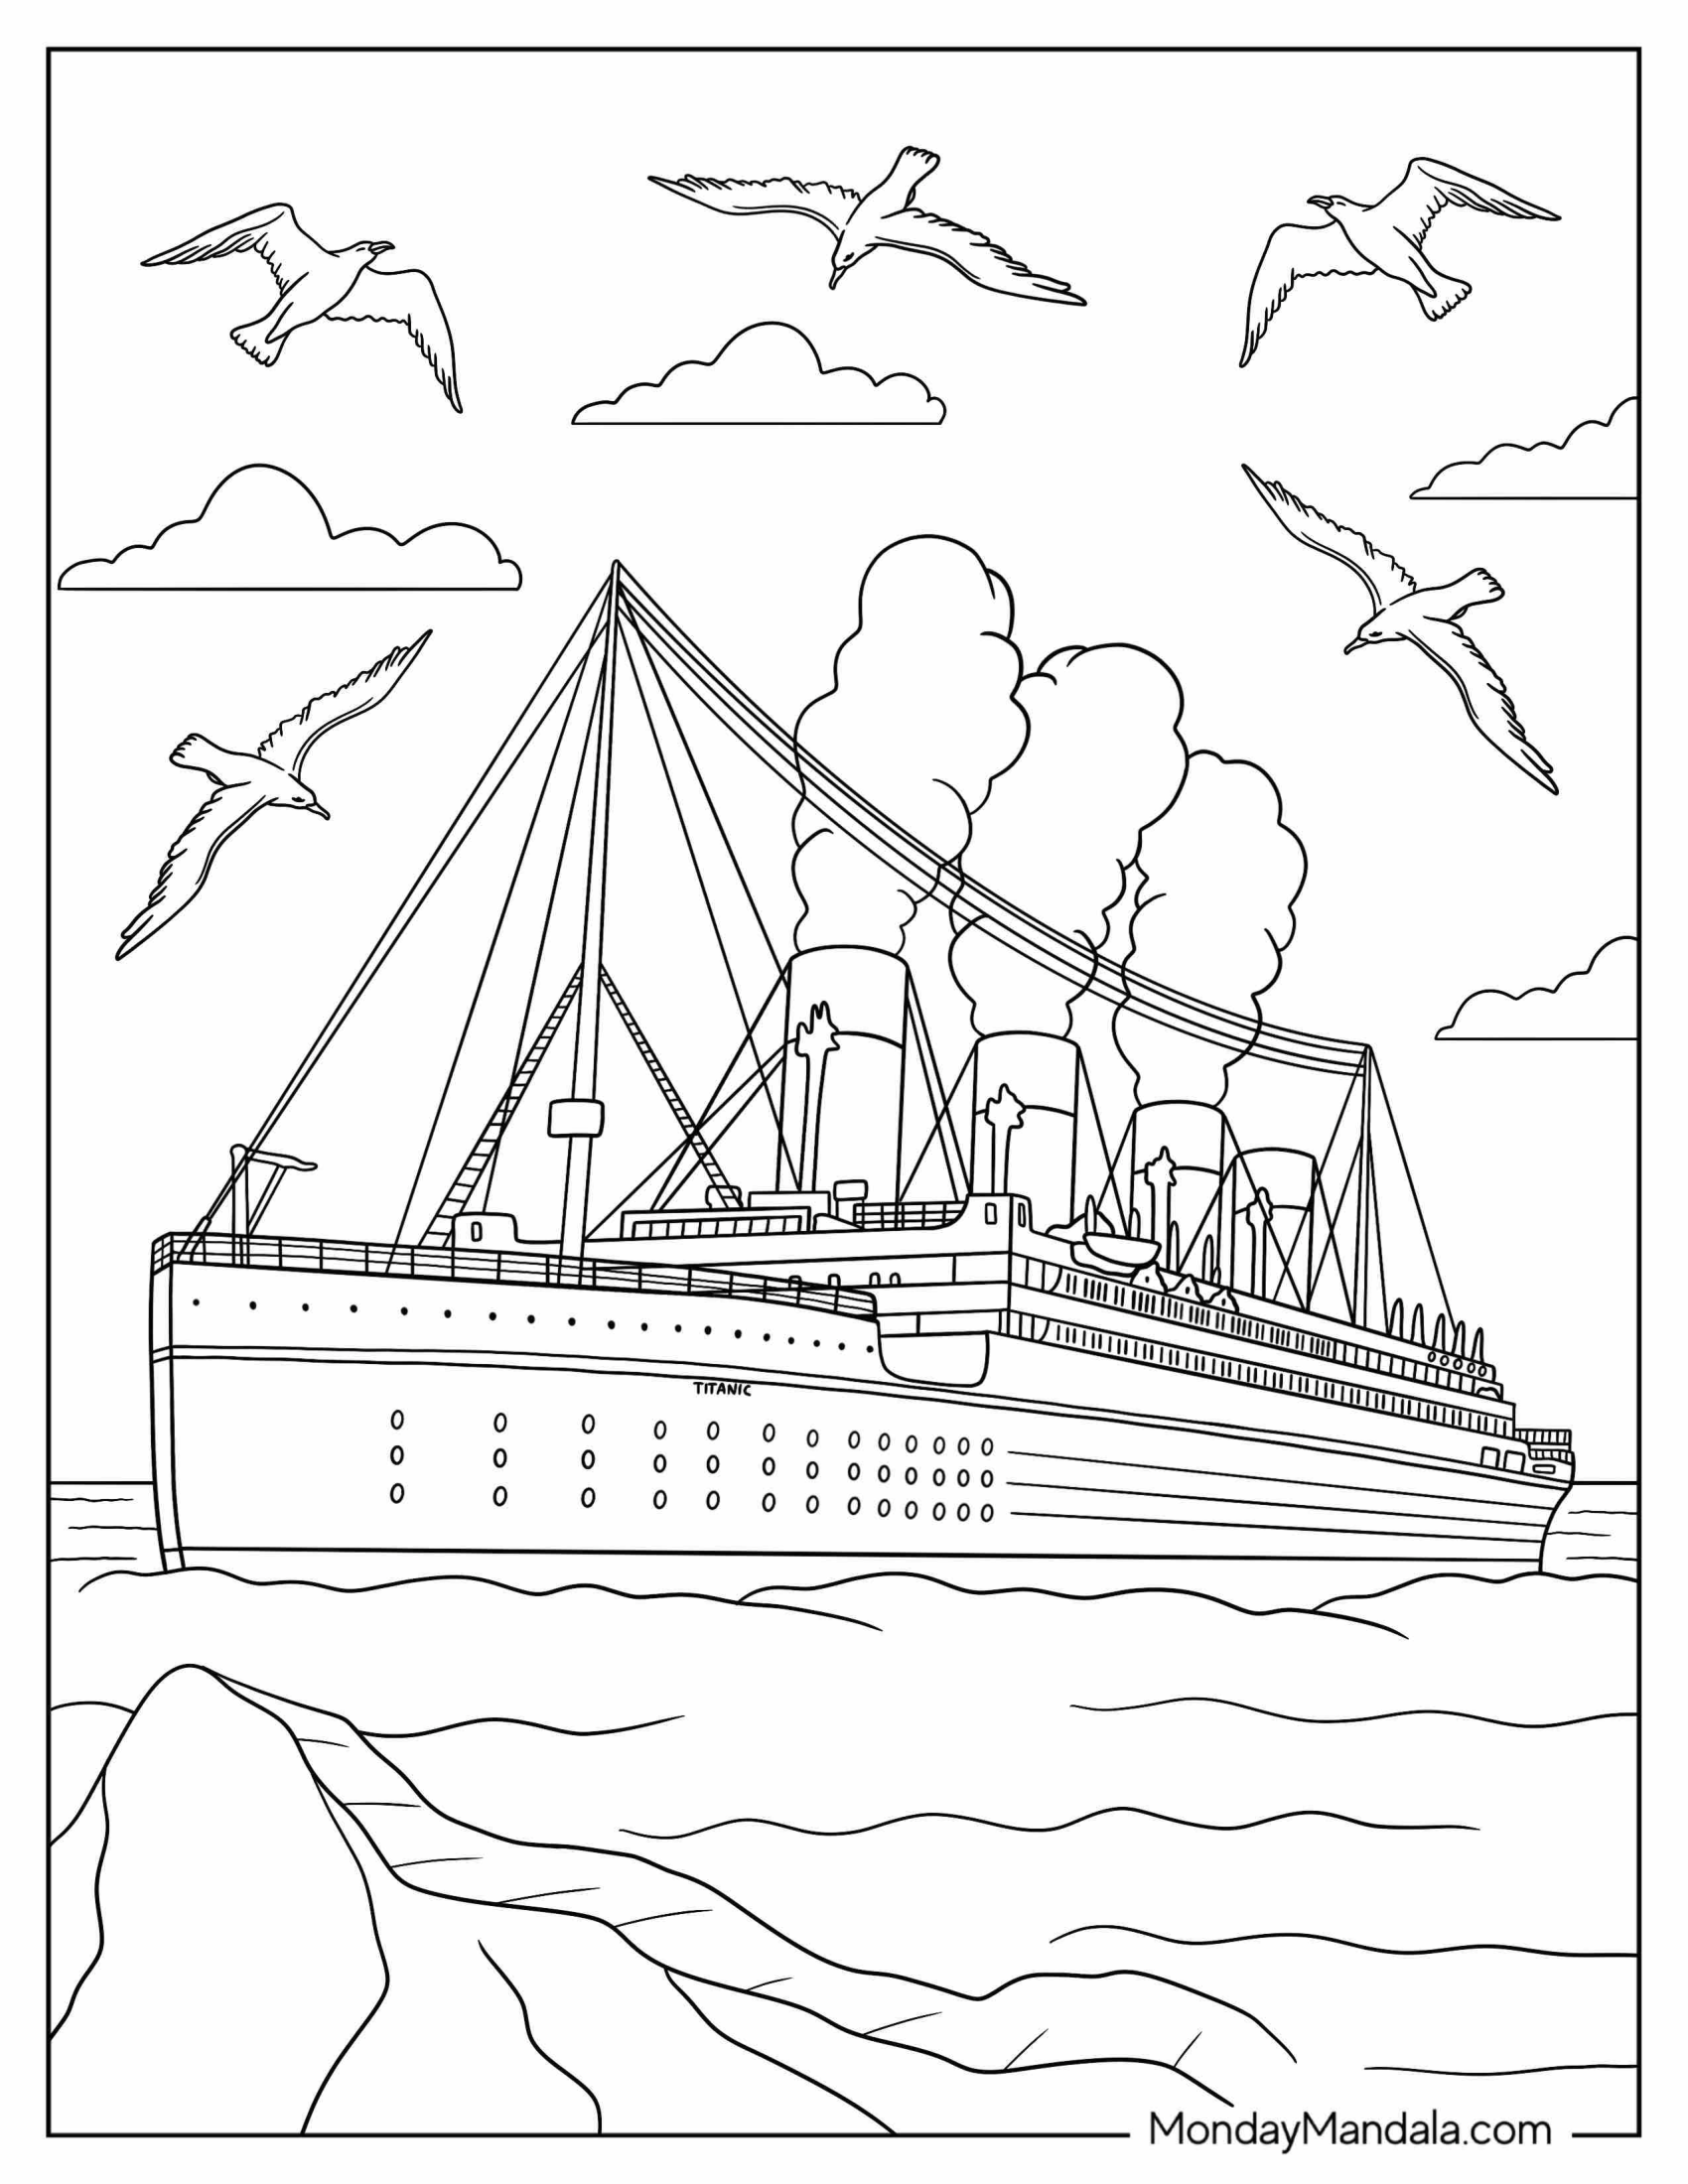
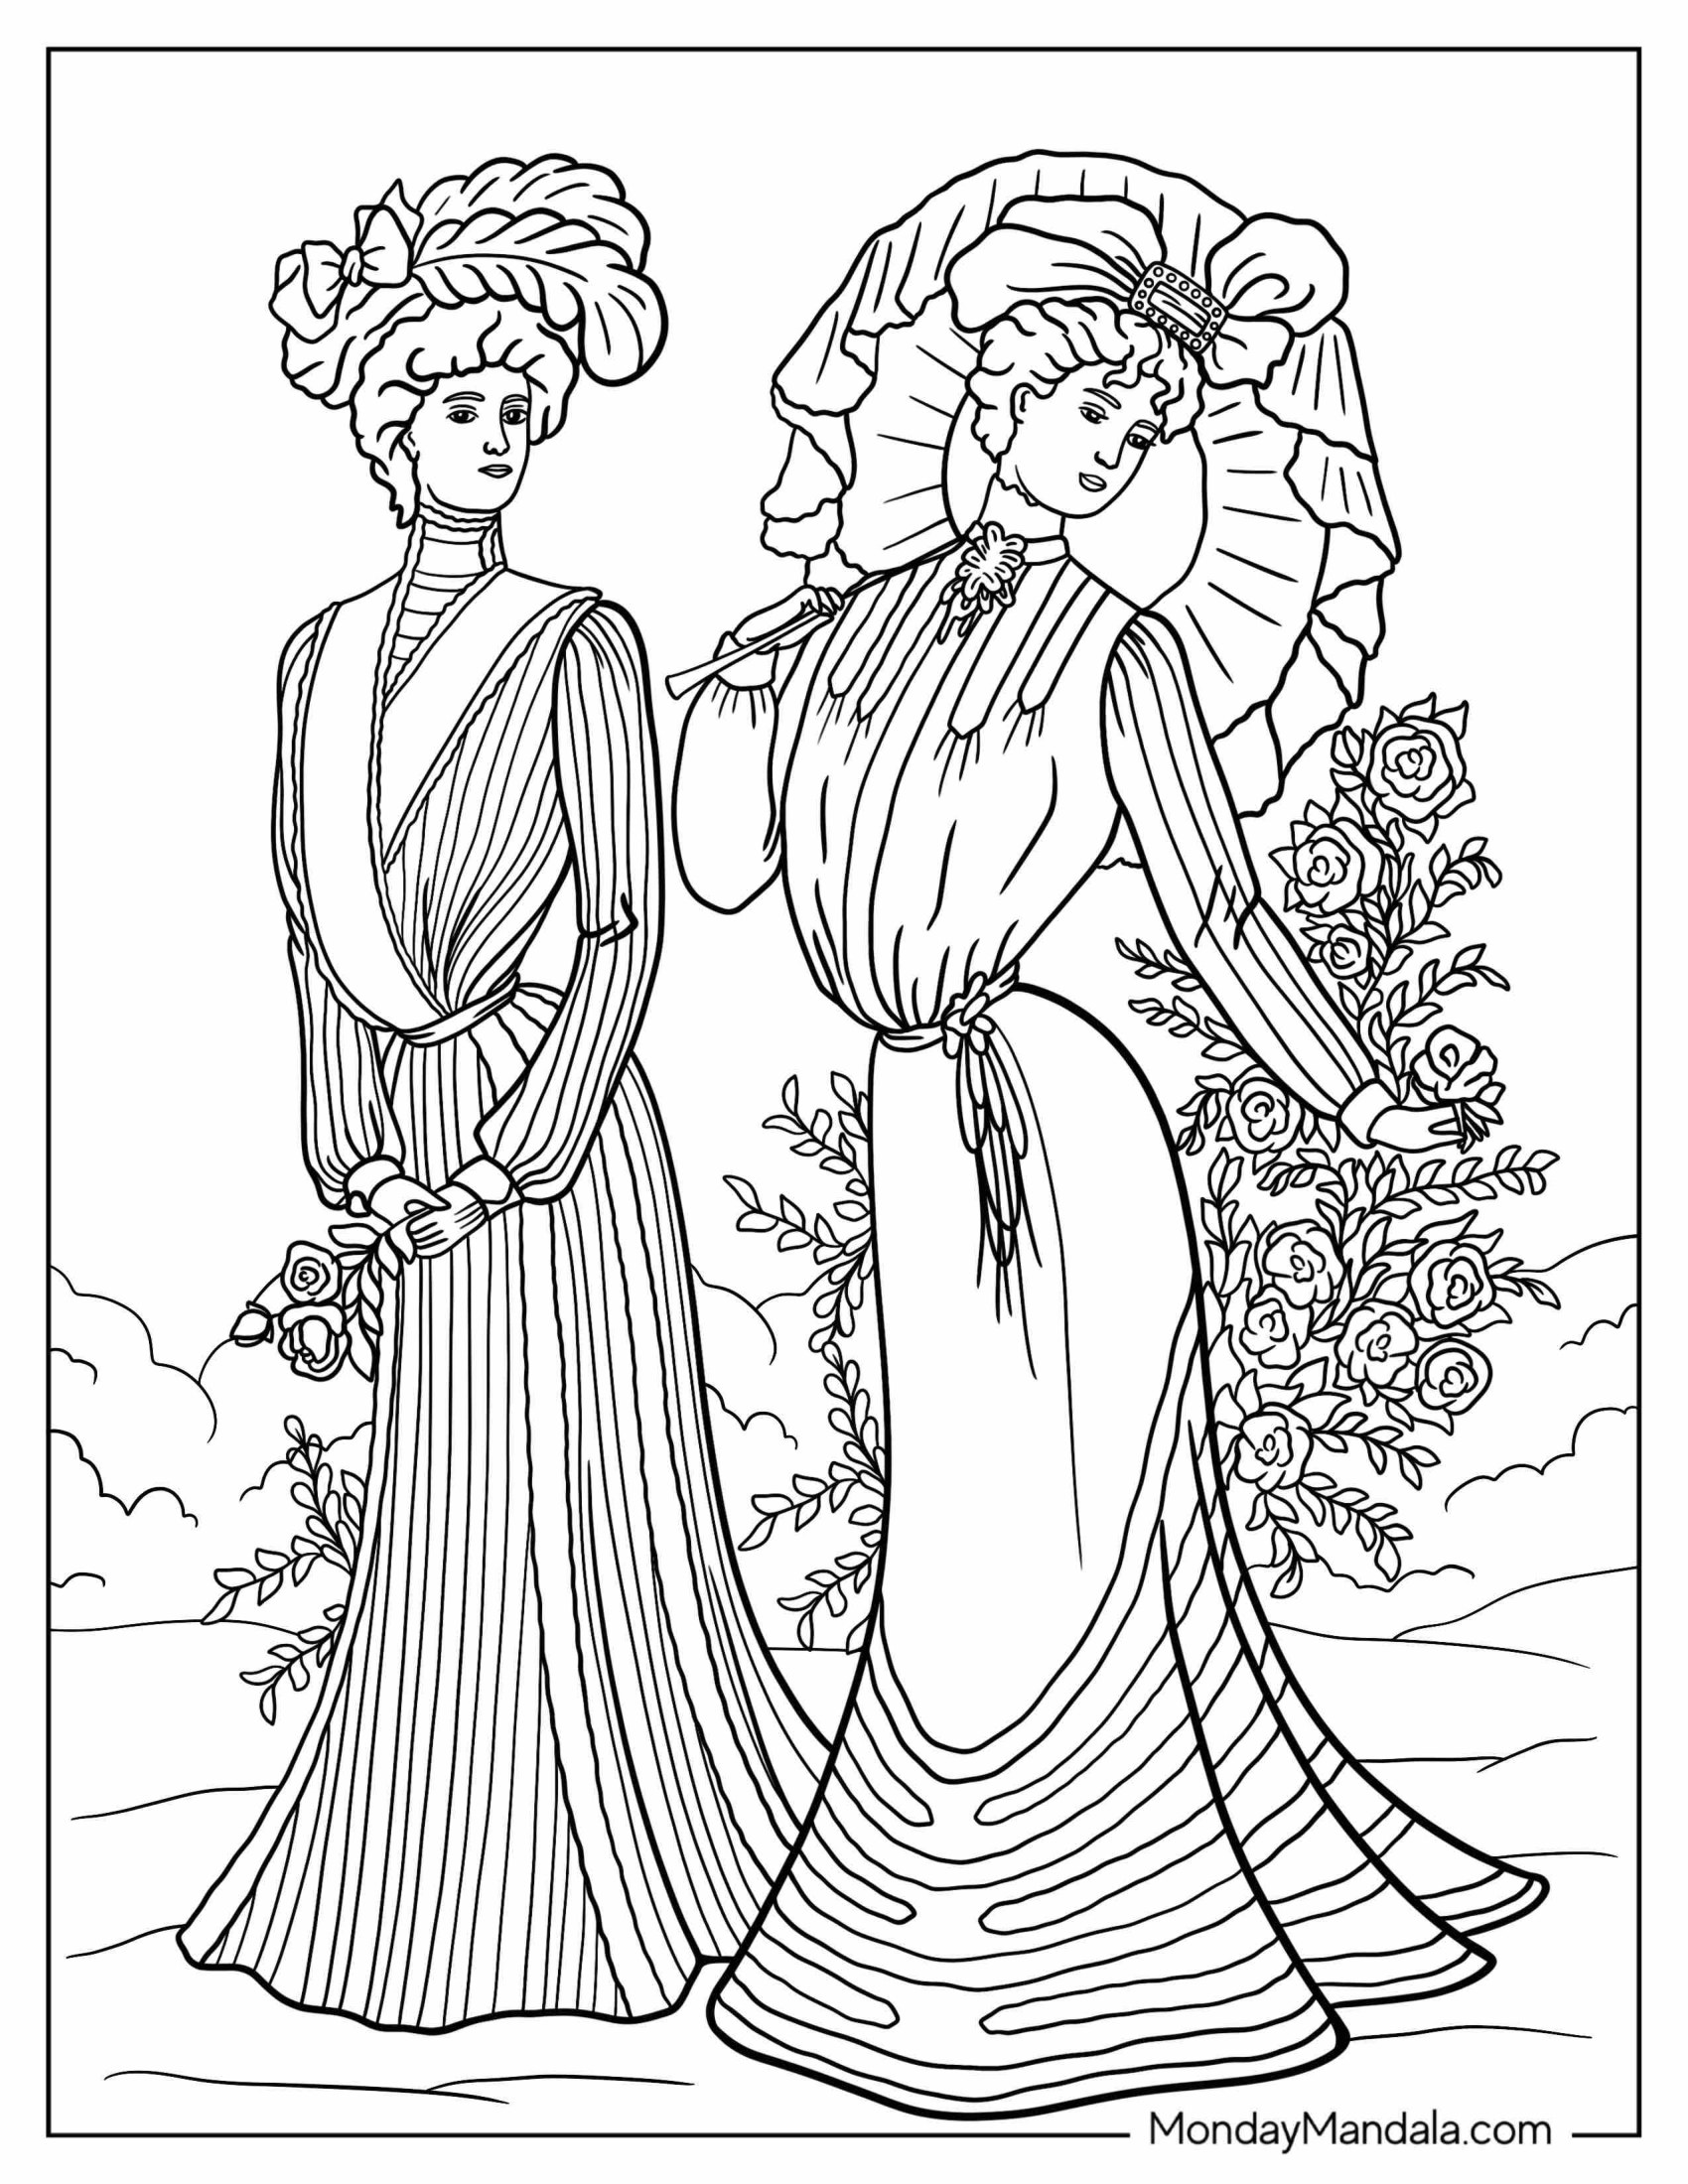
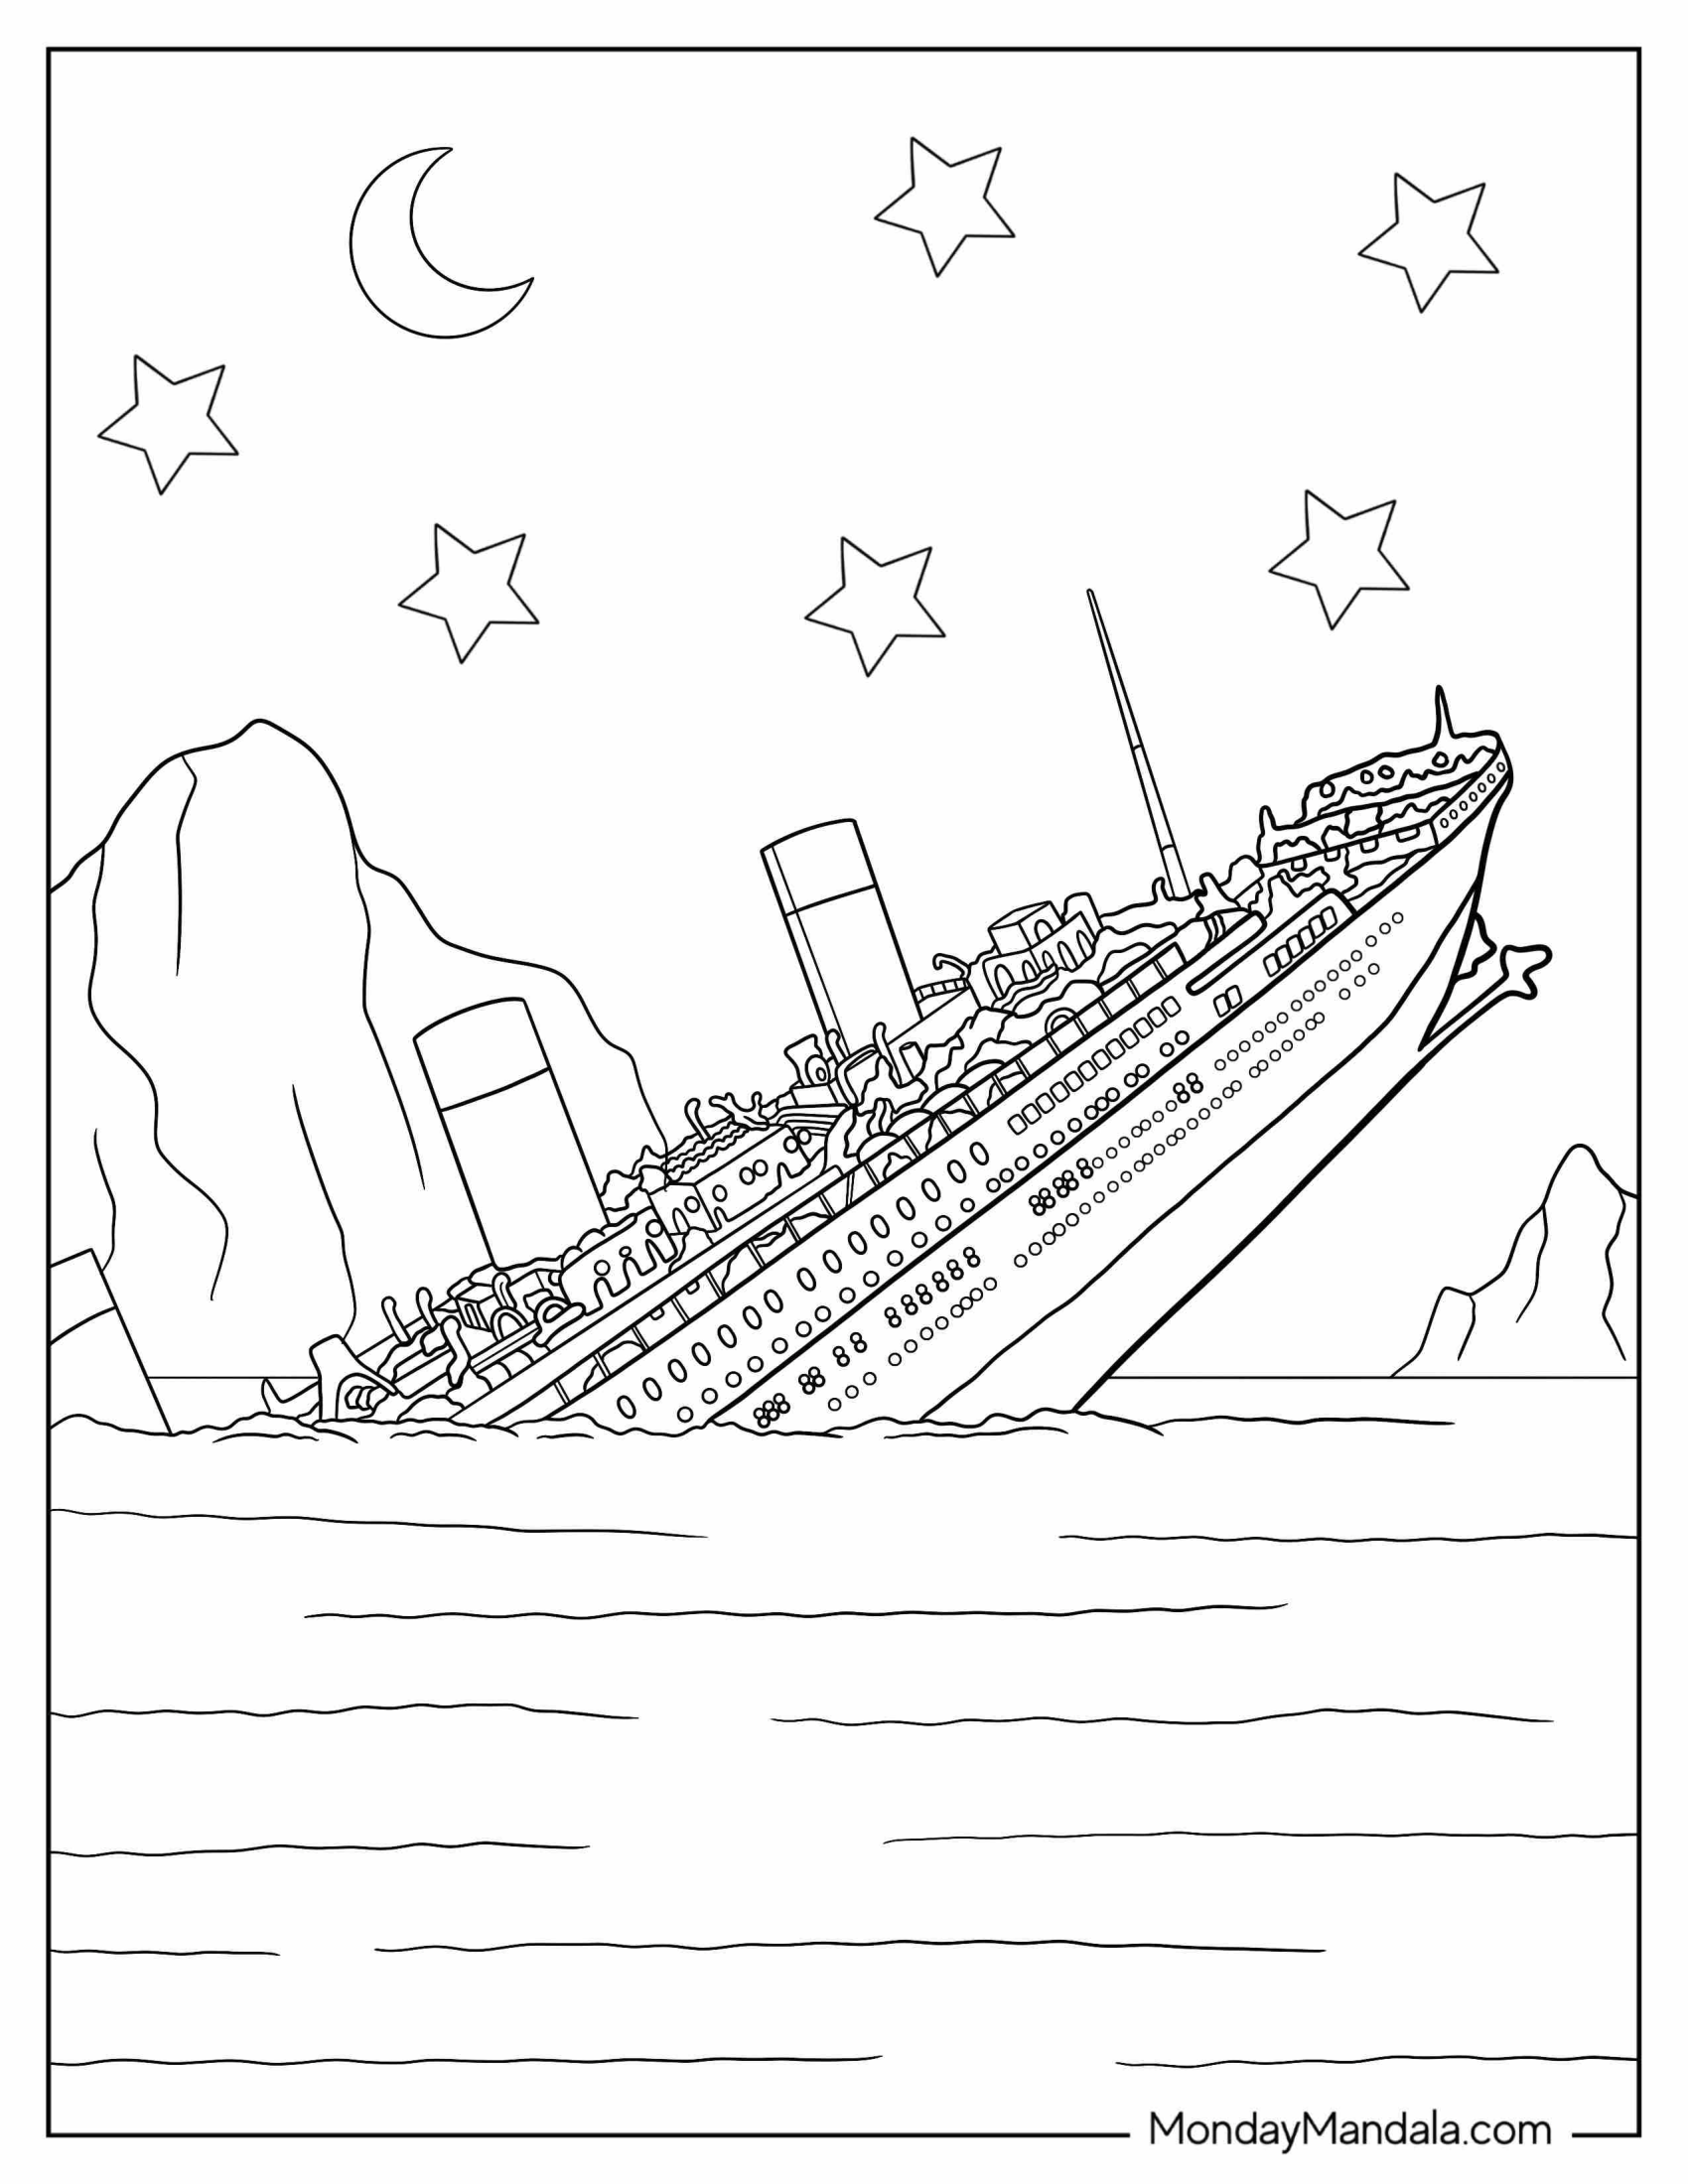
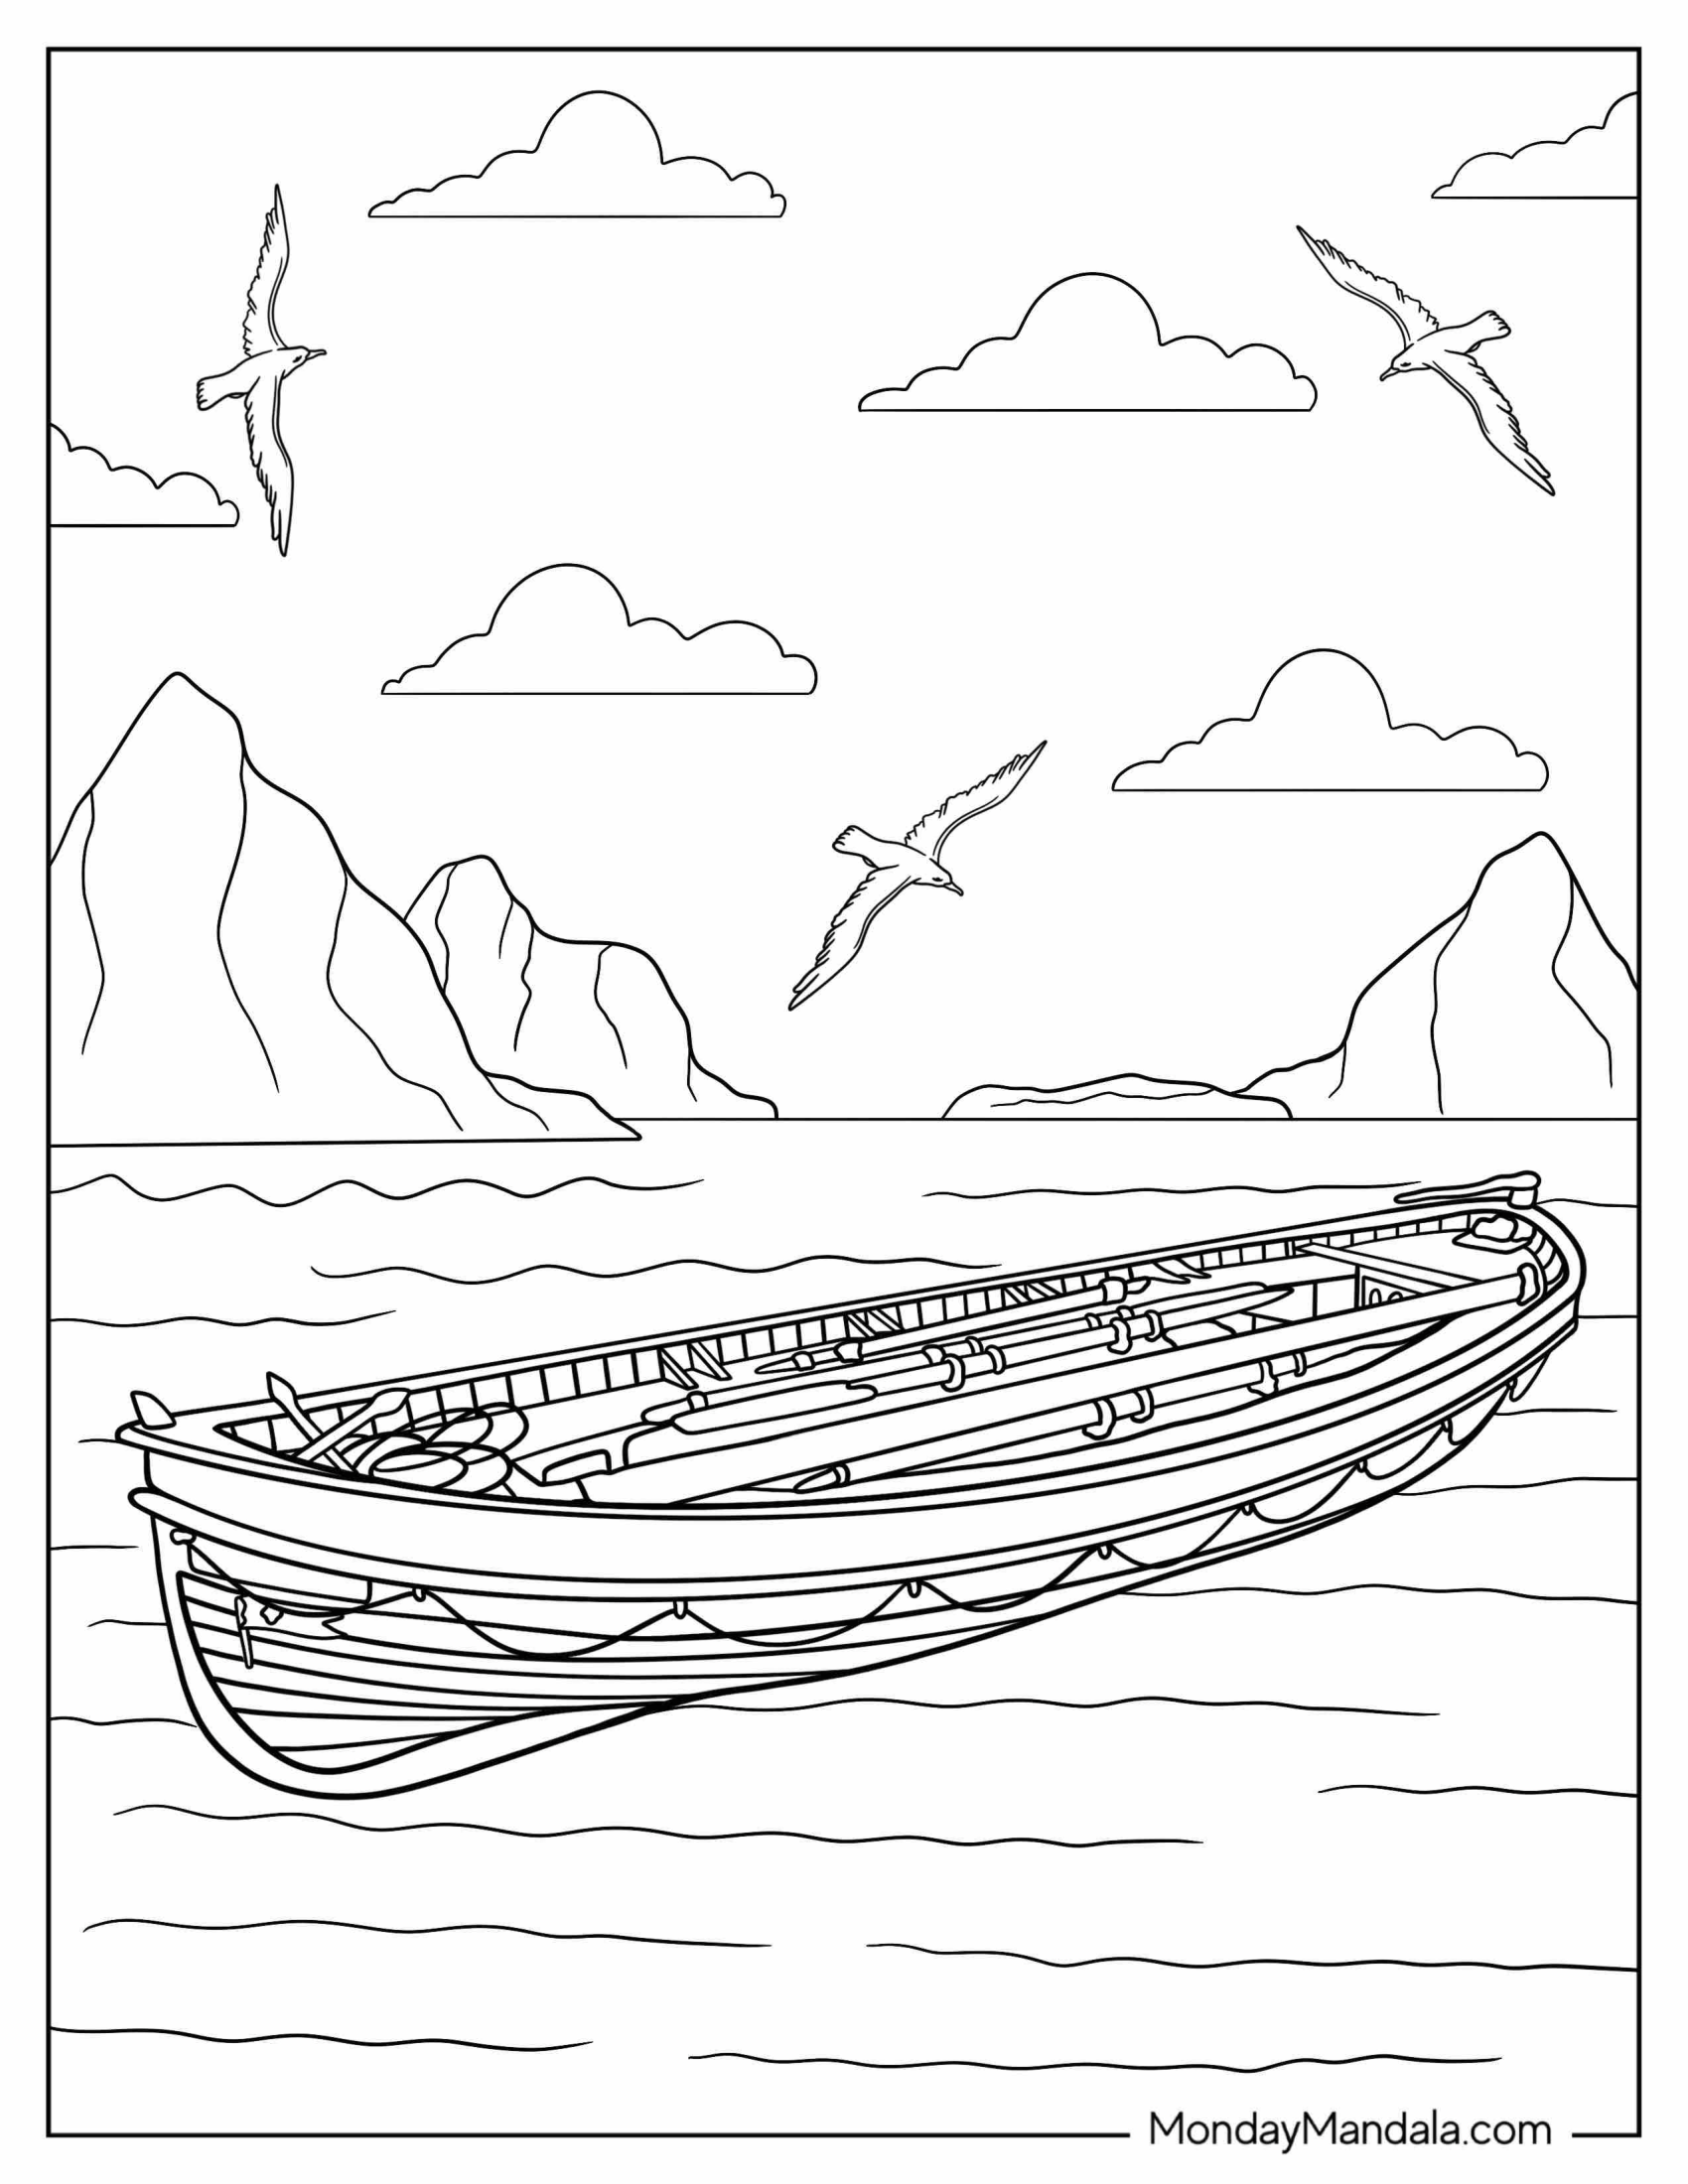
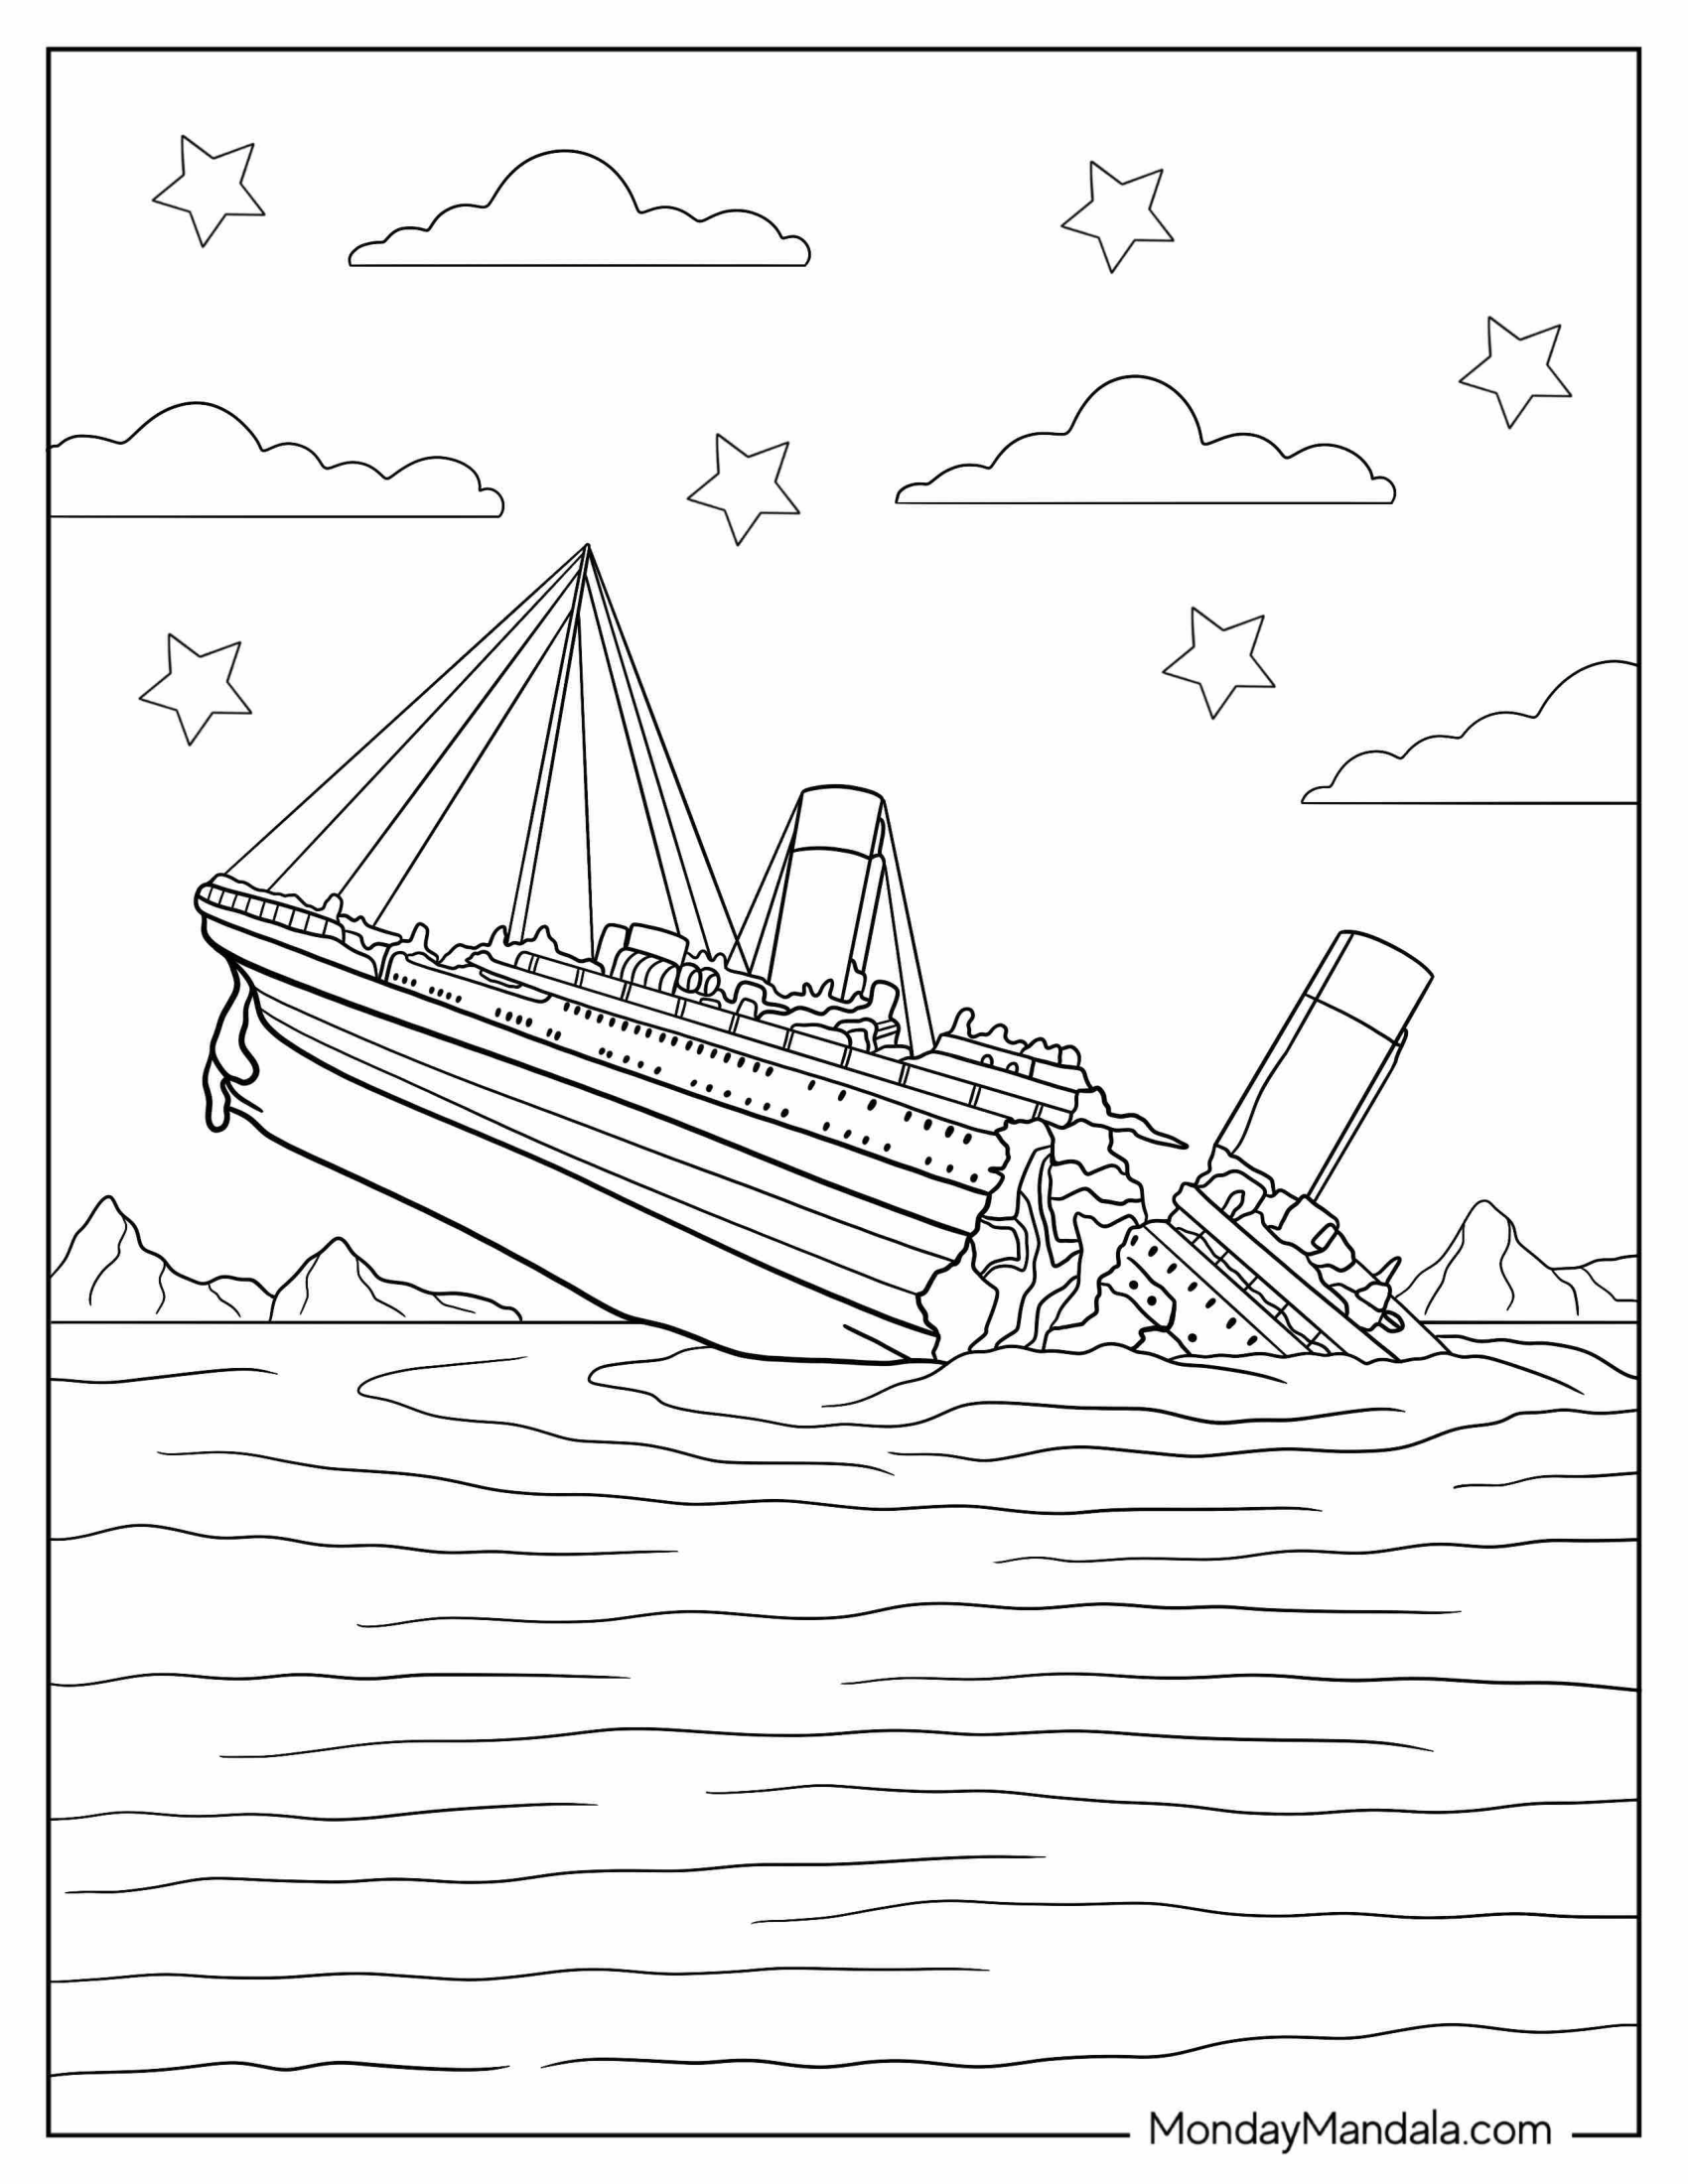
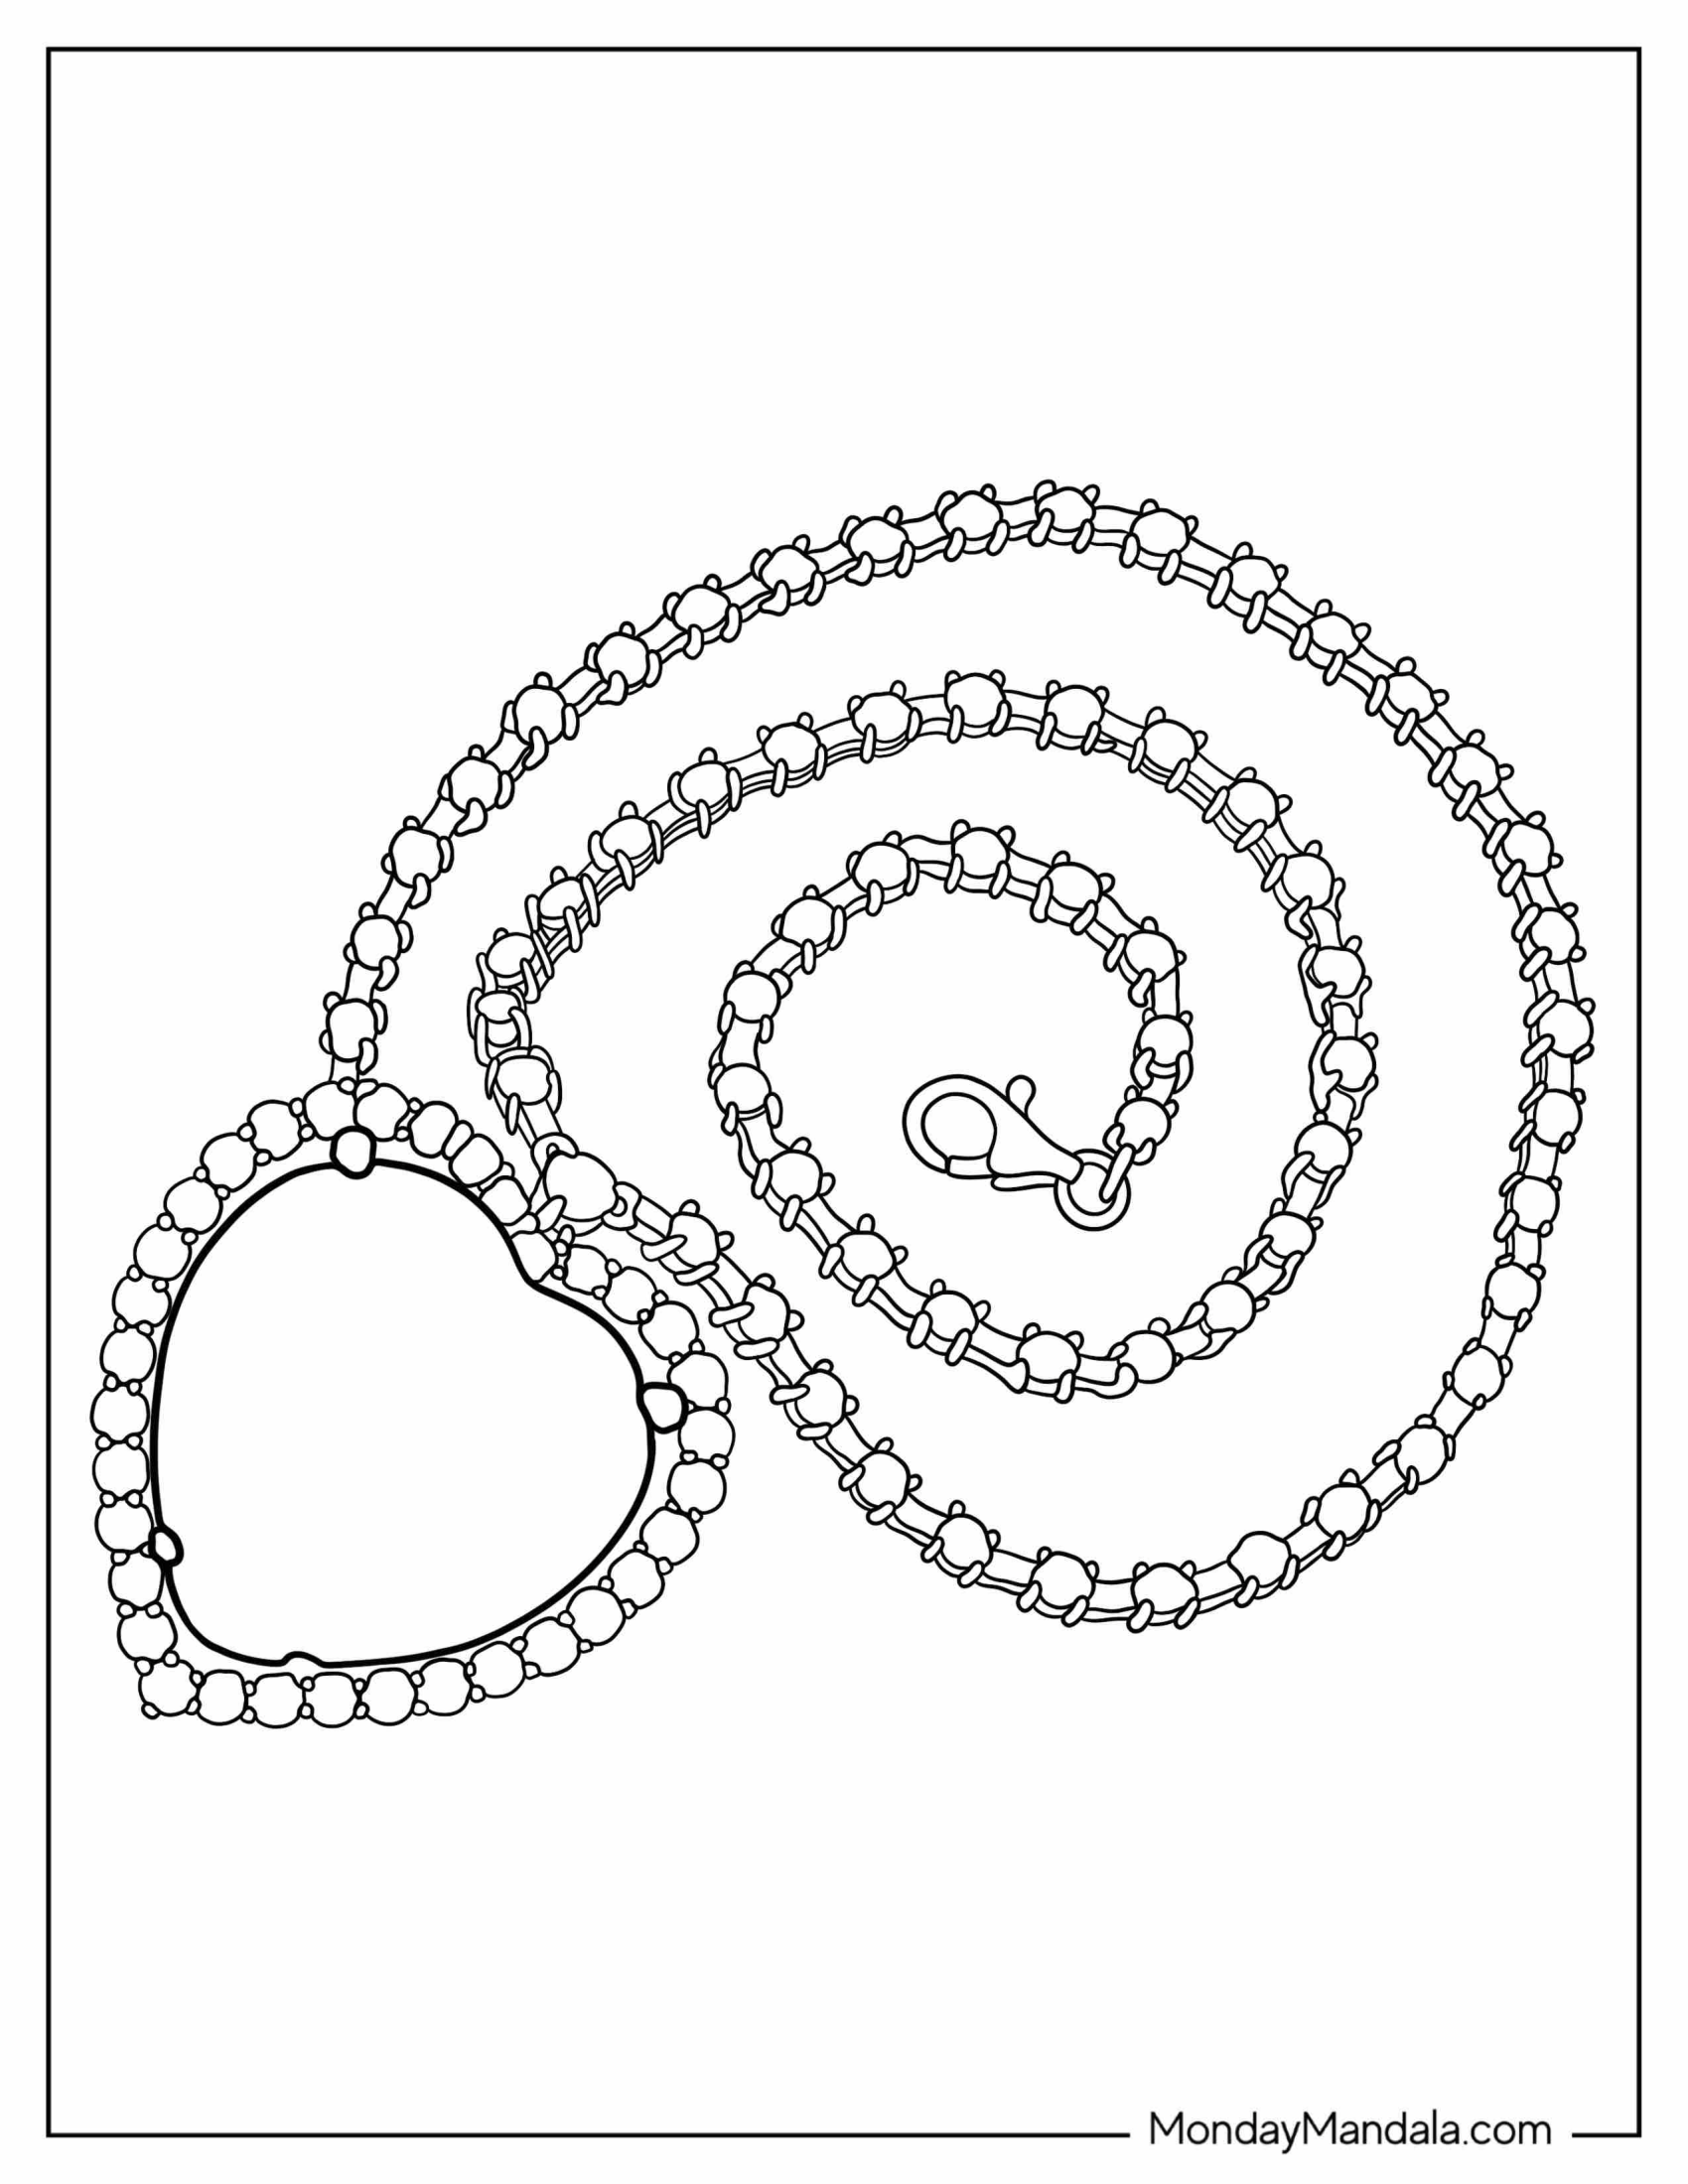
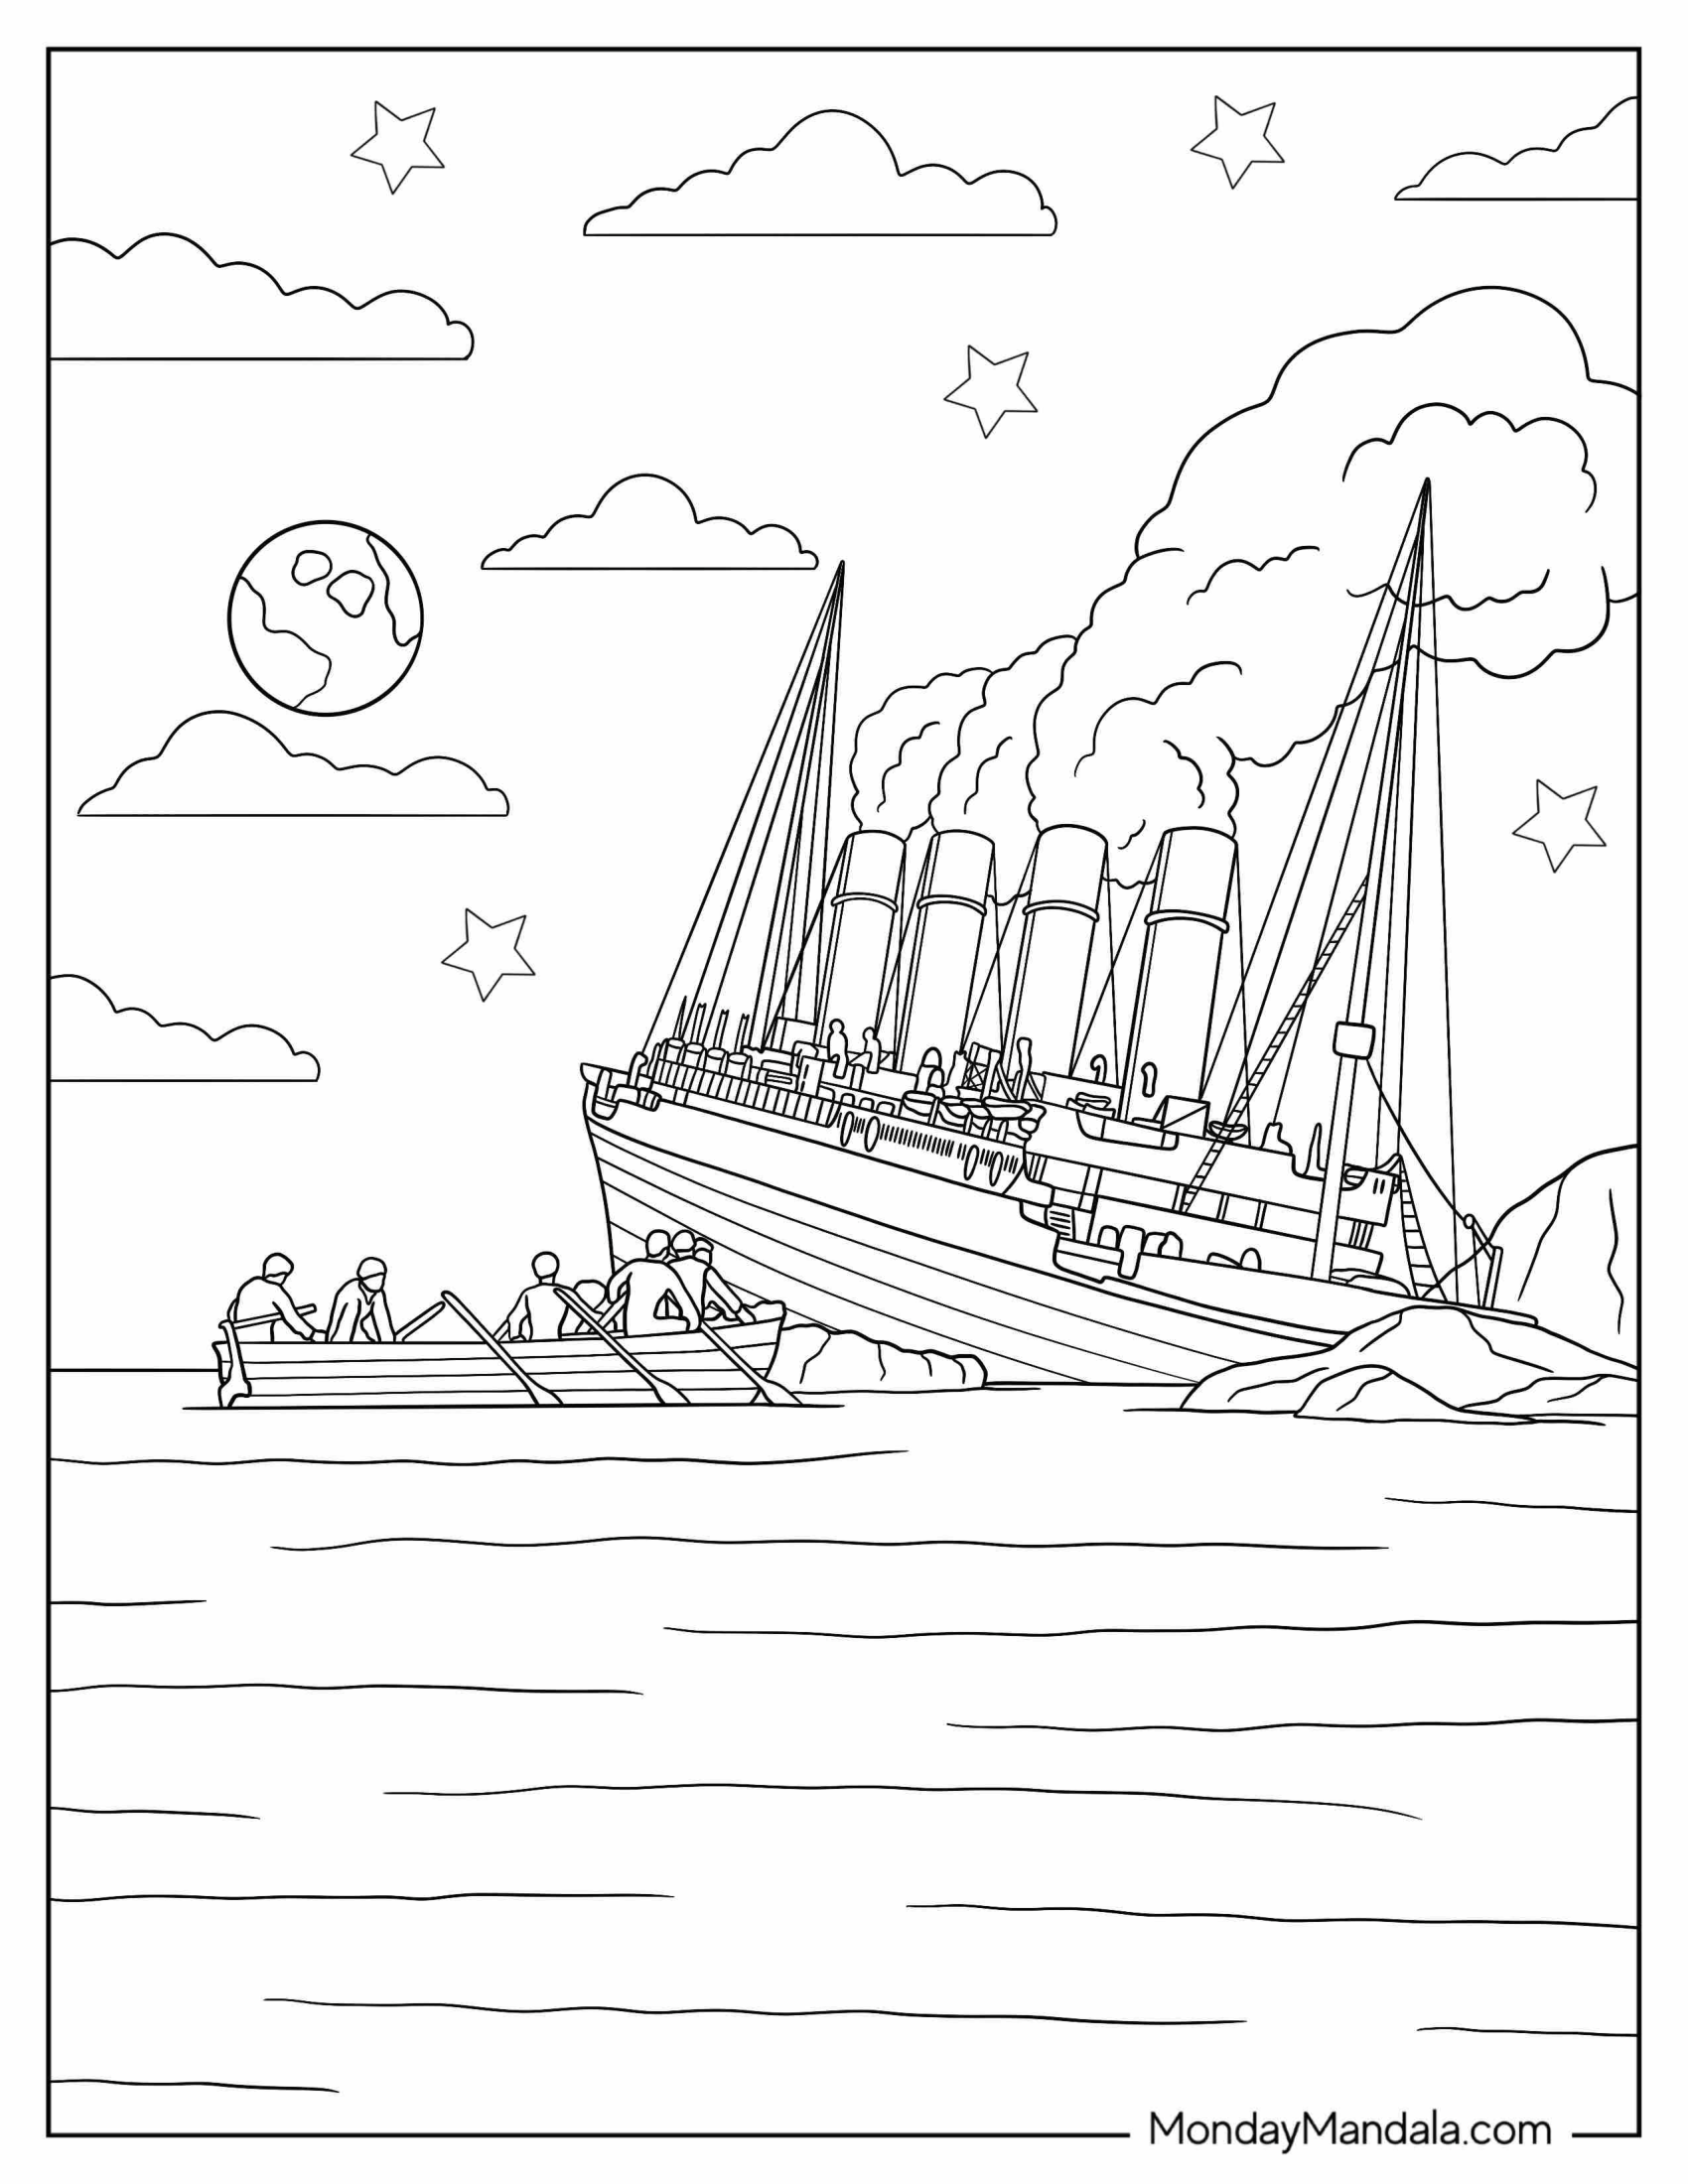
Unleash Your Creativity with Free Titanic Coloring Pages
The article has explored the world of Titanic coloring pages, providing a comprehensive guide for those looking to engage in a fun and creative activity. Key points include the availability of free PDF printables, suitable for individuals of all ages, which can be downloaded and printed easily. The article also highlighted the importance of coloring as a stress-relieving and creative outlet, making it an excellent activity for both children and adults. Additionally, it emphasized the educational value of coloring pages, as they can help develop fine motor skills, hand-eye coordination, and cognitive development. Overall, the article has provided a comprehensive overview of Titanic coloring pages, showcasing their benefits and availability, making it an excellent resource for those looking to explore this creative and entertaining activity.