Are you ready to unleash your creativity and bring the vibrant world of chameleons to life? Look no further! We’re excited to introduce our free PDF printables of chameleon coloring pages, carefully converted from their original digital format to a printable-friendly layout using the popular PDF format. Using a simple yet effective formula, we’ve ensured that each page is optimized for easy printing and coloring, allowing you to focus on what matters most – unleashing your artistic side and having fun!
Free Printable Chameleon Coloring Pages – Download Now

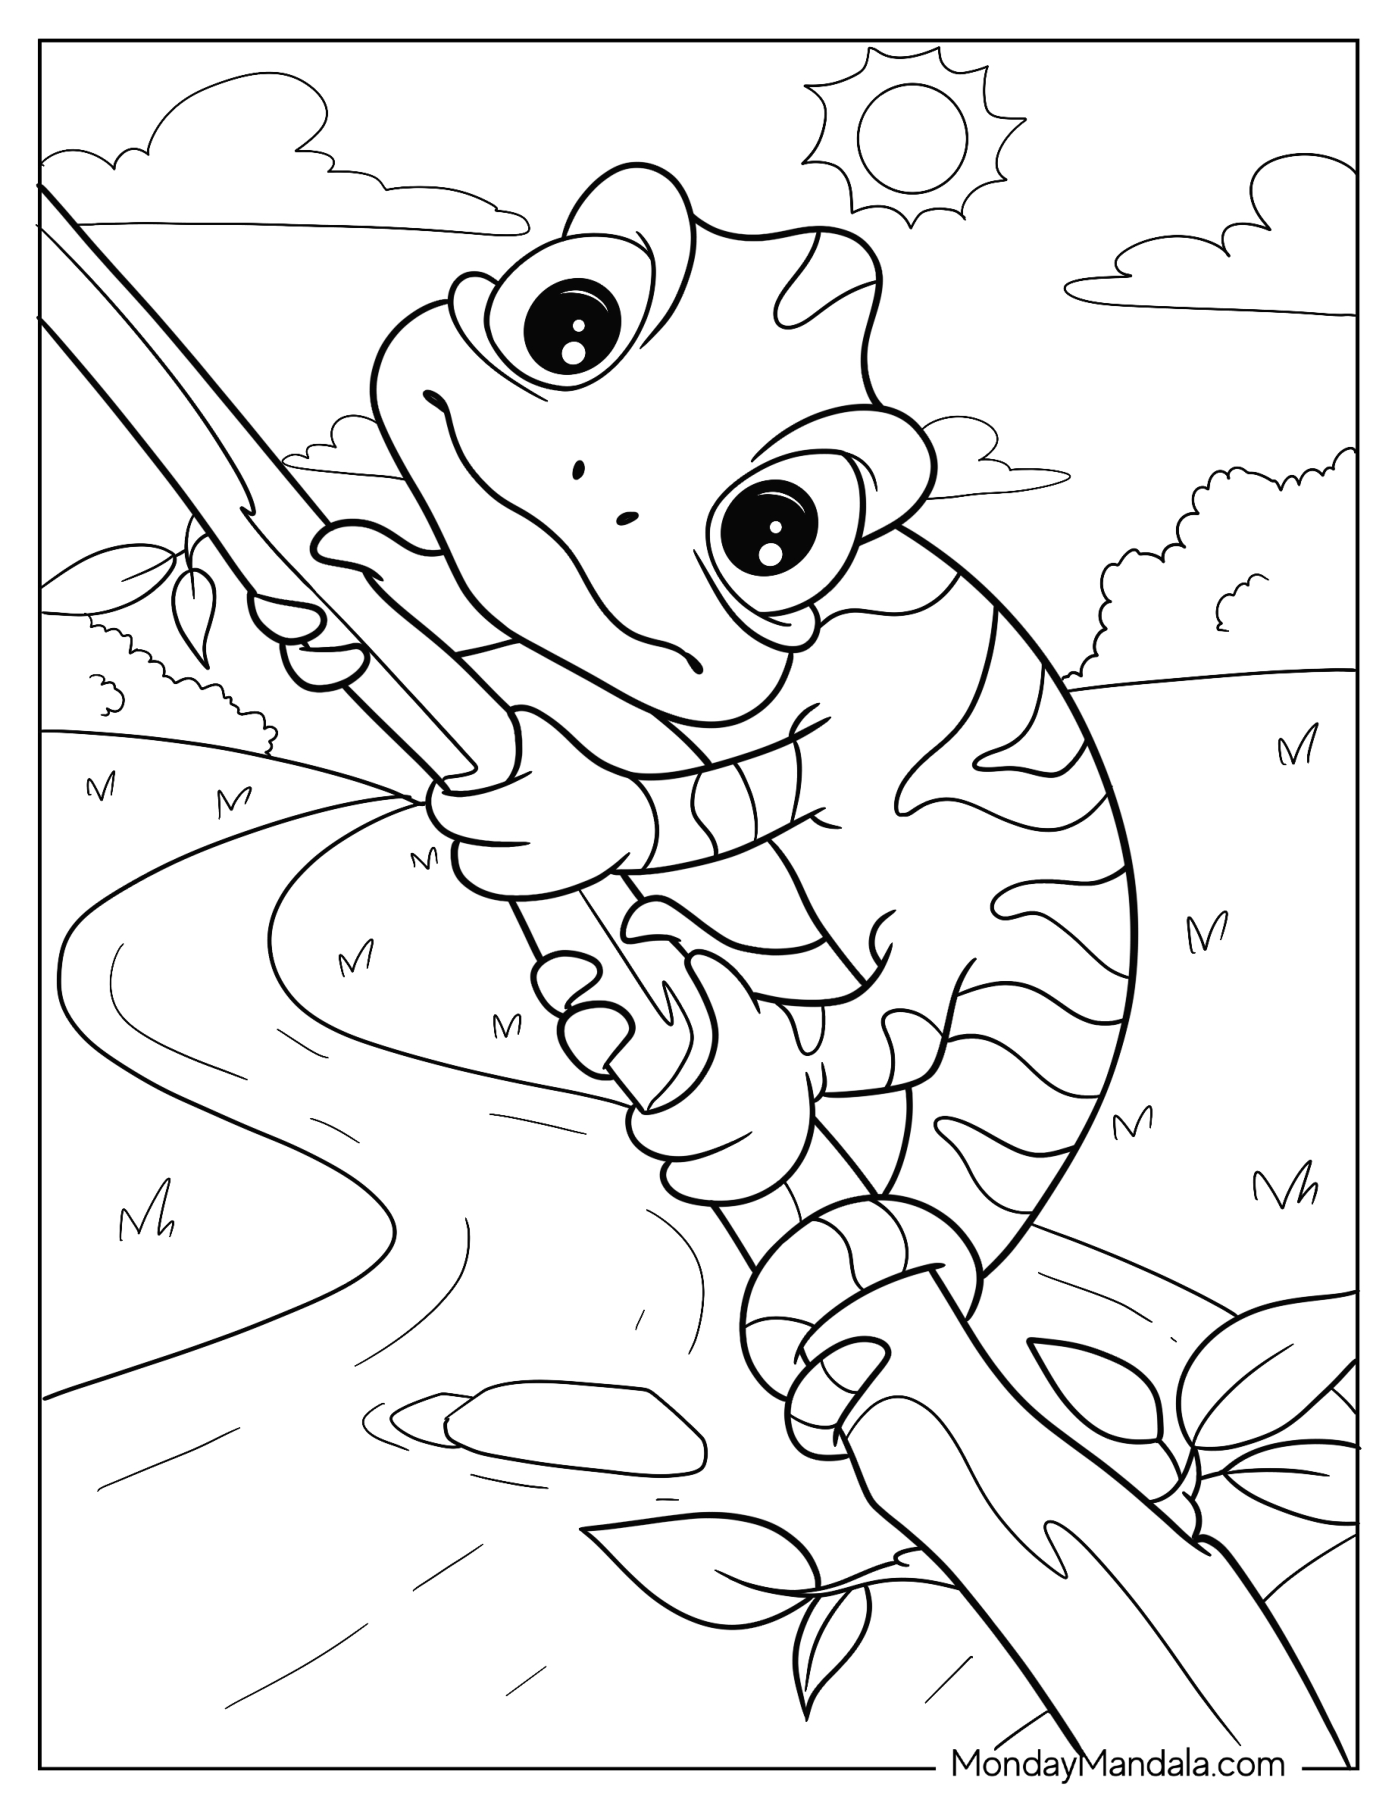
Unleash Your Creativity with Free Chameleon Coloring Pages
Chameleon Coloring Pages (Free PDF Printables) offers a unique and exciting way for individuals of all ages to express their creativity and relax. The article highlights the benefits of coloring, including reduced stress and anxiety, improved focus, and enhanced self-expression. The free PDF printables of chameleon coloring pages provide a fun and engaging way to experience these benefits. With their vibrant colors and intricate designs, these pages are sure to captivate and inspire. Whether you’re a seasoned artist or a beginner, these free printables are the perfect way to unleash your creativity and bring out your inner chameleon.