Are you looking for a fun and creative activity to do with your kids or as a hobby? Look no further! We’ve taken the classic concept of stained glass coloring pages and converted them into free PDF printables for your convenience. Using a simple formula of combining vibrant colors and intricate designs, we’ve created a unique and engaging experience that’s perfect for anyone who loves art, relaxation, or just wants to express their creativity. With our free PDF printables, you can easily print out your chosen design and start coloring, without worrying about the hassle of creating the artwork from scratch. So why wait? Download our free stained glass coloring pages today and start unleashing your inner artist!
Free Printable Stained Glass Coloring Pages – Download Now

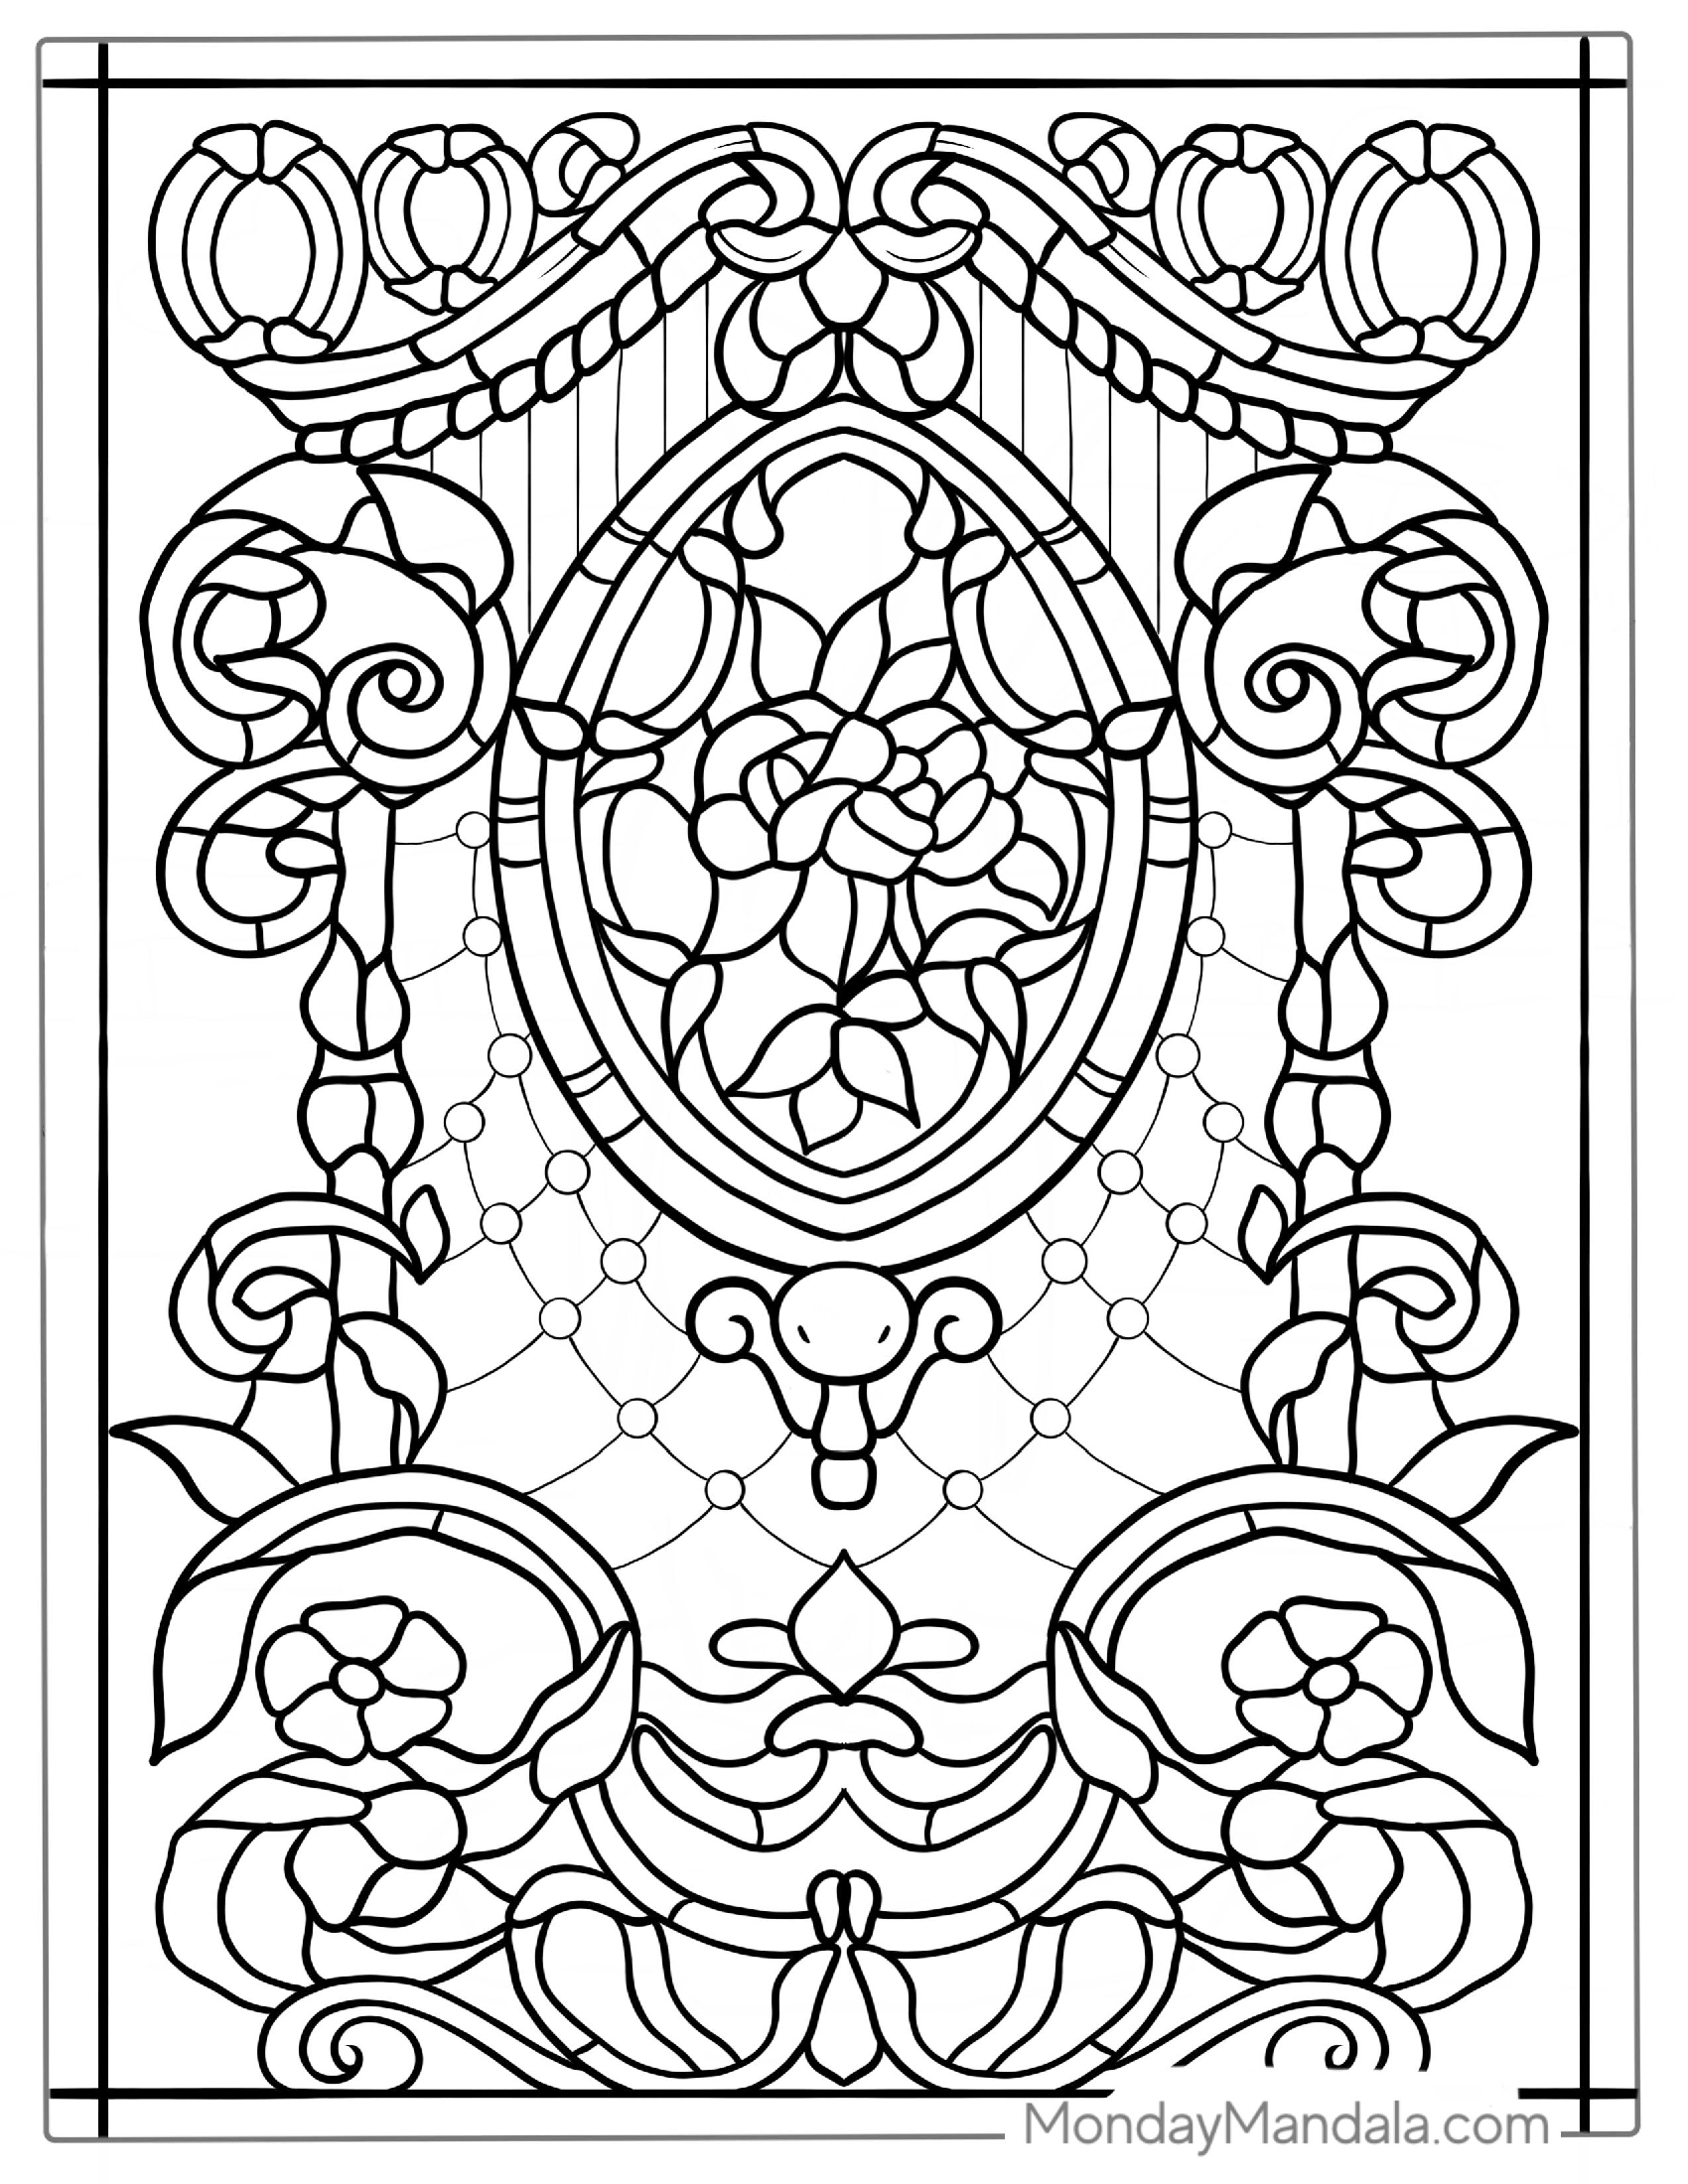
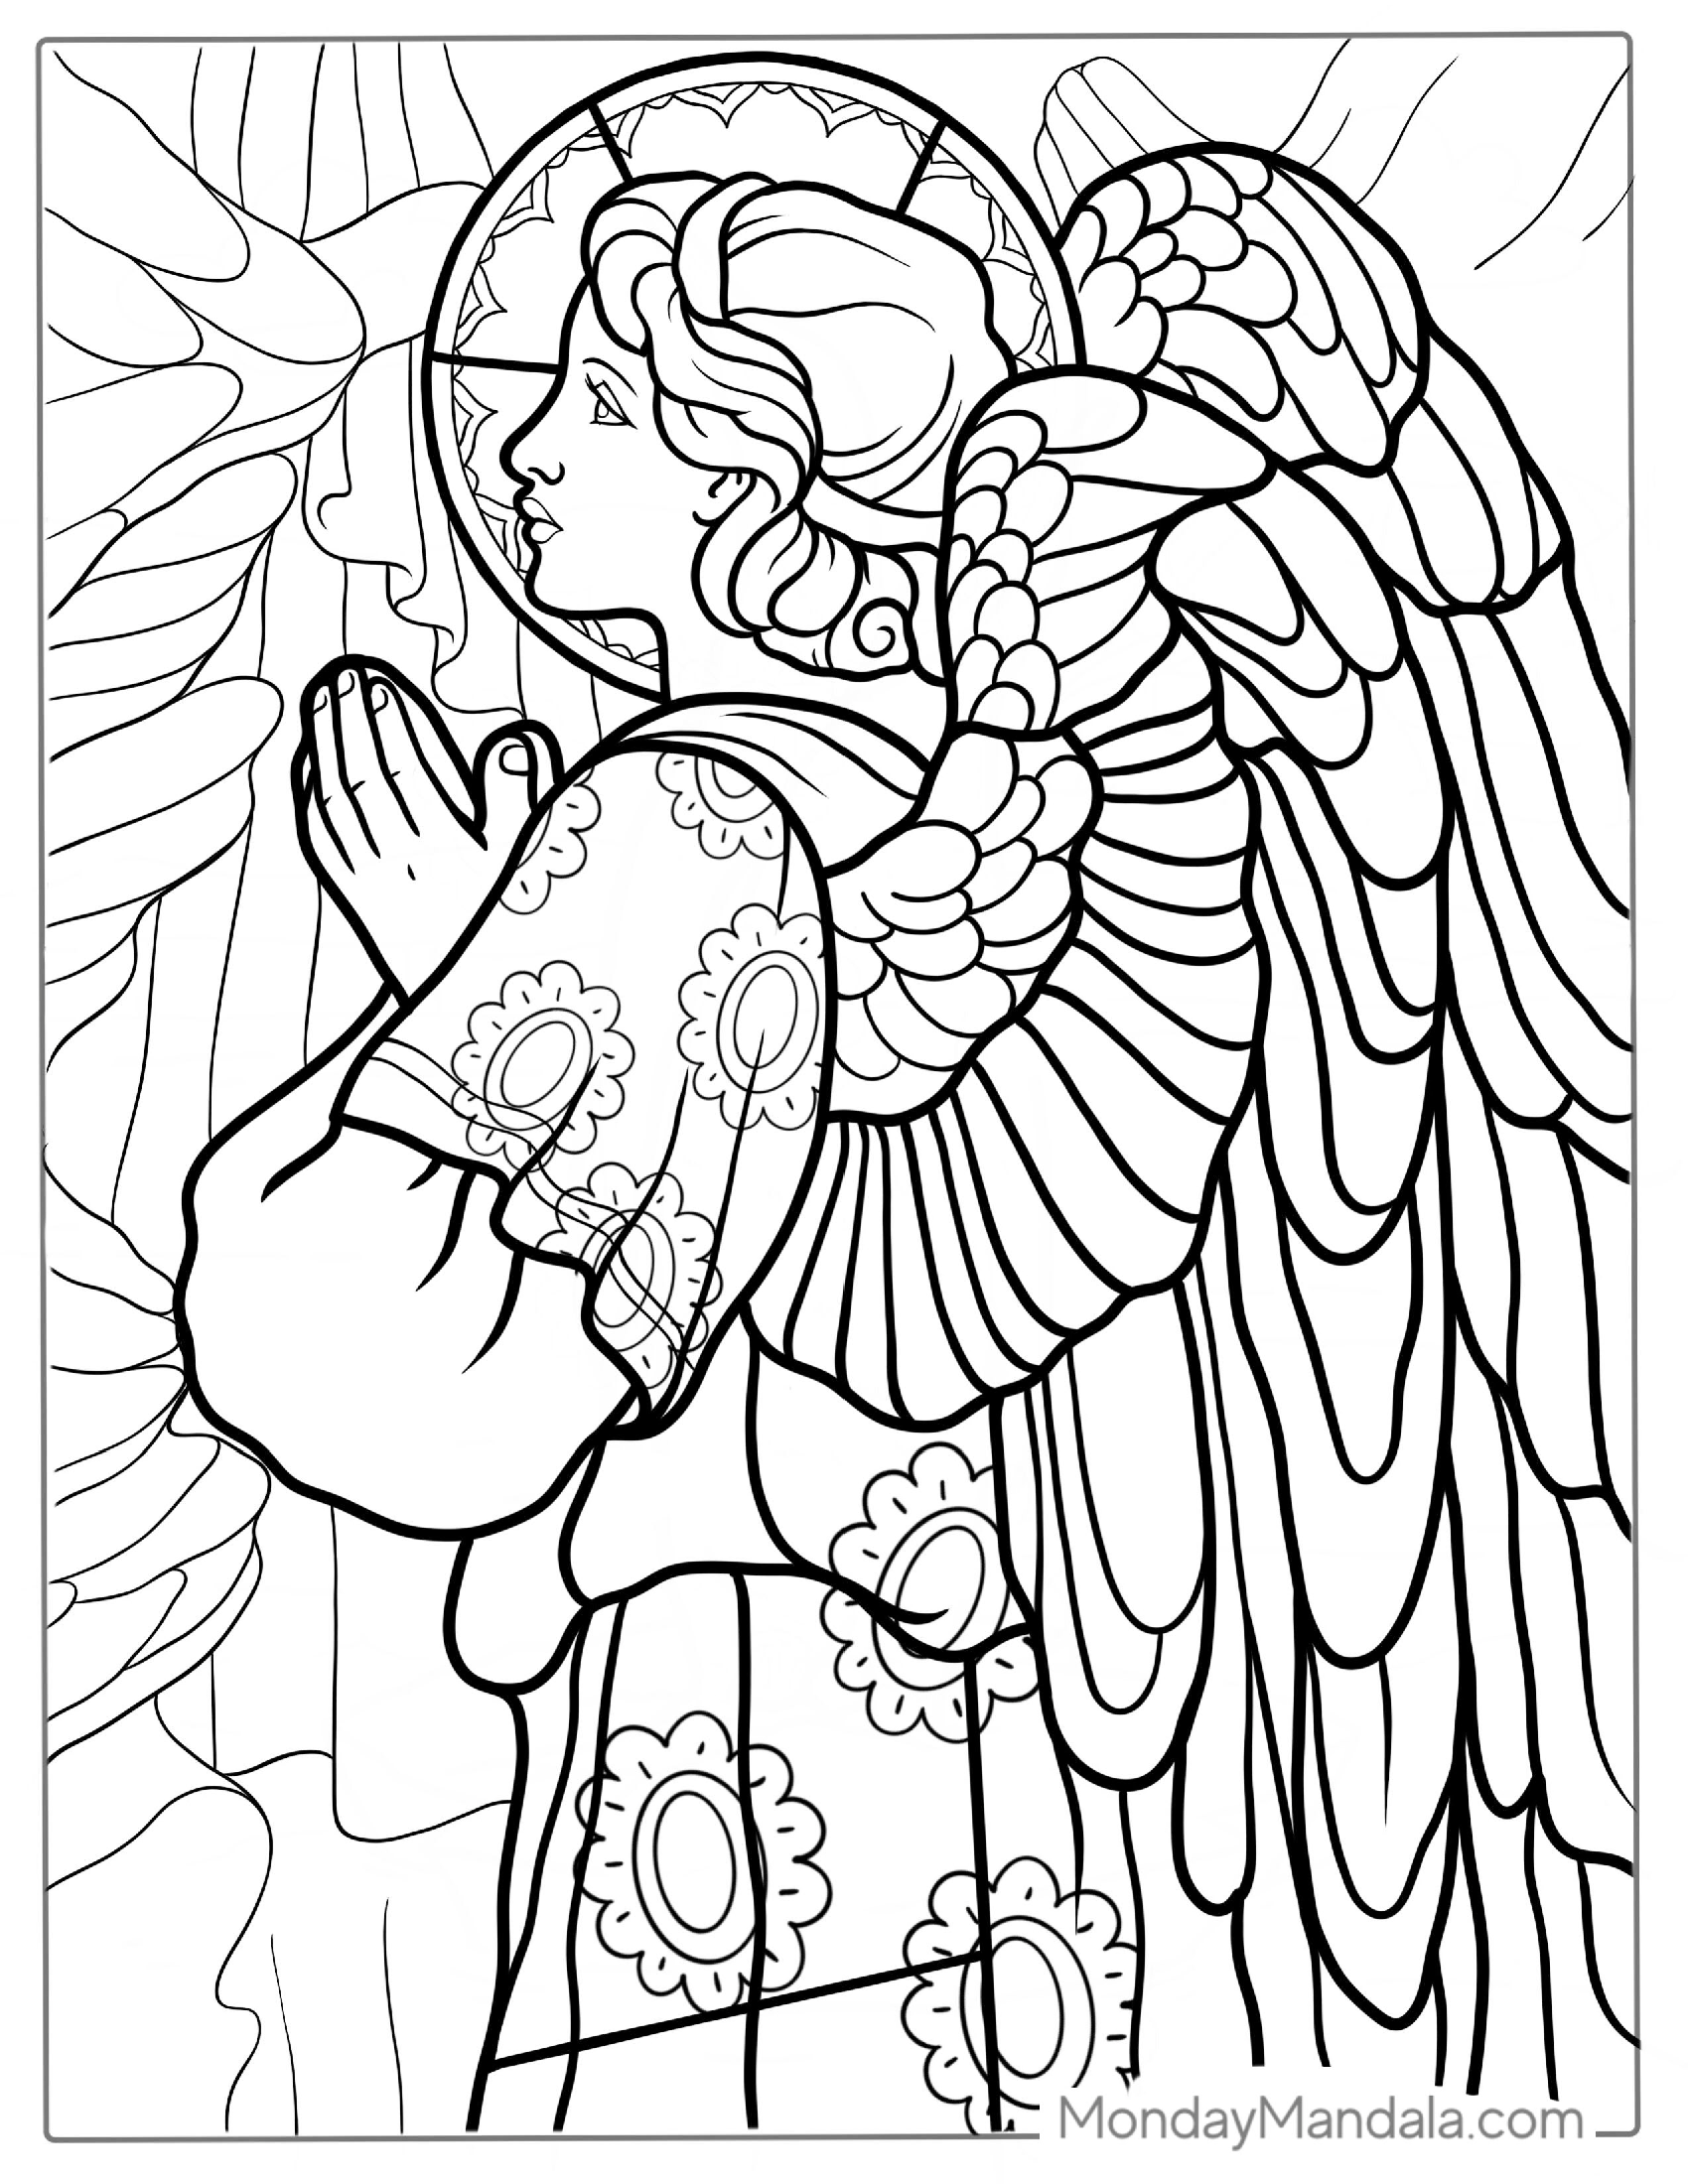
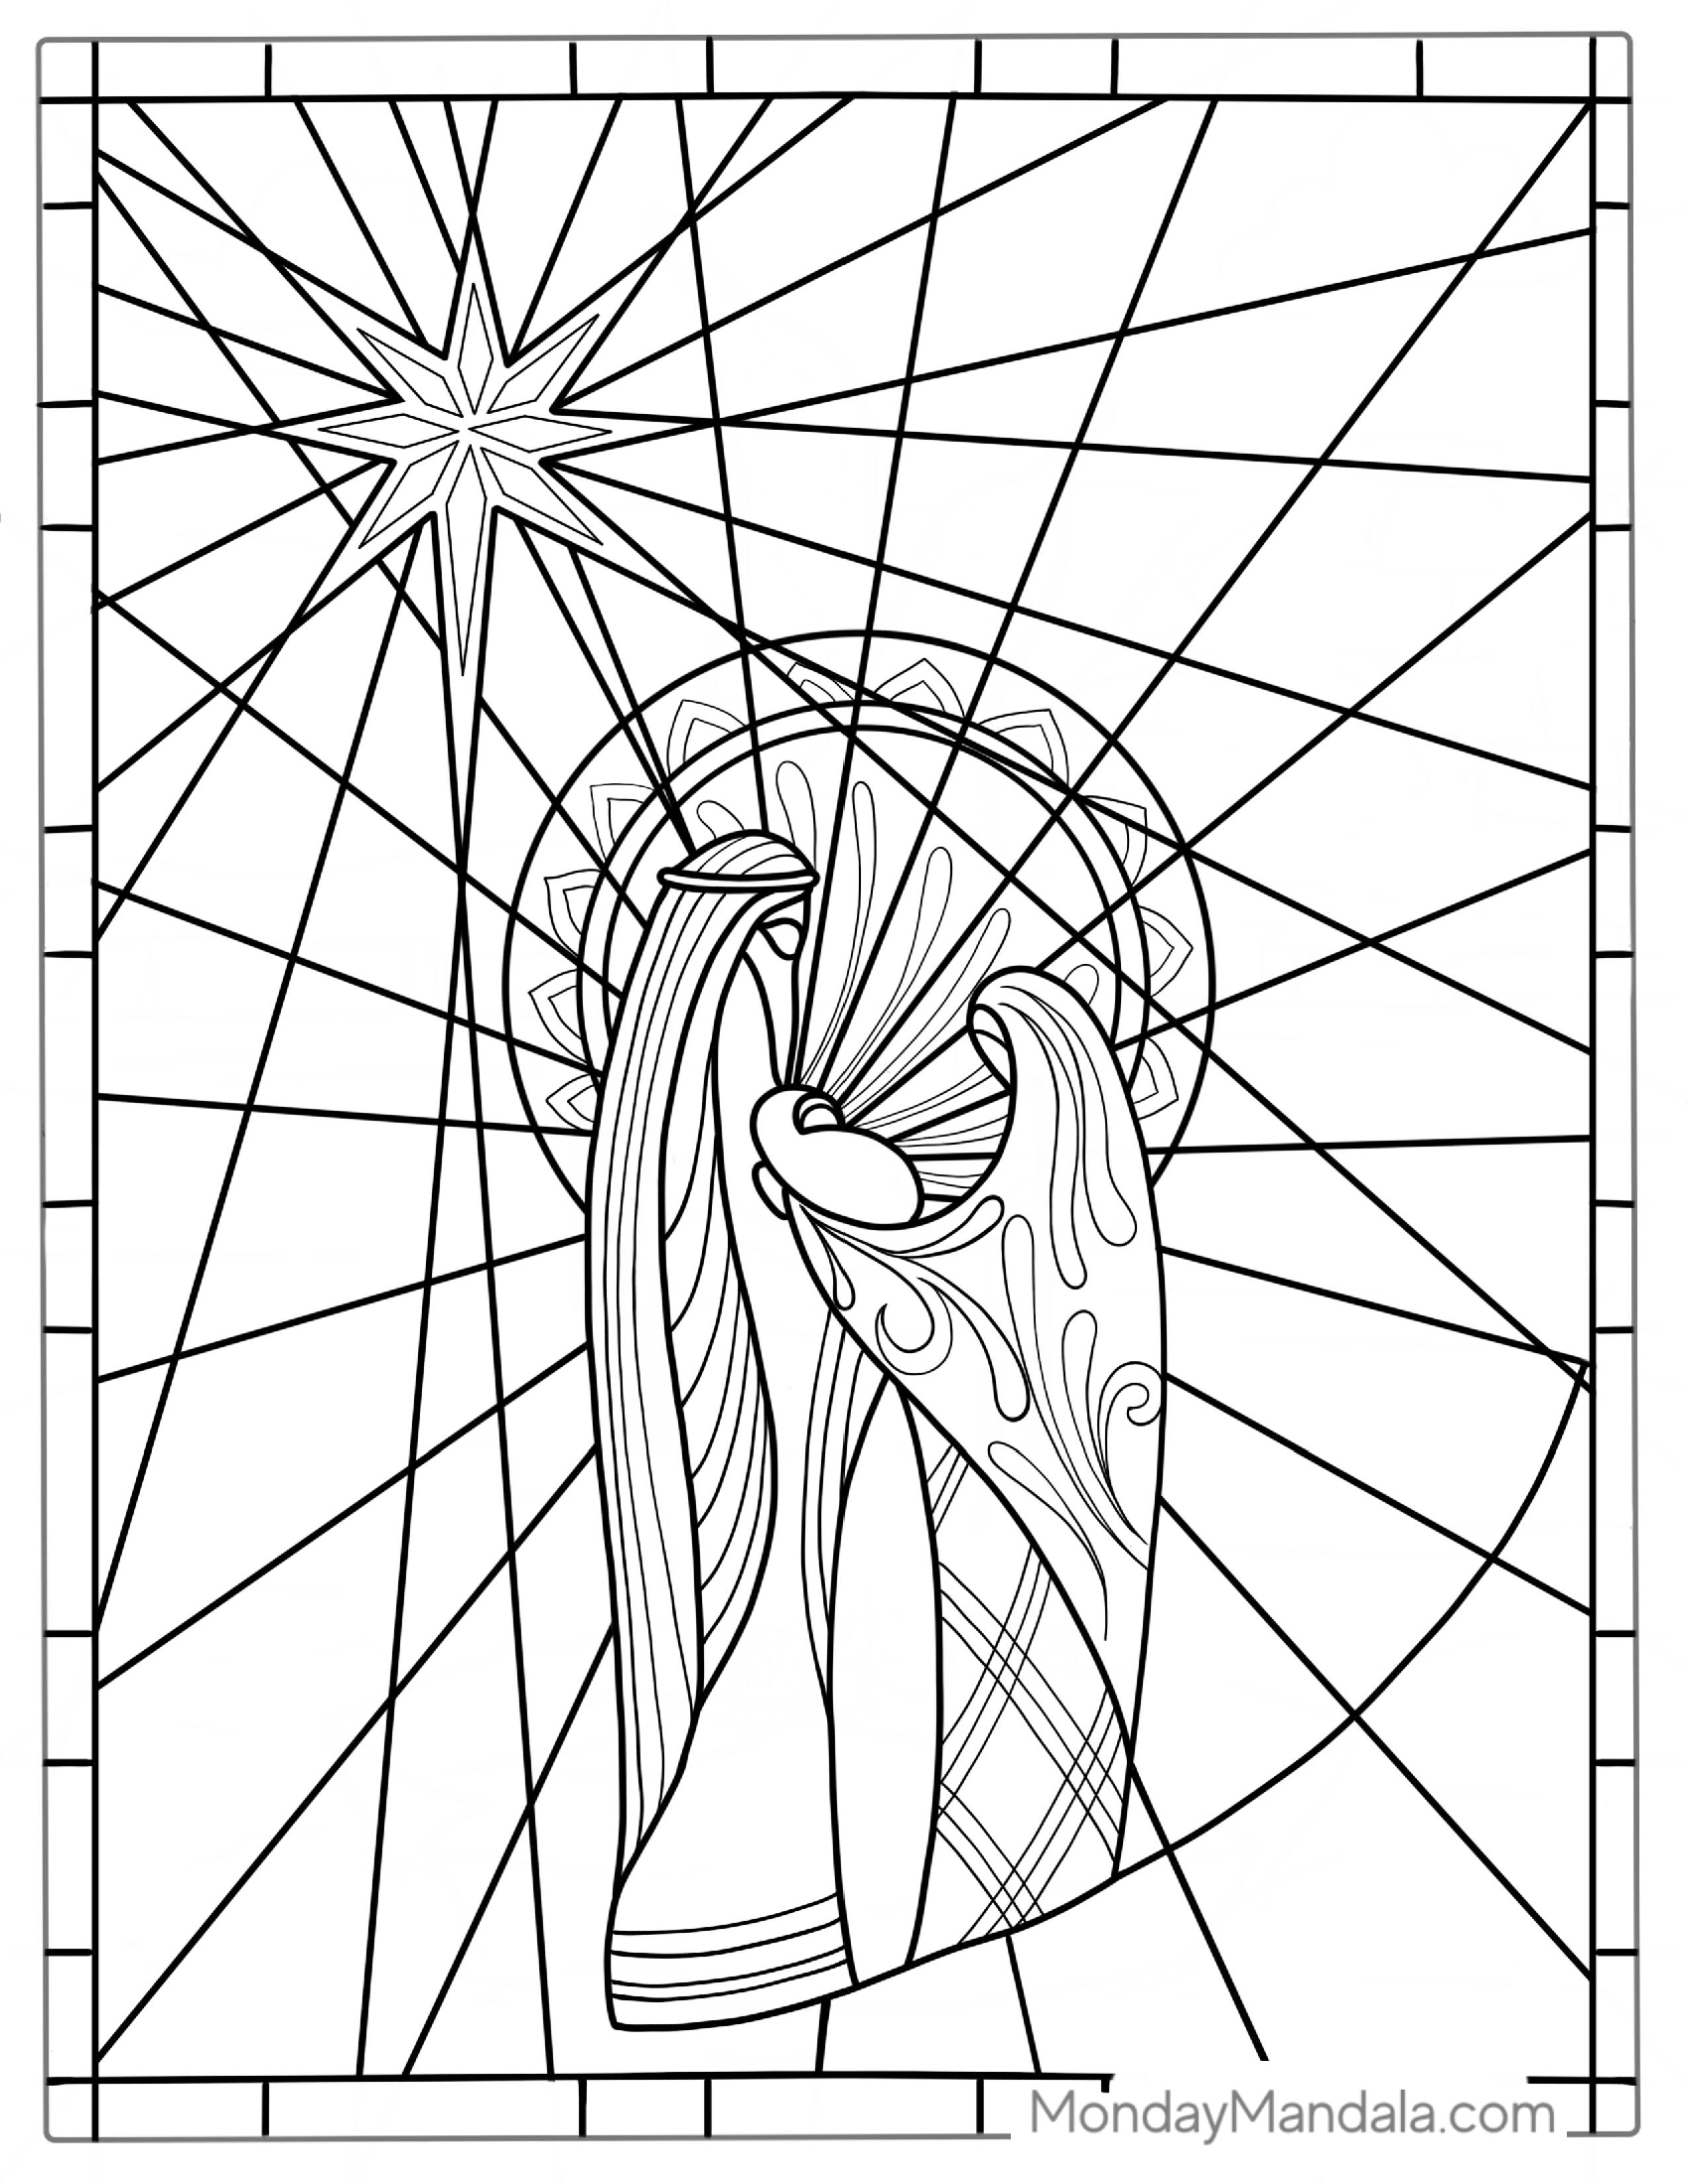
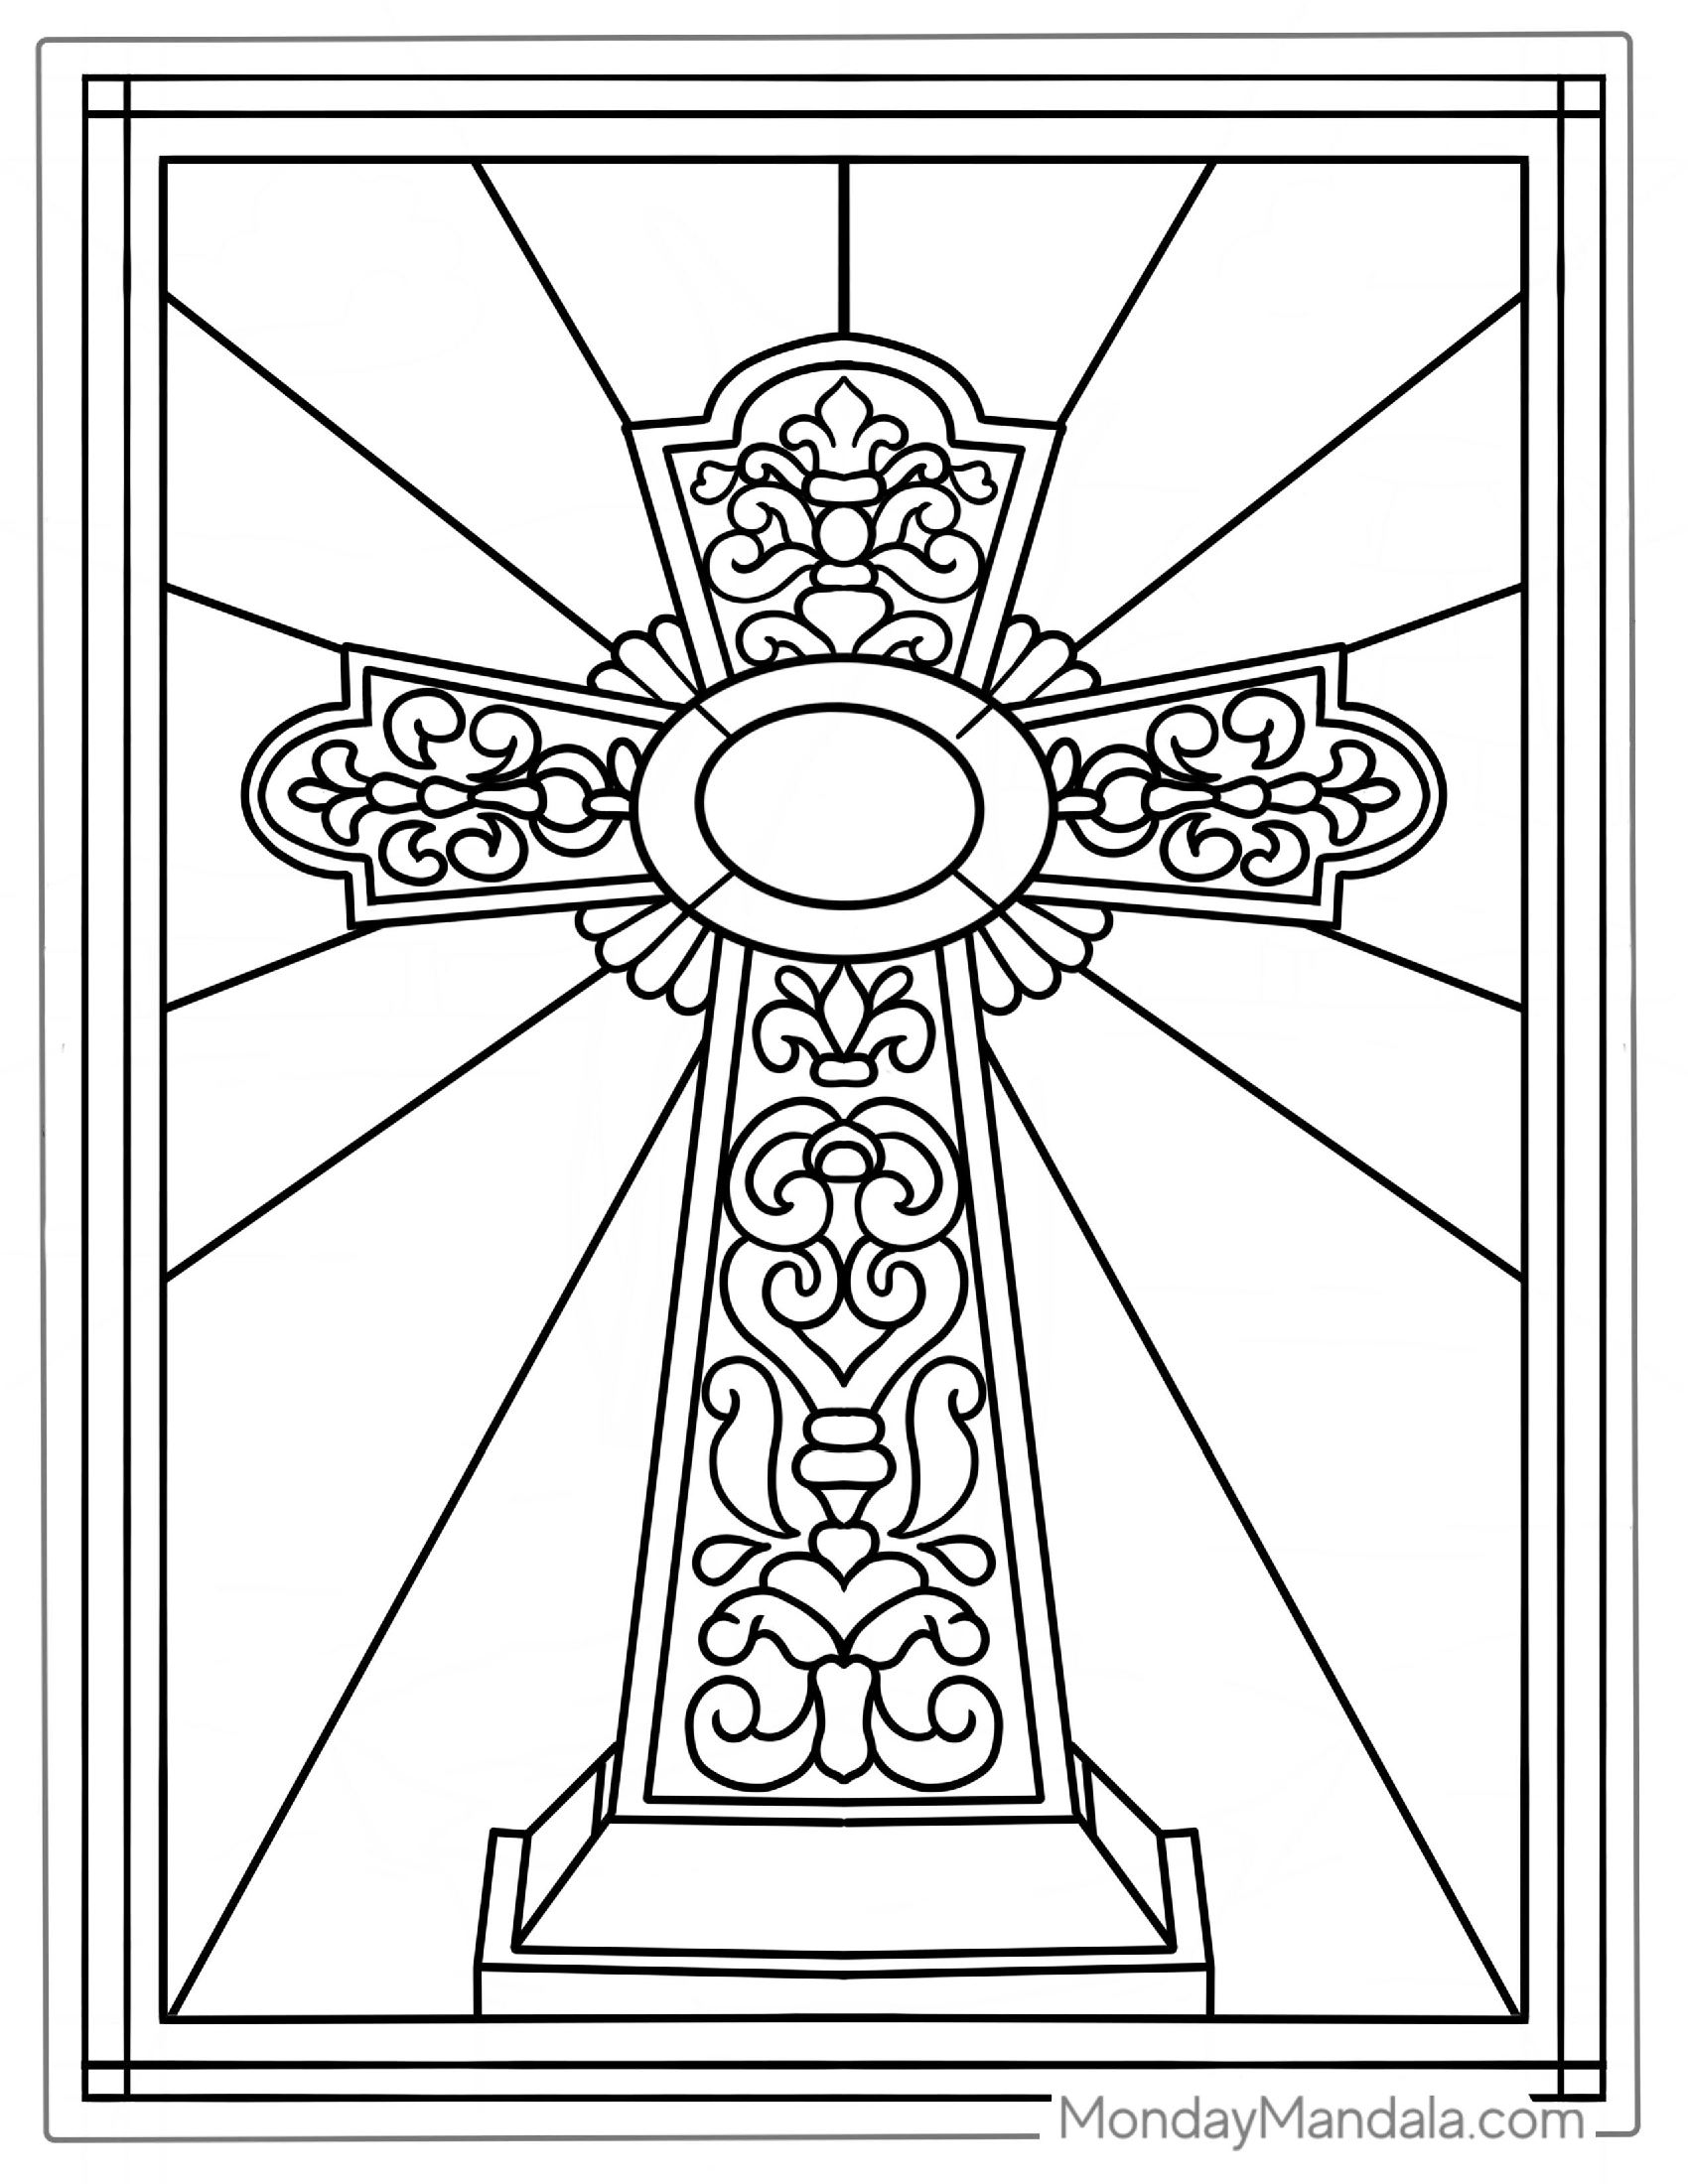
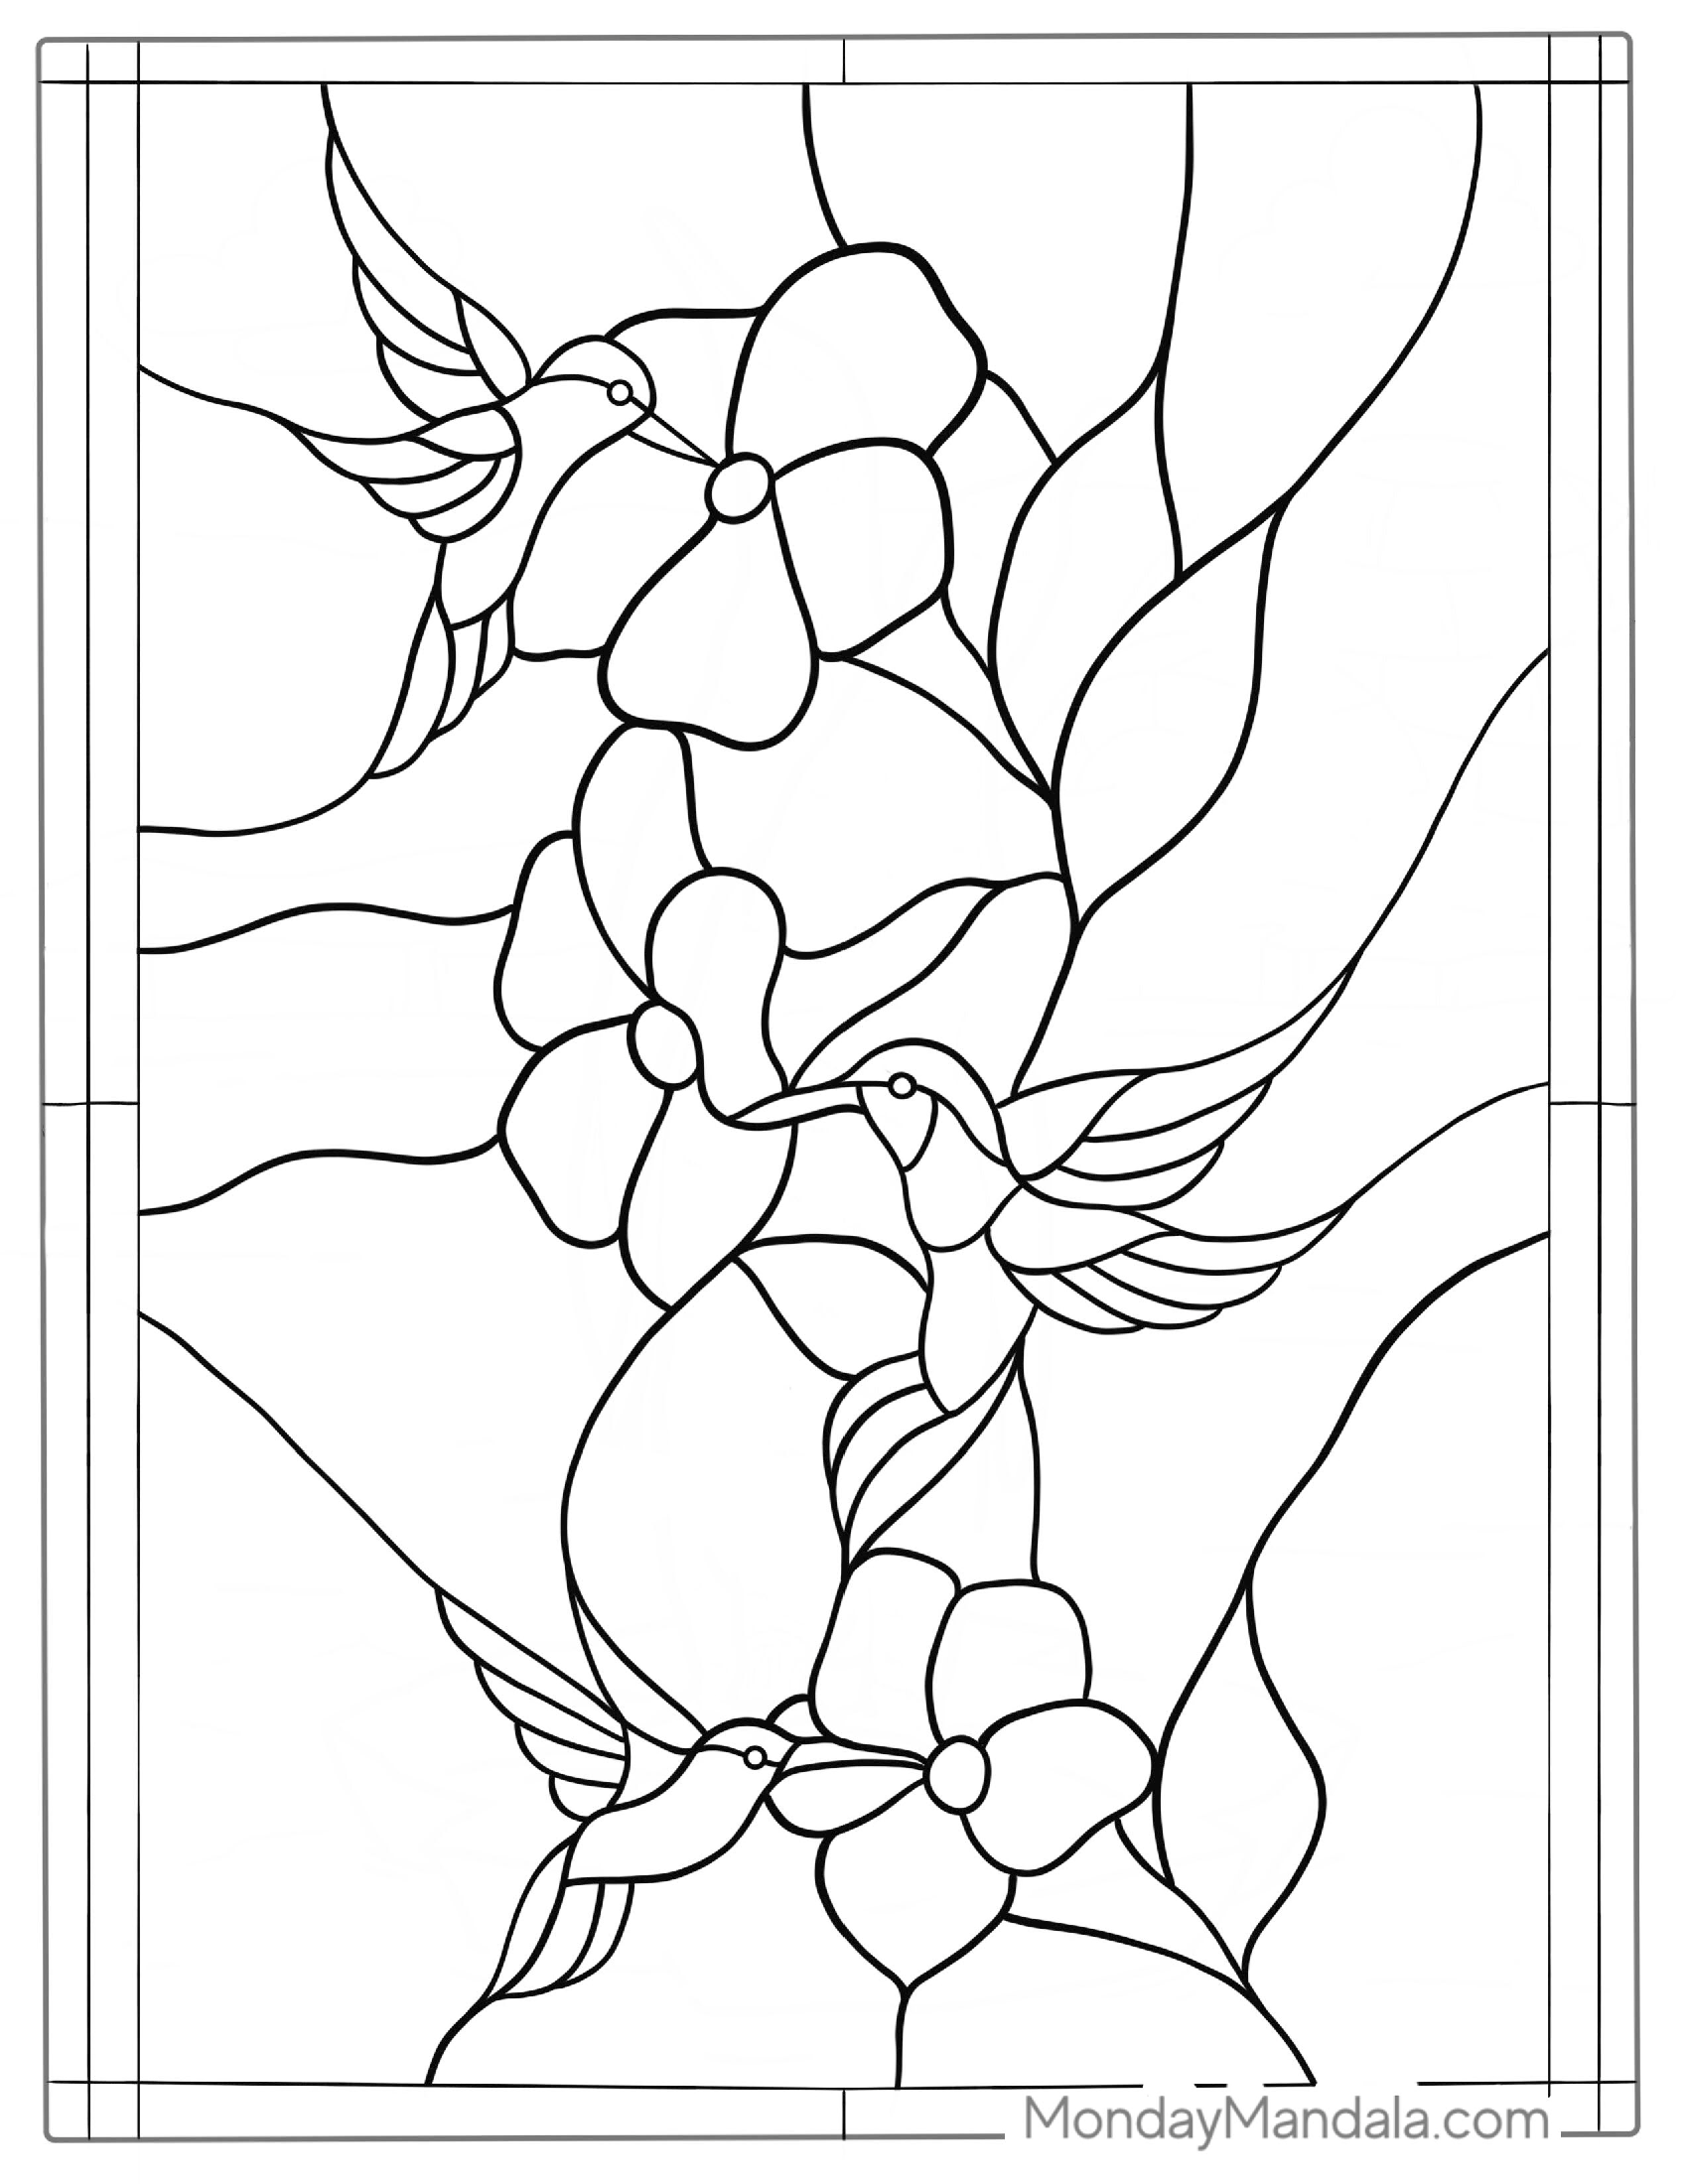
Unleash Your Creativity with Free Stained Glass Coloring Pages
Stained glass coloring pages offer a unique and creative way to express oneself through art. In this article, we explored the benefits of using stained glass coloring pages, including their ability to promote relaxation, improve fine motor skills, and encourage creativity. We also provided a collection of free PDF printables for readers to download and enjoy. Whether you’re an adult looking for a calming activity or a parent seeking a fun and educational activity for your child, stained glass coloring pages are a great option. With their intricate designs and vibrant colors, they offer a world of possibilities for artistic expression and self-expression.