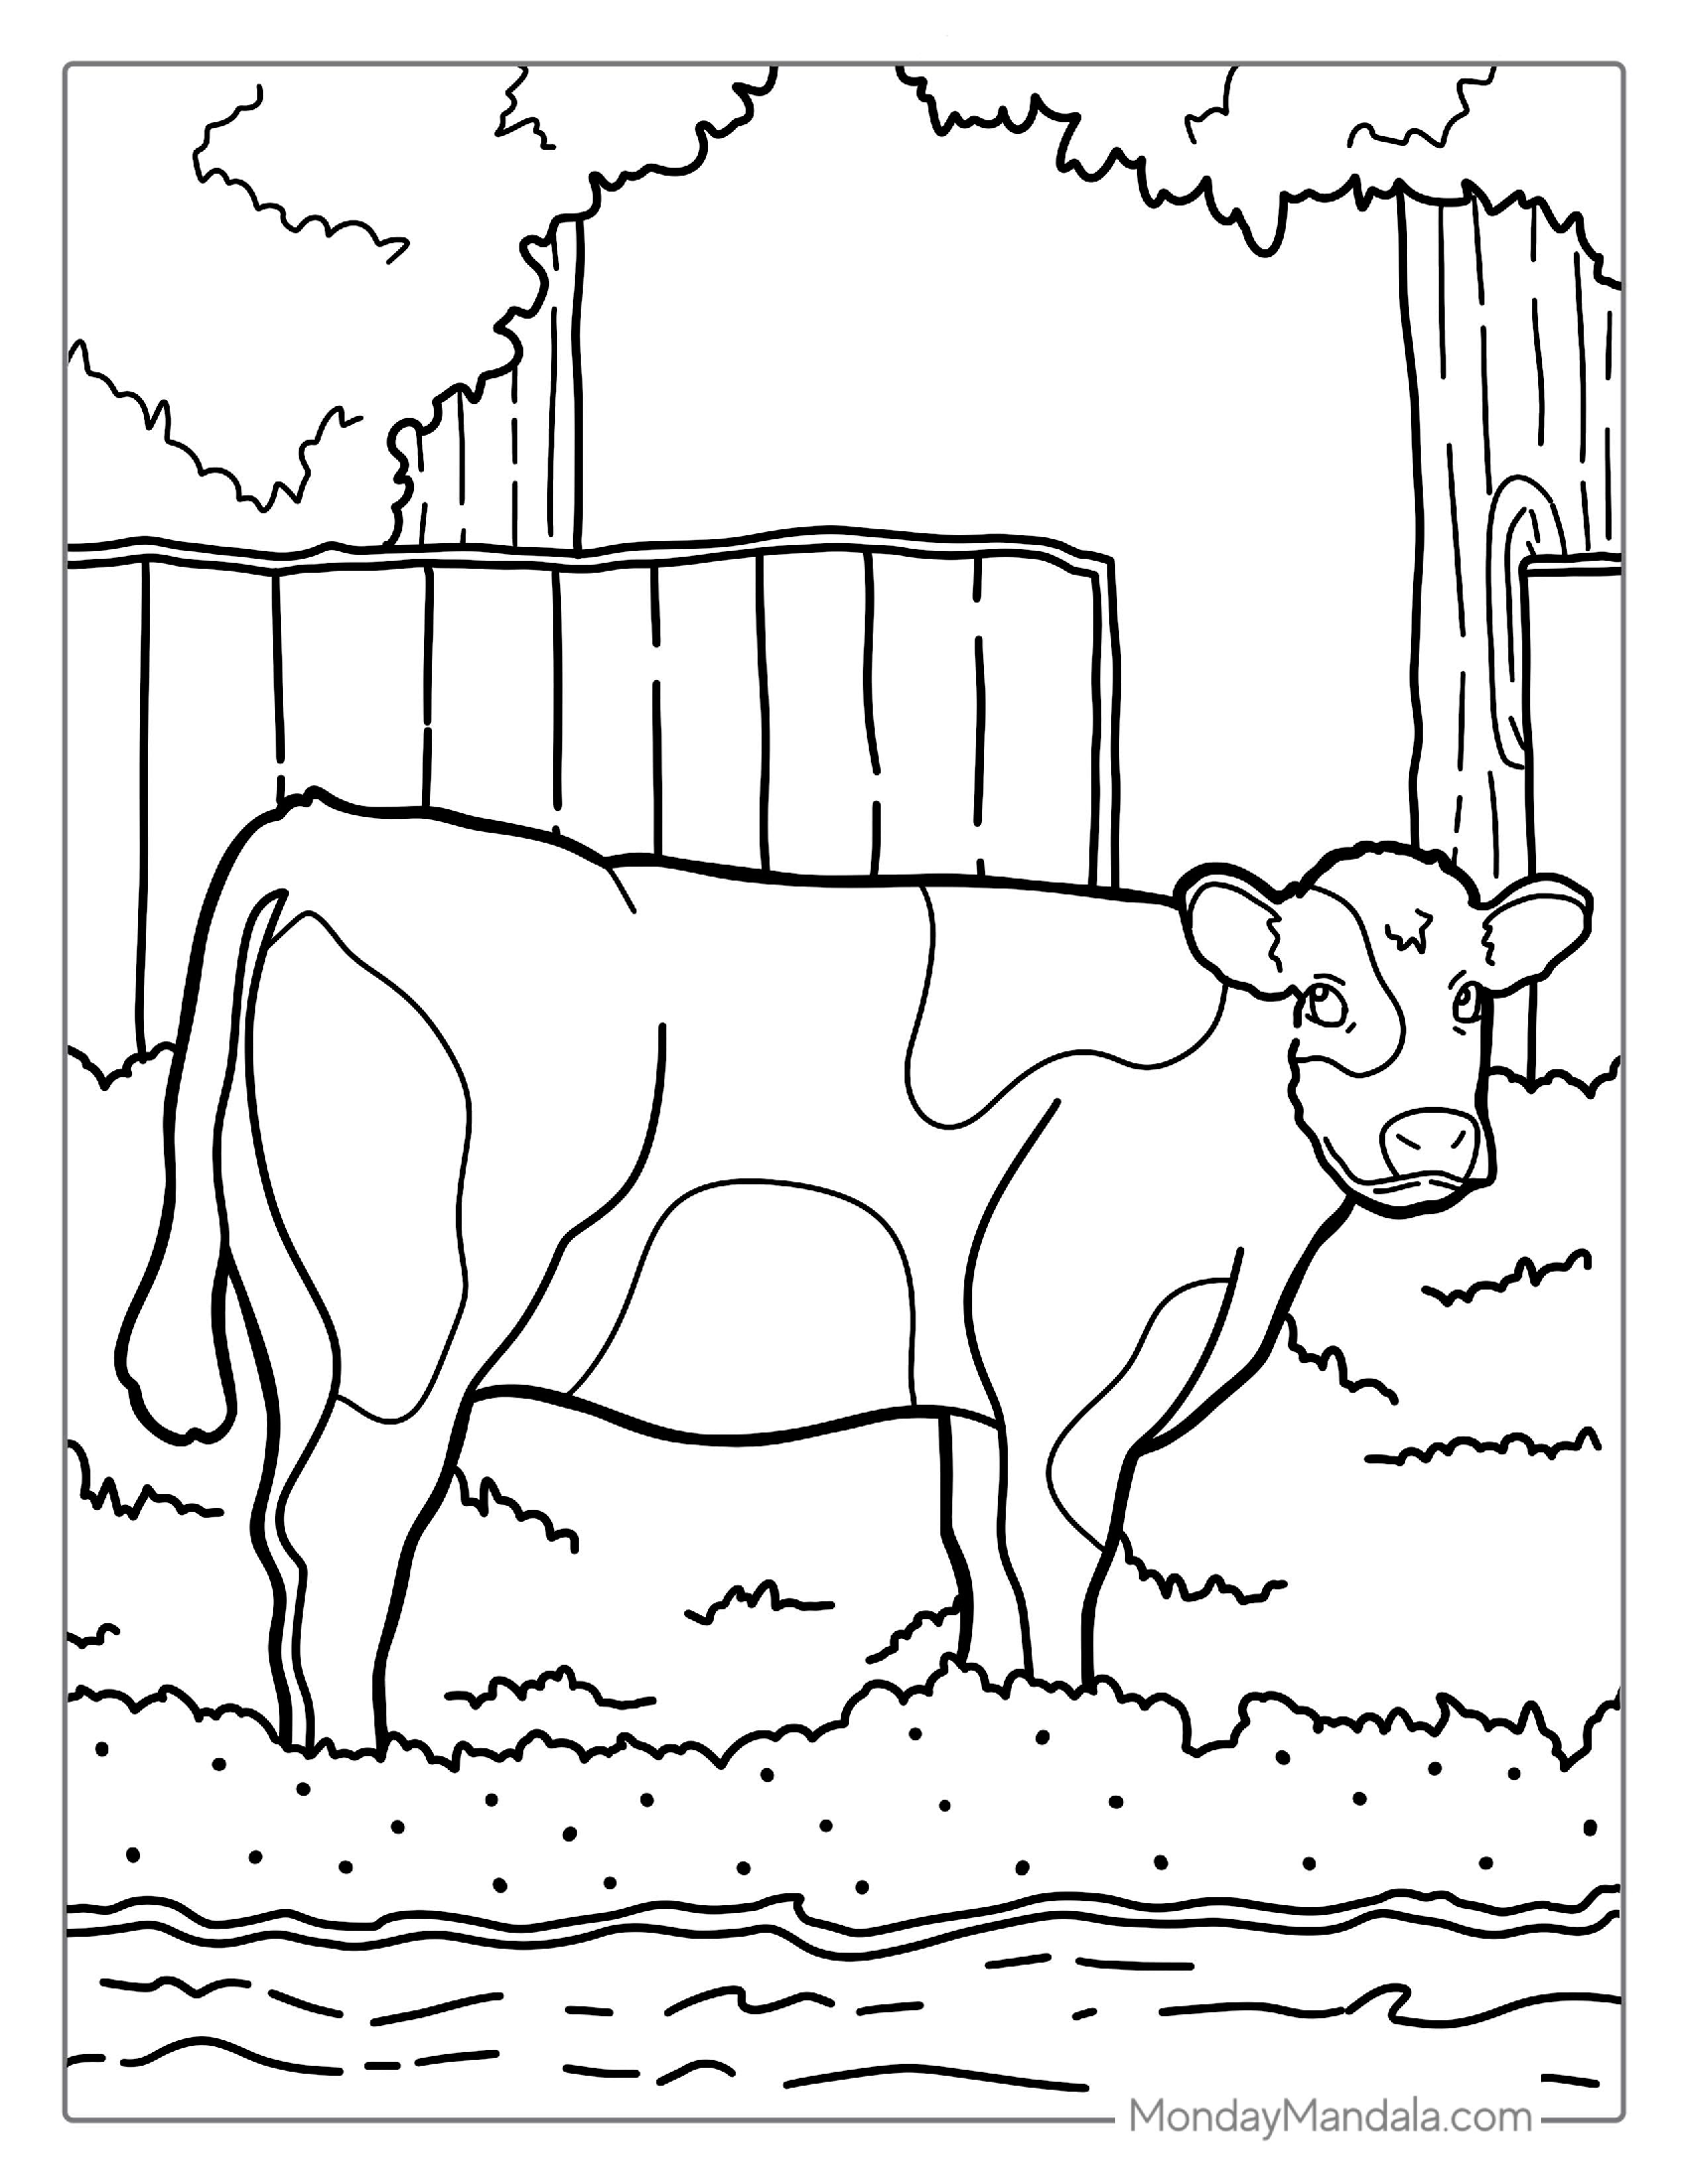
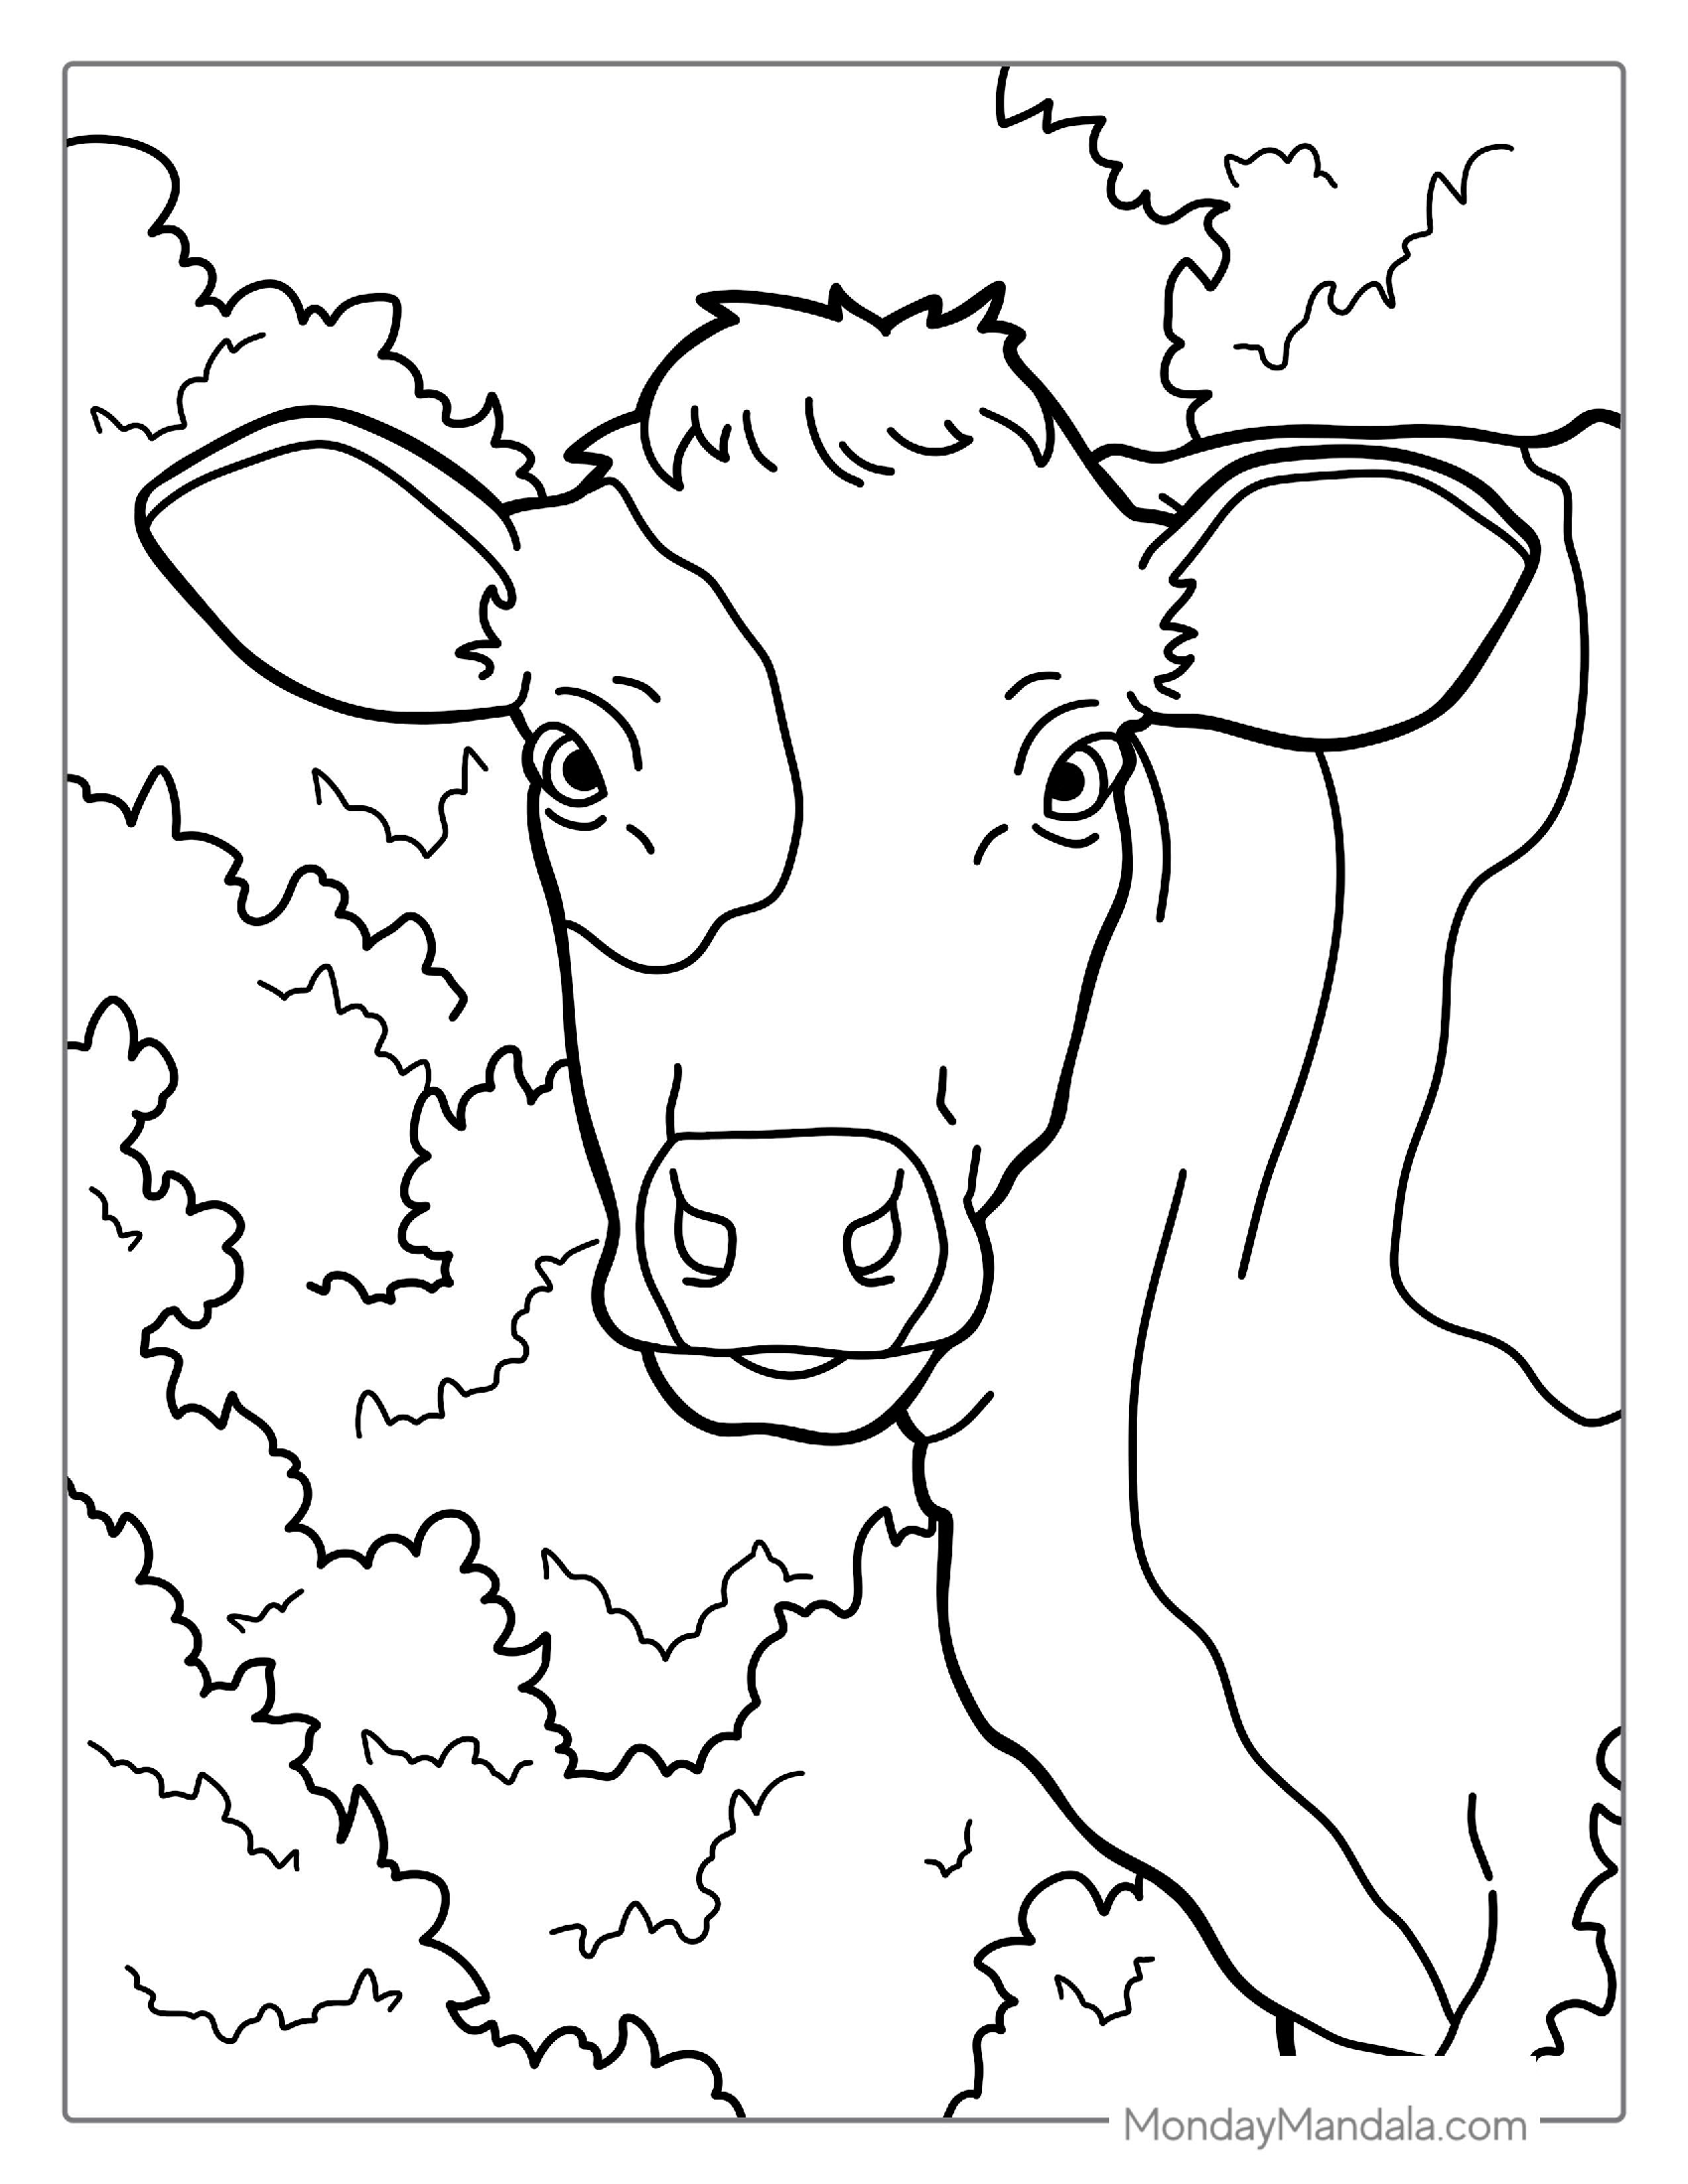
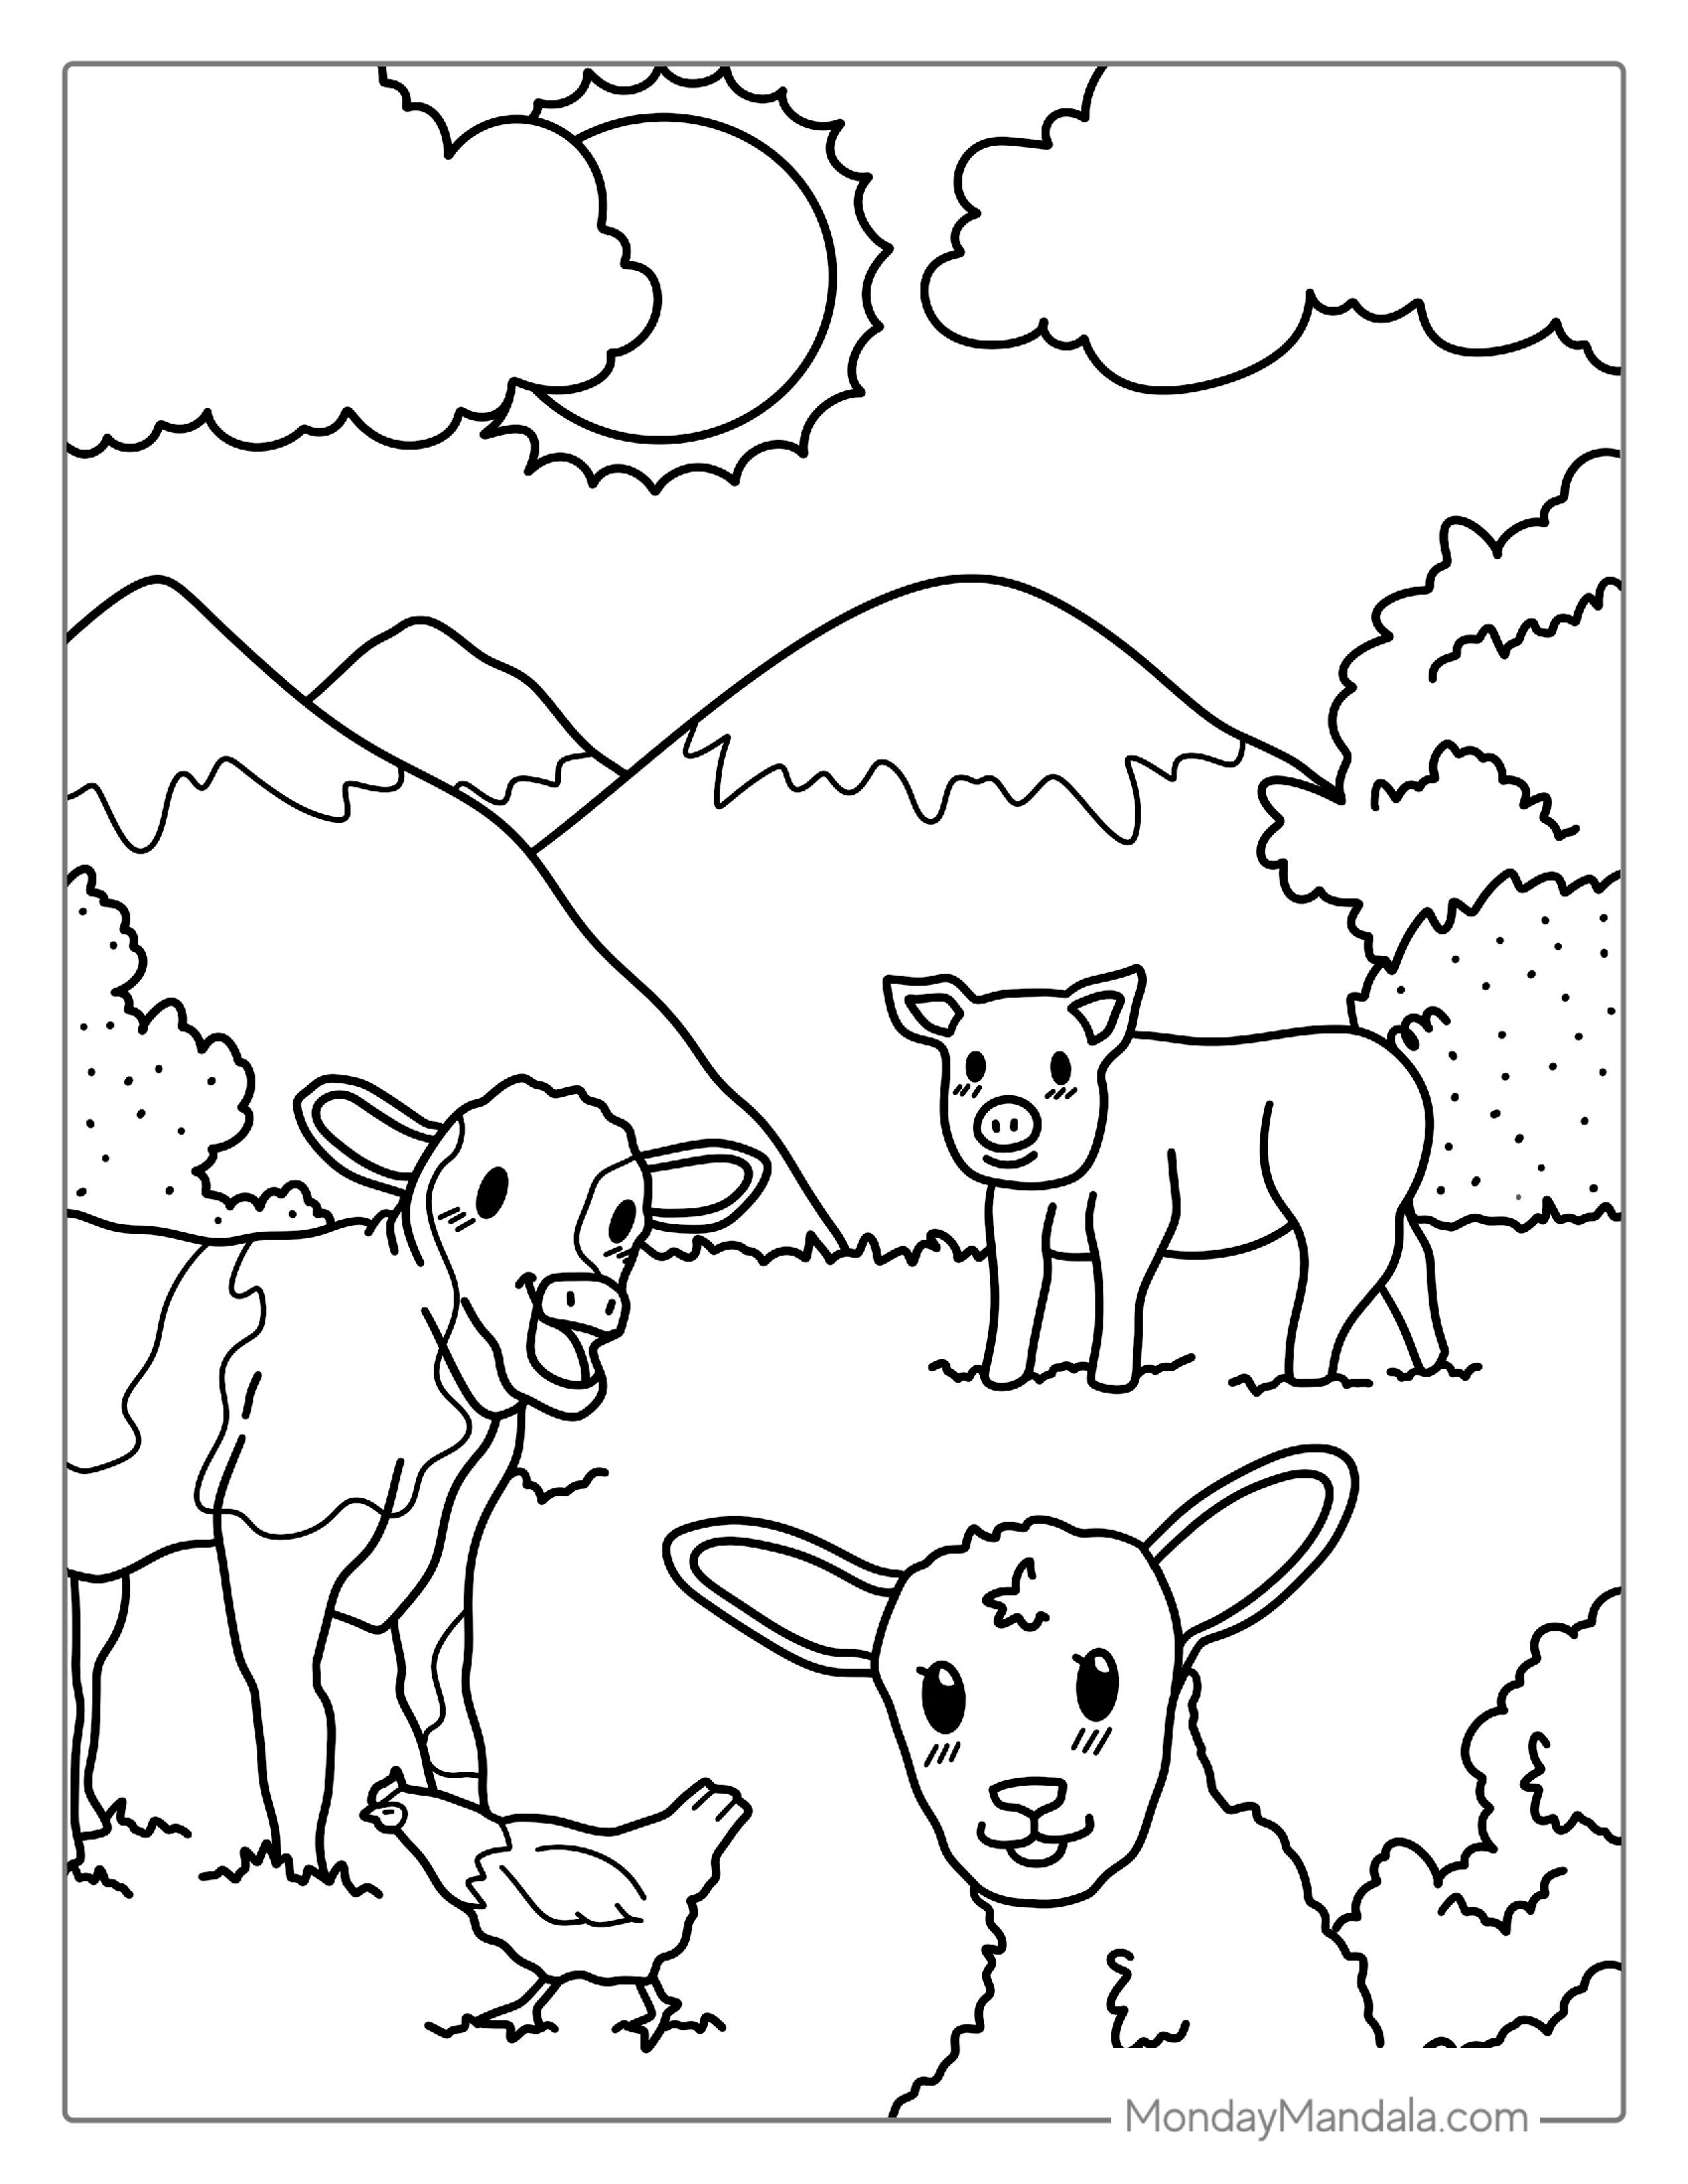
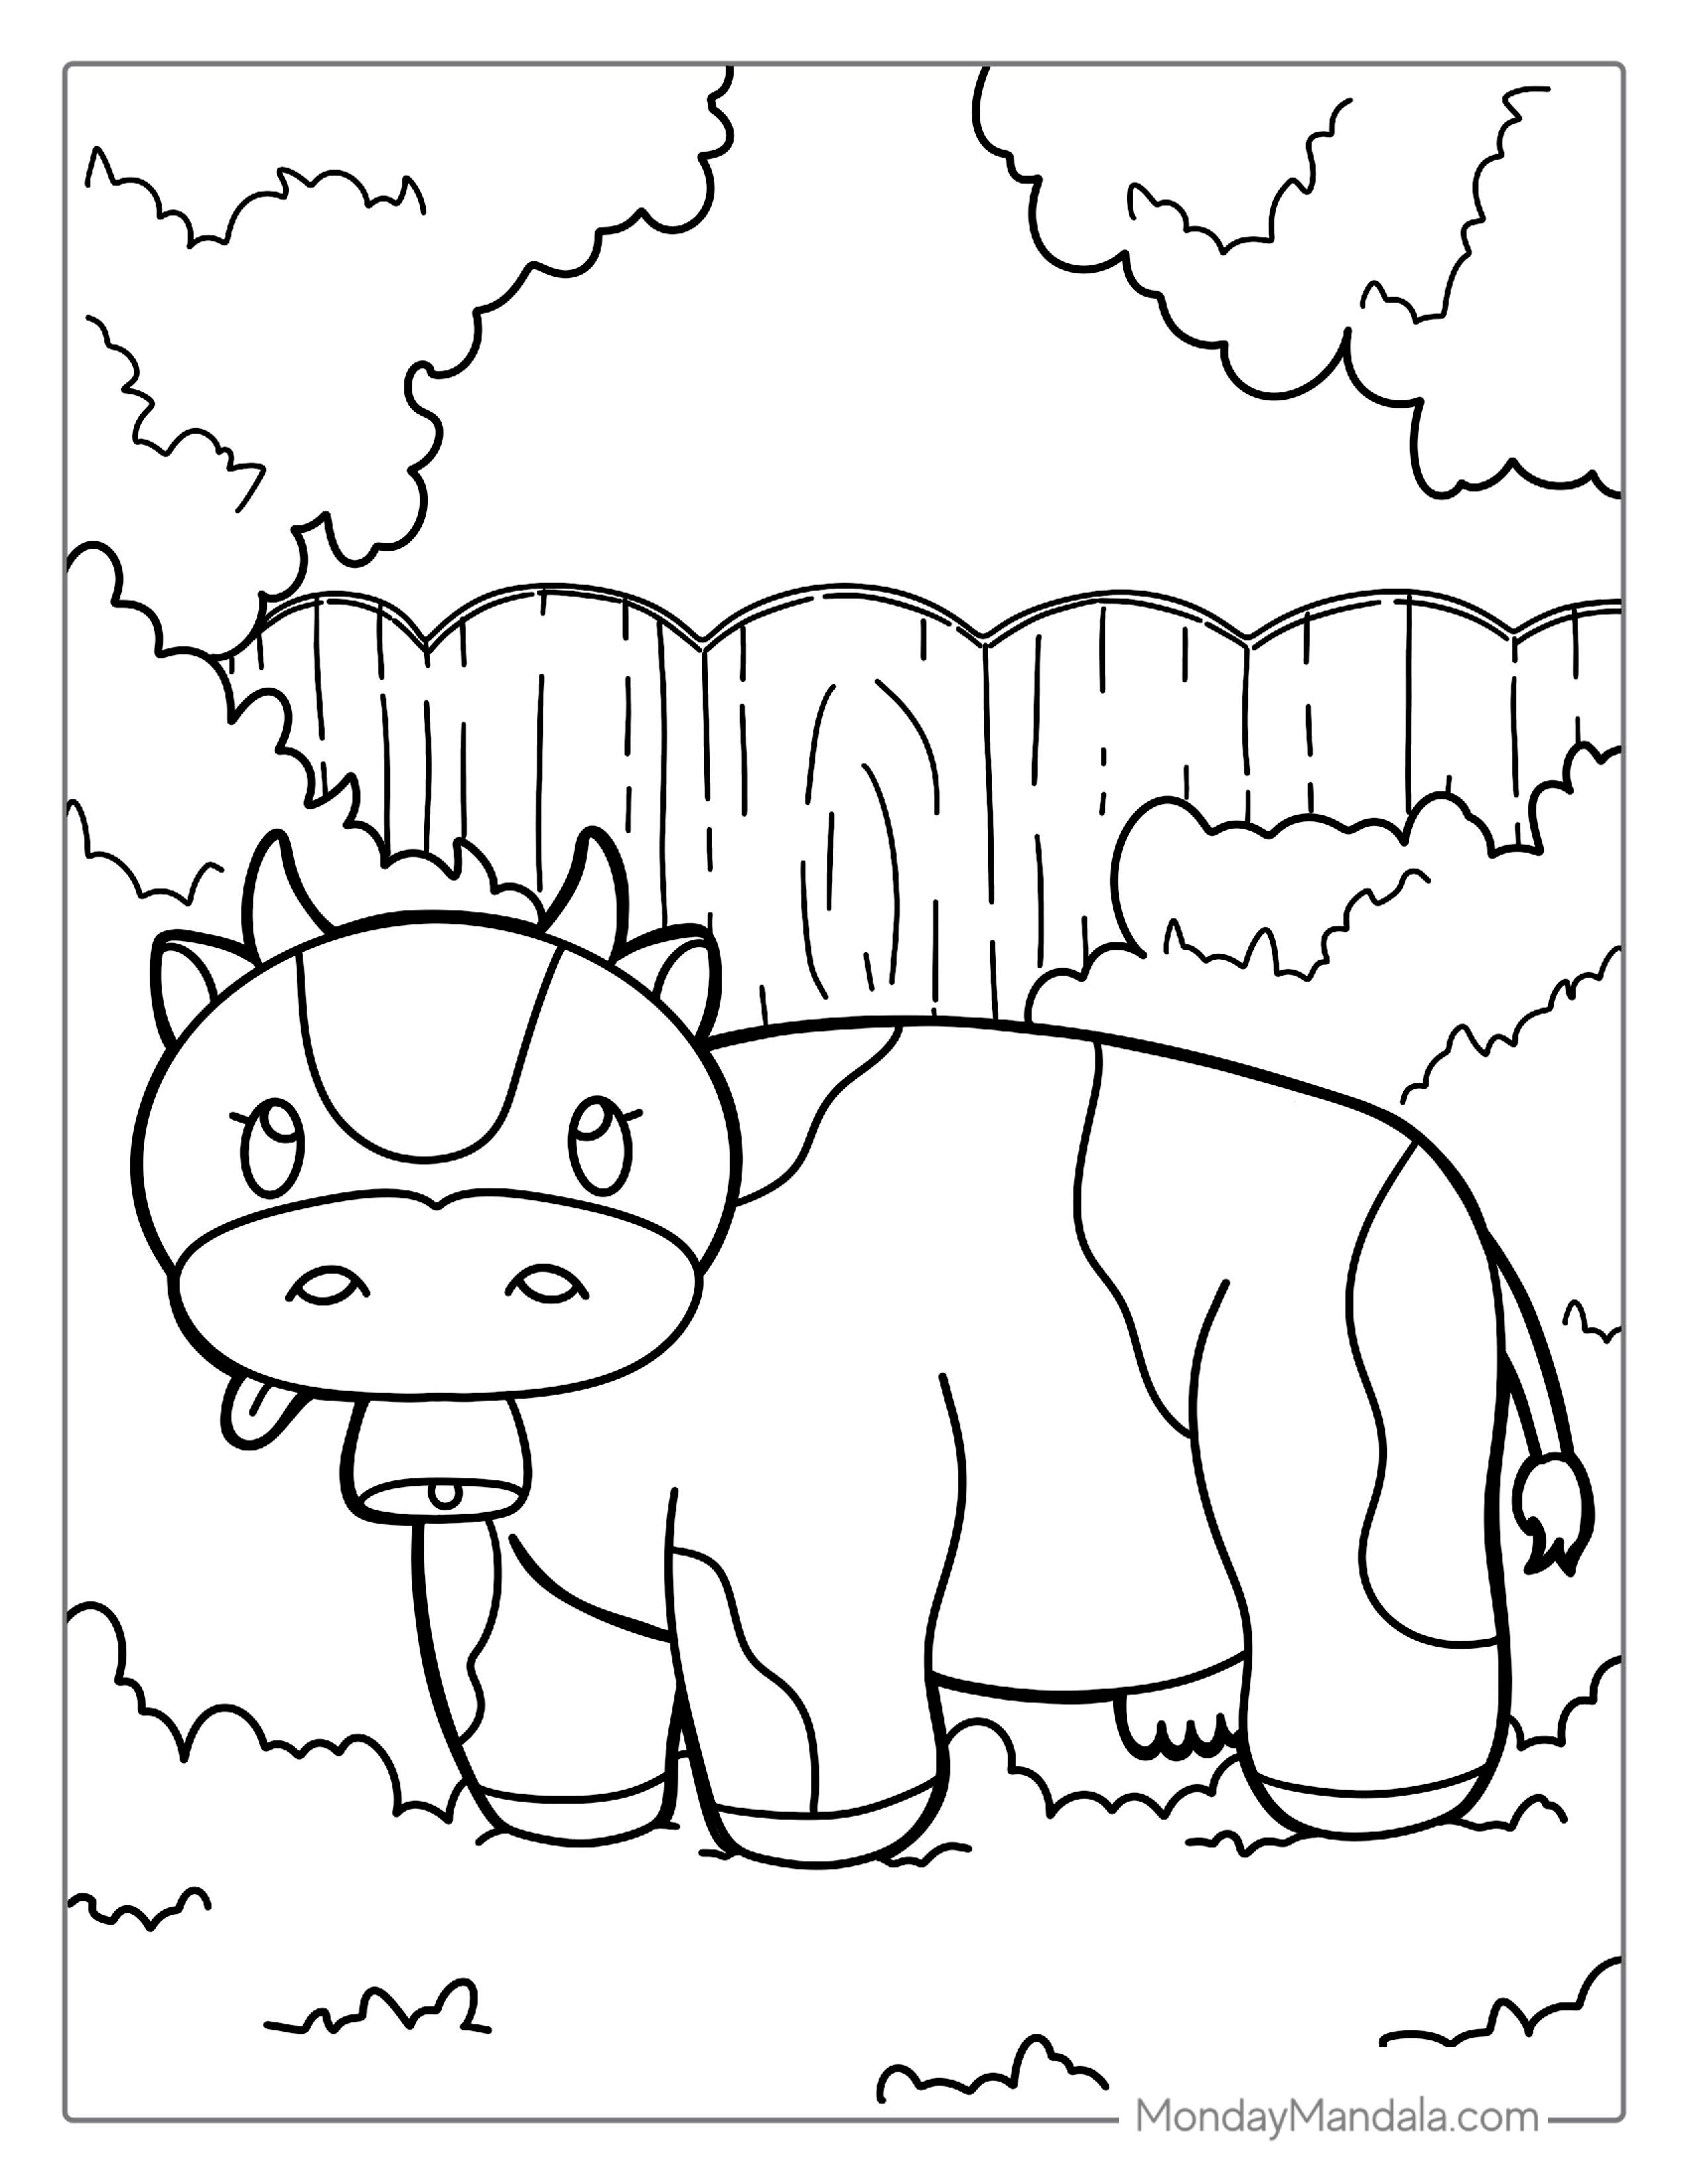
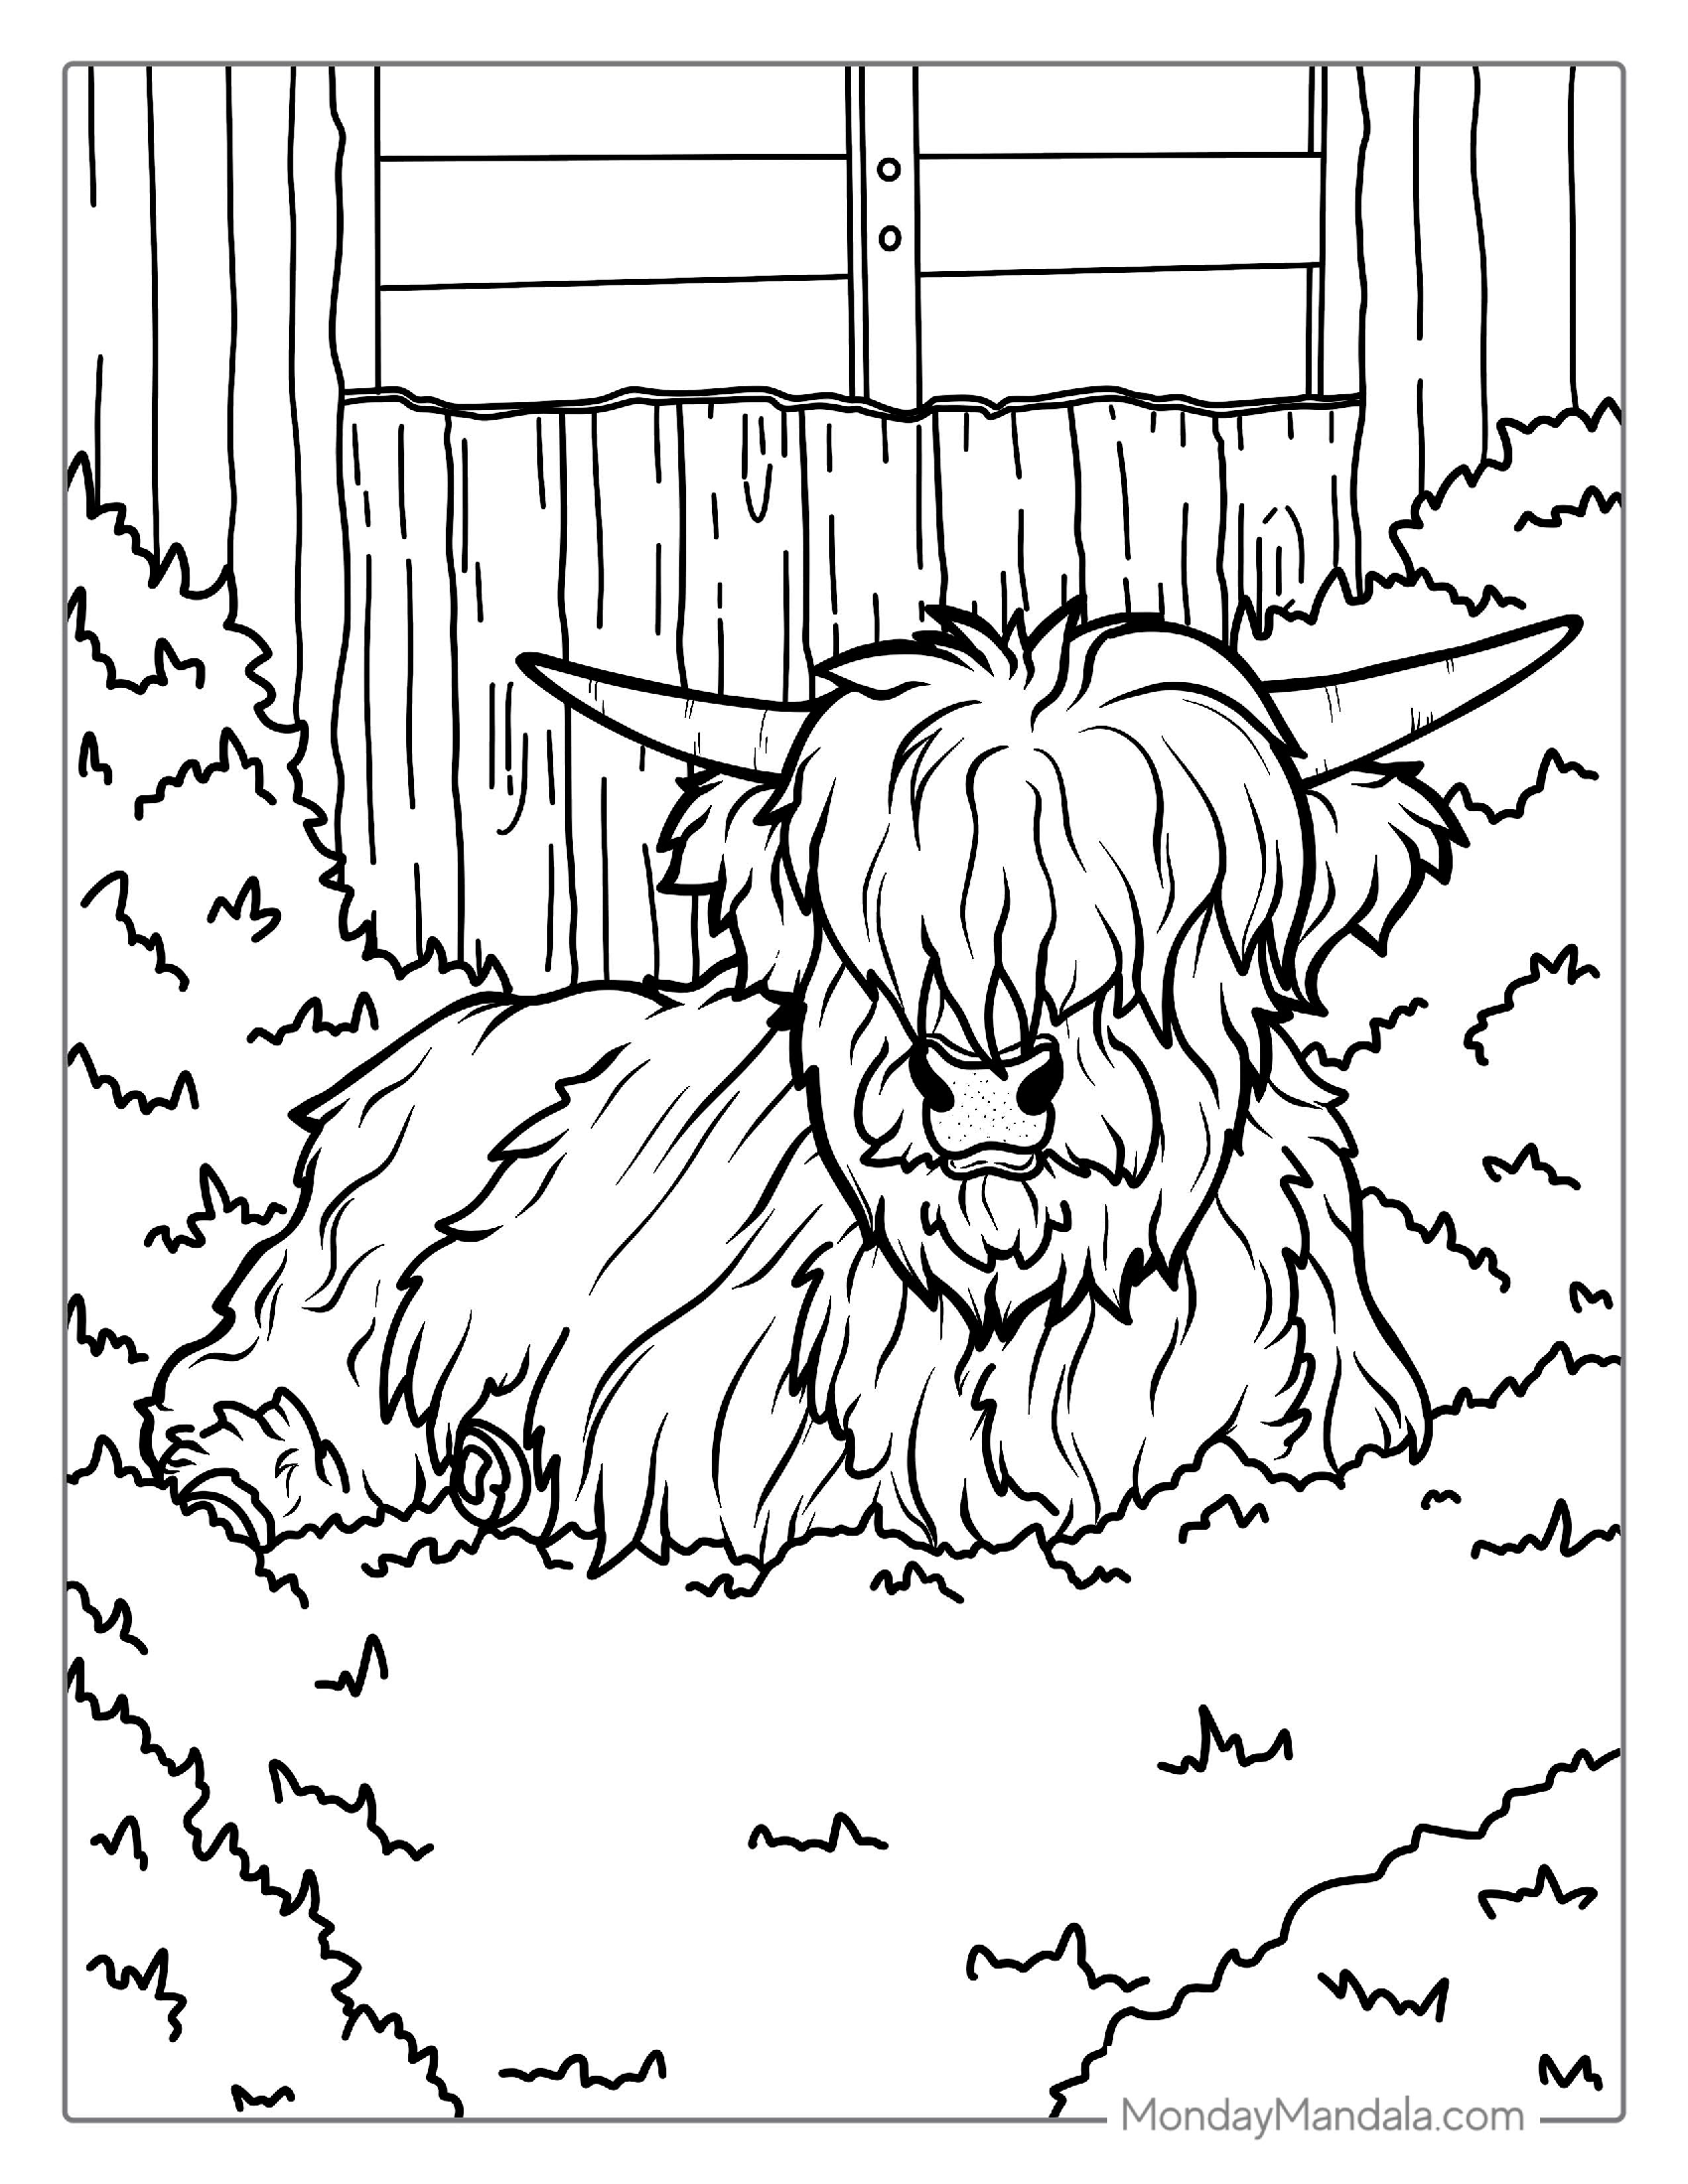
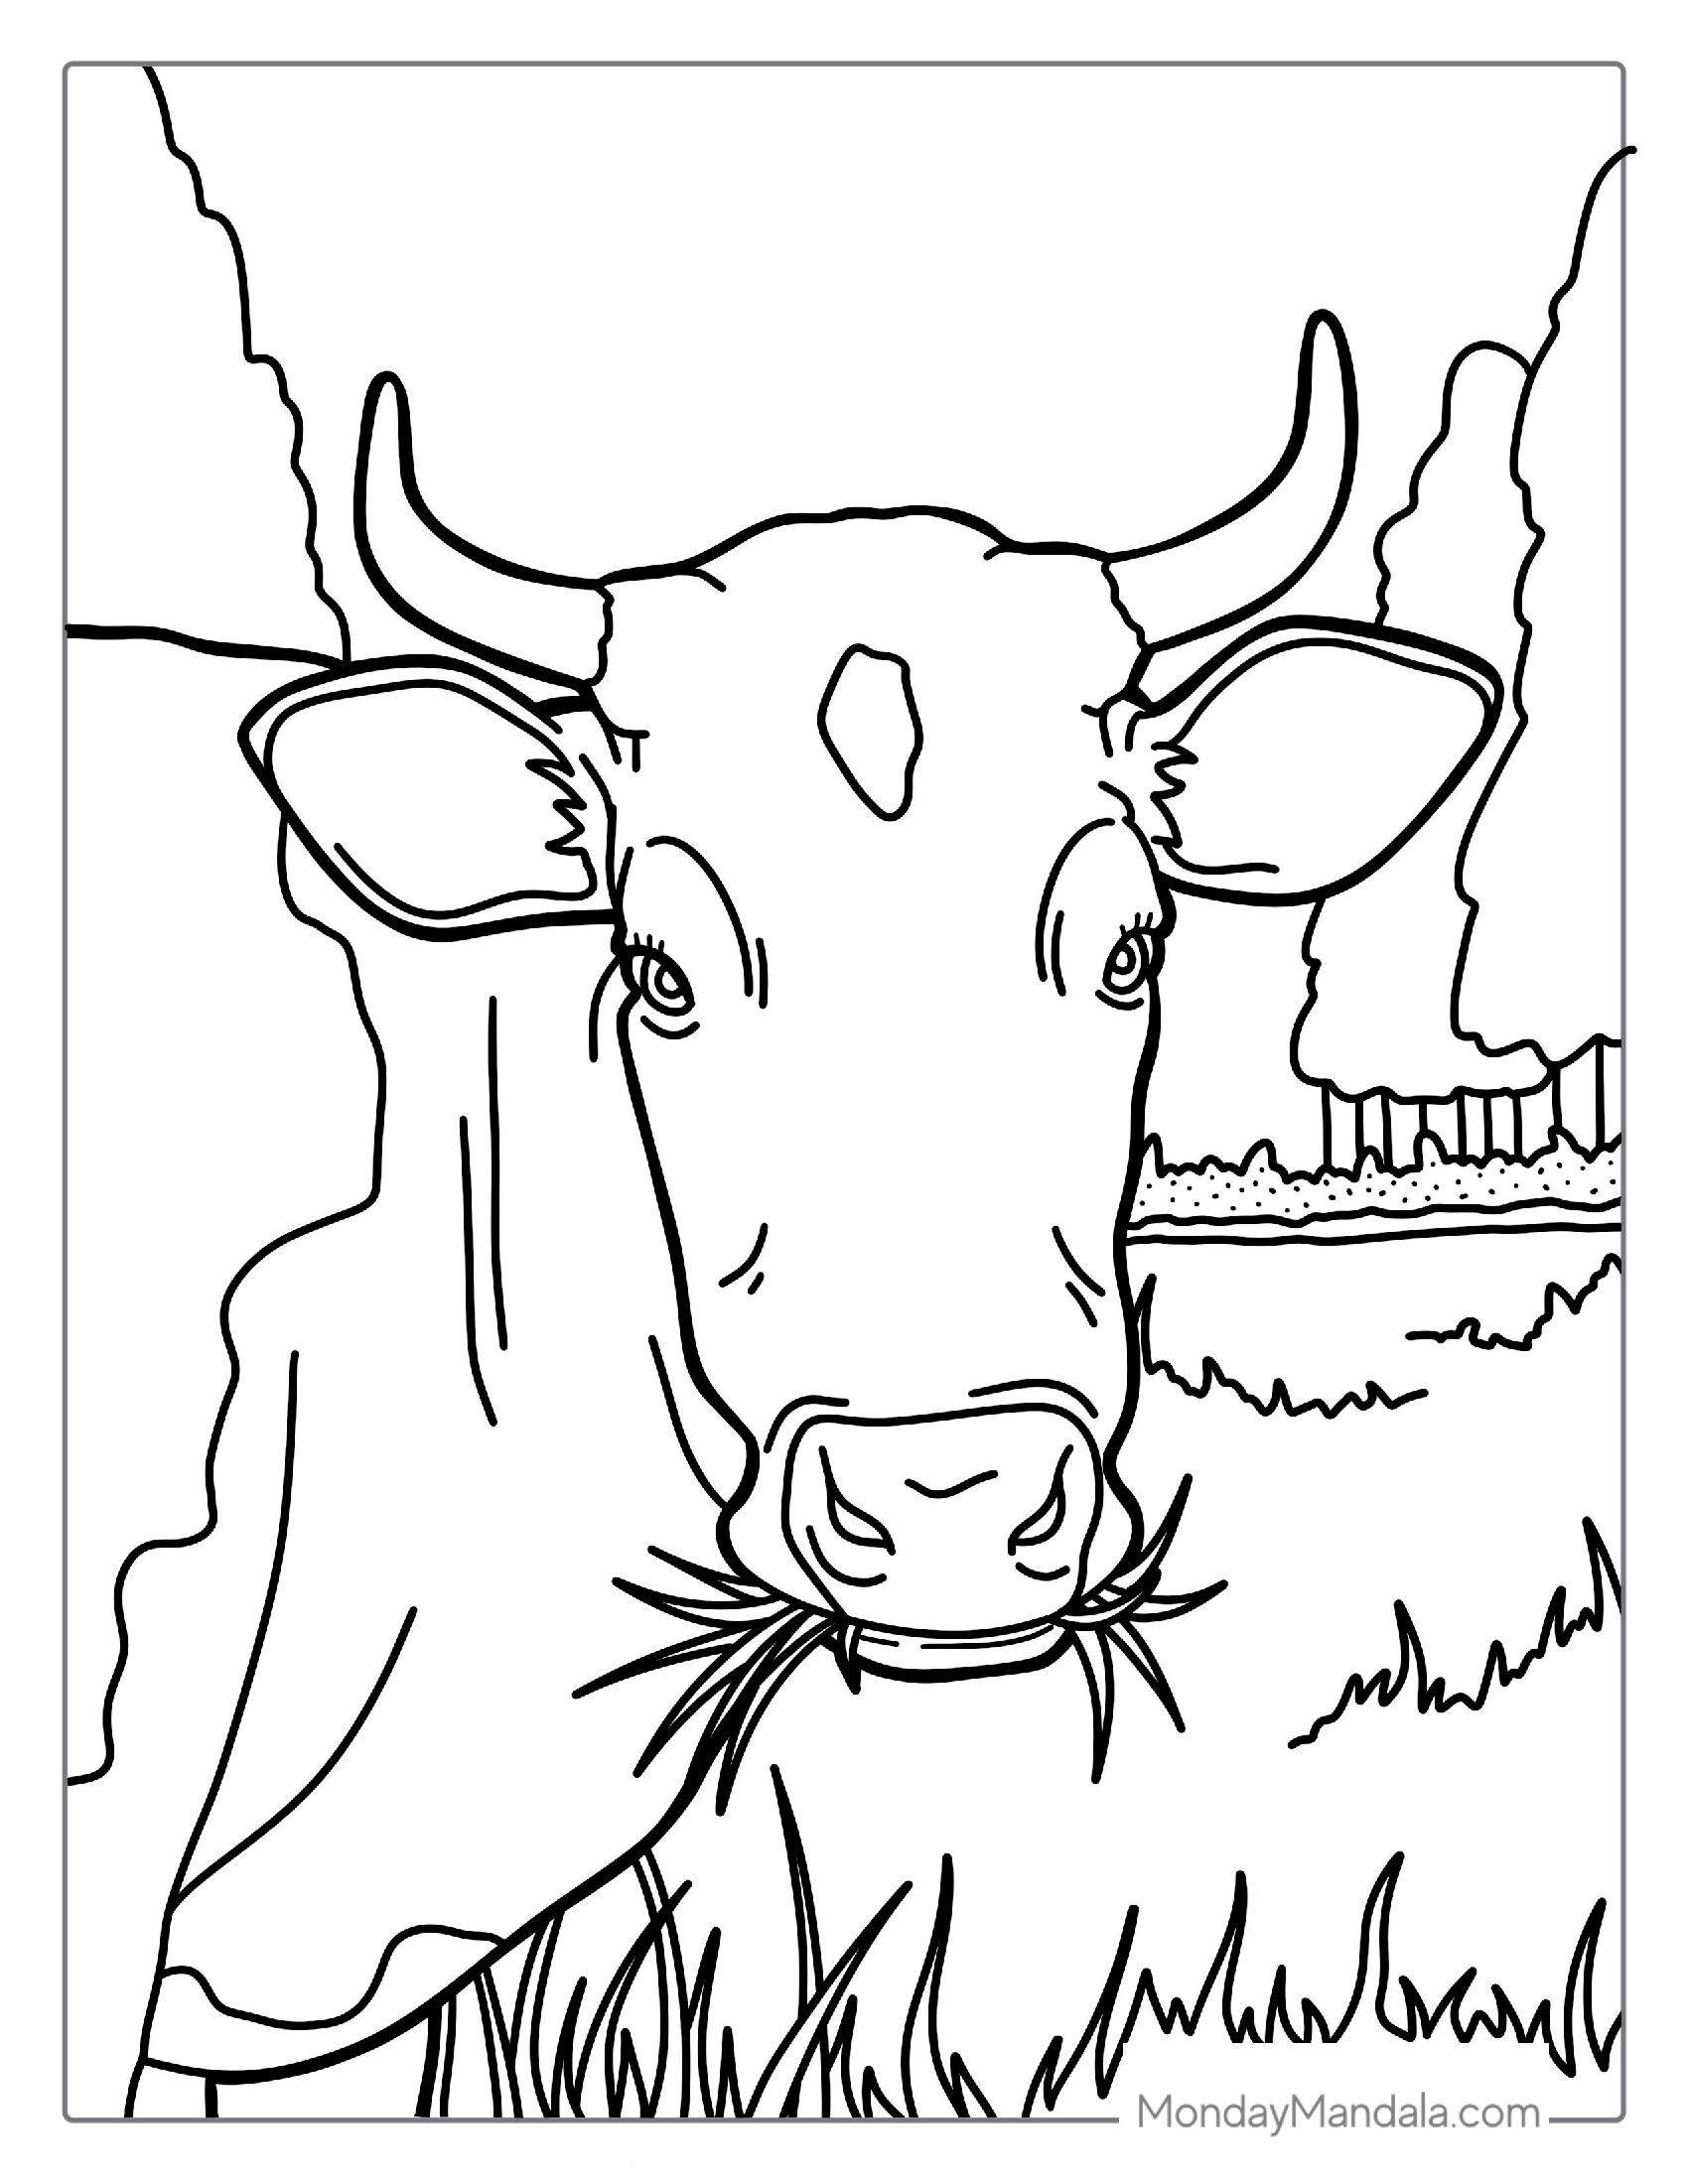
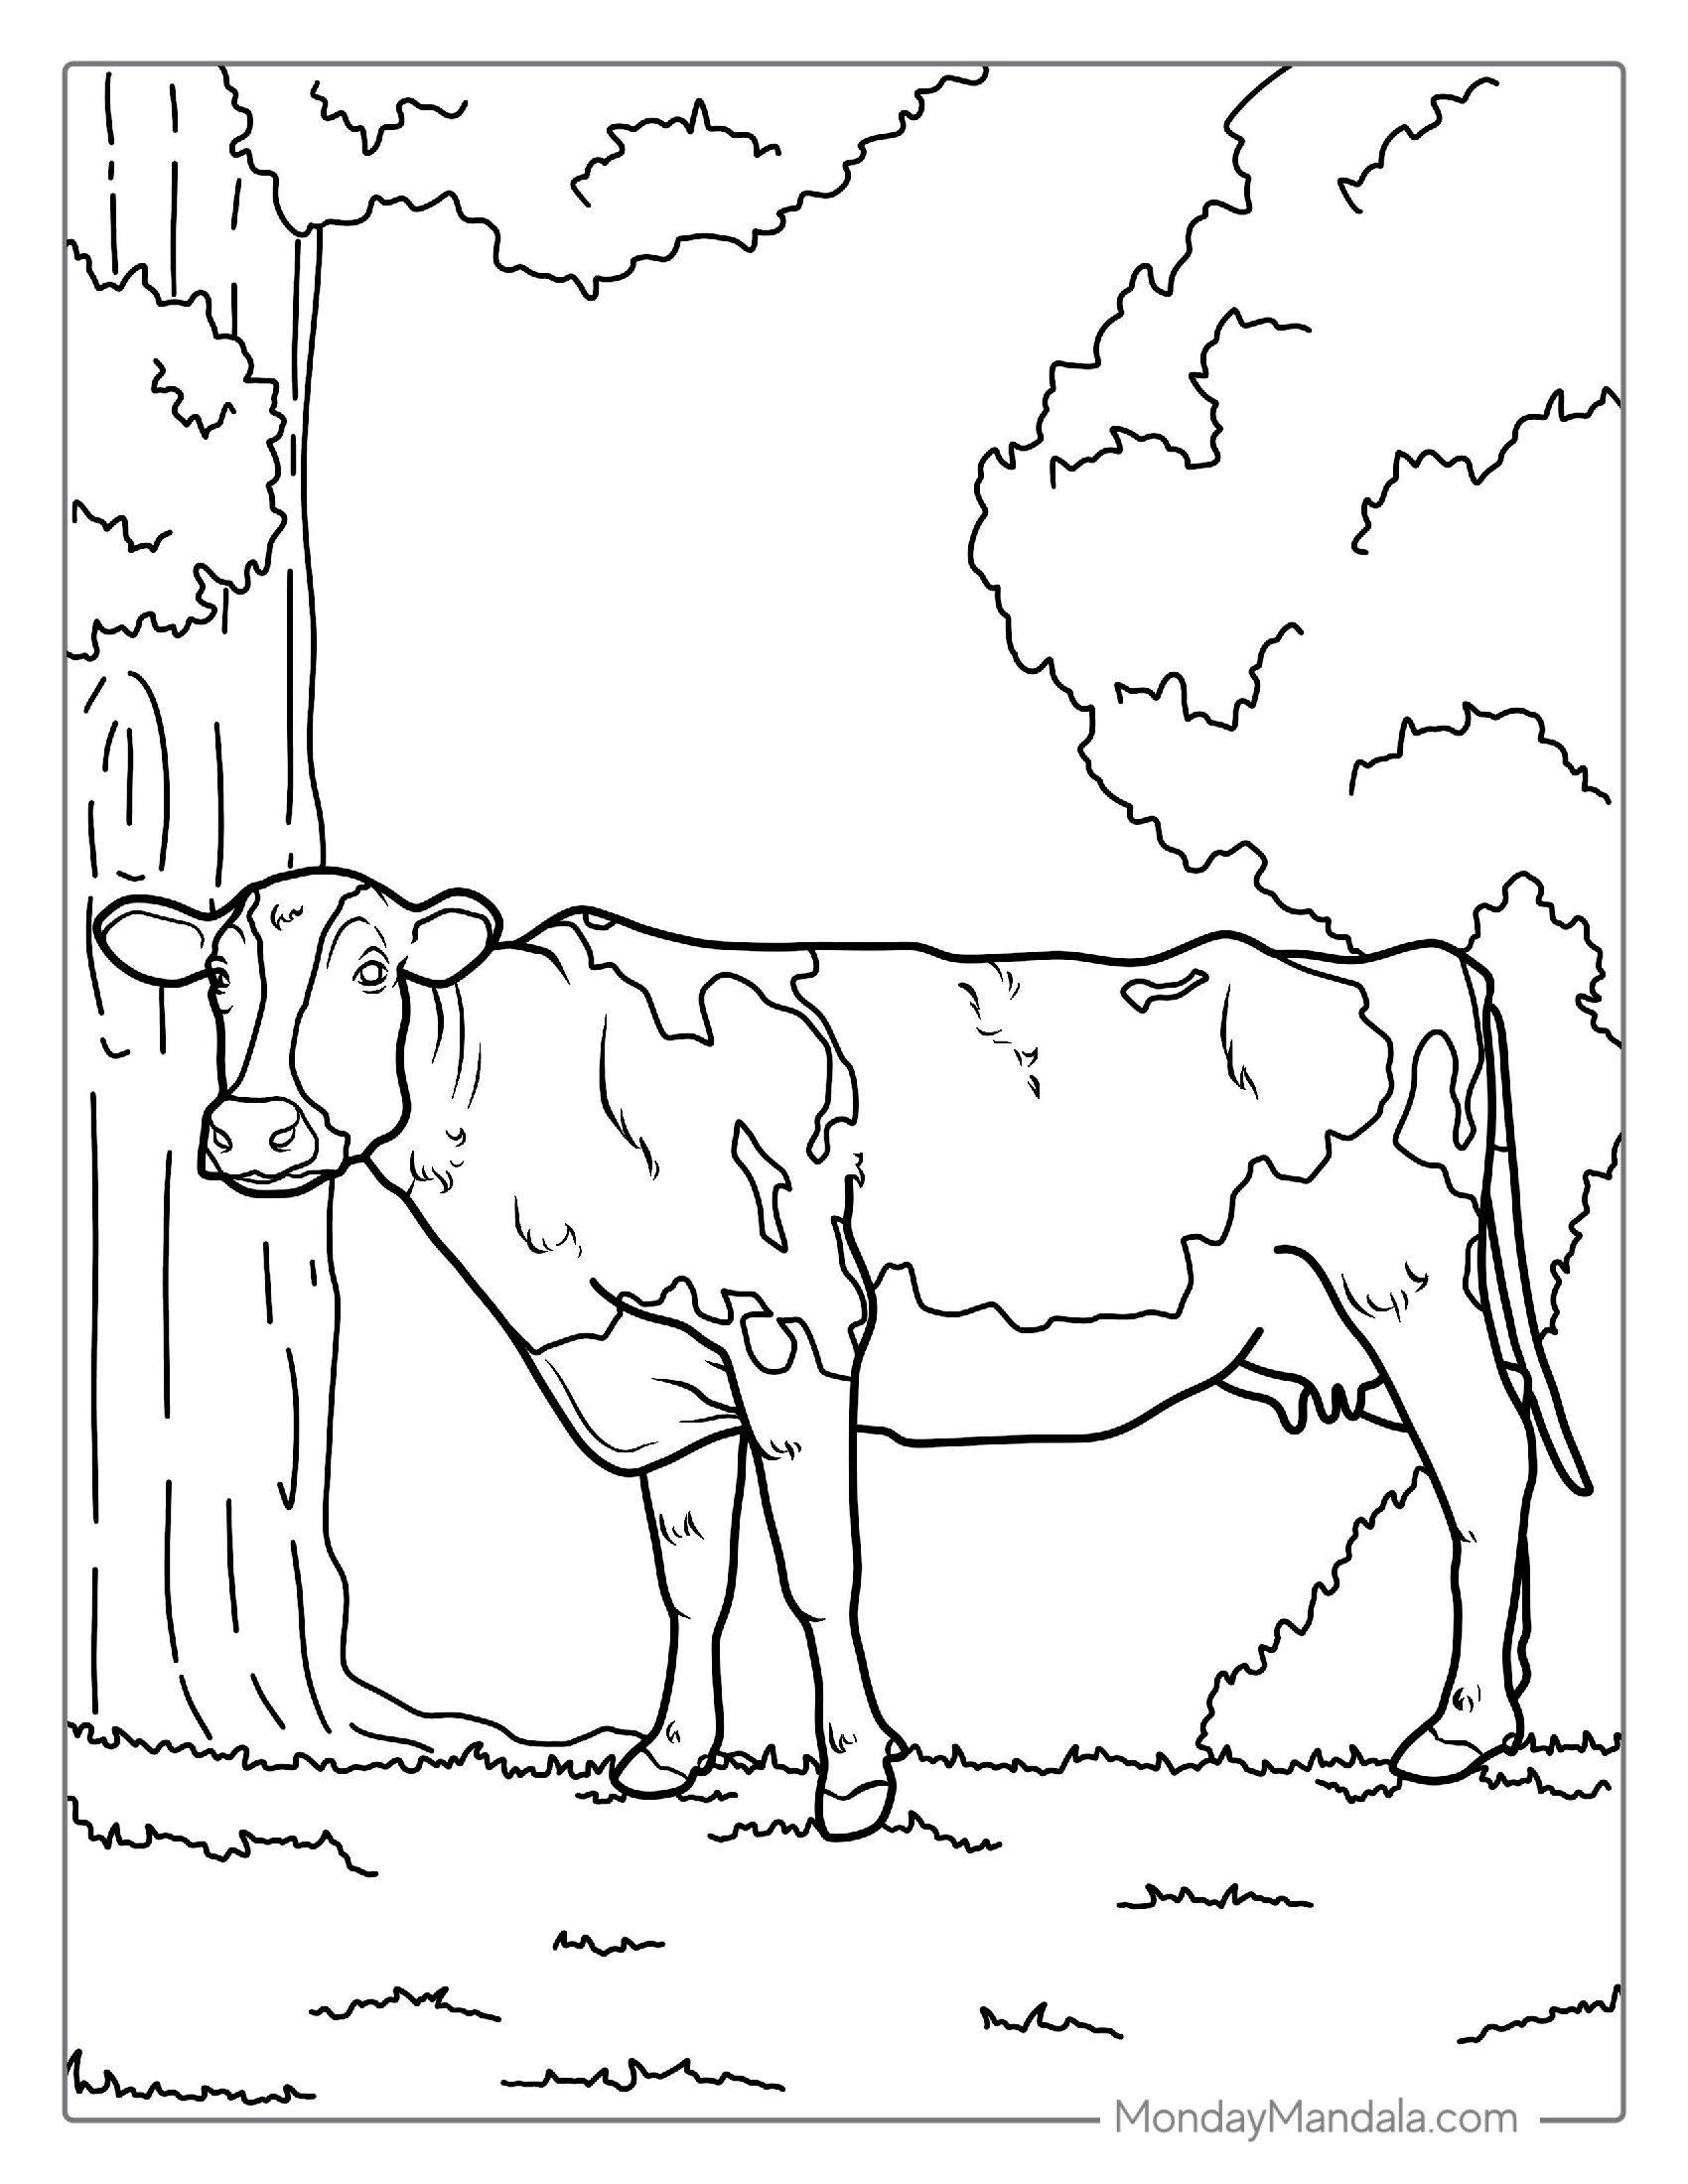
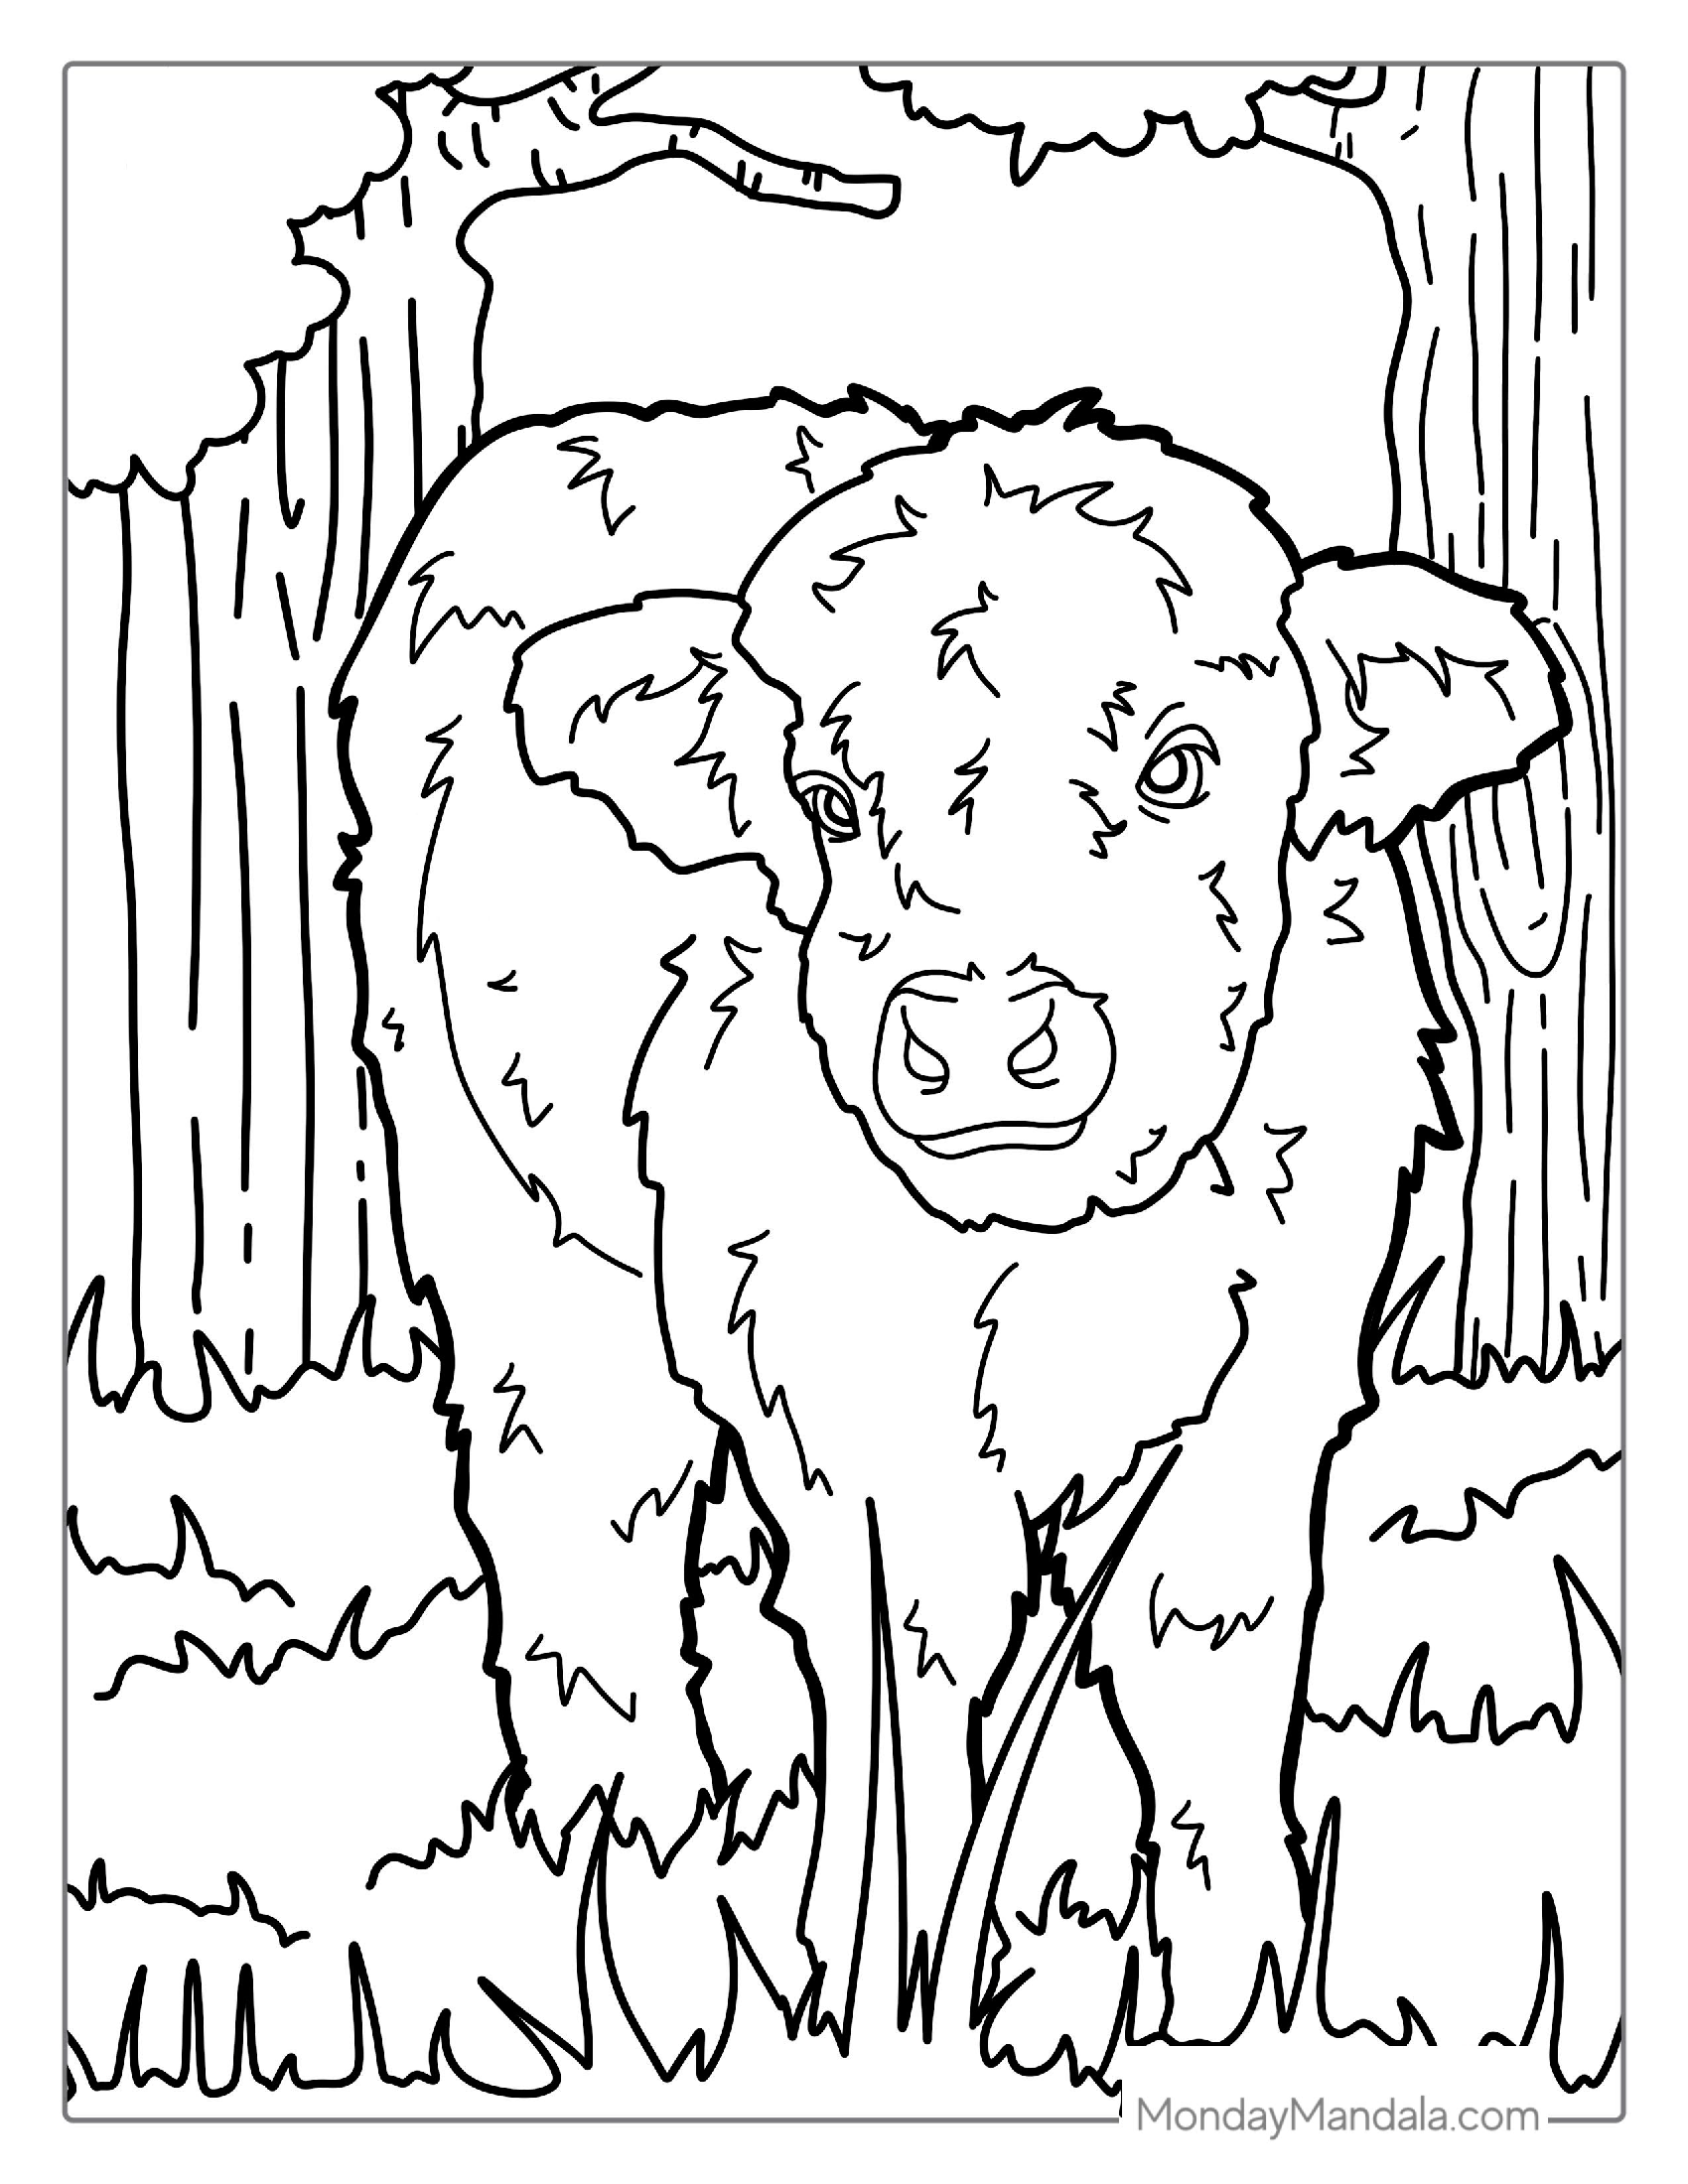
Are you looking for a fun and creative way to engage your kids with cows? Look no further! We’ve converted our popular Cow Coloring Pages into free PDF printables, making it easy for you to print and share with your little ones. Using a simple formula of combining high-quality images with engaging designs, we’ve created a range of cow coloring pages that are sure to delight both kids and adults alike. From cute and playful cows to majestic and realistic ones, our coloring pages cater to all tastes and preferences. Whether you’re a parent, teacher, or simply a cow enthusiast, you’ll find something to love in our collection of cow coloring pages. So, grab your favorite colored pencils and get ready to unleash your creativity!
Free Printable Cow Coloring Pages – Download Now


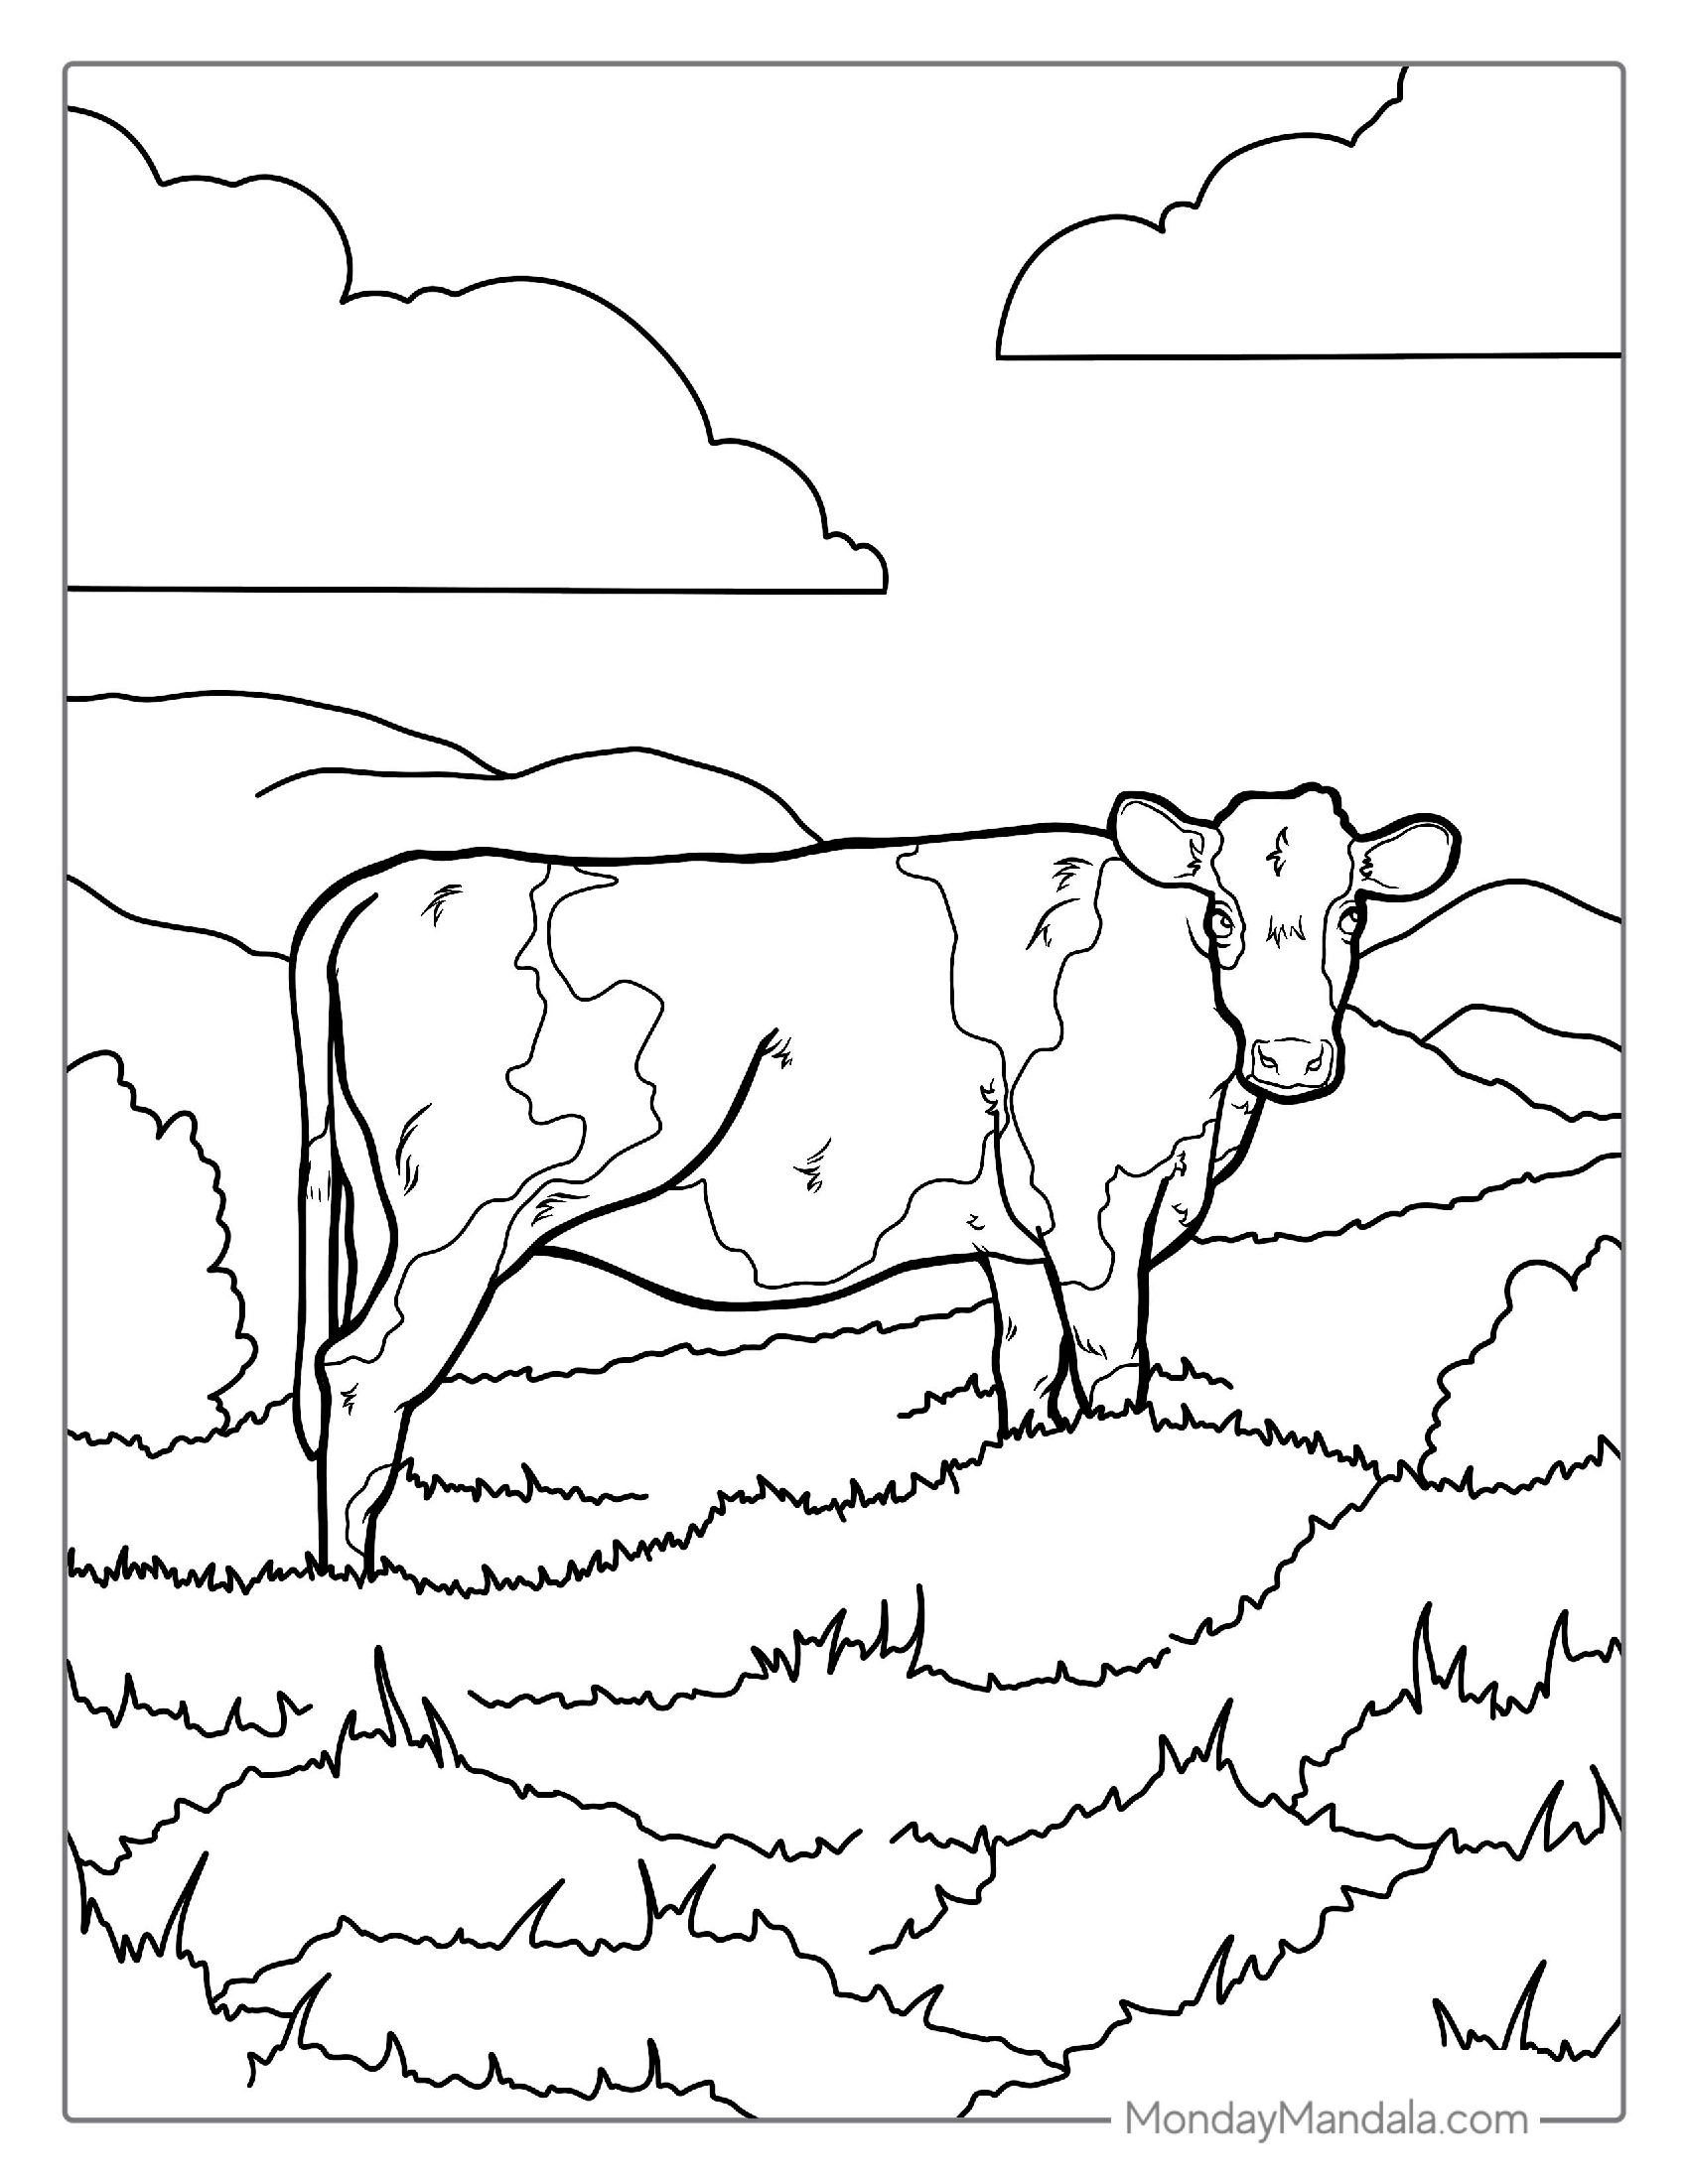
Unleash Your Creativity with Free Cow Coloring Pages
Cow coloring pages are a fun and creative way to spend time with kids, promoting their cognitive and motor skills development. The free PDF printables provided in this article offer a variety of cow designs and themes, suitable for children of different ages and skill levels. Whether you’re a teacher, parent, or caregiver, these coloring pages can be a great resource for educational and entertainment purposes. With their vibrant colors and adorable cow characters, these printables are sure to bring joy and excitement to your little ones. So, grab some crayons and get ready to moo-ve into the world of cow coloring pages!