Are you ready to unleash your creativity and dive into the world of Squid Game? We’ve got you covered! Our Squid Game Coloring Pages are now available in a convenient and printable PDF format, allowing you to bring the beloved characters and symbols to life with ease. To convert these coloring pages, we used a simple formula that combines the original digital files with a high-quality PDF converter, ensuring that the final product is crisp, clear, and ready for coloring. With this free PDF download, you can enjoy the thrill of Squid Game in a whole new way, and we can’t wait to see what amazing artwork you create!
Free Printable Squid Game Coloring Pages – Download Now


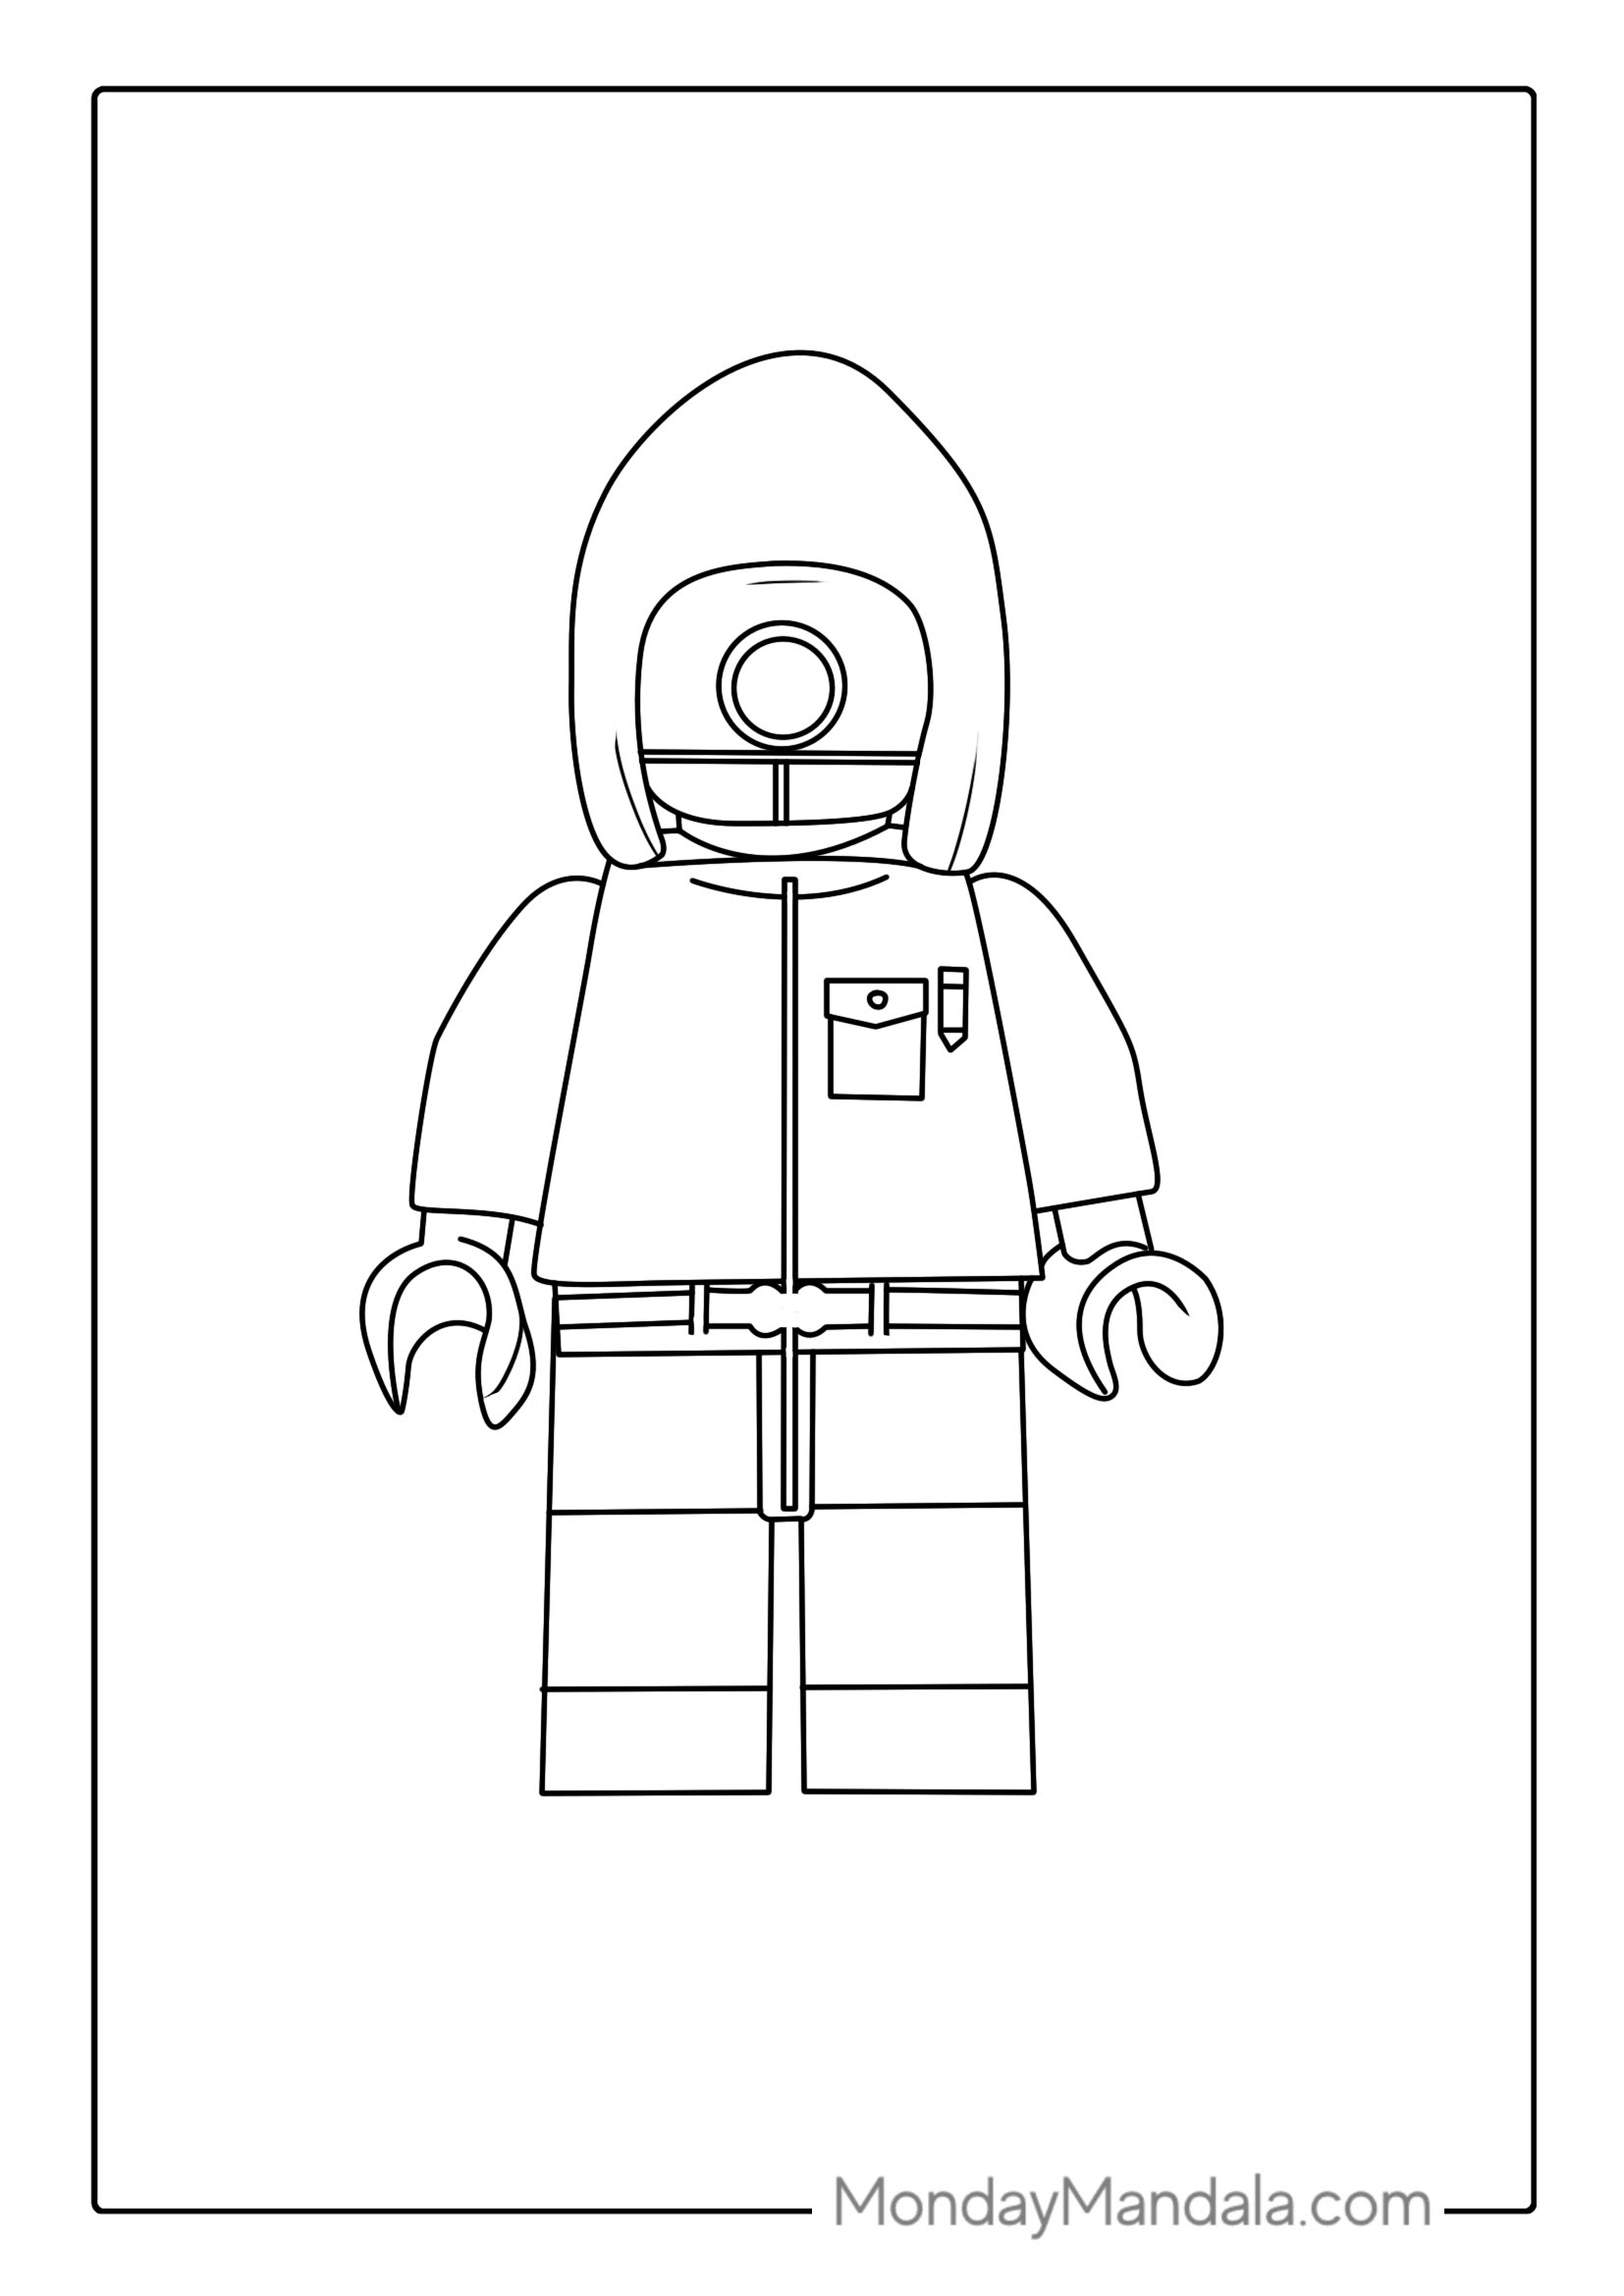


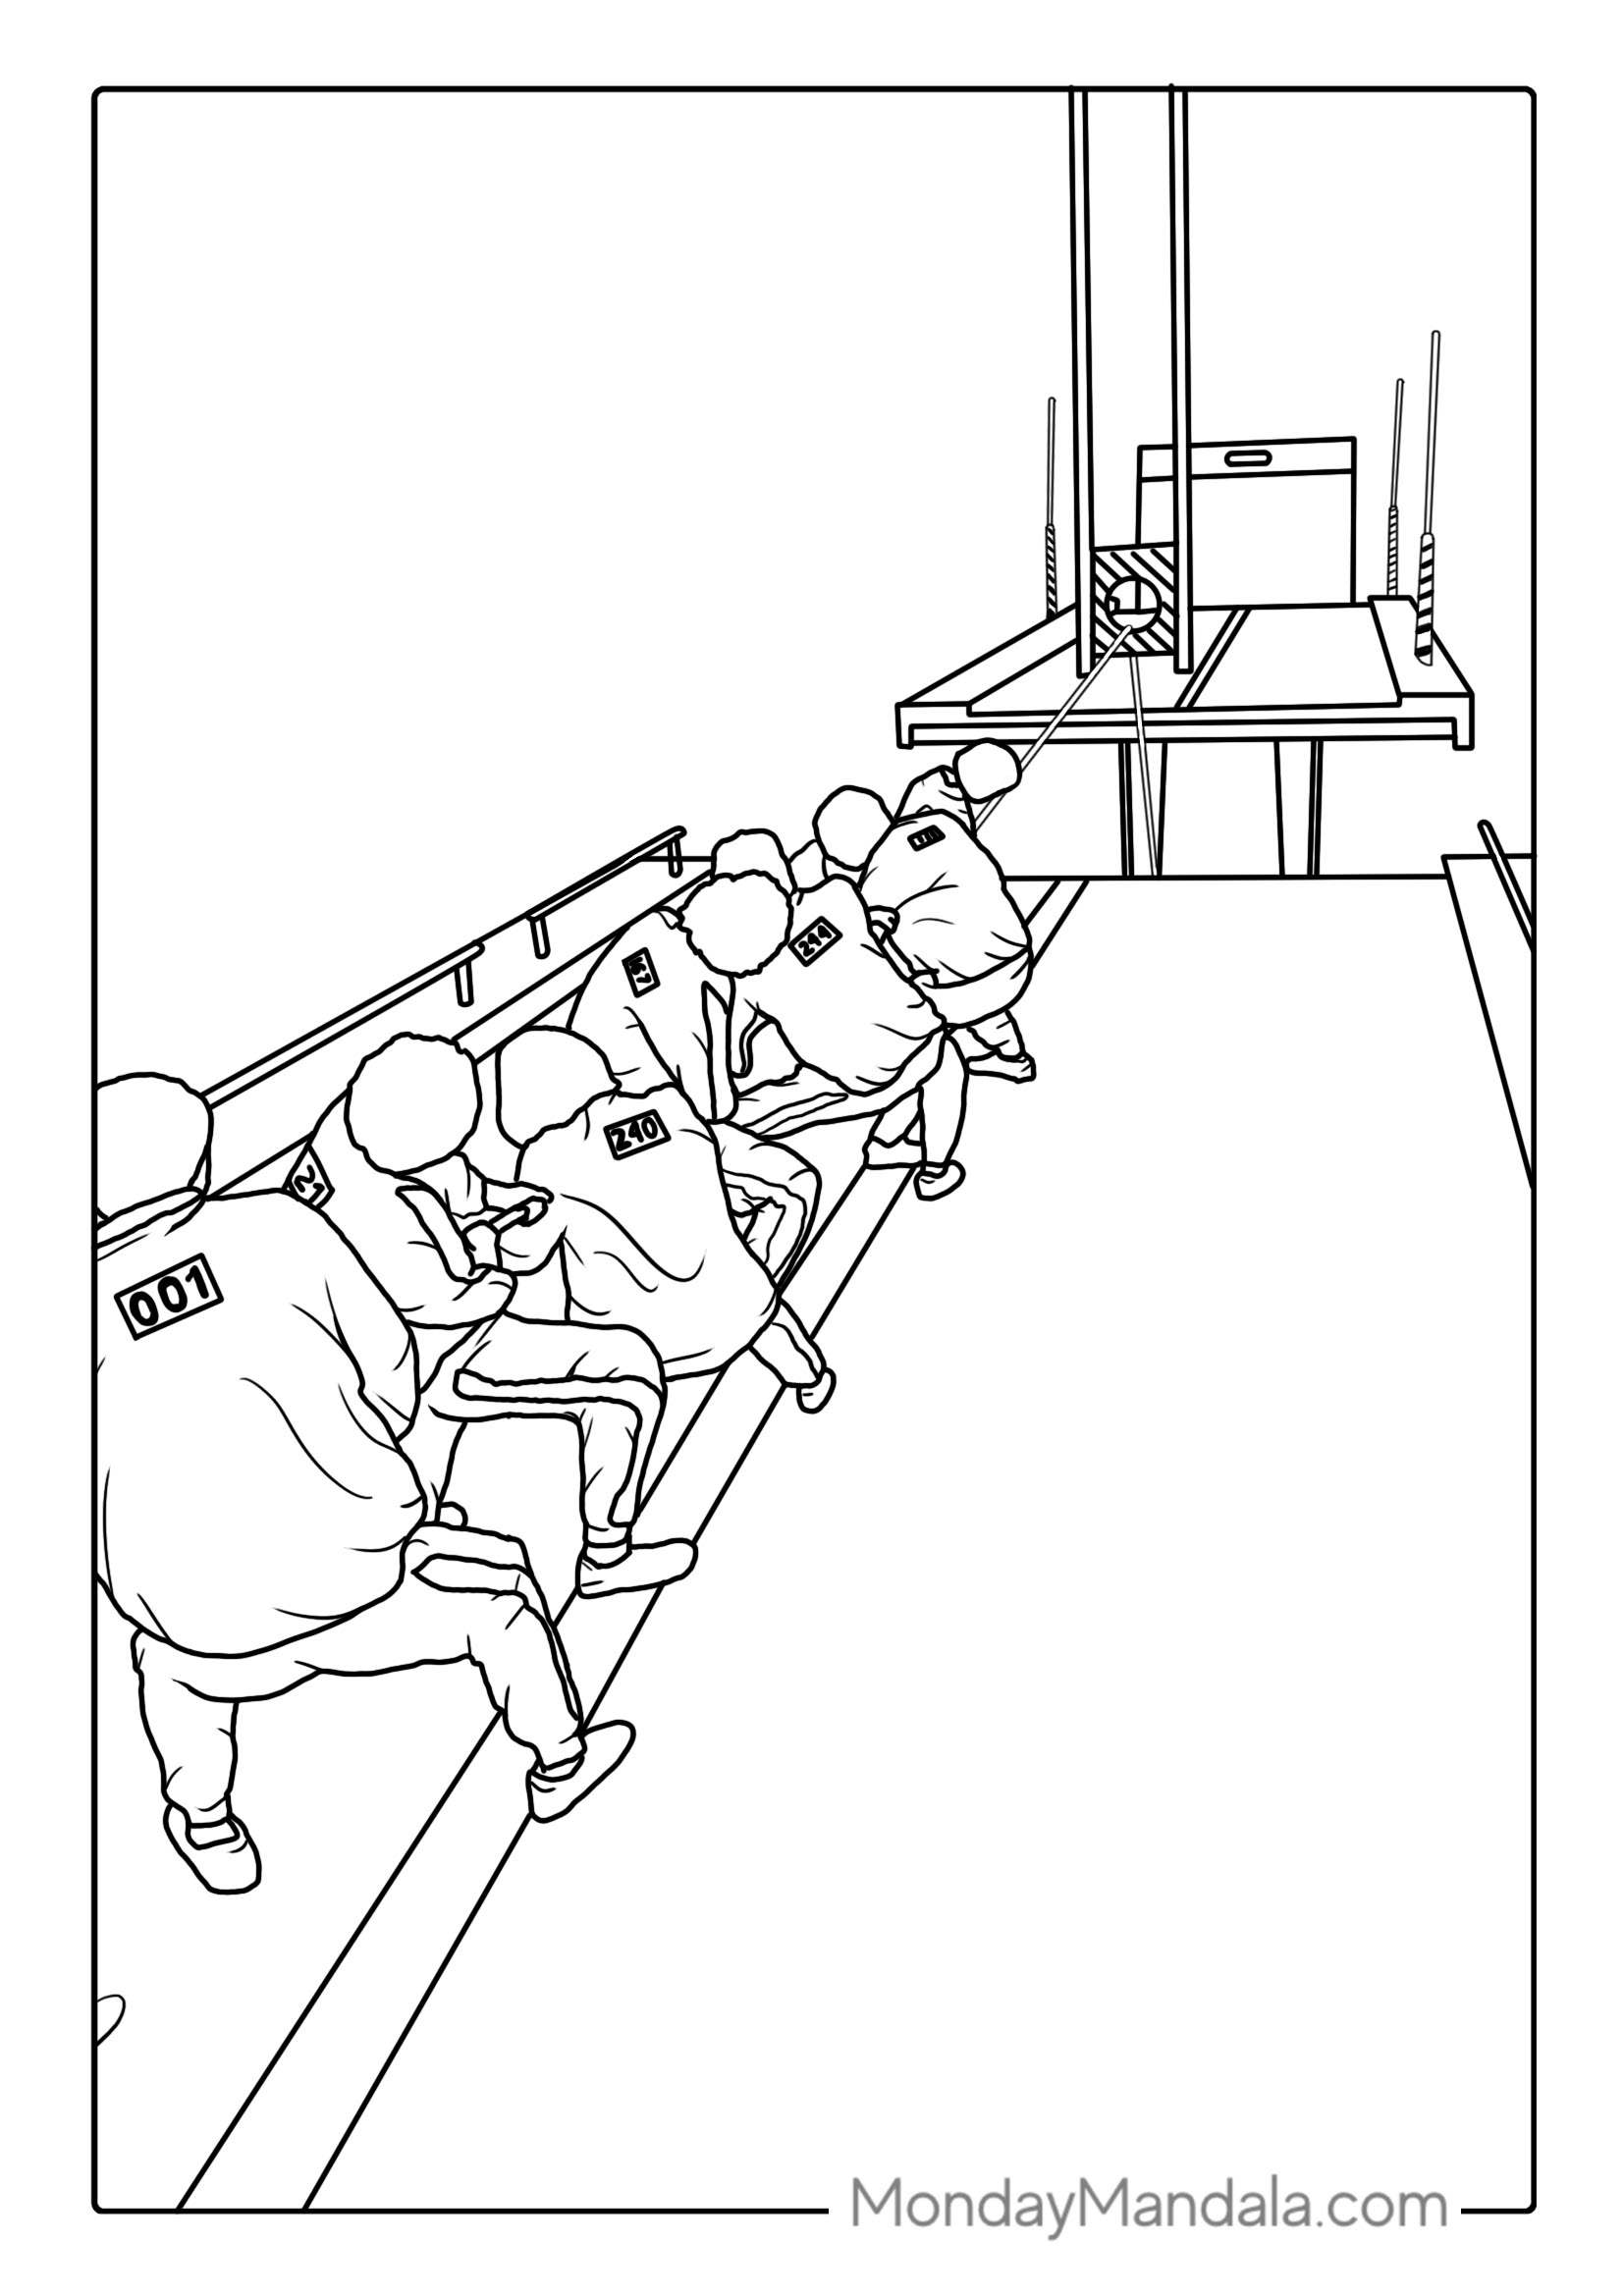
Unleash Your Creativity with Free Squid Game Coloring Pages
The article has explored the world of Squid Game coloring pages, providing a unique and creative way for fans of the popular Netflix series to express their enthusiasm. We have discussed the benefits of coloring, including stress relief and improved focus, and how Squid Game coloring pages can bring these benefits to fans of the show. Additionally, we have provided a free PDF download of Squid Game coloring pages, allowing readers to get creative and enjoy the world of Squid Game in a new and exciting way. Whether you’re a seasoned artist or just looking for a fun and relaxing activity, Squid Game coloring pages are a great way to engage with the show and express your creativity.