Are you looking for a fun and educational activity to keep your little ones engaged? Look no further! We’ve converted the classic Sesame Street Coloring Pages into free PDF printables, making it easy for you to print and enjoy with your child. Using a simple formula of combining vibrant colors with beloved characters, we’ve created a collection of coloring pages that are sure to delight both kids and parents alike. From Elmo to Big Bird, Cookie Monster to Abby Cadabby, our Sesame Street Coloring Pages feature all your favorite friends in a variety of fun and imaginative scenarios. So why wait? Download our free PDF printables today and get ready to unleash your child’s creativity!
Free Printable Sesame Street Coloring Pages – Download Now

Unleash Your Creativity with Free Sesame Street Coloring Pages
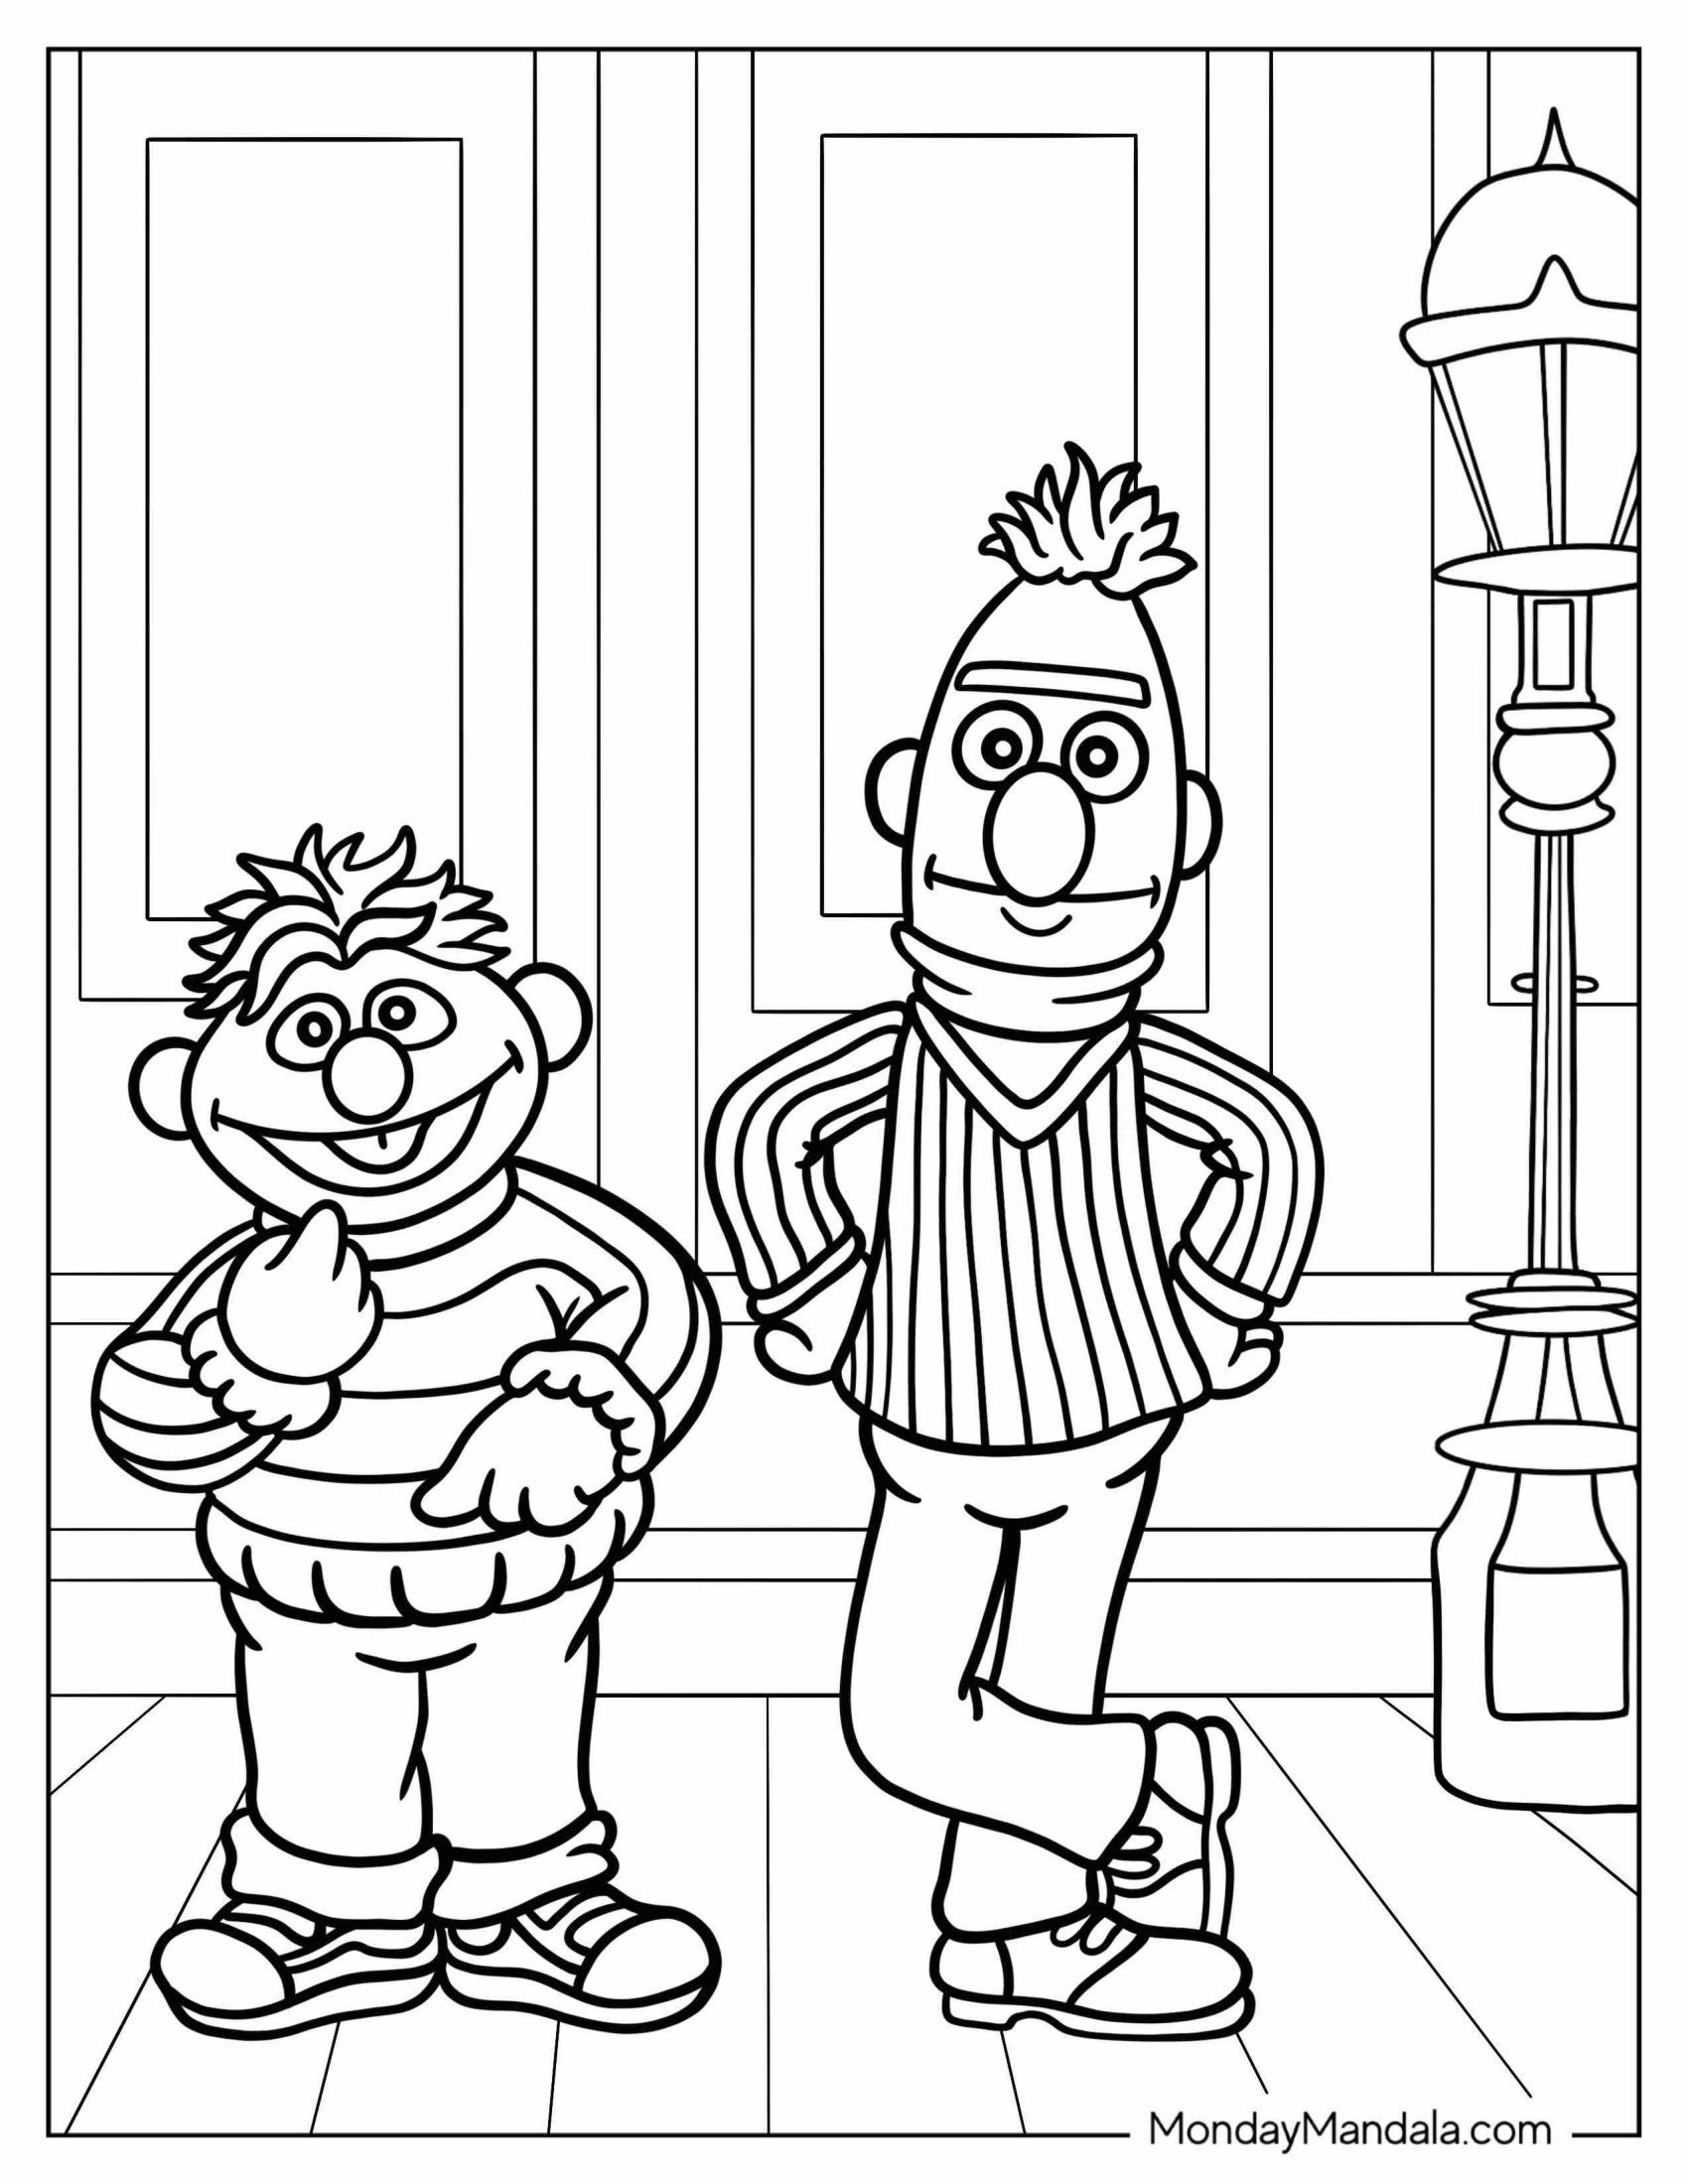
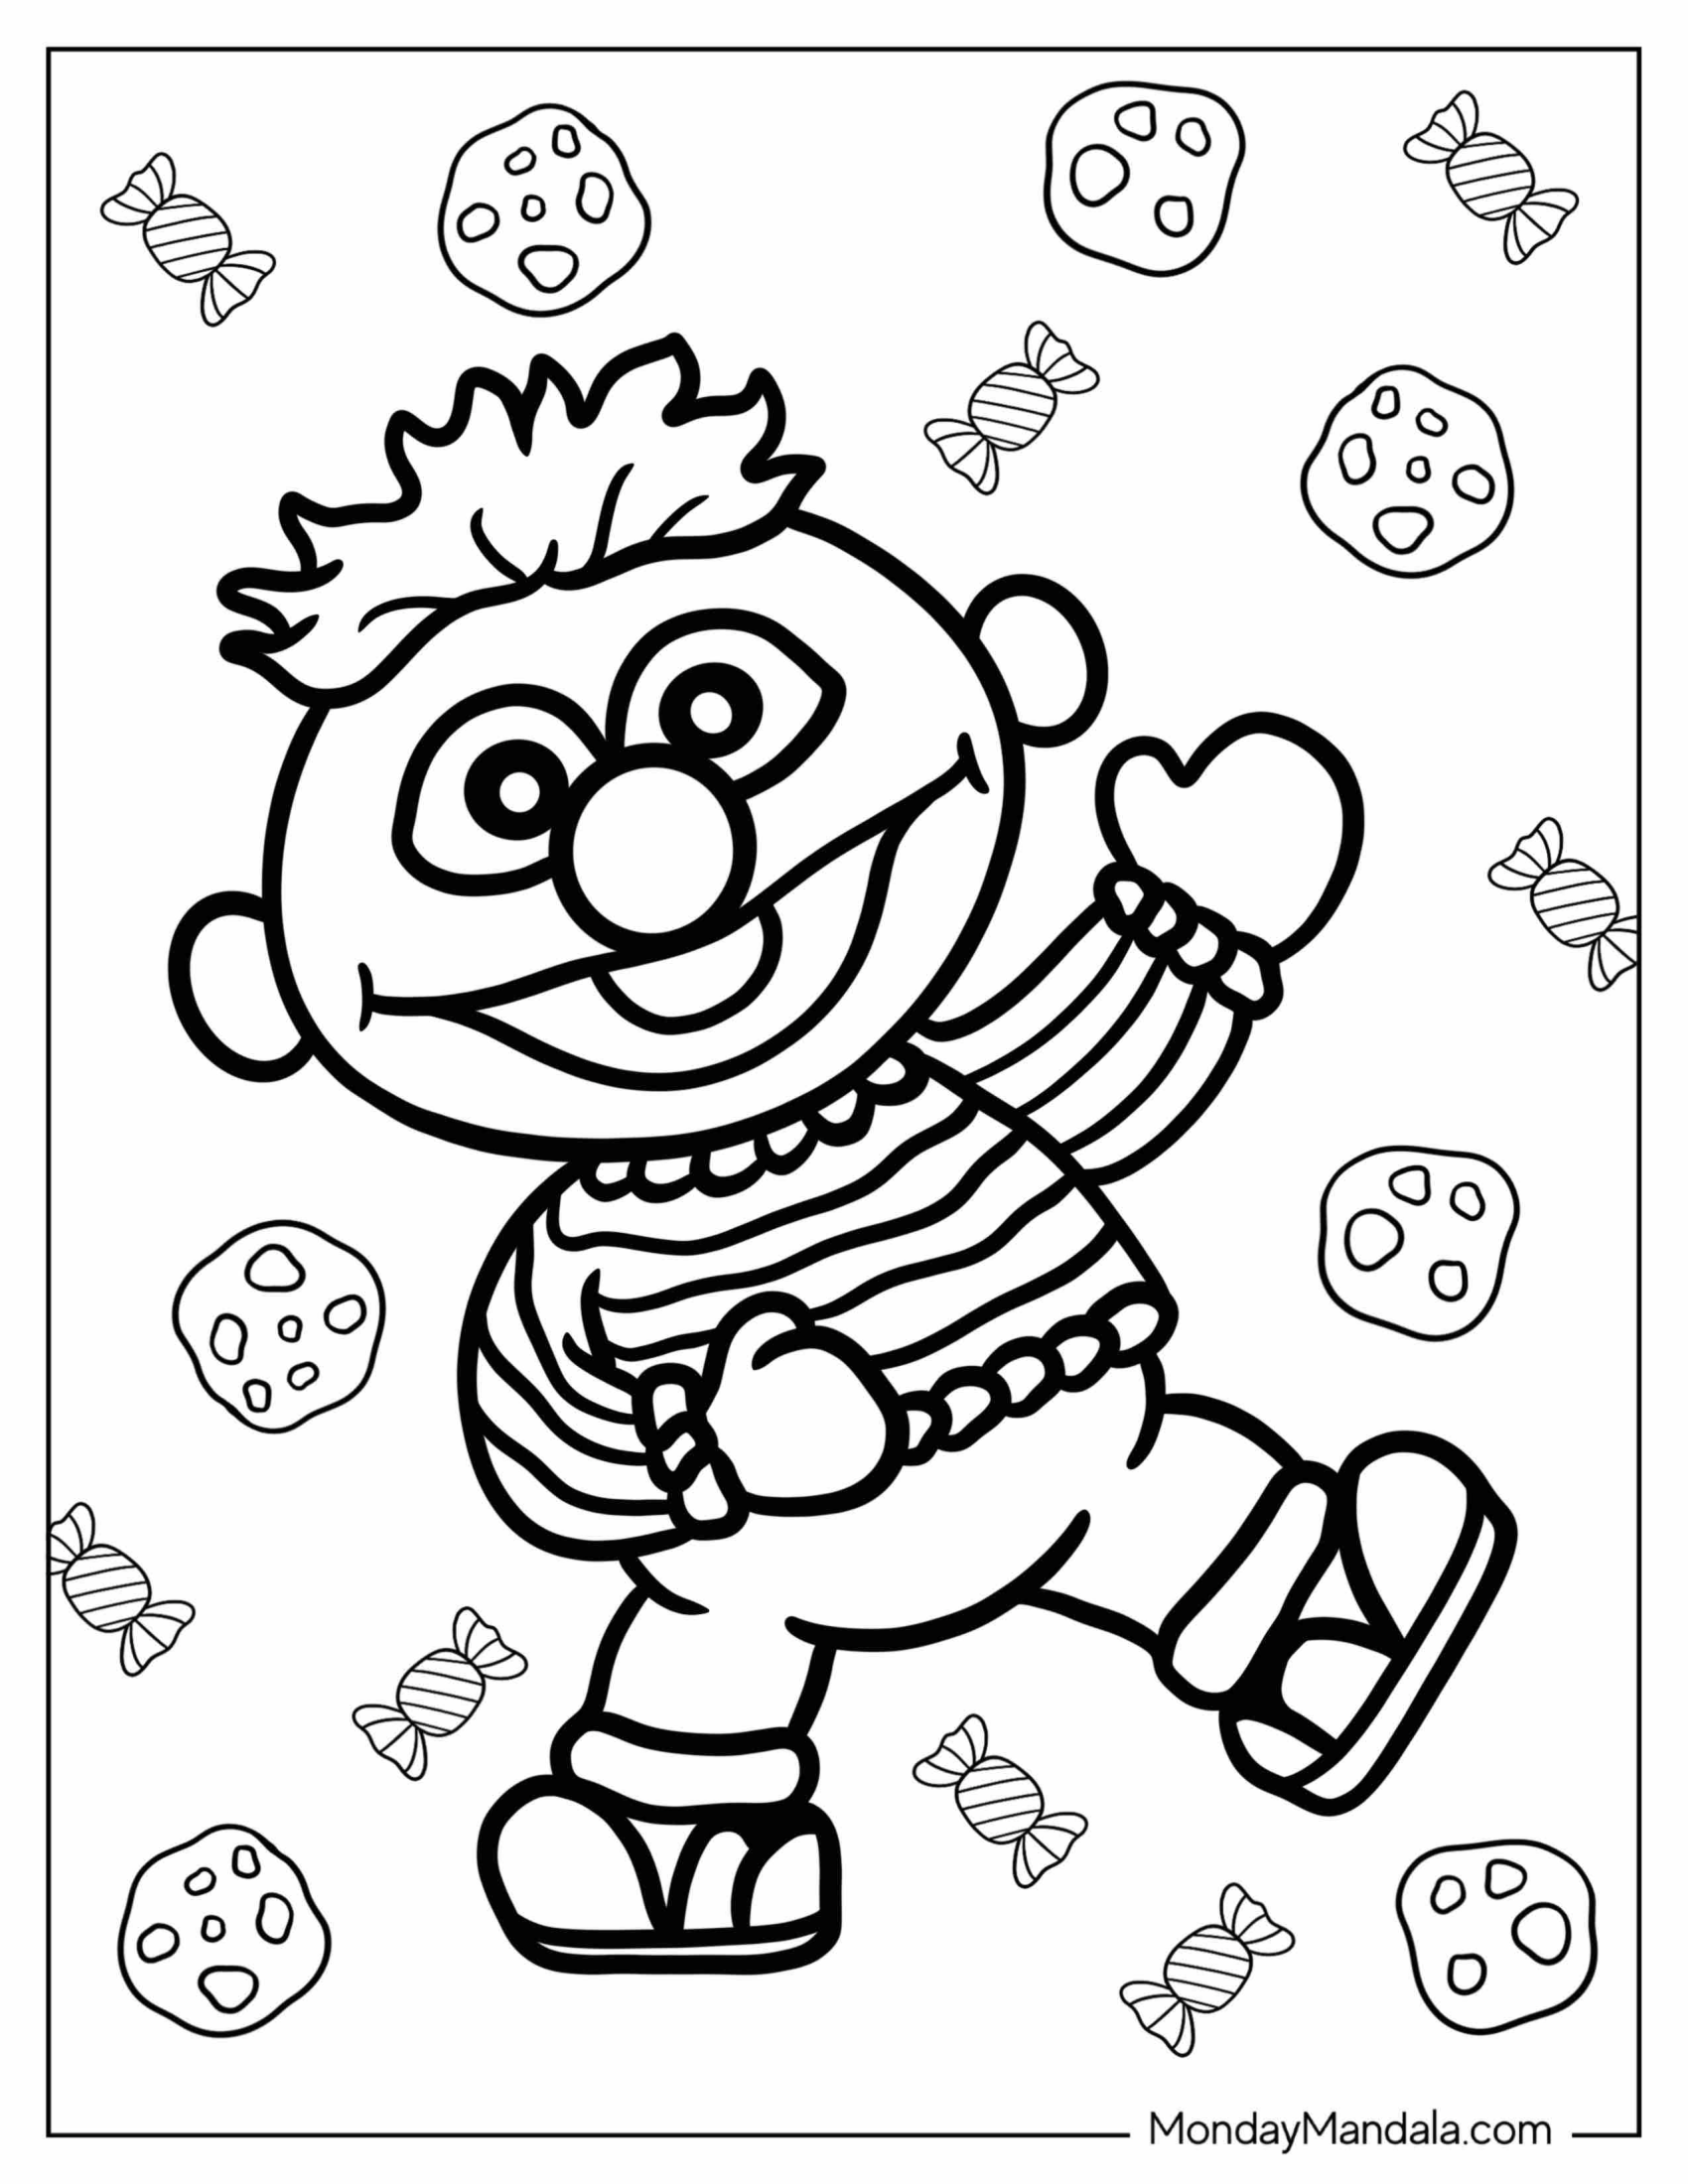
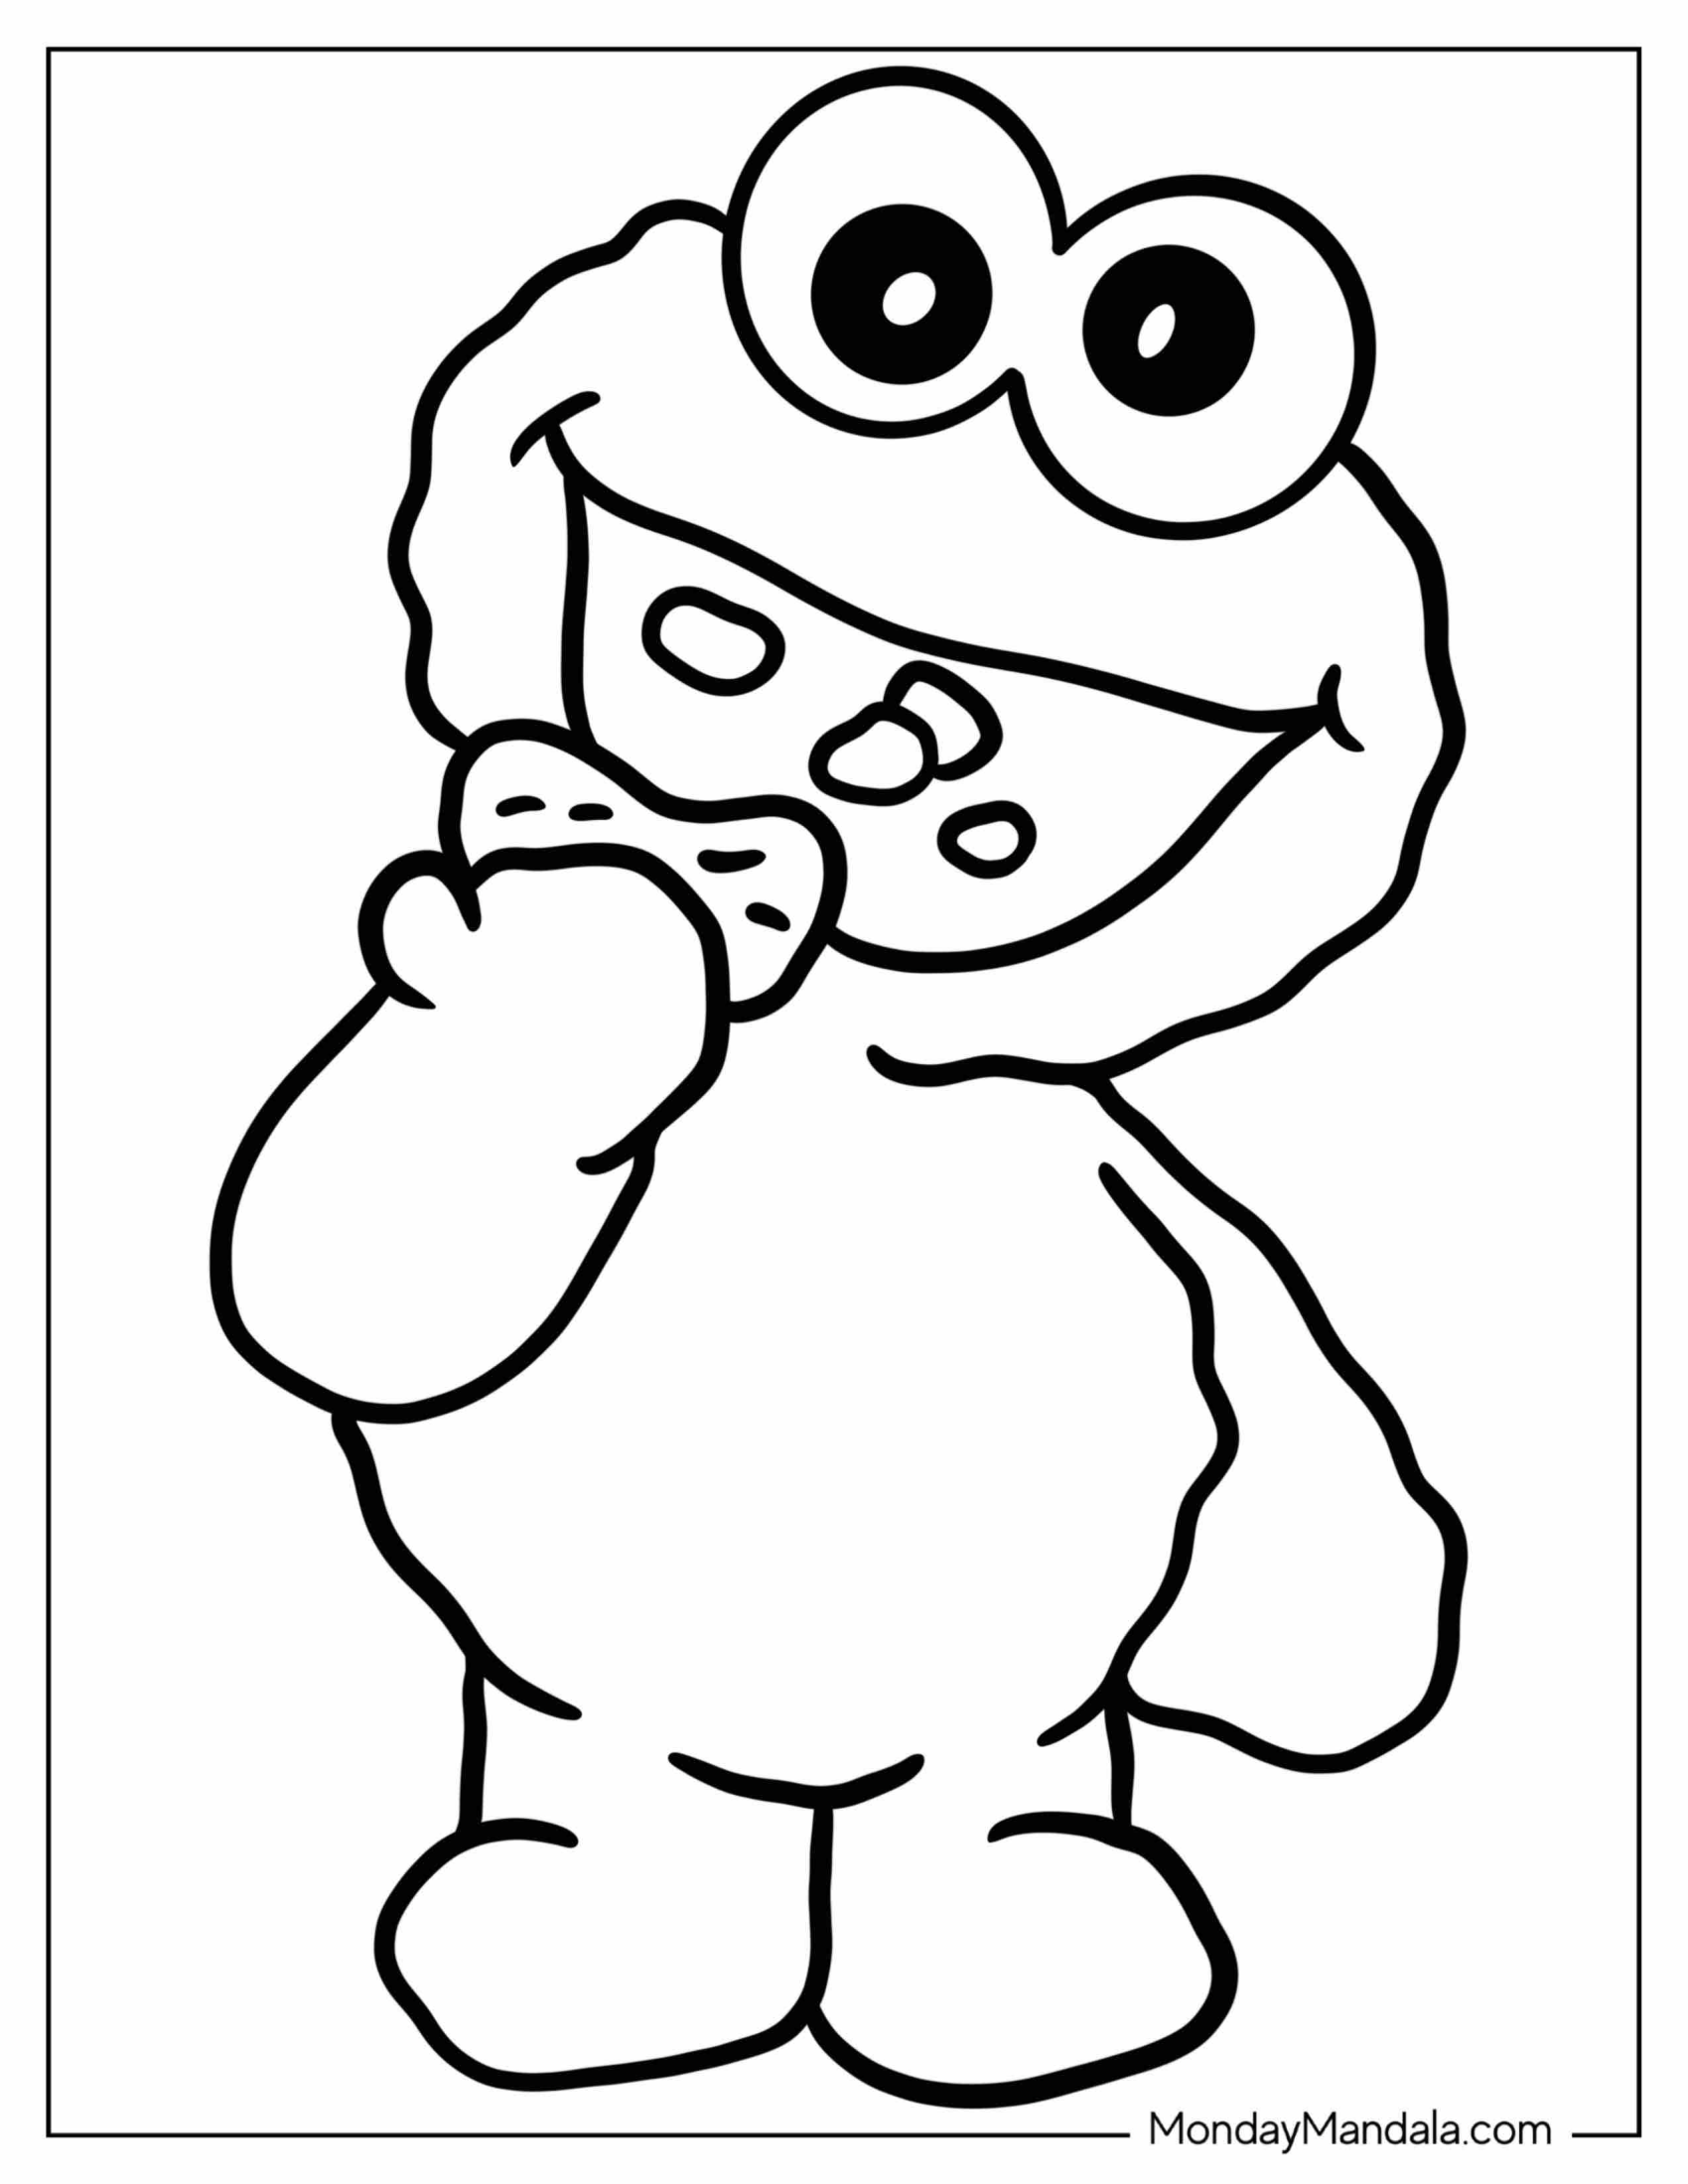
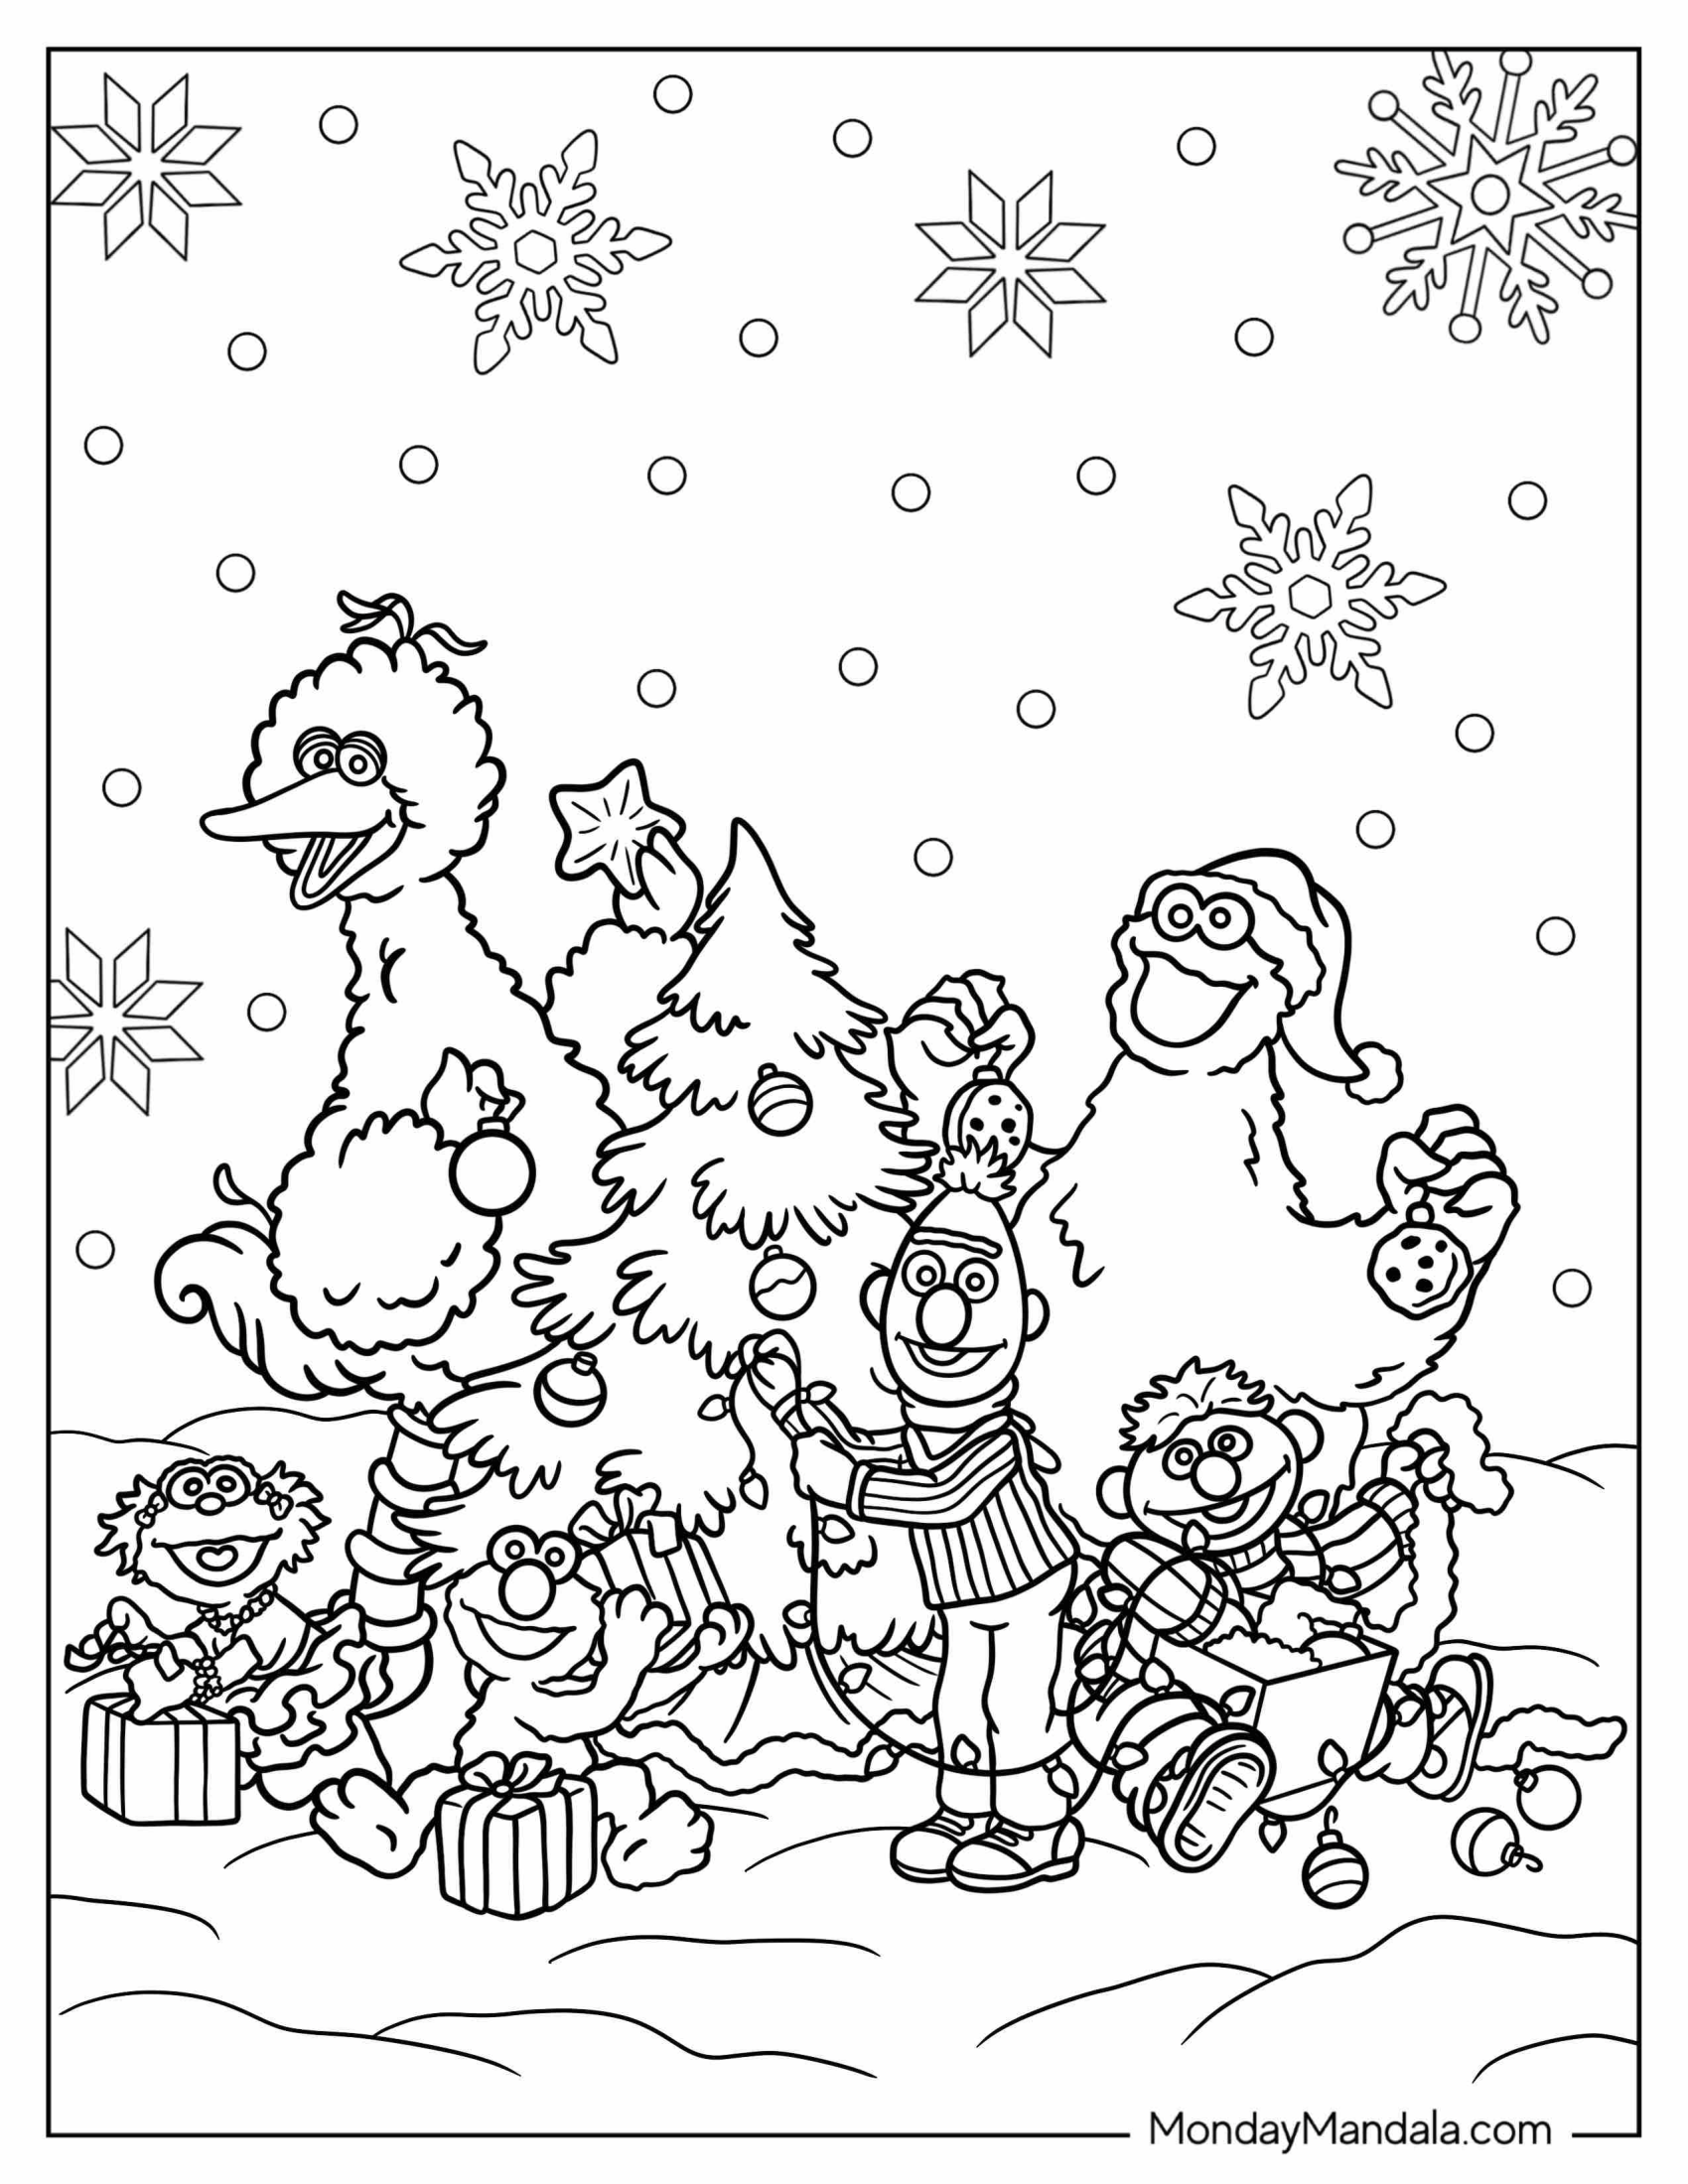
Sesame Street coloring pages are a great way to engage children in creative play while introducing them to their favorite characters from the popular children’s show. In this article, we provided a collection of free PDF printables featuring Elmo, Big Bird, Cookie Monster, and other beloved characters. These coloring pages are perfect for kids of all ages and skill levels, and can be used for a variety of purposes, including arts and crafts projects, educational activities, and party decorations. Whether you’re a parent, teacher, or caregiver, these Sesame Street coloring pages are a valuable resource for promoting creativity and learning in young children.