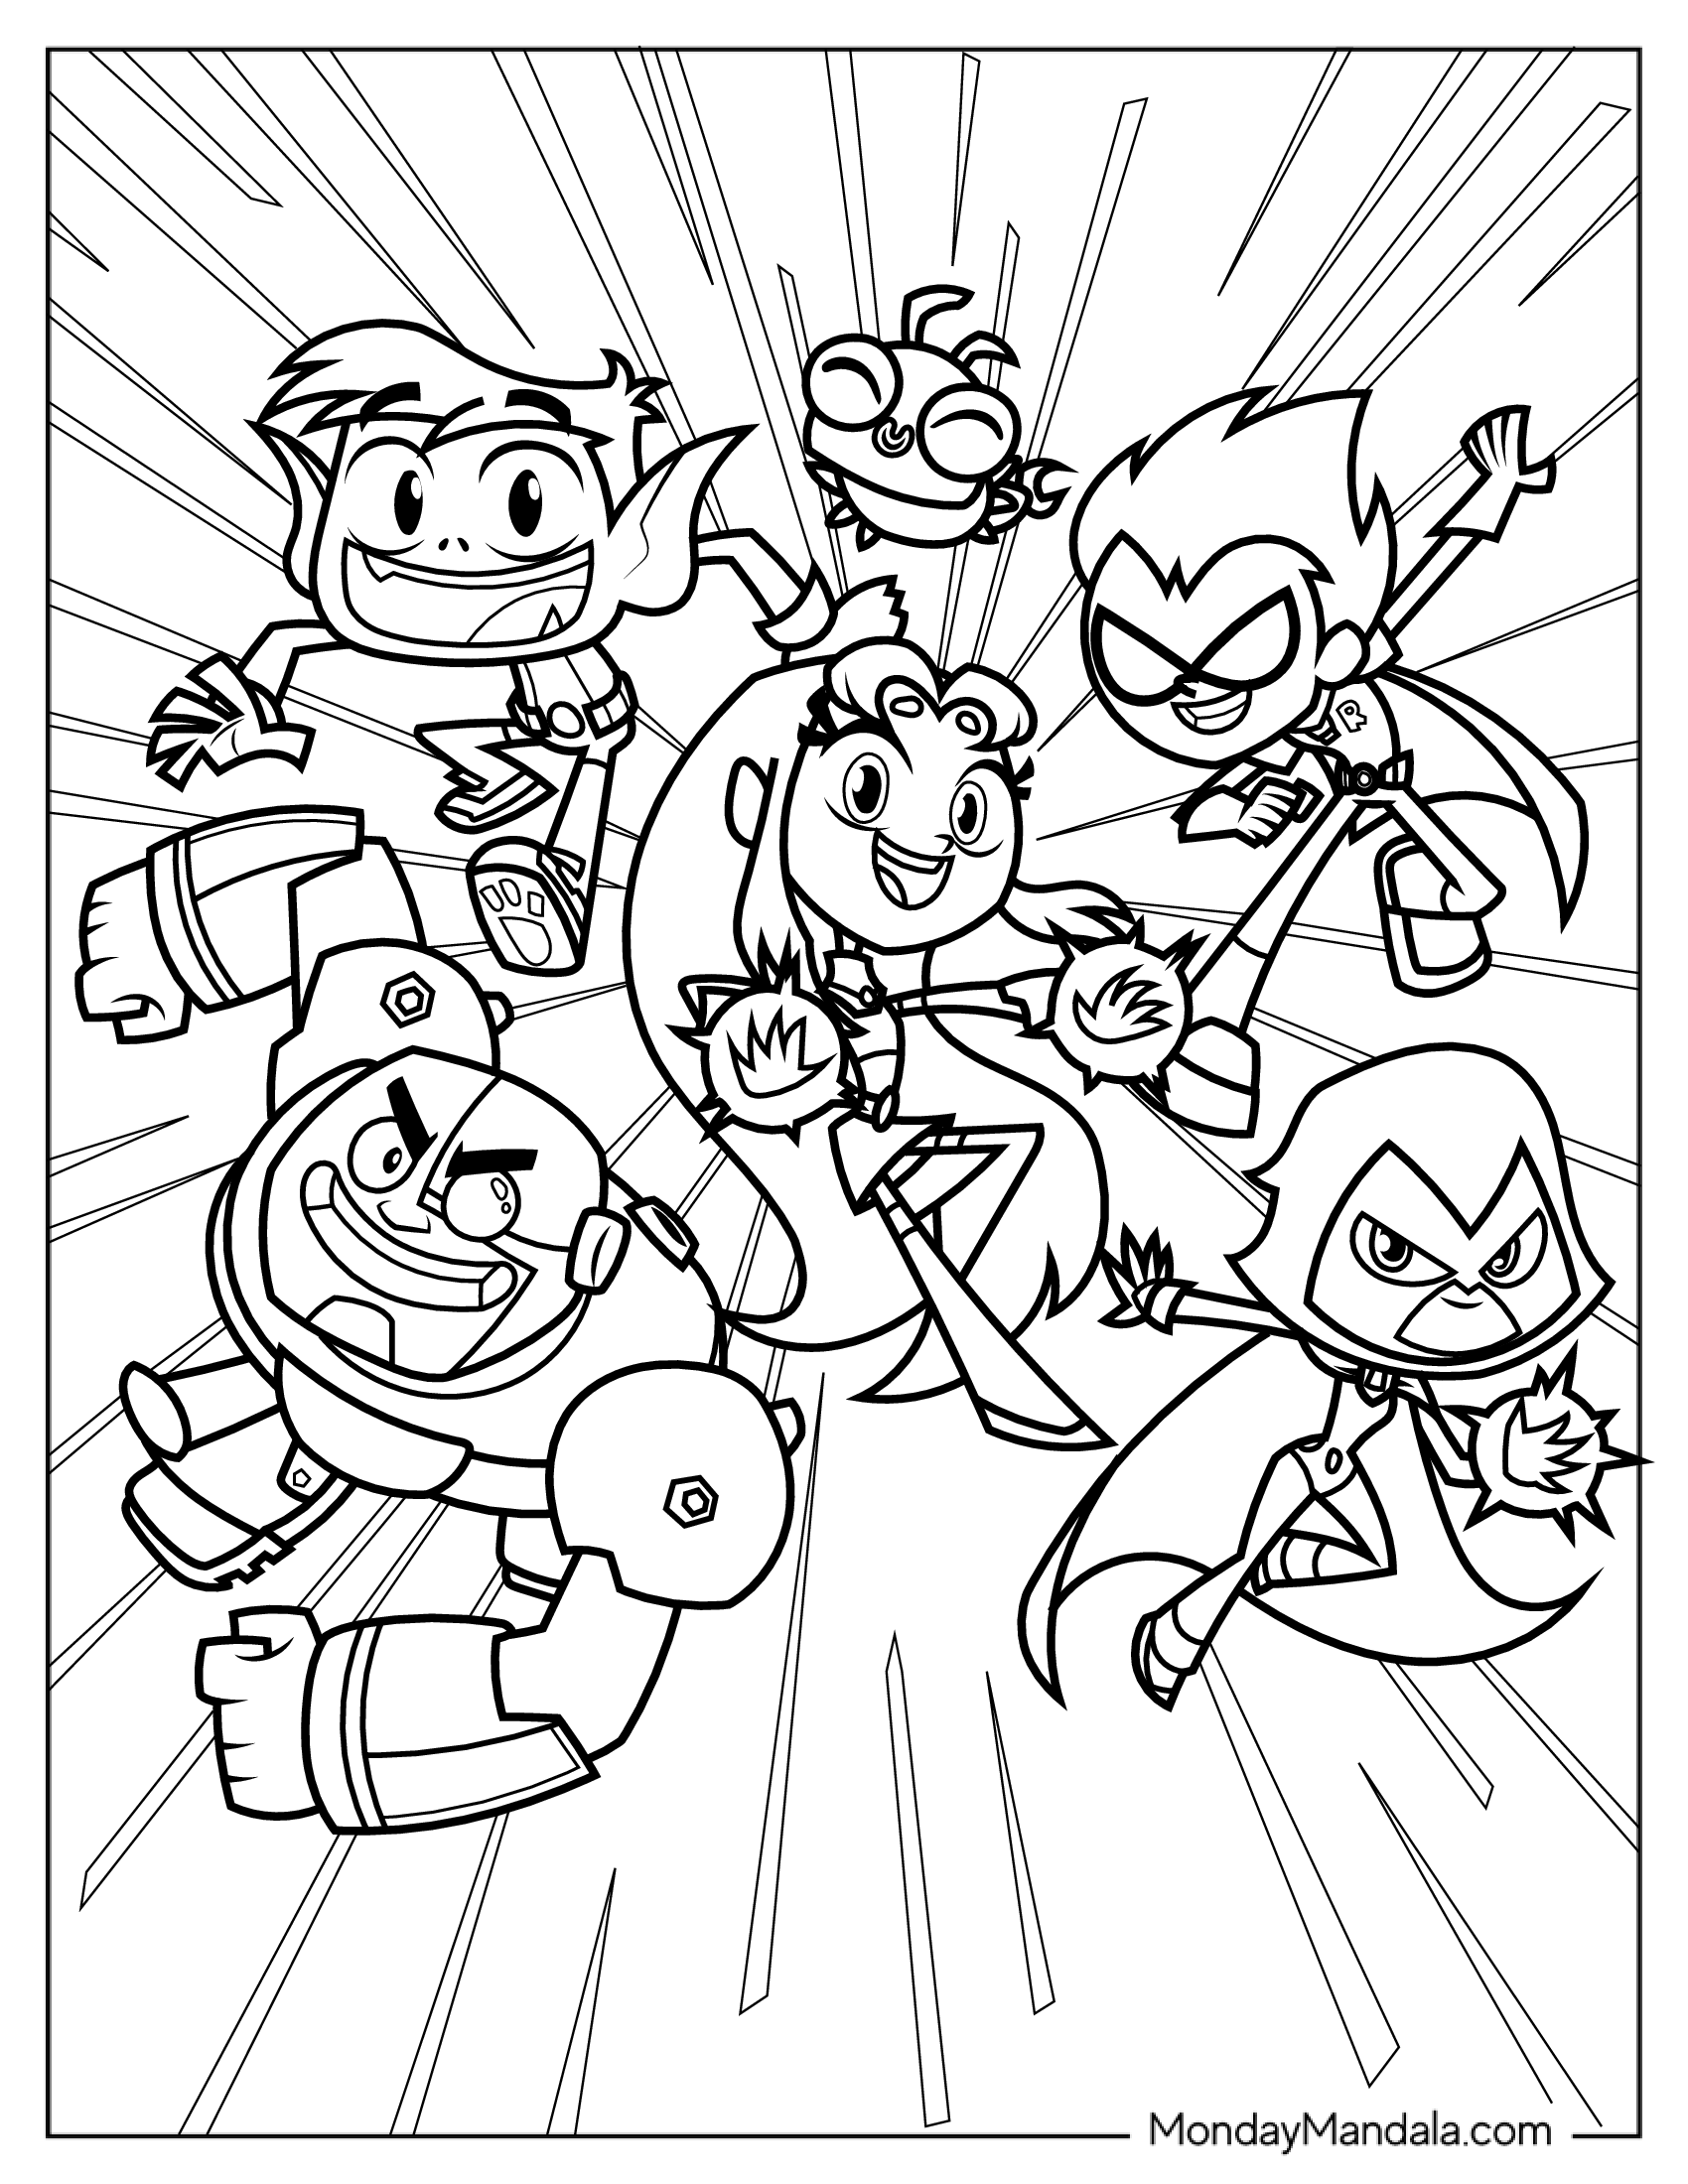
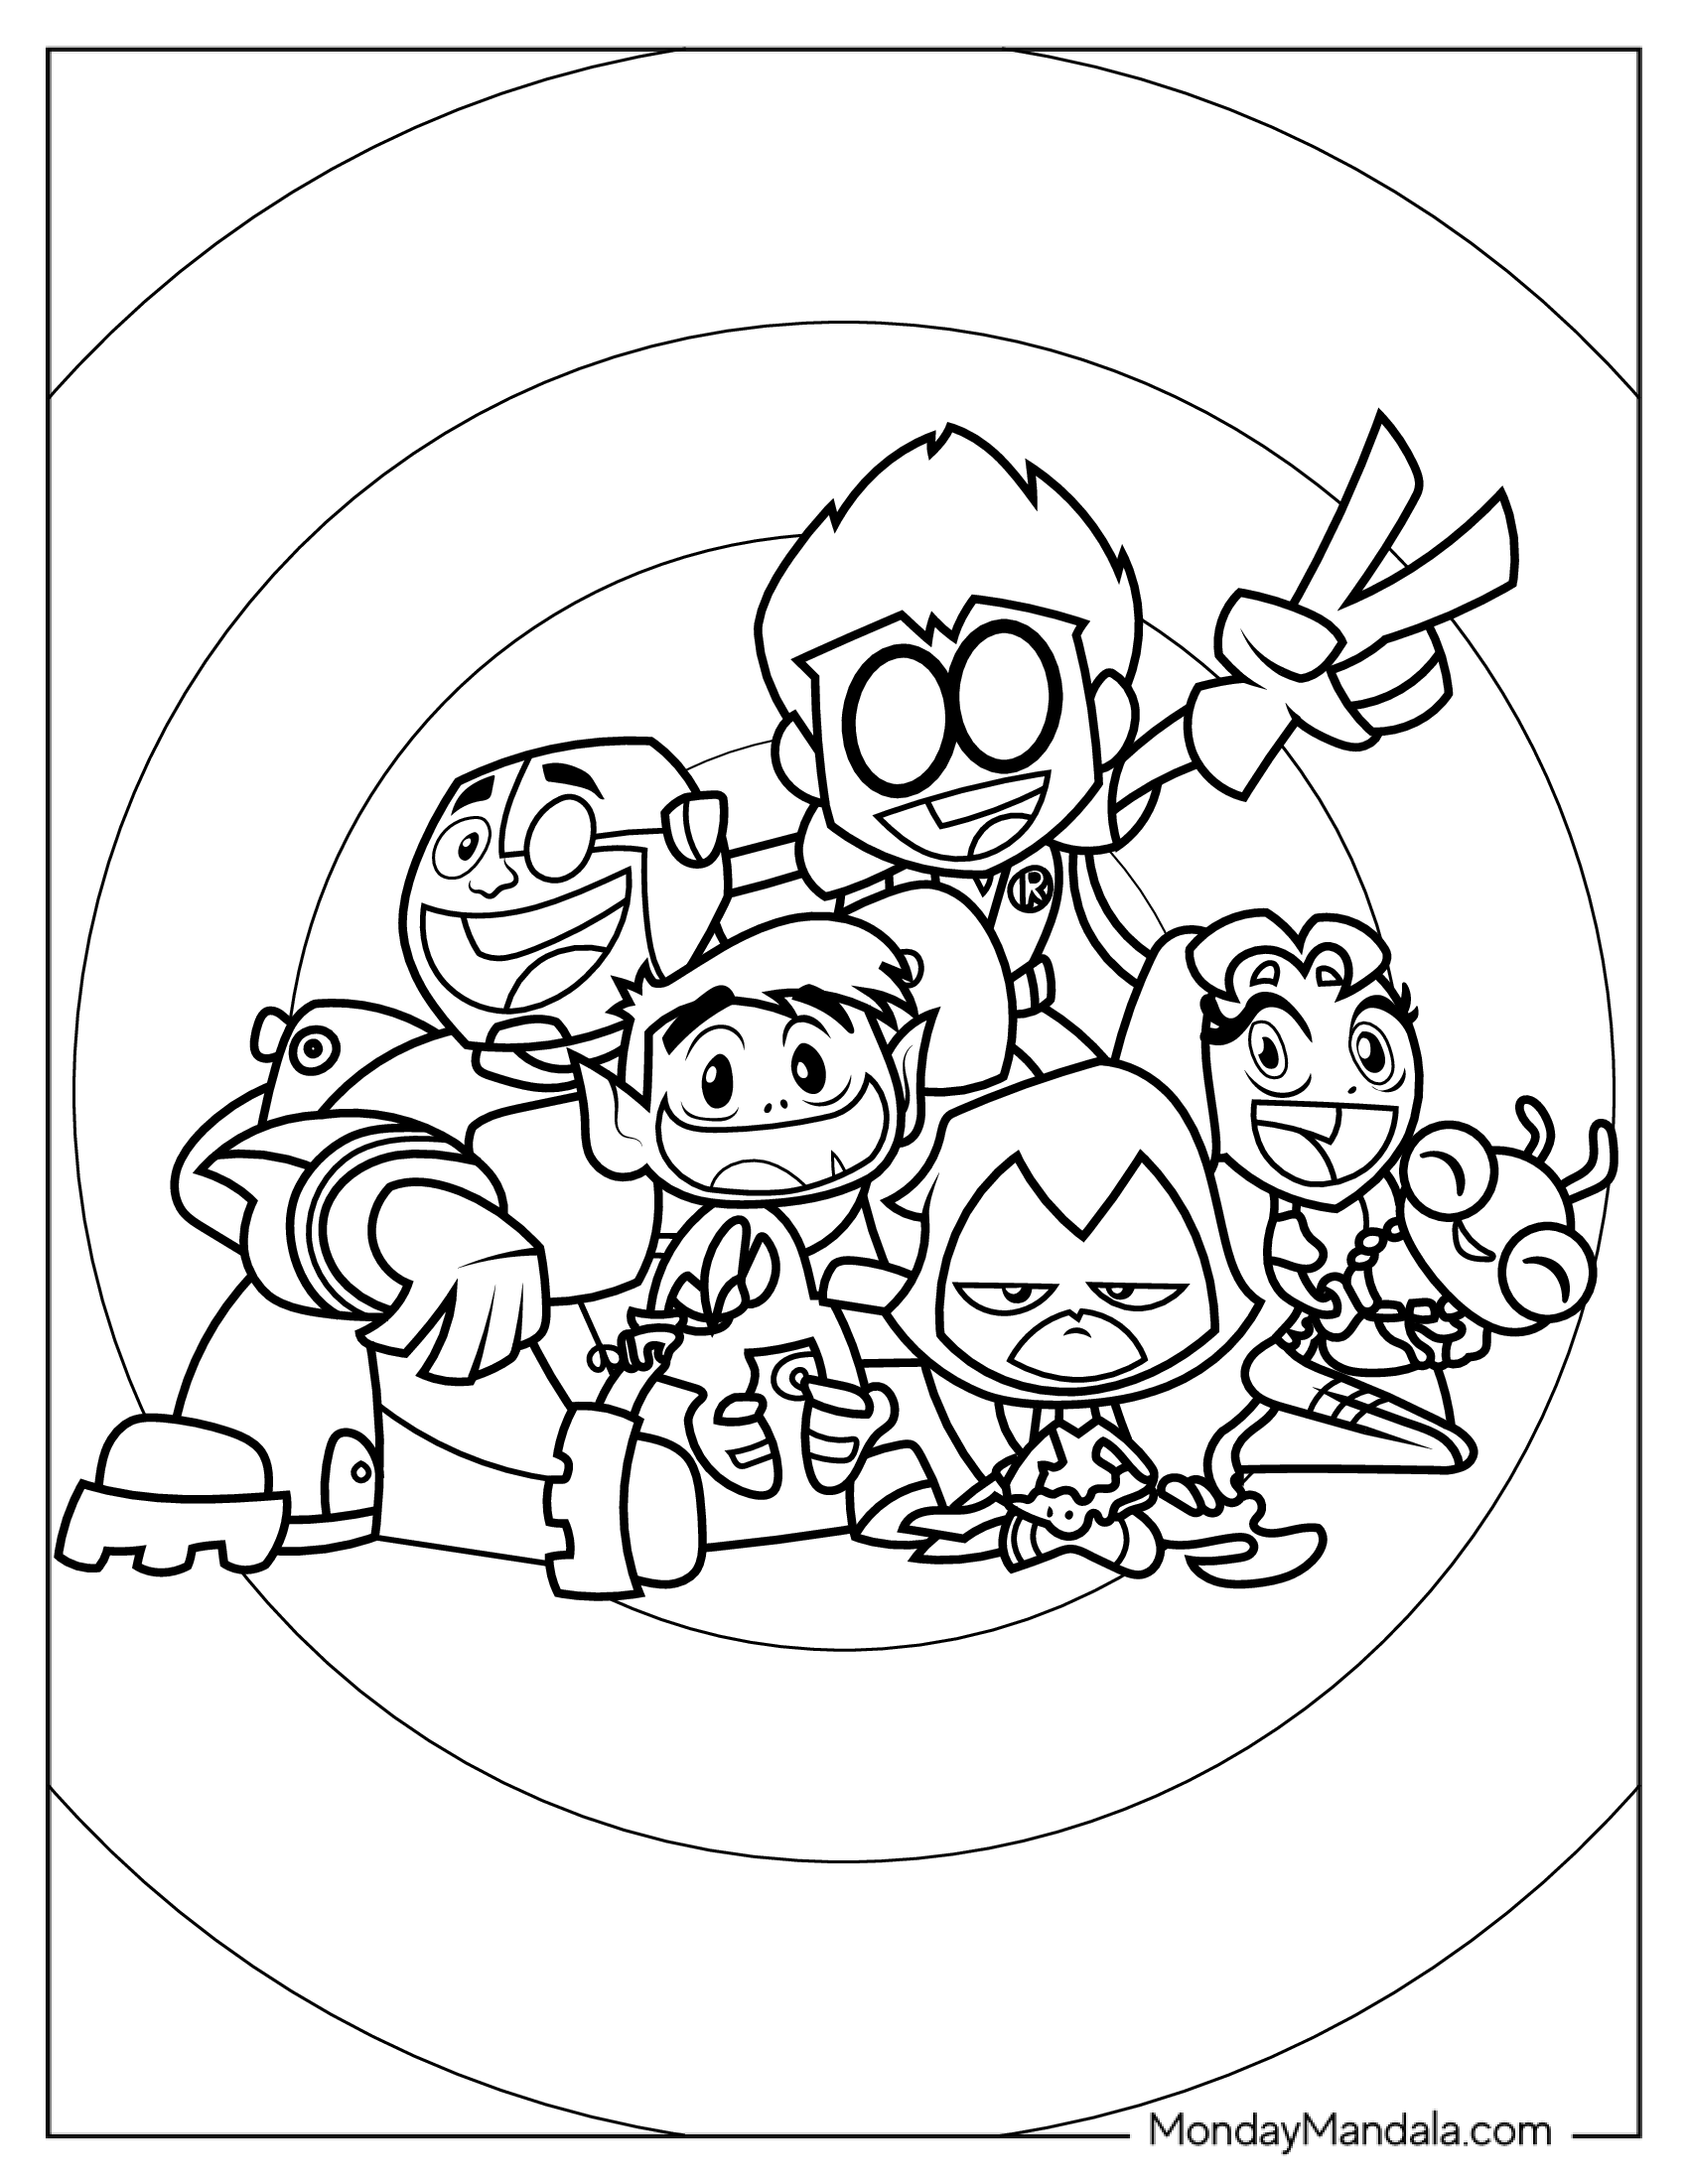
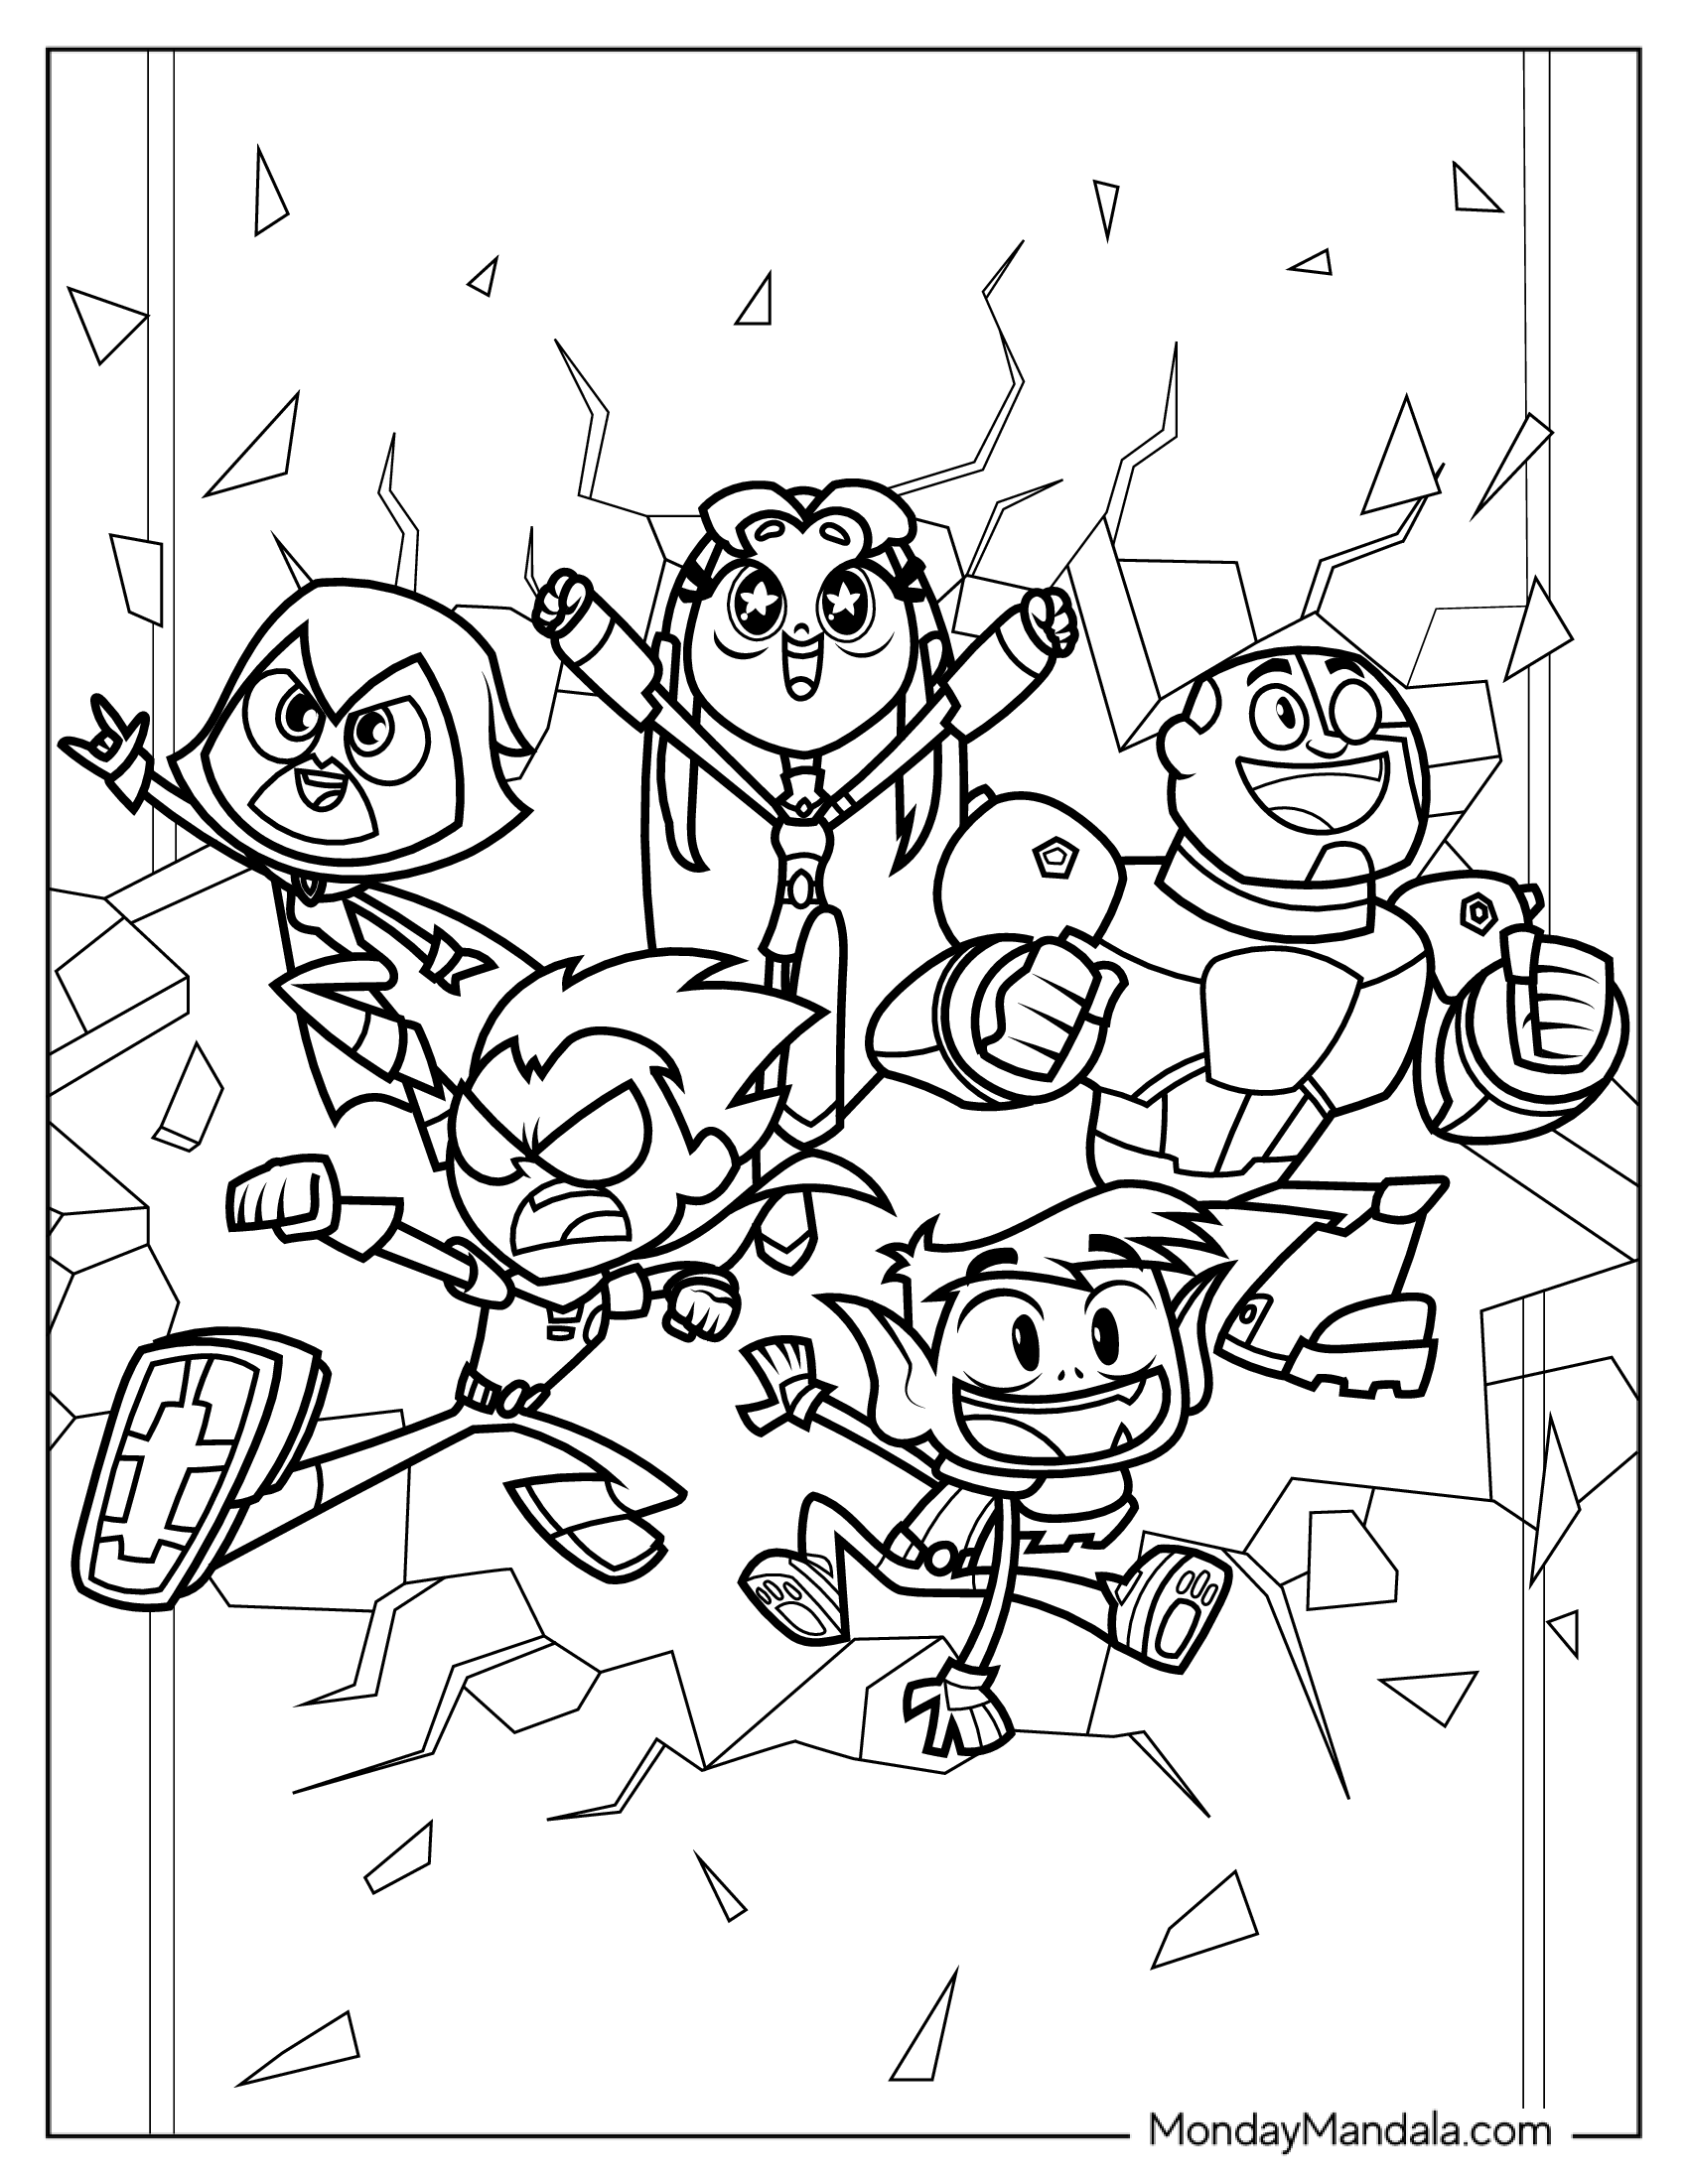
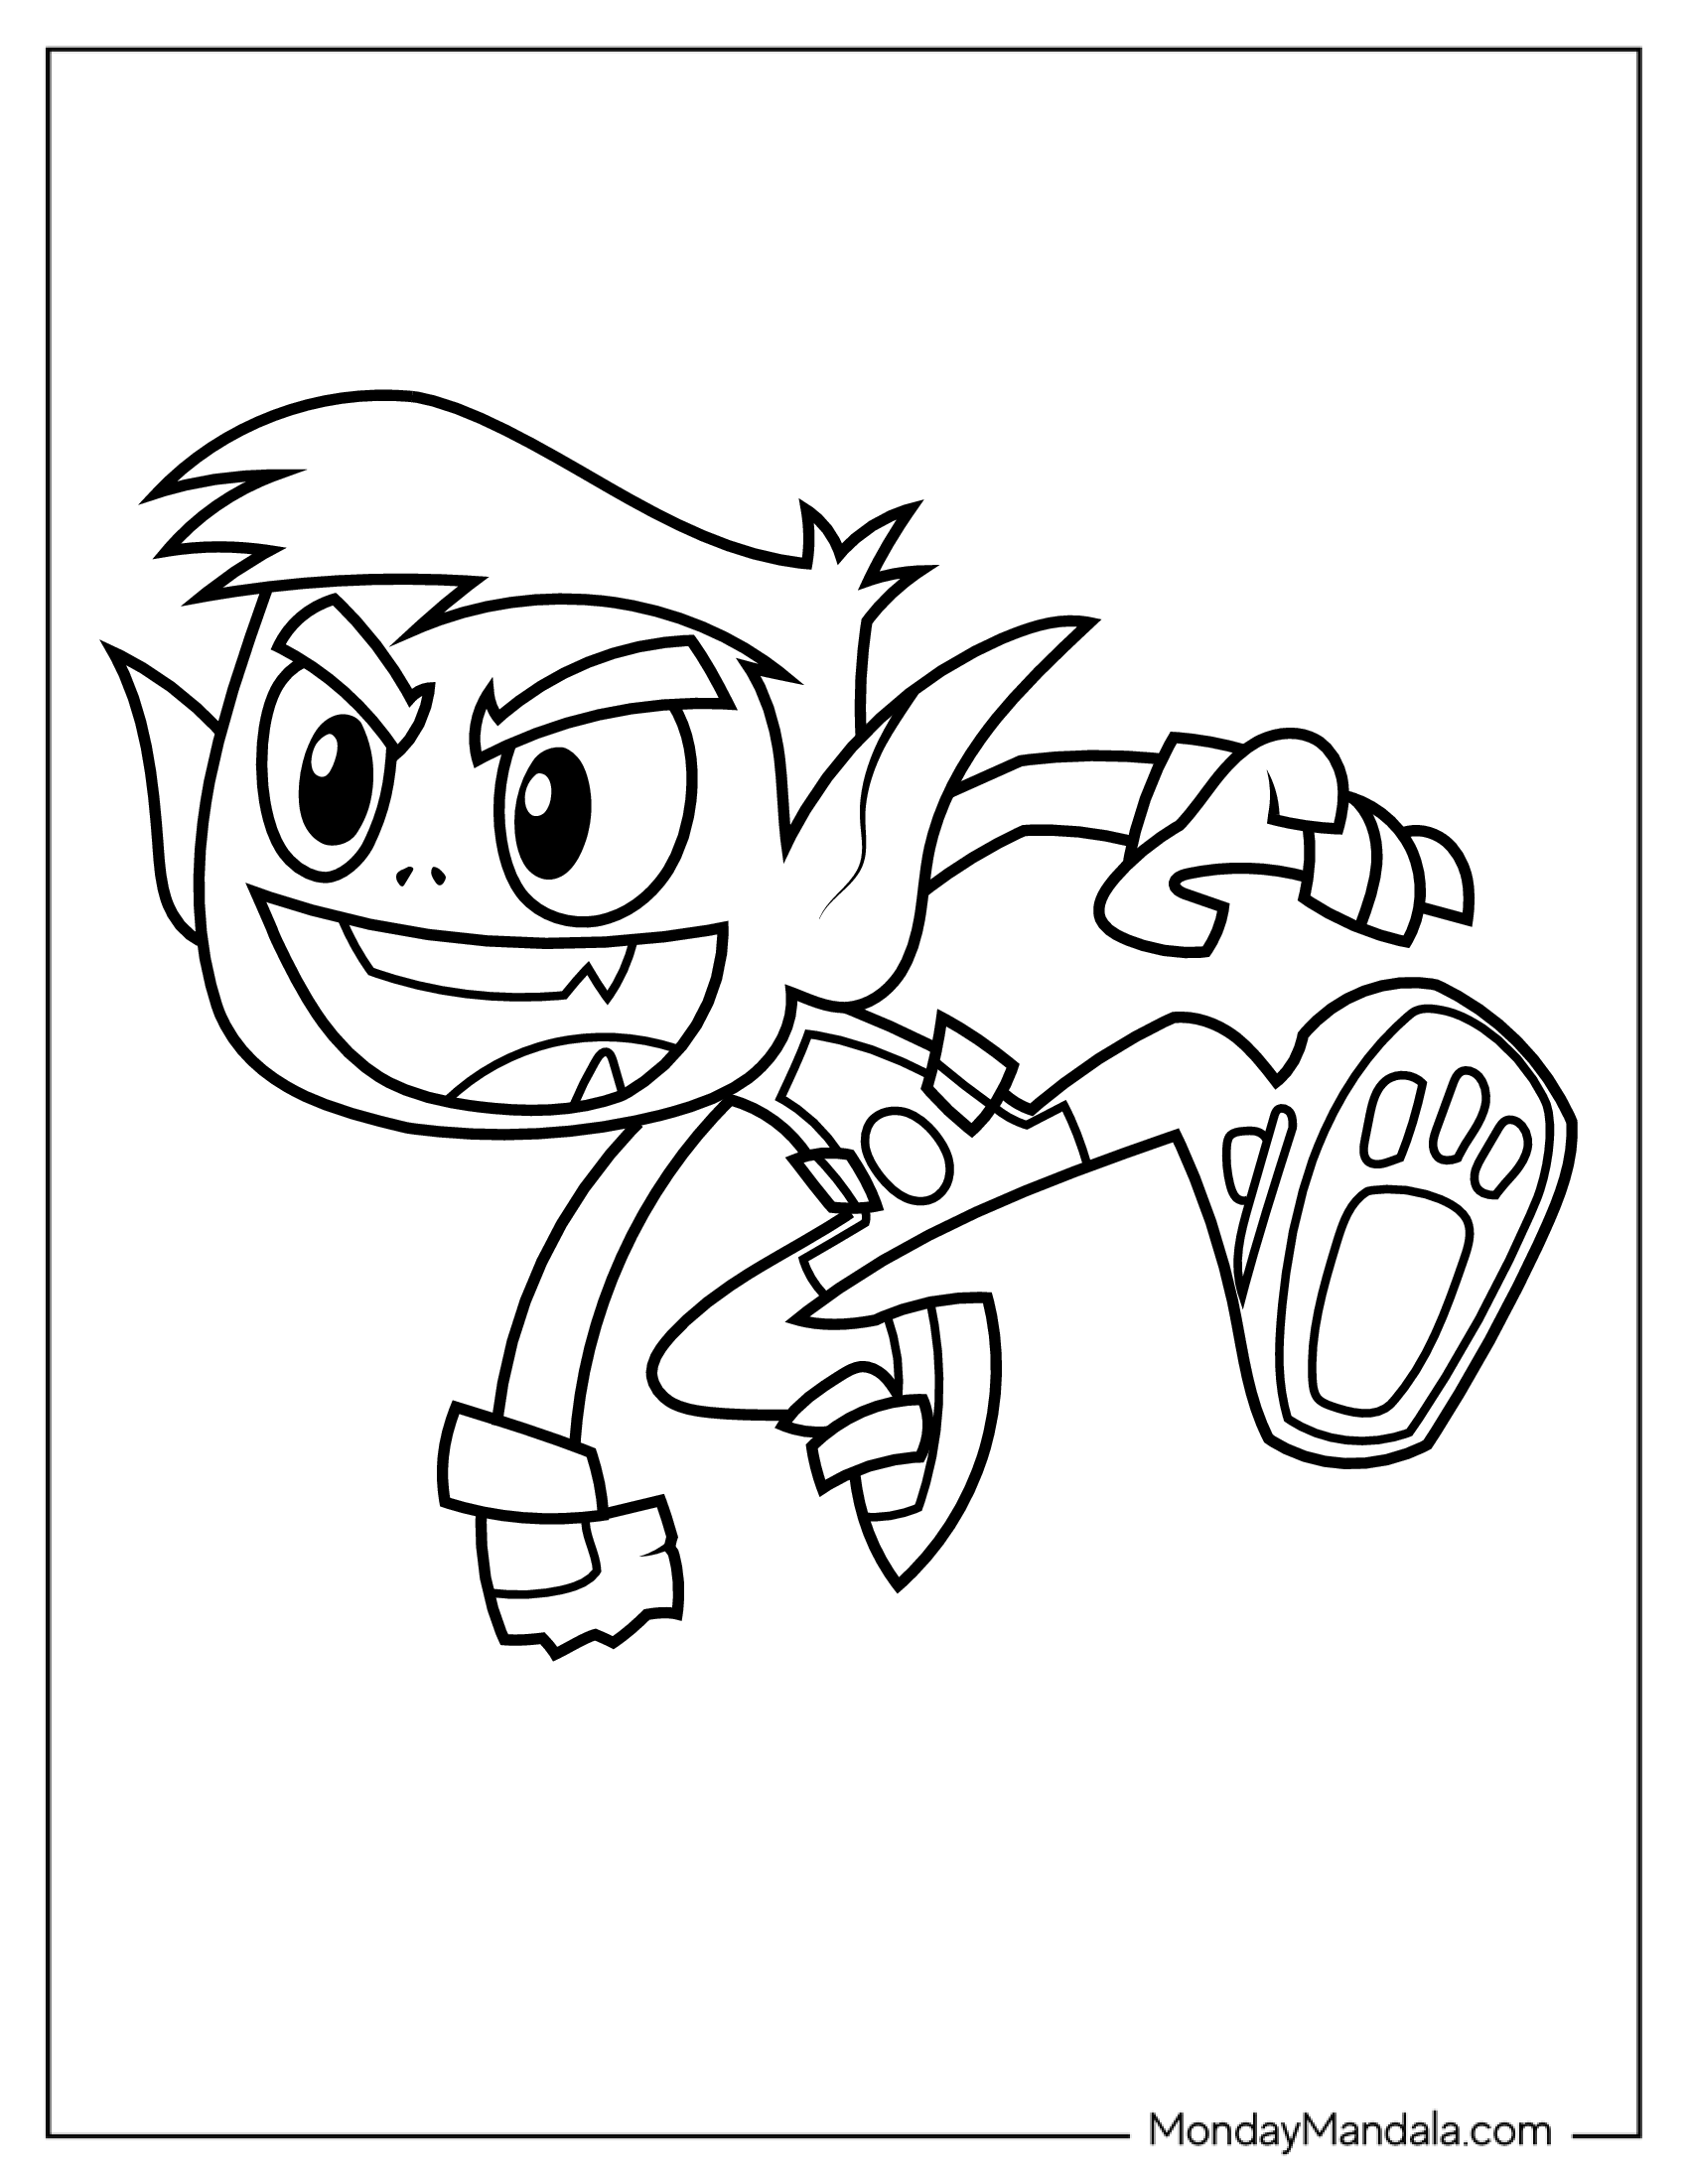
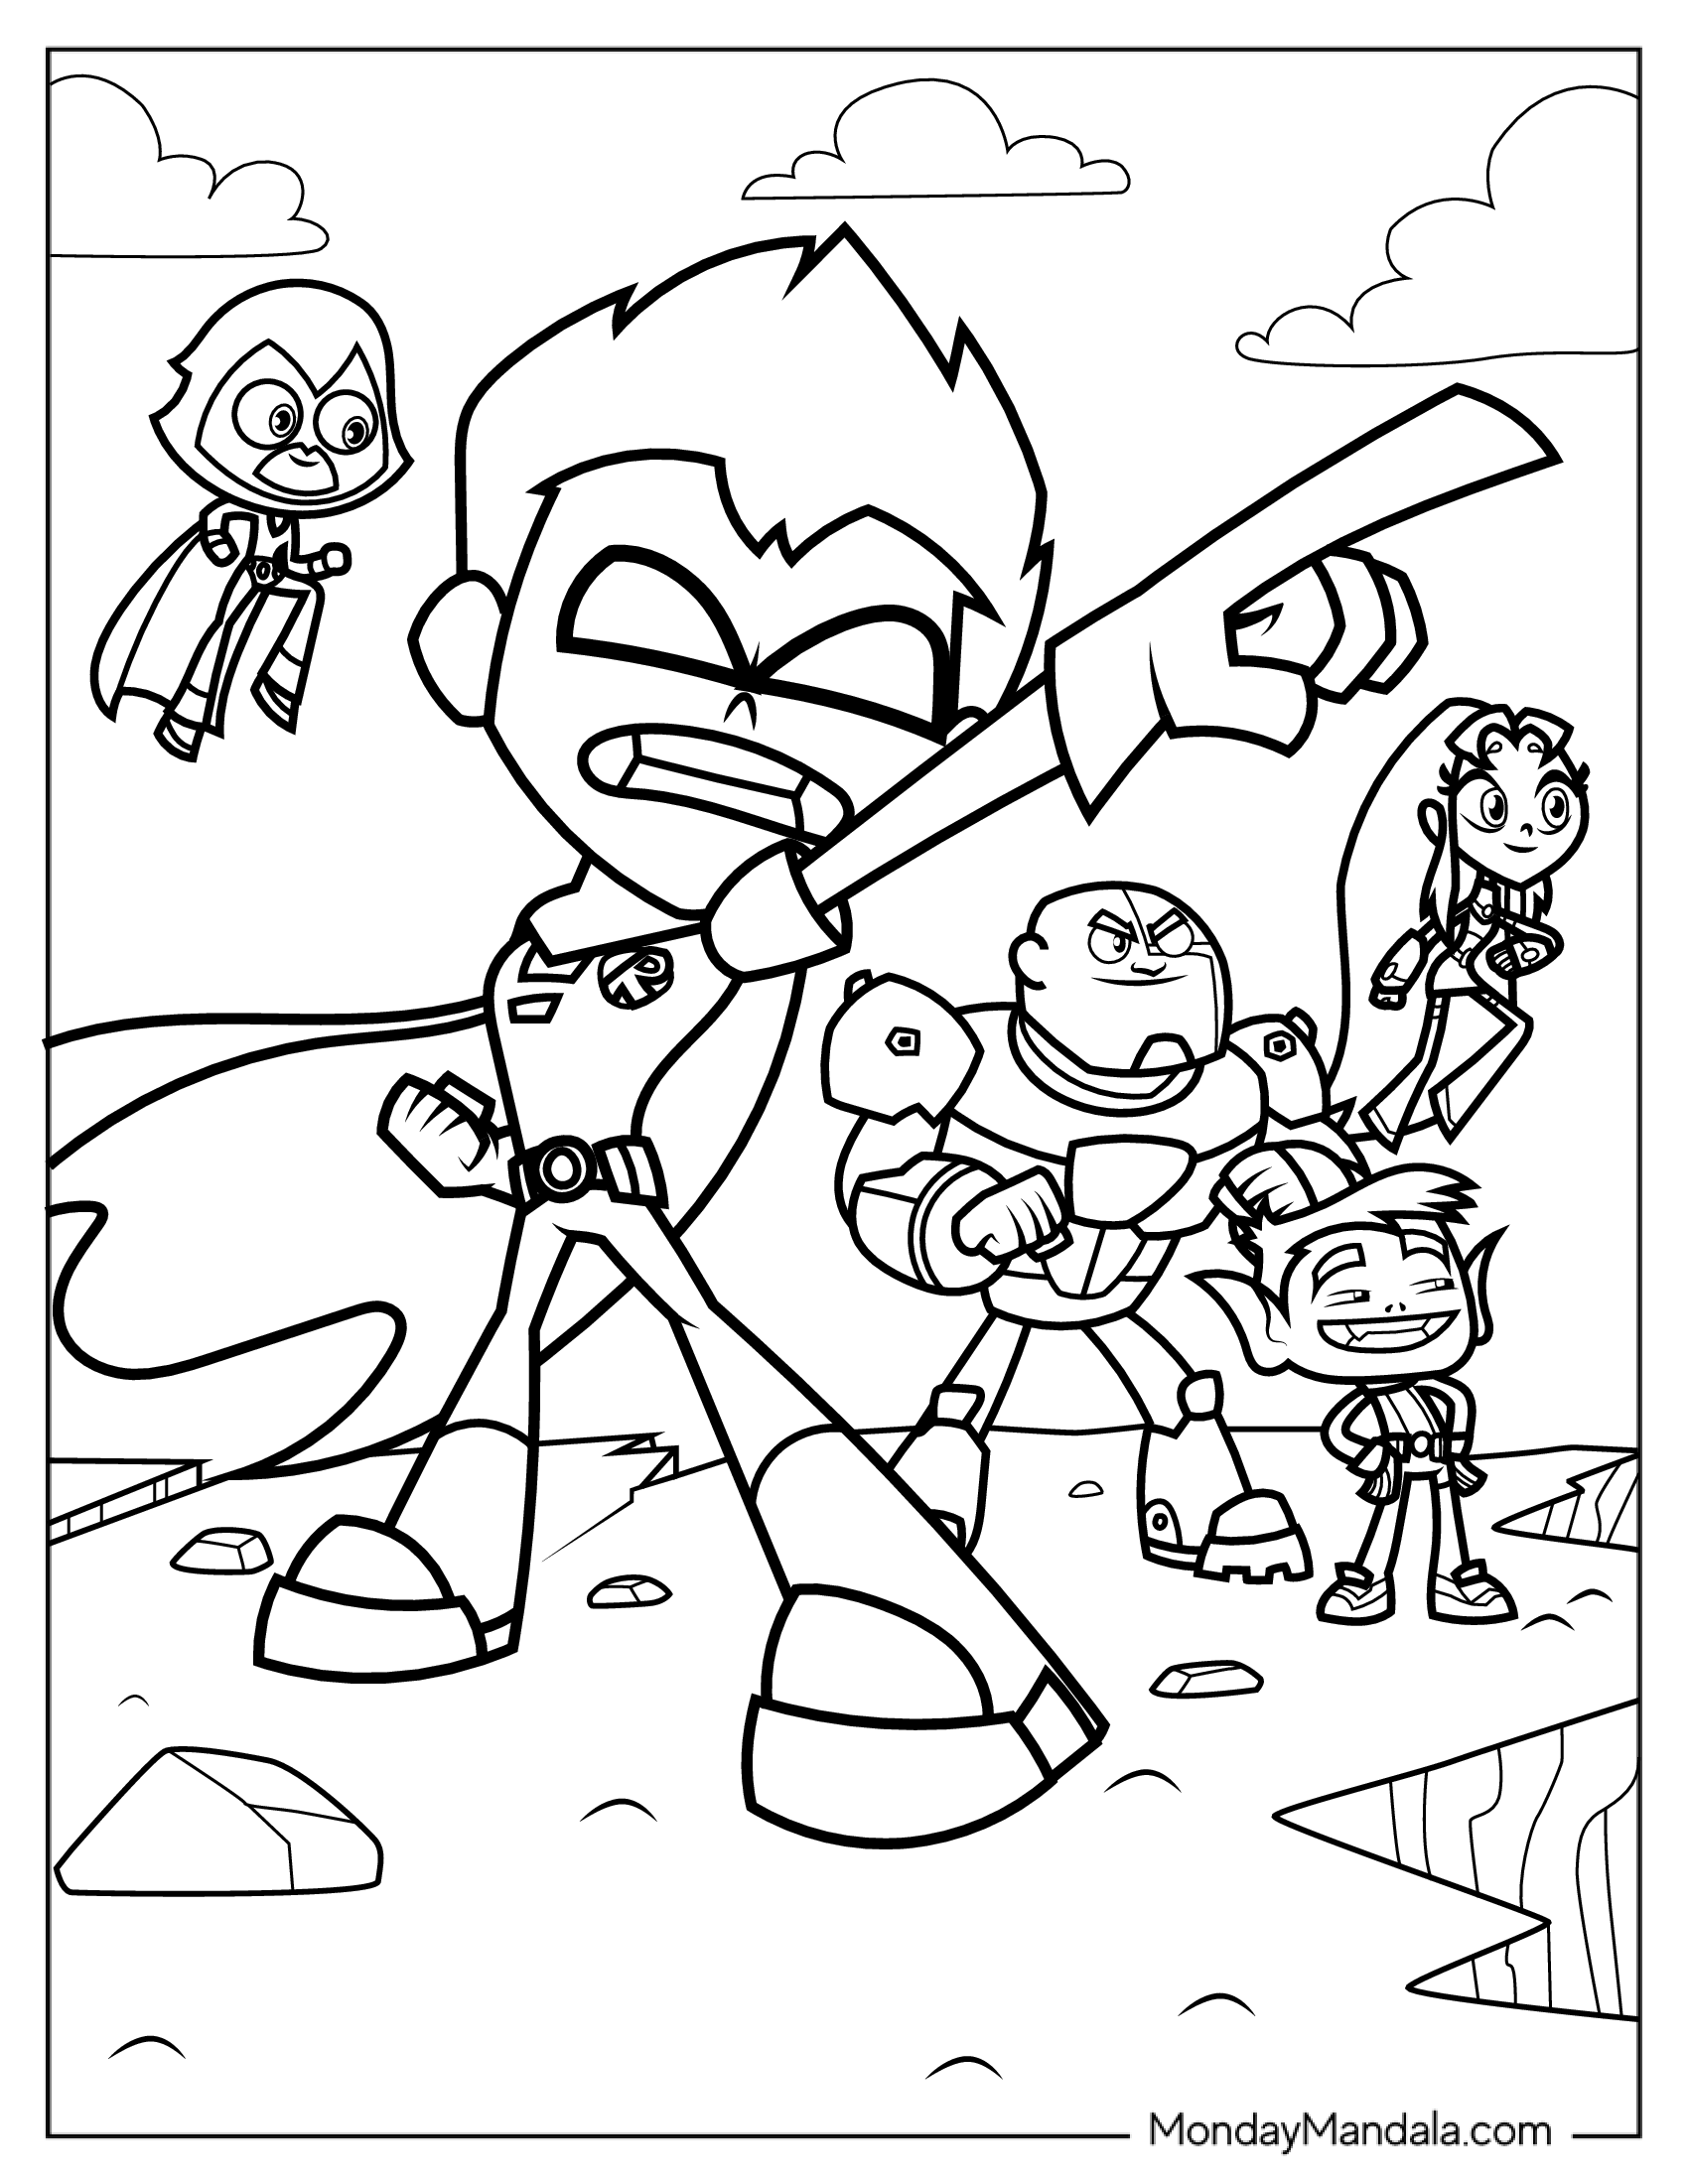
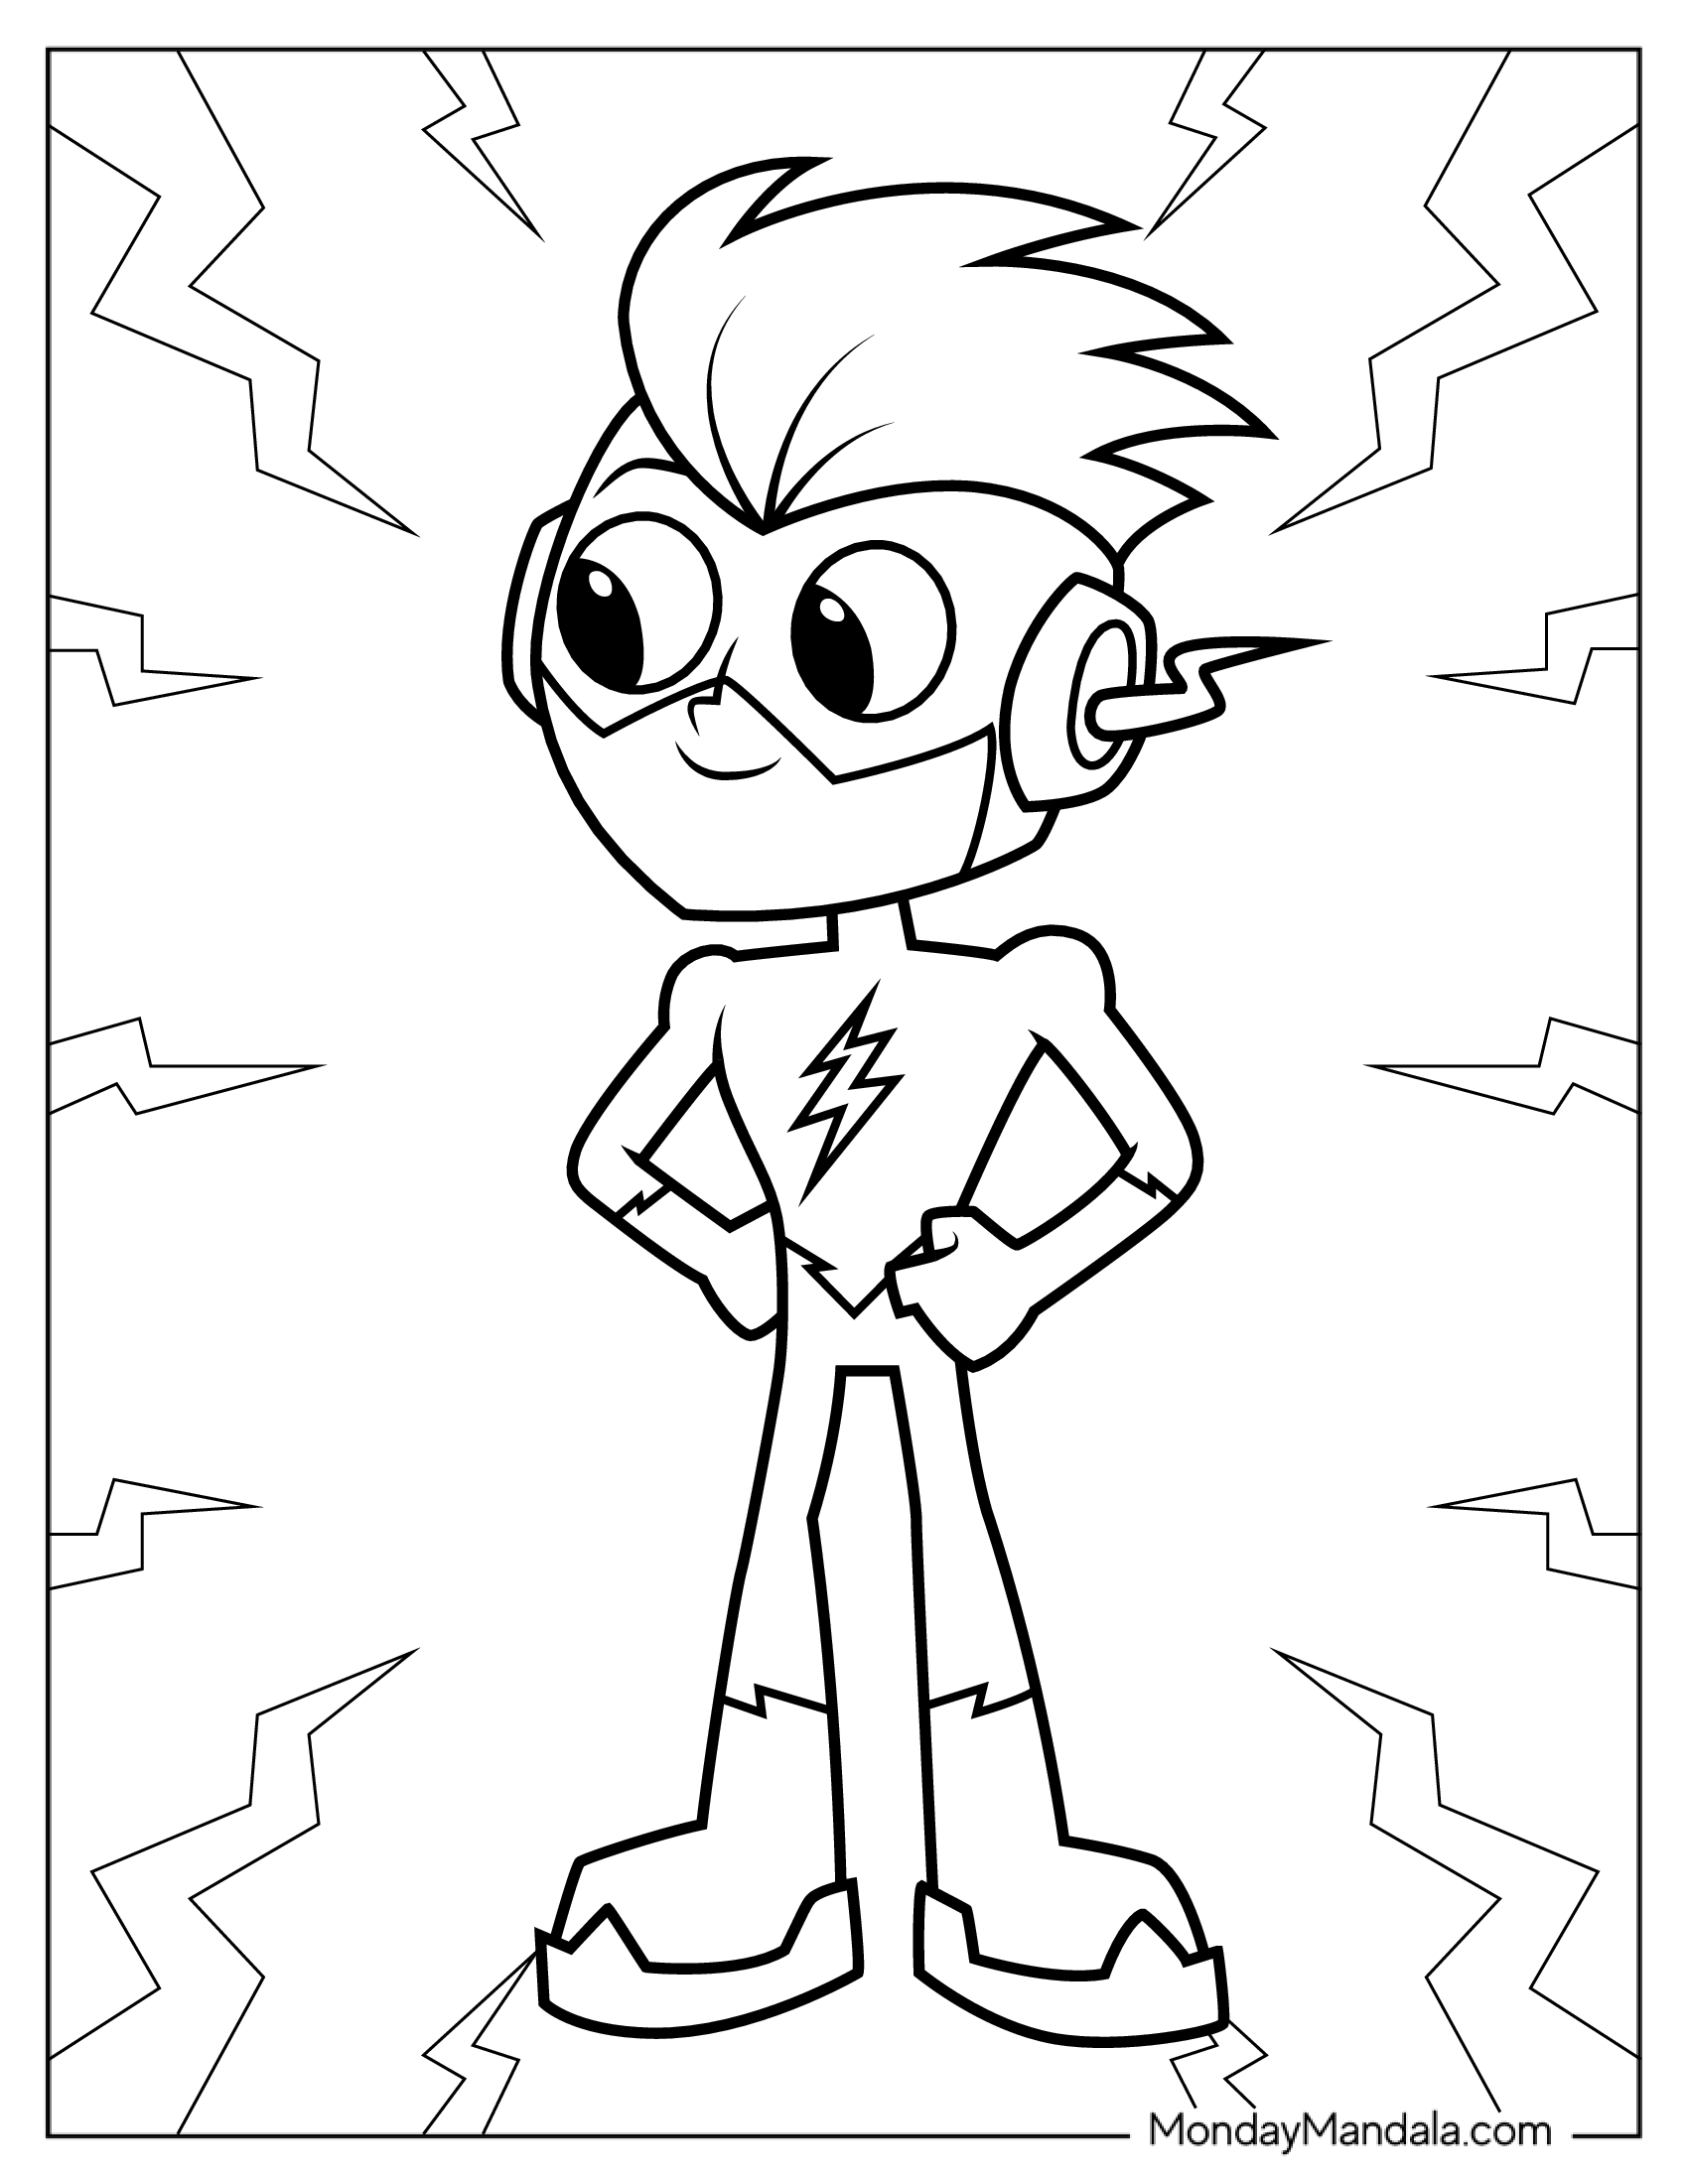
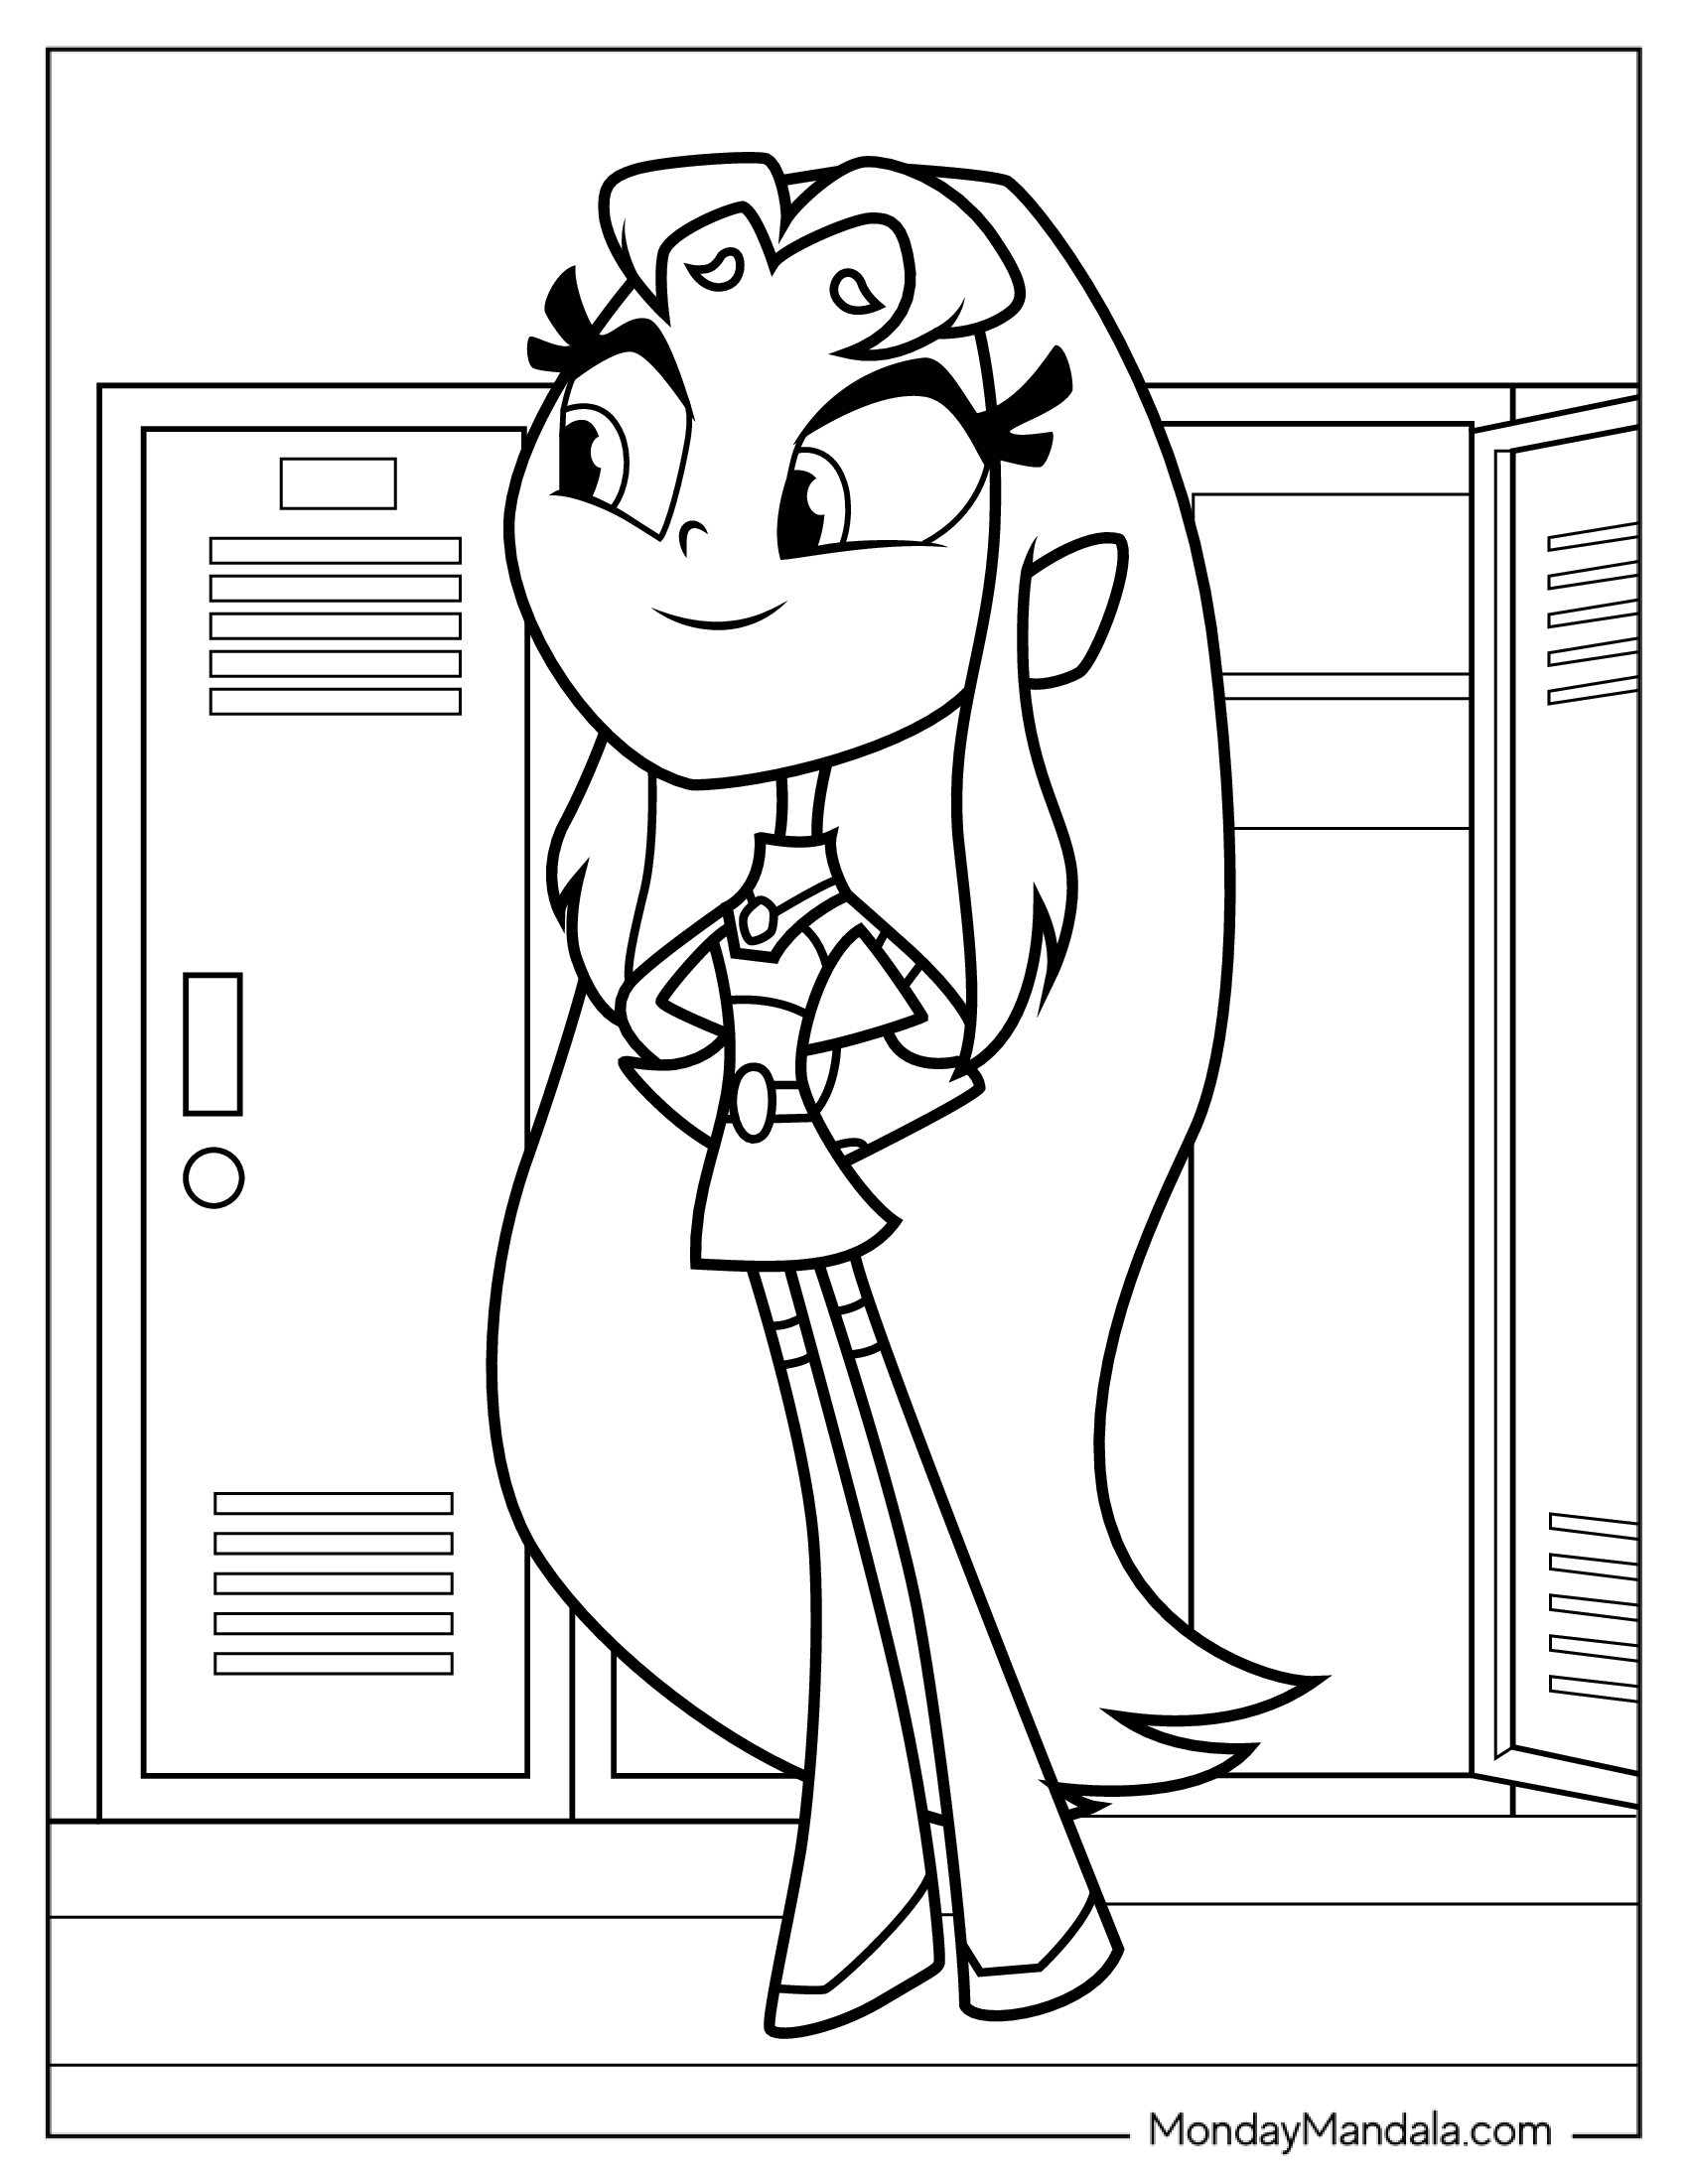
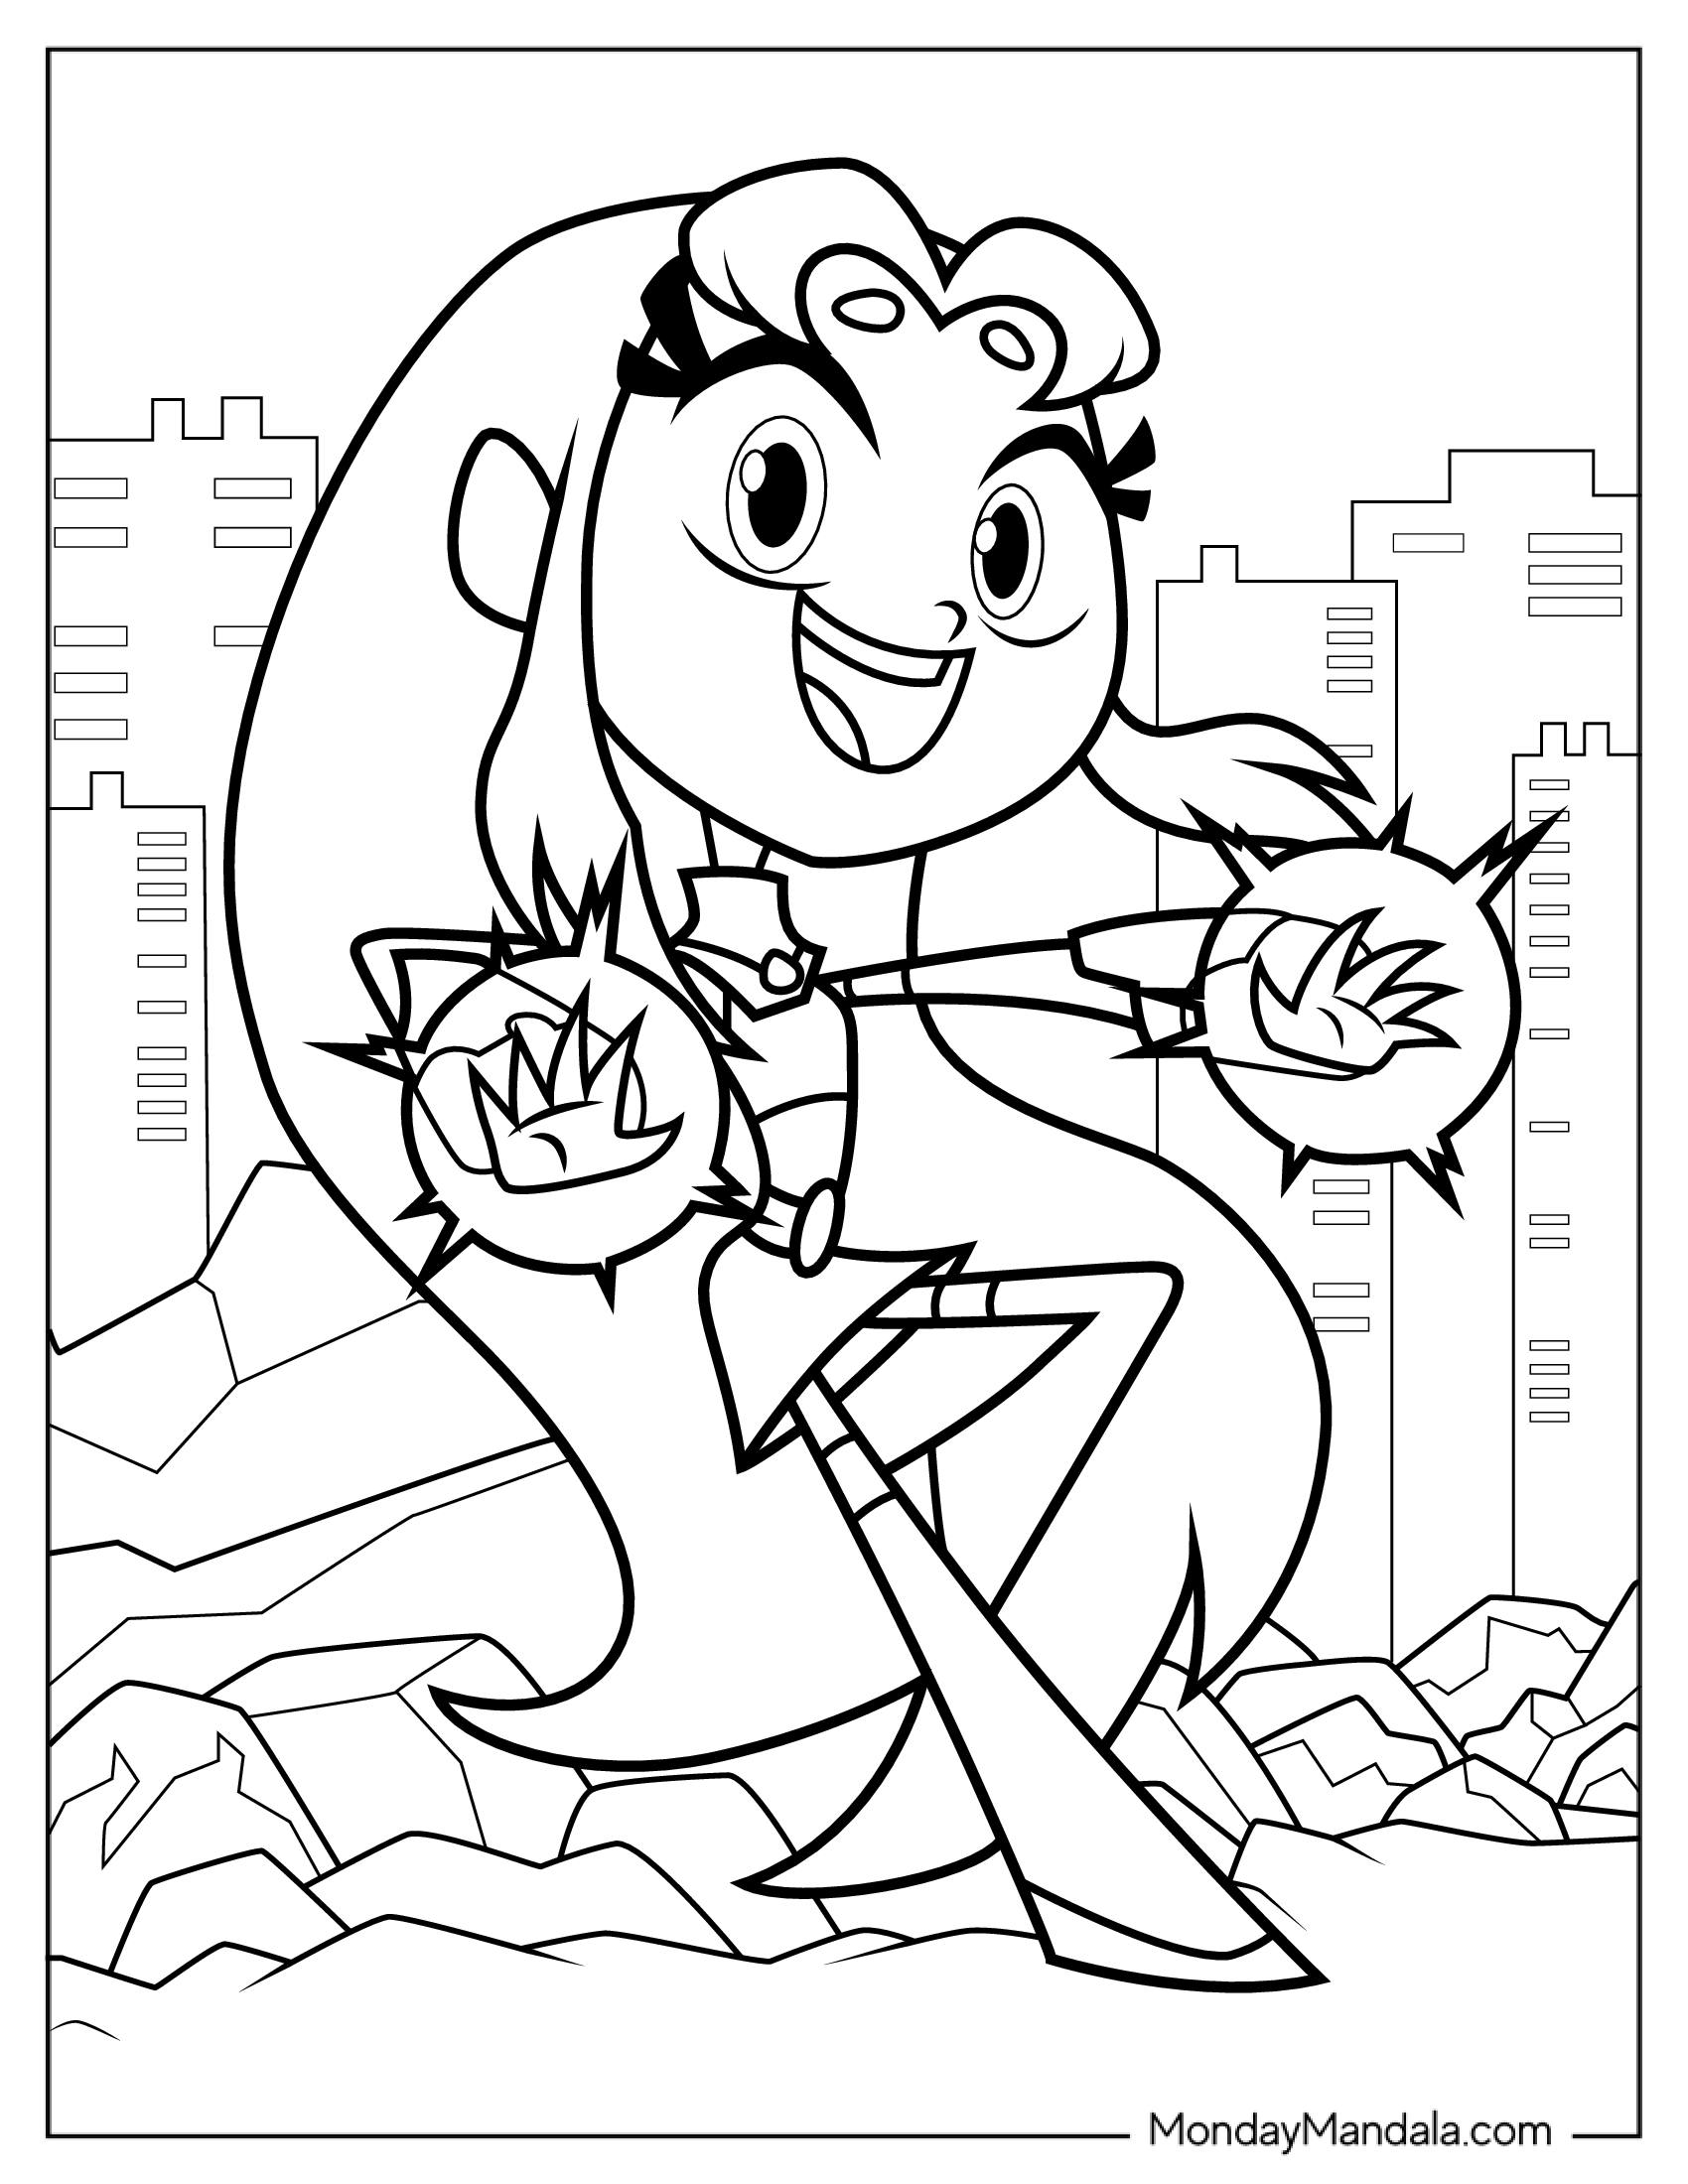
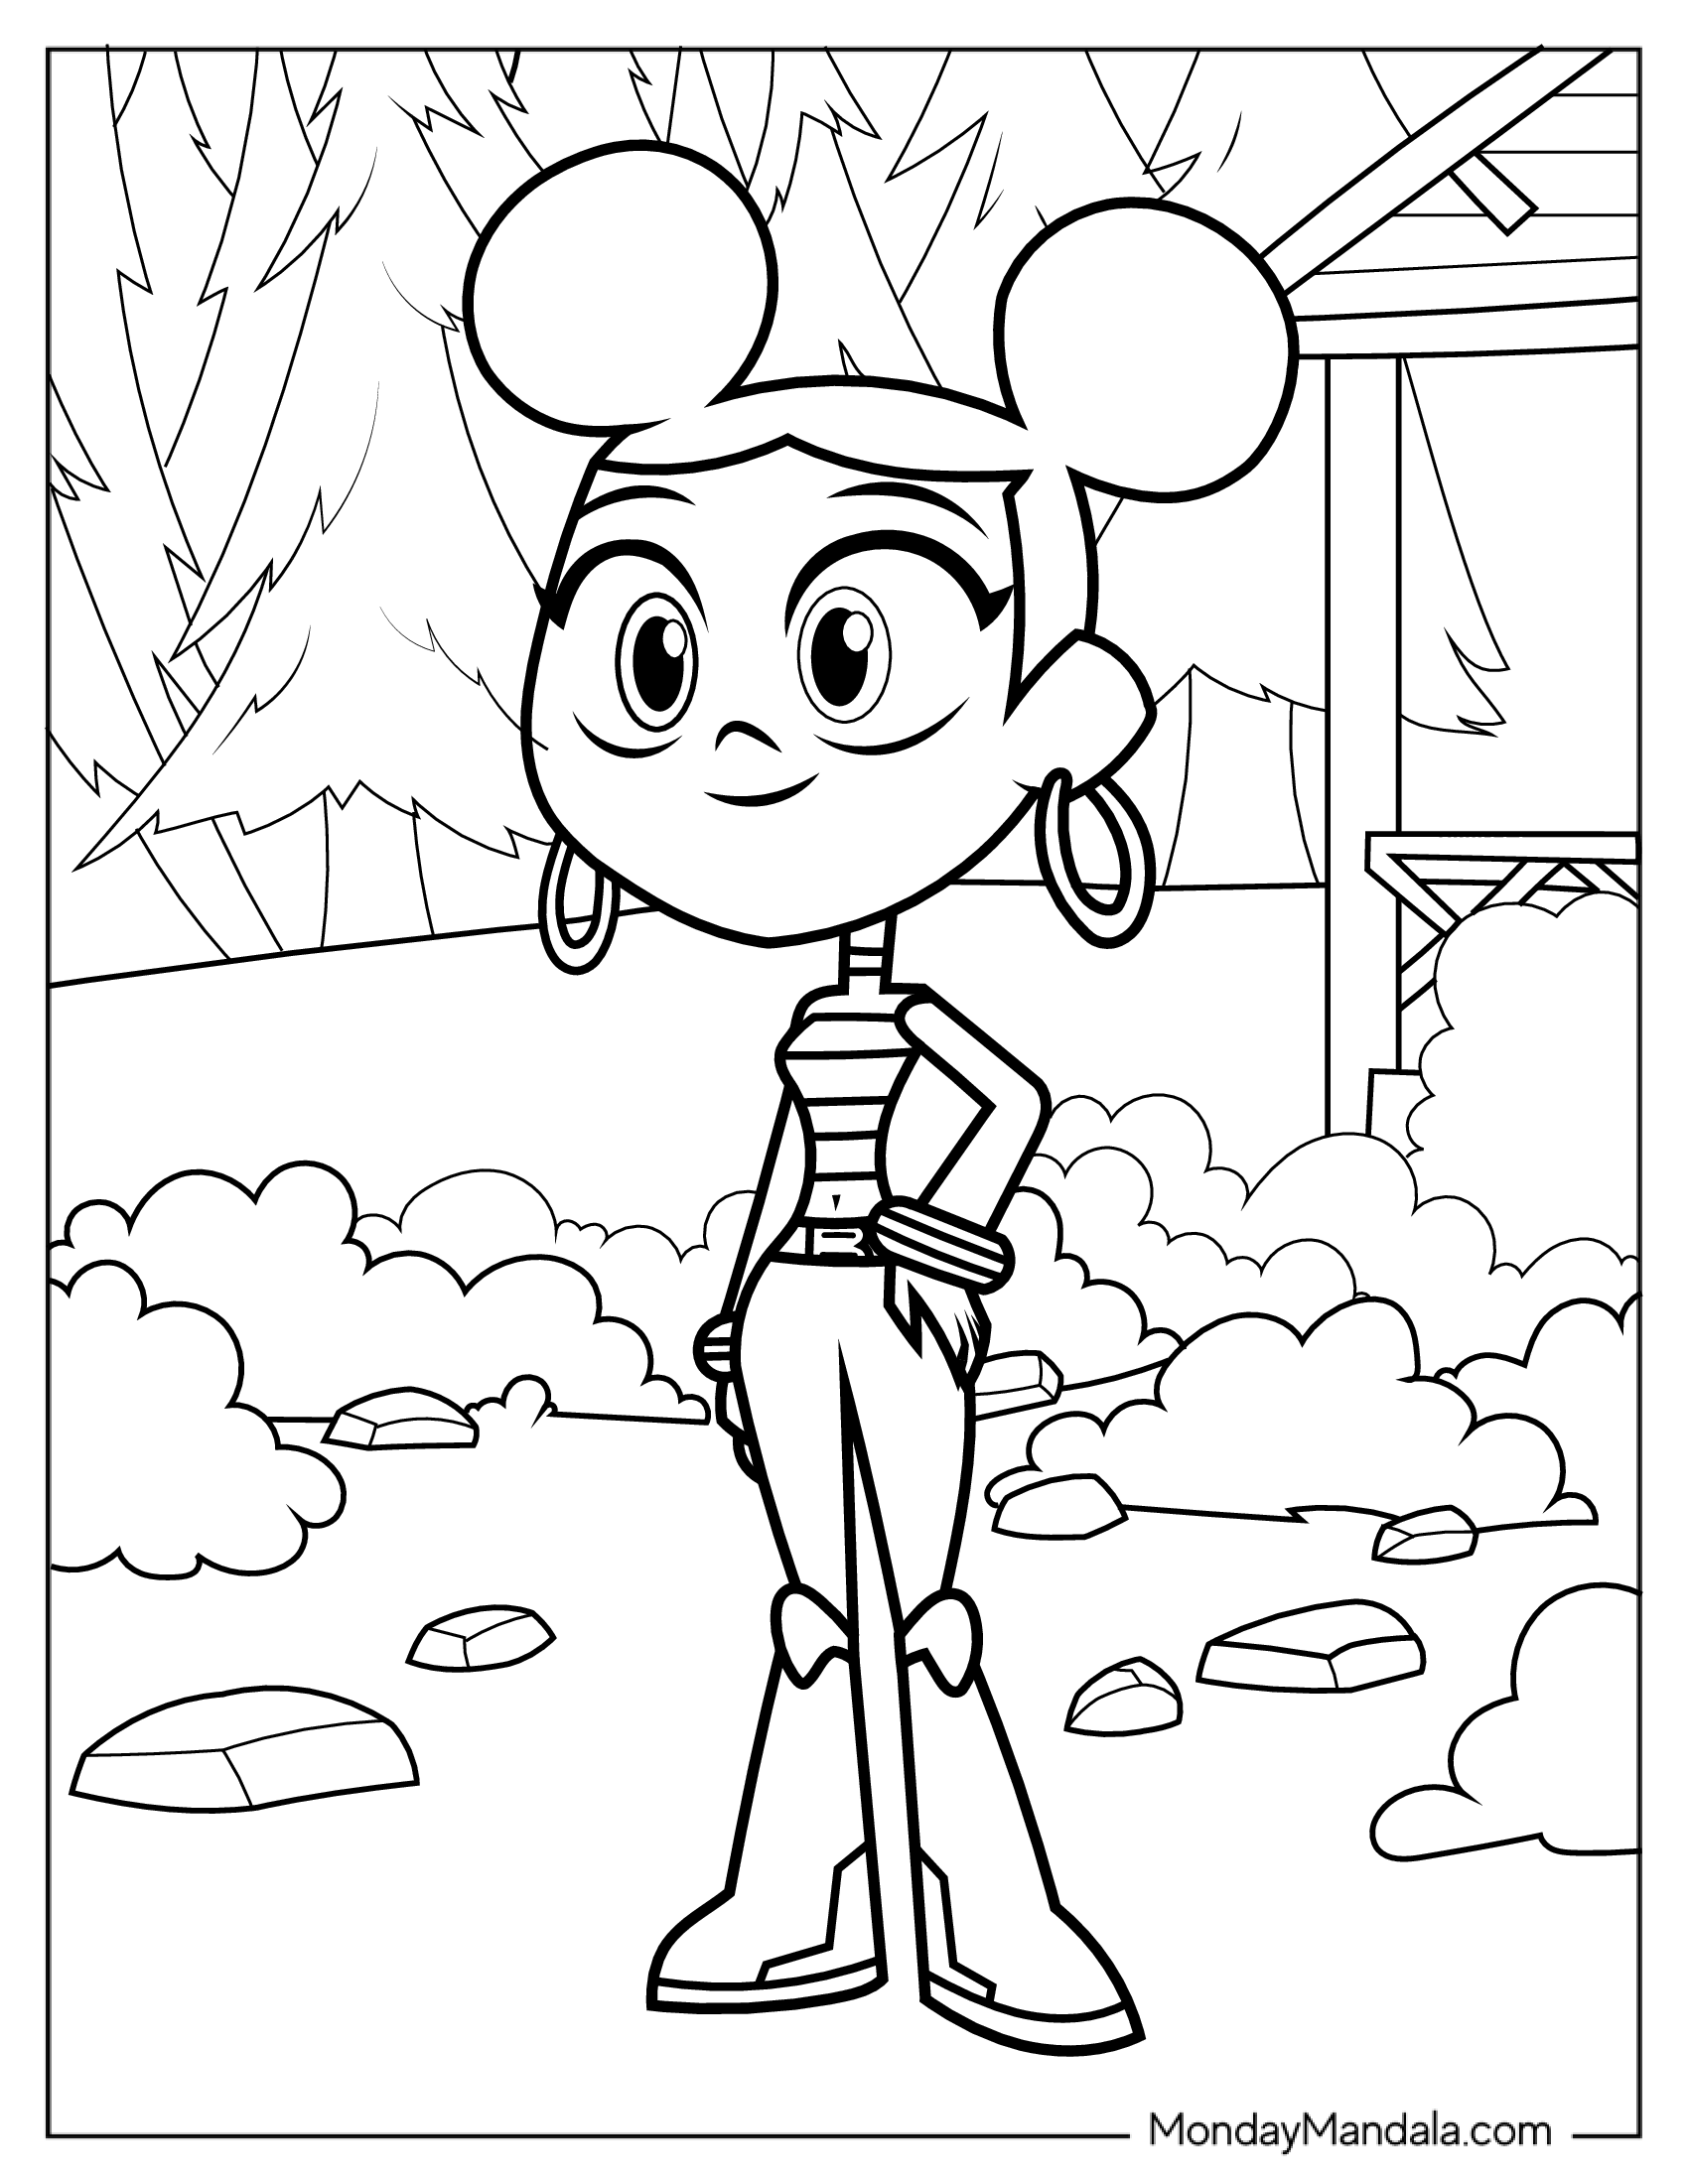
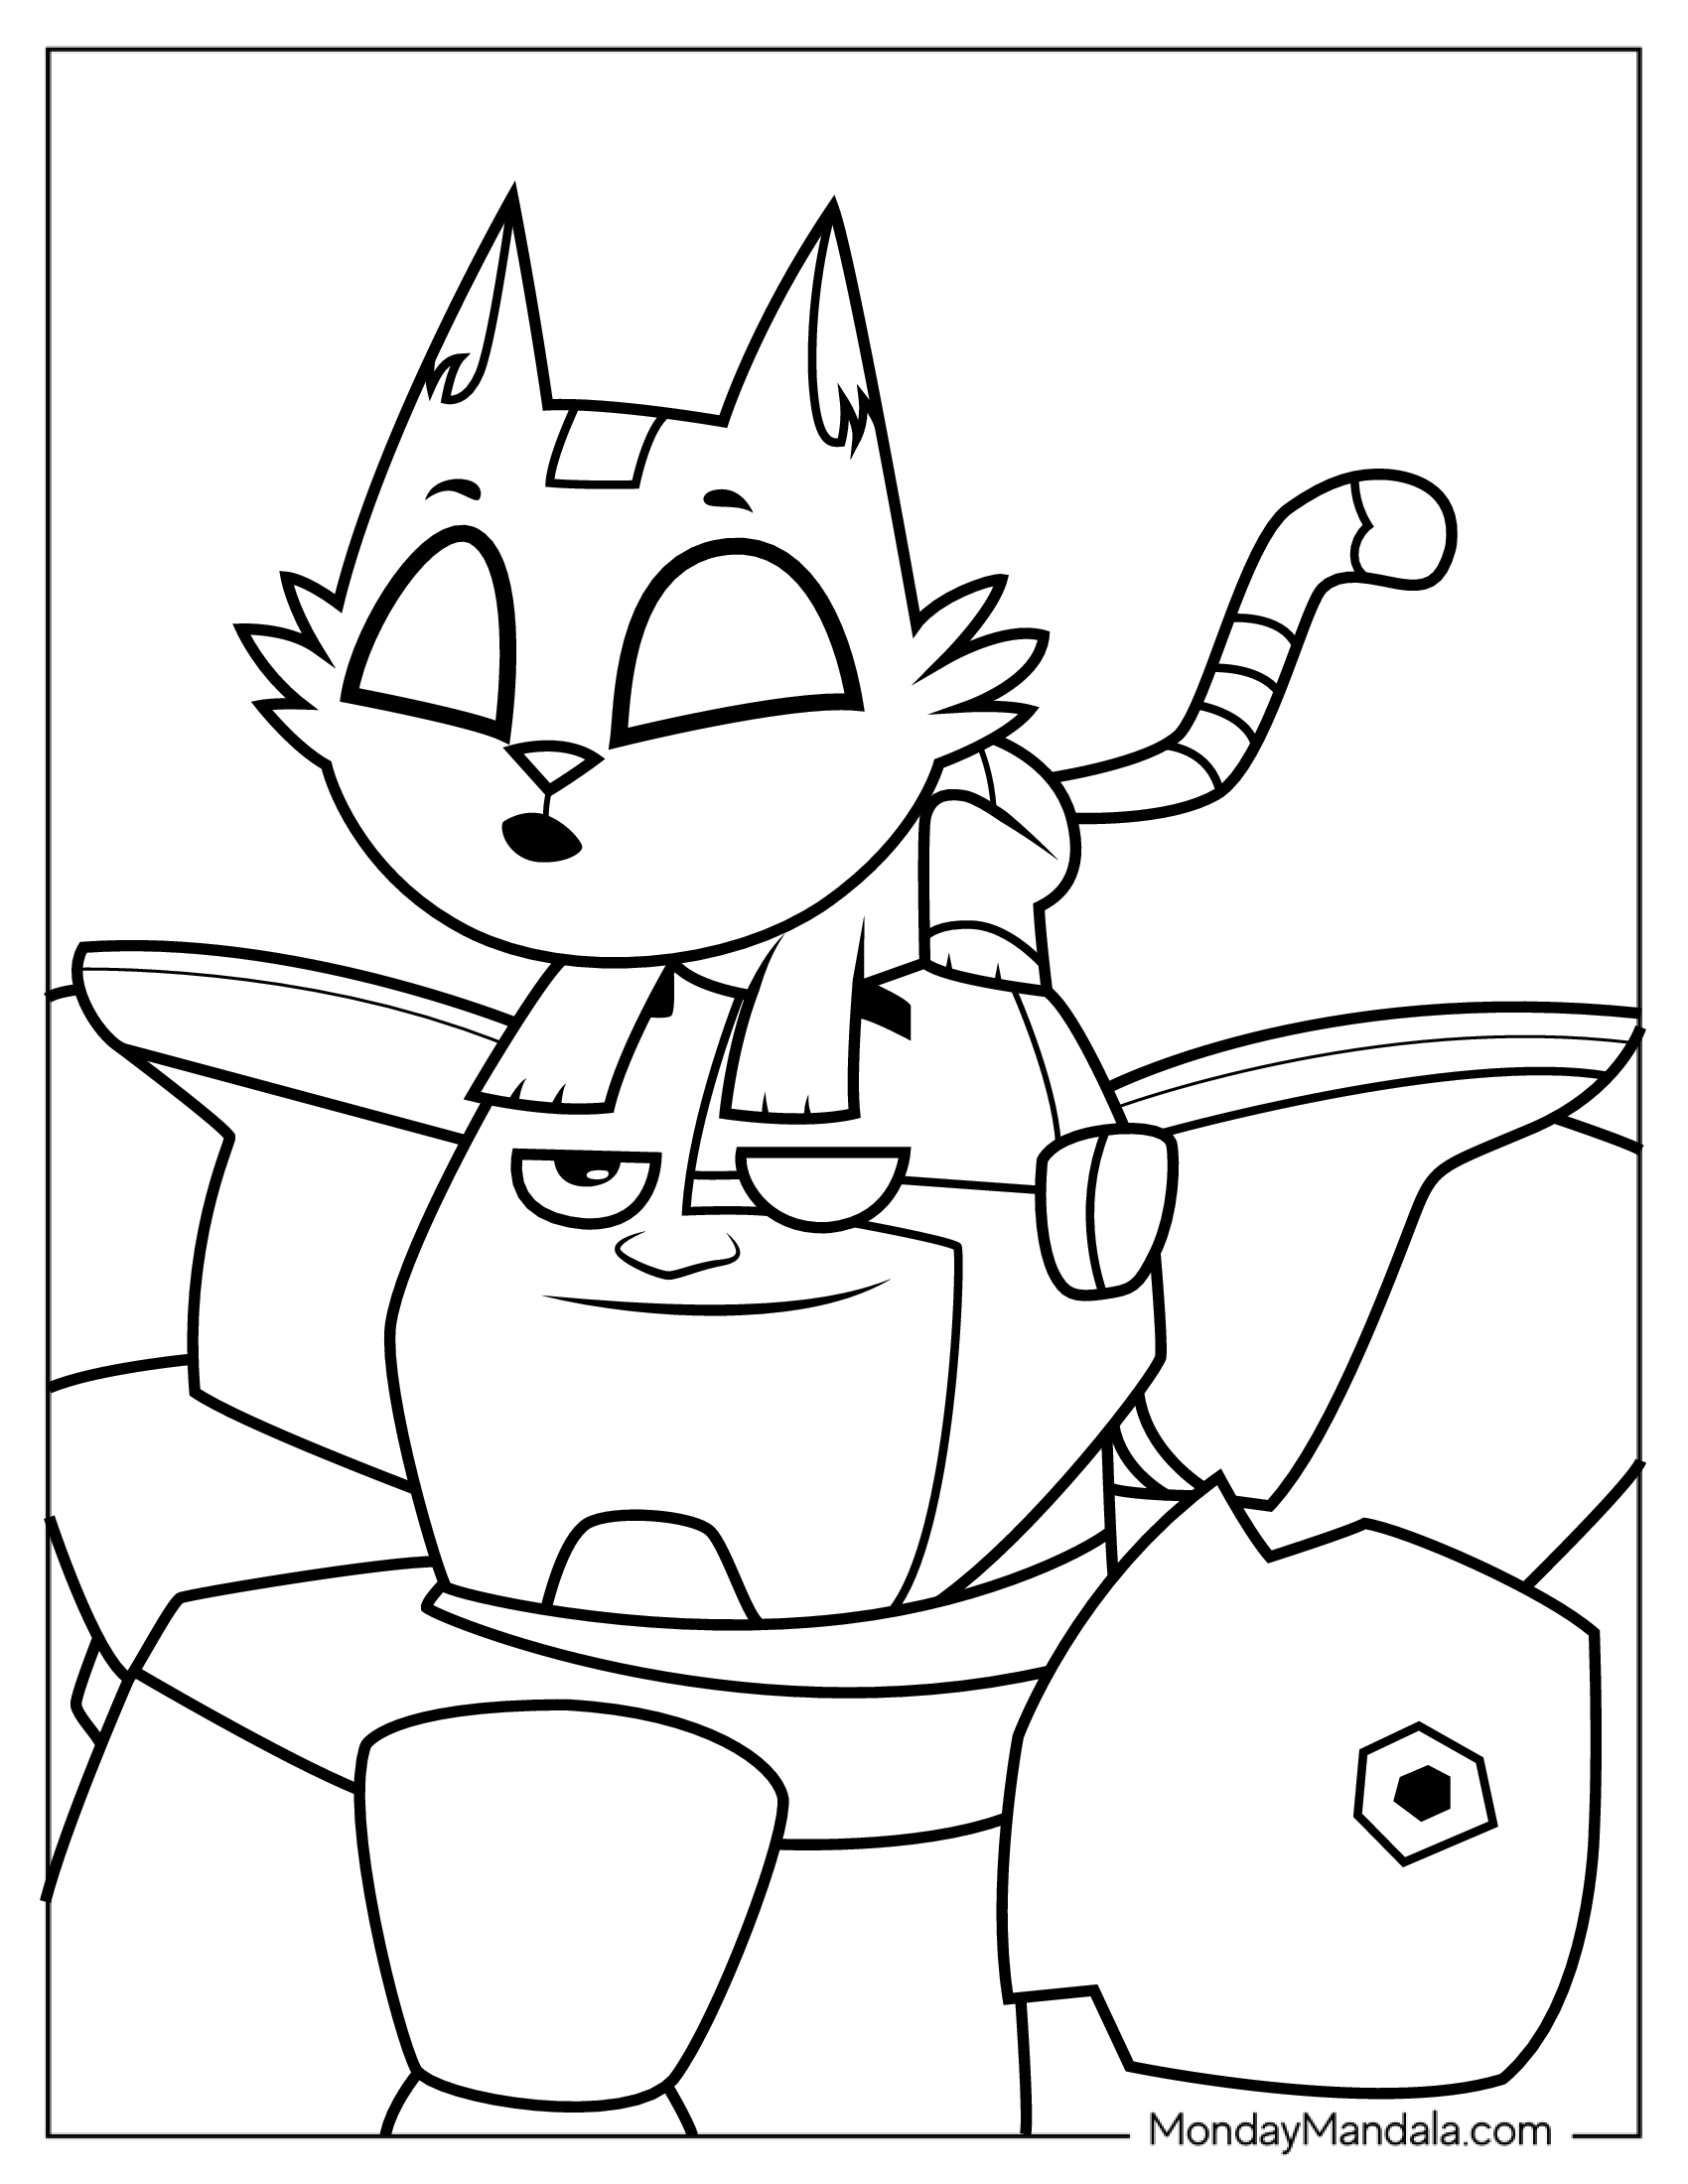
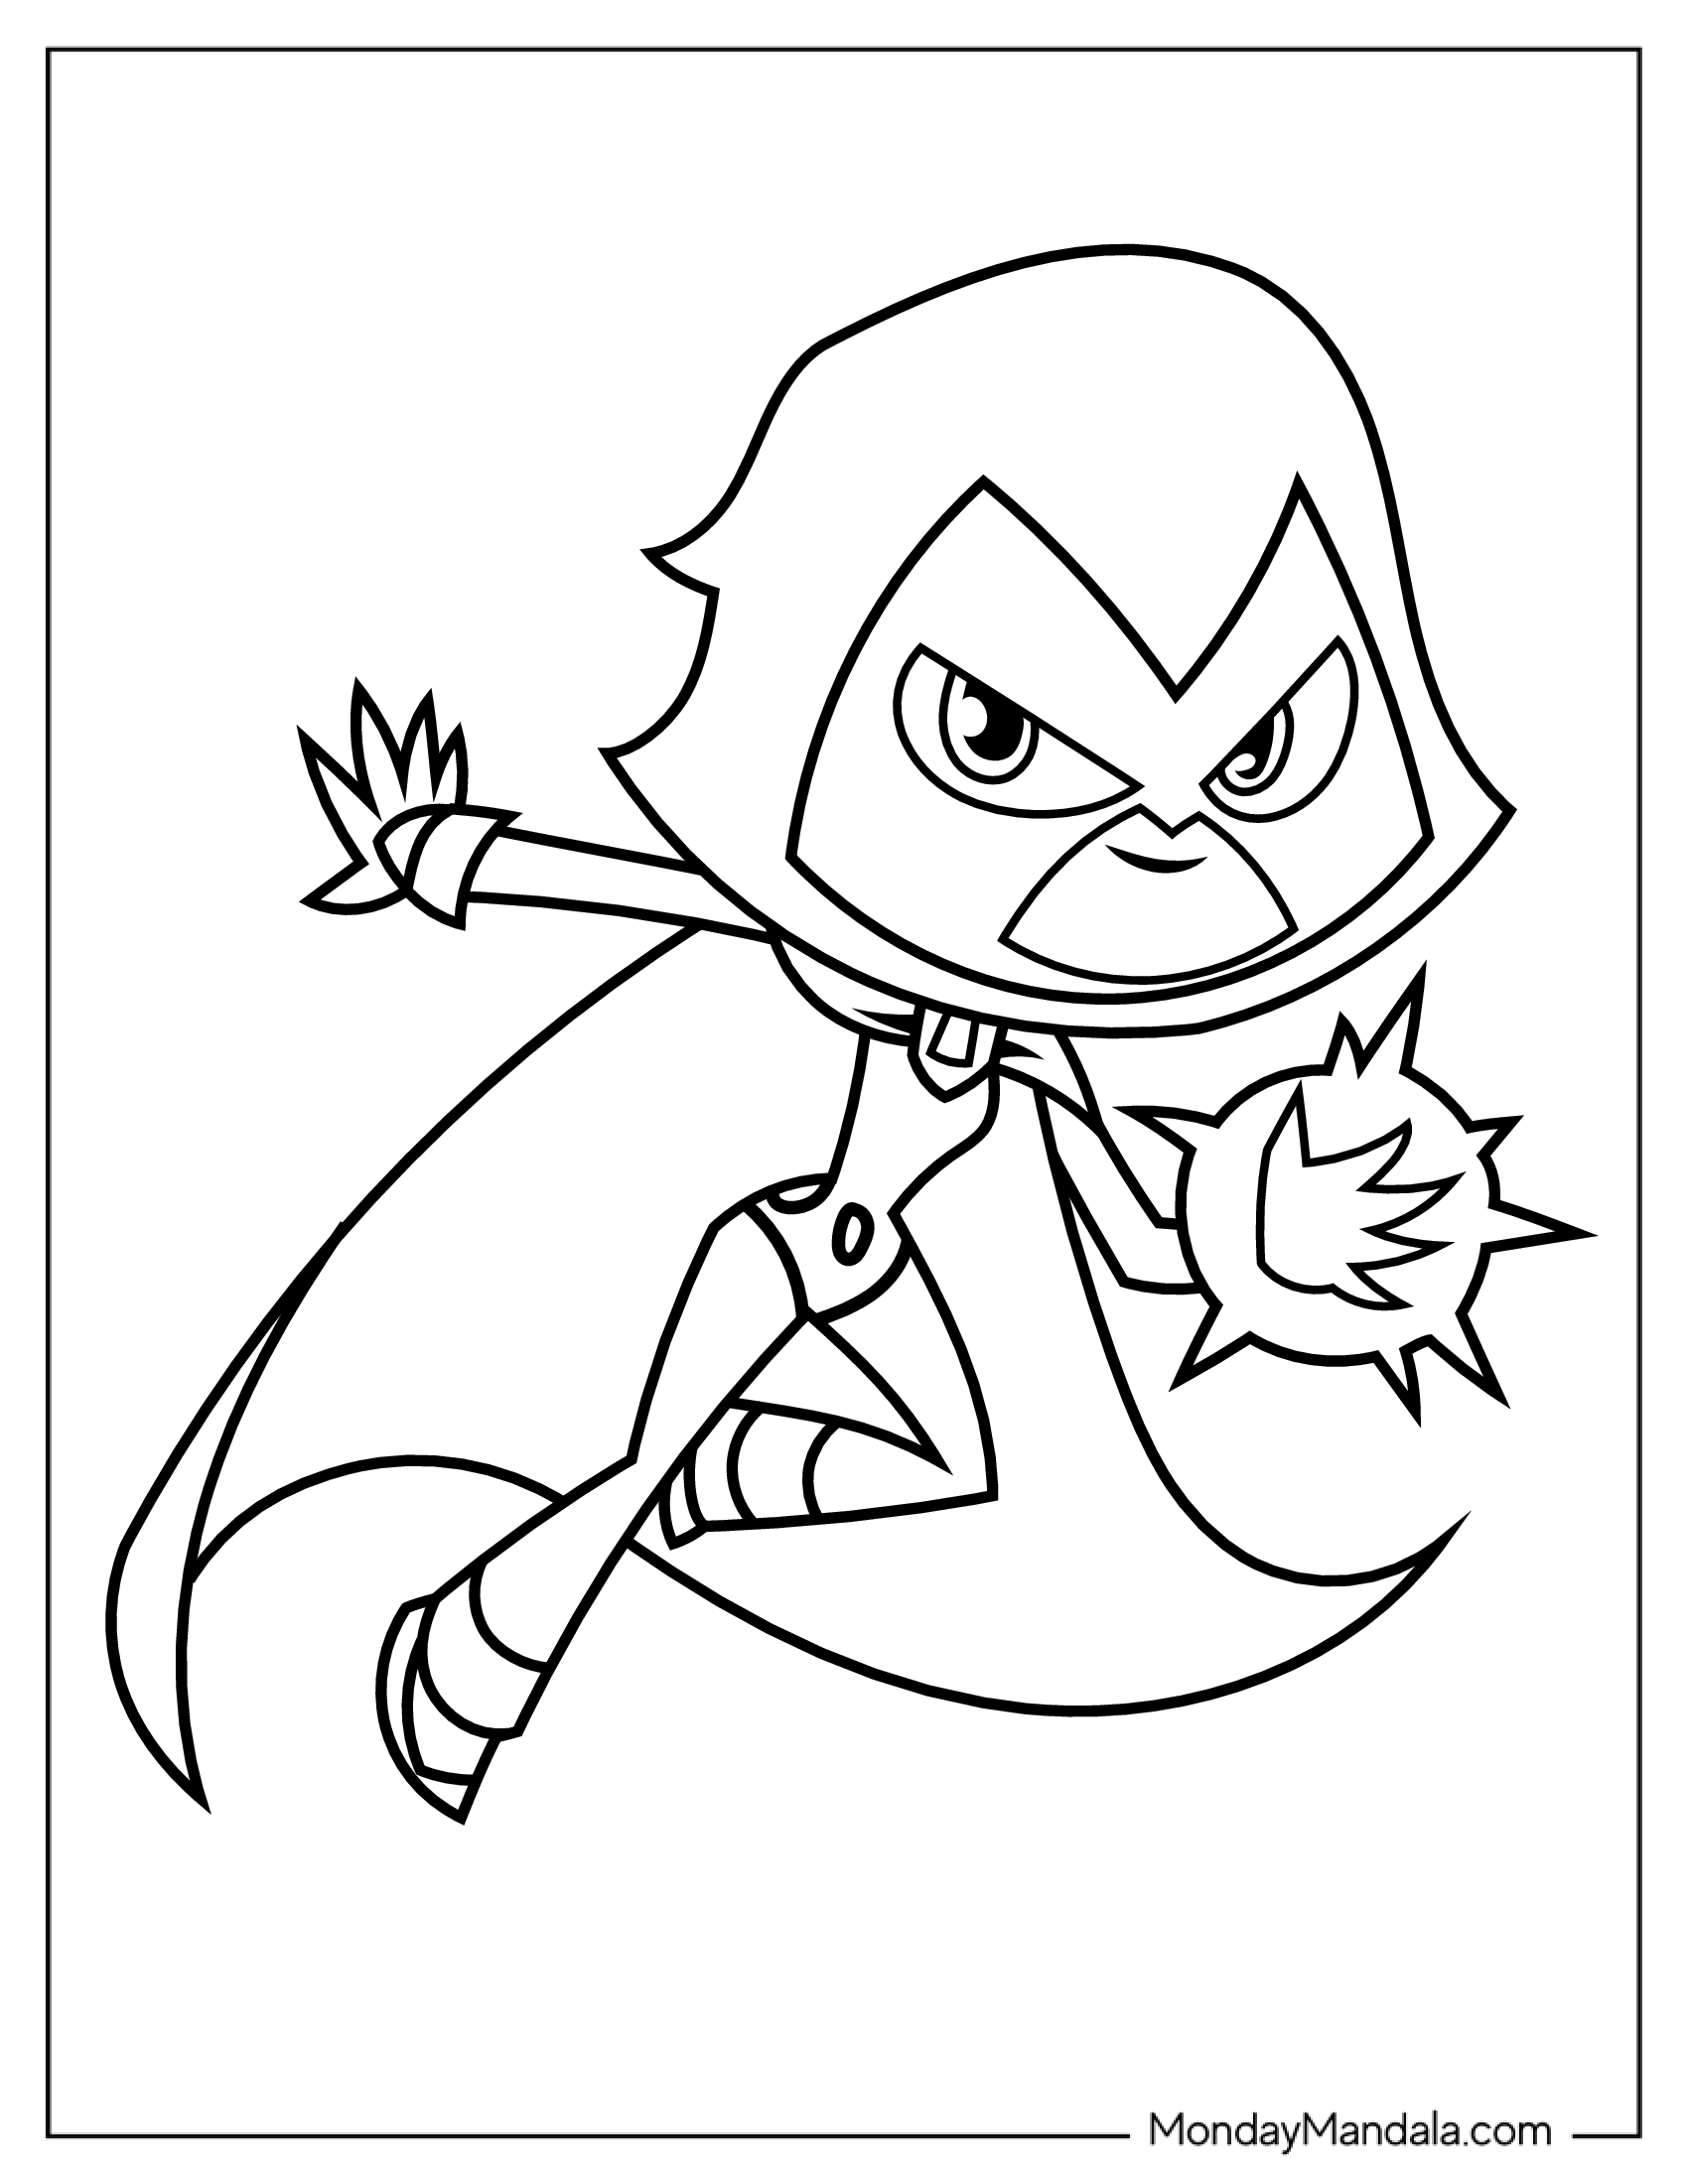
How to Seal the Bead on a Tire: A Step-by-Step Guide for Efficient Repair

By Tony Markovich

Do you know how to seal the bead on a tire? If not, don’t worry! It’s a simple process that can be done in a few easy steps. Sealing the bead on a tire is an essential maintenance practice that helps prevent air from leaking out and ensures a smooth, safe ride. In this step-by-step guide, we’ll walk you through the process of sealing the bead on a tire, so you can do it with confidence and ease.

Whether you’re a seasoned mechanic or a DIY enthusiast, this guide has got you covered. So, grab your tools, roll up your sleeves, and let’s get started!

Overview of Bead Sealing

If you’re wondering how to seal the bead on a tire, there are a few things to keep in mind. Bead sealing is an essential part of tire maintenance because it ensures that the tire maintains proper air pressure and prevents any leaks. To begin the bead sealing process, simply remove any dirt or debris from the tire bead and the wheel rim.

Then, apply a bead sealer to both surfaces. A bead sealer is essentially a glue that helps create a tight seal between the tire and the rim. Once the bead sealer is applied, inflate the tire to the recommended pressure, and let it sit for a few minutes.

This will allow the bead sealer to dry and create a permanent seal between the tire and the rim. Proper bead sealing can help extend the life of your tires and keep you safe on the road.

What is Bead Sealing?

Bead sealing is a process used to create an airtight seal between two surfaces using a bead of sealant. This sealant can come in various forms, such as silicone, rubber, or other synthetic compounds, and it can be applied by hand or using a machine. The purpose of bead sealing is to prevent air, water, or other substances from passing through the sealed area, ensuring that the materials or products being sealed remain safe and secure.

This technique is commonly used in the automotive industry to seal engine components, and it is also used in the construction industry to seal windows, doors, and other building materials. Bead sealing is an essential process that helps to protect various types of equipment and materials from unwanted external elements and contaminants. With the right type of sealant and proper application techniques, you can create a long-lasting and effective seal that provides the necessary protection for your equipment and products.

how to seal the bead on a tire

Why is Bead Sealing Important?

Bead sealing refers to the technique of creating an air-tight seal between two surfaces using a bead of material such as rubber, silicone or polyurethane. This process is widely used in a variety of applications, ranging from sealing off doors and windows to industrial and automotive manufacturing. The main importance of bead sealing lies in its ability to provide a reliable seal that is durable and long-lasting.

This not only helps to prevent leaks, but also provides protection against environmental factors such as moisture, heat and cold. In addition, bead sealing can also help to reduce noise, vibration and other types of disturbances, making it an essential process in a wide range of industries. Whether you are manufacturing a complex machine or simply looking to seal off your home or office, bead sealing provides an effective, low-cost solution that ensures maximum protection and durability.

Prepping the Tire and Wheel

When it comes to sealing the bead on a tire, there are a few crucial steps you need to follow to ensure a reliable outcome. First and foremost, make sure the tire and wheel are prepped properly. Remove any dirt, grease, or old tire sealant from the bead and wheel surface.

Then, using either a tire mounting machine or a manual tire iron, carefully mount the tire onto the wheel. Once it’s seated properly, apply a bead sealer to the inner lip of the tire’s bead and to the wheel’s bead seat. You should also use a tire iron to work the bead into place.

After ensuring the bead is fully seated, inflate the tire to the manufacturer’s recommended pressure and let it sit for a few hours before checking the pressure again. This should ensure that the bead is fully seated and properly sealed, minimizing any risk of air loss or tire failure. So there you have it, a few basic steps to follow when sealing the bead on a tire.

Inspect the Tire and Wheel

When it comes to prepping your tire and wheel, there are a few things you will want to inspect. First and foremost, you will want to check for any signs of wear or tear on the tire itself. Look for any cracks or uneven wear patterns, as these can indicate a need for replacement.

Additionally, you will want to inspect the wheel itself for any damage or rust. Checking the tire and wheel before hitting the road can help ensure a safe and smooth ride. It’s important to keep in mind that prepping your tire and wheel is not only about safety but also about improving the longevity of your vehicle.

By inspecting your tire and wheel, you can catch any potential issues before they become more serious. Remember, the key is to be proactive rather than reactive. Properly prepping your tire and wheel can save you time and money in the long run.

So, always make it a priority to inspect your tire and wheel before hitting the road.

Clean the Tire and Wheel

When it comes to prepping your tires and wheels, it’s important to start with a clean surface. A dirty tire and wheel can prevent the tire shine or wheel polish from properly adhering, resulting in a lackluster finish. To clean the tire and wheel, first, rinse them off with water to remove any loose dirt or debris.

Then, apply a tire and wheel cleaner that is specifically designed for your vehicle’s tires and wheels. Let the cleaner sit for a few minutes to break down any road grime or brake dust. Next, use a tire brush or soft-bristled brush to scrub the tire and wheel, paying extra attention to any hard-to-reach areas.

Rinse off the cleaner thoroughly with water and dry with a microfiber towel. With a clean surface, you can now move on to the next step of prepping your tires and wheels. Remember to take care when handling any chemicals and follow the instructions on the product label for best results.

Deflate the Tire

When it comes to prepping your tire and wheel for maintenance, deflating the tire is a crucial first step. This ensures that there is less pressure in the tire to make it easier to work on and less likely to cause any unnecessary accidents during repairs. To deflate the tire, use a tire pressure gauge to check the current psi level and press down on the valve stem to release the air.

It’s important to release the air slowly and evenly, as sudden, abrupt releases can cause damage to the tire or rim. It’s also a good idea to remove the tire valve cap before attempting to deflate the tire. By taking the time to properly prep your tire and wheel, you can ensure that your maintenance tasks are completed safely and efficiently.

Applying the Sealant

If you want to keep your tires in good shape, sealing the bead is a crucial step. But how exactly do you do it? First, ensure your tires are clean, free of any debris or dirt. Then, use a brush to apply the sealant evenly around the bead seat area.

Take care not to apply too much pressure or force, as this can cause the sealant to clump and not adhere properly. Once you’ve applied the sealant, give it time to dry and cure. Follow the manufacturer’s recommendations for how long this should take.

When the sealant is fully cured, check the bead area again to make sure it’s properly sealed. You can do this by spraying a light mist of soapy water around the bead area and looking for any bubbles. If there are bubbles, you may need to reapply sealant and repeat the process until the seal is tight and secure.

By taking these steps, you can help ensure your tires remain in top condition for longer periods of time.

Selecting the Right Sealant

When it comes to applying the right sealant, preparation is key. Before applying the sealant, the surface must be thoroughly cleaned and dried to ensure maximum adhesion. It’s also important to select the appropriate type of sealant based on the specific application and materials involved.

Choosing a sealant that is heat-resistant, waterproof and flexible can provide long-lasting protection and durability. Additionally, applying the sealant in a consistent and even manner will ensure a strong and reliable bond. Remember, taking the time to properly prepare and apply the sealant can save time and resources in the long-term, preventing potential leaks or damage.

Using a Brush or Roller to Apply

When it comes to applying sealant, there are few methods to choose from, including using a brush or roller. Using a brush is a great option if you want to cover small, hard-to-reach areas, or if you want to spread the sealant evenly. With a brush, you can achieve a clean, precise finish that looks professional.

On the other hand, using a roller is a good option if you have larger areas to cover, as it allows you to cover a larger area more quickly. Additionally, the texture of a roller can give your sealant a unique look and feel. Whatever method you choose, it is important to apply the sealant evenly and avoid leaving any spots uncovered.

Remember to follow the instructions carefully and take your time to ensure the best possible outcome. With a little patience and practice, you can achieve a sealant application that looks flawless and lasts for years to come.

Ensuring Even Coverage

When it comes to ensuring even coverage during the application of sealant, it’s important to take your time and apply it with precision. The best way to do this is by using a sealant applicator, which will help to distribute the sealant evenly across the surface. You’ll want to make sure you’re covering every part of the surface, but without over-applying the sealant, which can lead to drips and other issues.

It’s important to keep in mind that the sealant needs to be applied in a uniform layer so that it can properly protect the surface. Once you’ve finished applying the sealant, be sure to inspect the surface to make sure you haven’t missed any areas. Overall, the key to ensuring even coverage is to take your time and be methodical in your approach.

With a little bit of patience and practice, you’ll be able to achieve the perfect, even coat of sealant every time.

Allowing the Sealant to Dry

After applying the sealant to your desired surface, it’s important to allow ample time for it to dry before handling it. The exact time needed for the sealant to dry will vary depending on the type of sealant used and the conditions of the environment. Generally, it takes about 24-48 hours for sealant to fully dry.

During this time, it’s best to avoid touching or moving the surface to ensure that the sealant sets properly. Additionally, avoid exposing the surface to heavy rain or extreme temperatures as this can affect the drying process. Remember that patience is key when it comes to allowing the sealant to dry.

Rushing the process can result in an uneven or weak seal that won’t provide the protection you need. By being patient and allowing the sealant to dry completely, you’ll ensure that your surfaces are fully protected and looking their best.

Checking the Seal

If you need to seal the bead on a tire, the first step is to carefully inspect the bead to ensure it’s in good condition. Use a flashlight to closely examine the bead – the area where the tire sits on the rim – looking for any visible cracks or damage. Once you’ve confirmed it’s in good shape, it’s time to apply the sealant.

Start by deflating the tire completely and removing the valve core to ensure maximum sealing. Next, apply a small amount of liquid bead sealant to the bead area and use a soft brush to spread it evenly. Be sure to pay close attention to any areas that may be more prone to leaks, such as valve stem holes and mold joint lines.

Once you’ve coated the bead and rim, carefully re-inflate the tire and spray it down with soapy water to check for any leaks. If you see bubbles, you may need to start the process over and reapply the sealant until you get a good, airtight seal. Overall, sealing the bead of a tire takes care and attention to detail, but with the right tools and techniques, you can easily do it yourself.

Inflating the Tire to Recommended Pressure

When inflating your tire to the recommended pressure, it’s important to first check the seal. This ensures that the air you pump into the tire stays inside and doesn’t leak out. To check the seal, start by inspecting the valve stem.

Make sure it’s clean and dry and that the valve cap is securely in place. Then, locate any potential damage to the tire itself such as cuts or punctures that may cause air to escape. If you suspect any issues, take your tire to a professional for repair.

Once you’re confident the seal is secure, use a tire pressure gauge to check the current pressure. If it’s below the recommended level, add air until the correct pressure is achieved. Remember, proper tire pressure not only helps with handling and fuel efficiency, but also plays a crucial role in your safety on the road.

Checking for Leaks

Checking for leaks is an essential step in maintaining your home’s plumbing system. One of the most crucial aspects of this process is checking the seal. A seal is what keeps water from leaking out of pipes and fittings.

It’s important to check these seals because even the smallest leaks can cause significant damage to your home over time. To check the seal, first, you’ll need to turn off the water supply and drain any excess water from the pipes. Then, inspect all of the connections, fittings, and valves for any signs of leaks.

If you notice any moisture around a seal, it’s a good indication that there’s a leak present. Finally, tighten any loose fittings and replace any damaged seals to ensure that your plumbing system is working properly. By regularly checking the seals, you can prevent leaks and avoid costly repairs in the future.

Manually Inspecting the Seal

To ensure that your packaged foods and beverages remain fresh and uncontaminated, inspecting the seal on the container is crucial. Manual inspection of the seal is a simple yet effective way to identify whether air or other substances have penetrated the container. To perform a manual check, hold the sealed container up to a light source and make sure there are no gaps or cracks in the seal.

You can also run your fingers across the seal to feel for any irregularities or bumps. If there are any issues with the seal, it’s best to dispose of the product immediately. A broken seal can cause the product to spoil or promote the growth of harmful bacteria.

Therefore, it’s critical to inspect the seal as soon as you purchase or open a packaged item. By regularly checking the seal, you can protect yourself and your family from potential health hazards and ensure that you only consume fresh, high-quality food and beverages.

Conclusion

Sealing the bead on a tire is like sealing a deal between two parties – it requires precision, patience, and a little bit of finesse. Just like how a good negotiator knows when to apply pressure and when to back off, a skilled tire technician knows exactly how much air pressure is needed to create a tight seal. So, the next time you find yourself in a sticky situation with a tire, just remember – sealing the bead isn’t just about fixing a flat, it’s about creating a harmonious bond between the tire and wheel.

And who knows, maybe you’ll even learn a thing or two about sealing the deal in your next business negotiation.”

FAQs

What is meant by sealing the bead on a tire?
Sealing the bead on a tire involves creating an airtight seal between the tire bead and the rim, to ensure that the tire remains inflated.

Why is it important to seal the bead on a tire?
Sealing the bead on a tire is important for maintaining proper tire pressure, reducing the risk of a blowout, and ensuring optimal handling and performance.

How do you know if the bead on your tire is not sealed properly?
If the bead on your tire is not sealed properly, you may notice a slow leak in tire pressure, difficulty inflating the tire, or uneven wear on the tire tread.

What are the main causes of bead leaks in tires?
Bead leaks in tires can be caused by a variety of factors, including corrosion on the rim, damage to the tire or wheel, and improper mounting or inflation.

Can you easily seal the bead on a tire yourself, or do you need professional assistance?
While it is technically possible to seal the bead on a tire yourself, it is recommended that you seek professional assistance to ensure that the job is done correctly and safely.

What are some of the tools or materials that you might need to seal the bead on a tire?
Some of the tools and materials that you might need to properly seal the bead on a tire include a tire iron, bead sealer, valve stem tool, and tire pressure gauge.

How long should you wait after sealing the bead on a tire before driving your vehicle?
It is recommended that you wait at least 24 hours after sealing the bead on a tire before driving your vehicle, to allow the sealant to properly cure and set.

Rate this post