Are you ready to dive into the world of underwater creativity? We’re excited to announce that our popular Mermaid Coloring Pages are now available in a convenient digital format, perfect for printing and coloring at home or on-the-go! To convert our original printable PDF files into a more modern and accessible format, we used a simple formula: taking the original PDF files and converting them into high-resolution JPEG images. This allows you to easily print or share your mermaid coloring pages with friends and family, while maintaining the vibrant colors and intricate details that made them so beloved in the first place. With this conversion, you can now enjoy the same level of creative expression and relaxation as before, but with the added convenience of a digital format.
Free Printable Mermaid Coloring Pages – Download Now

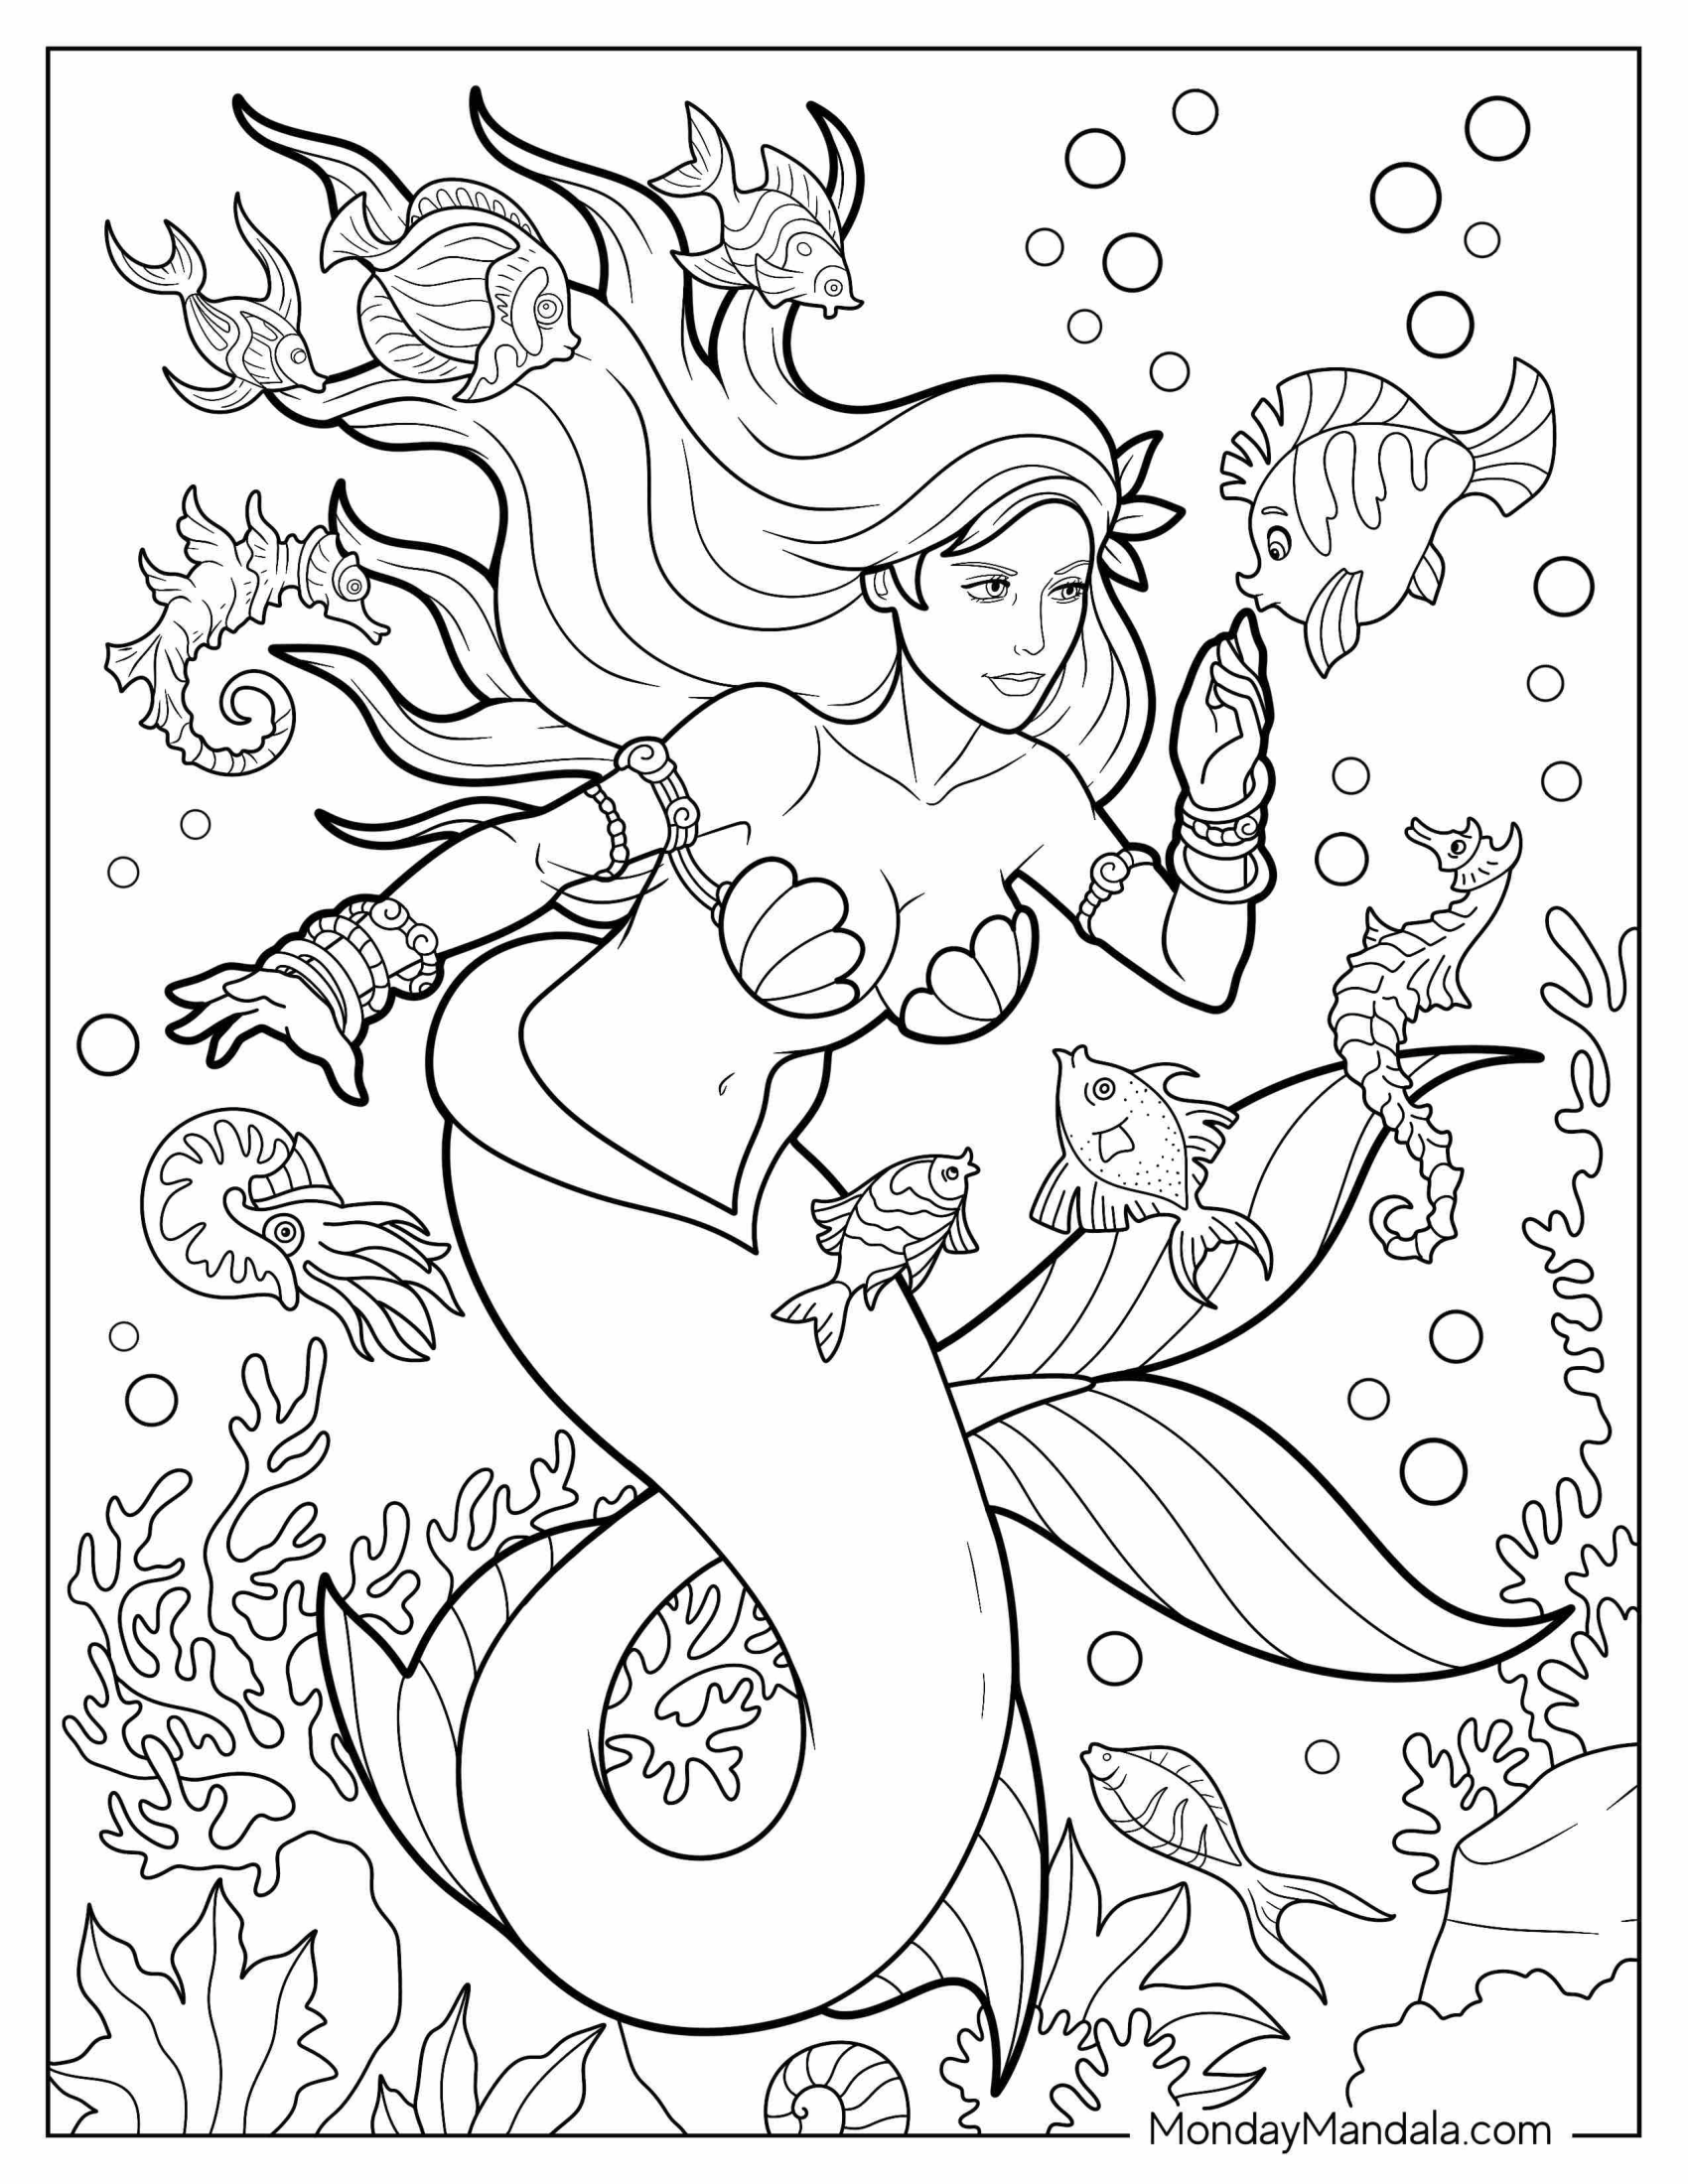
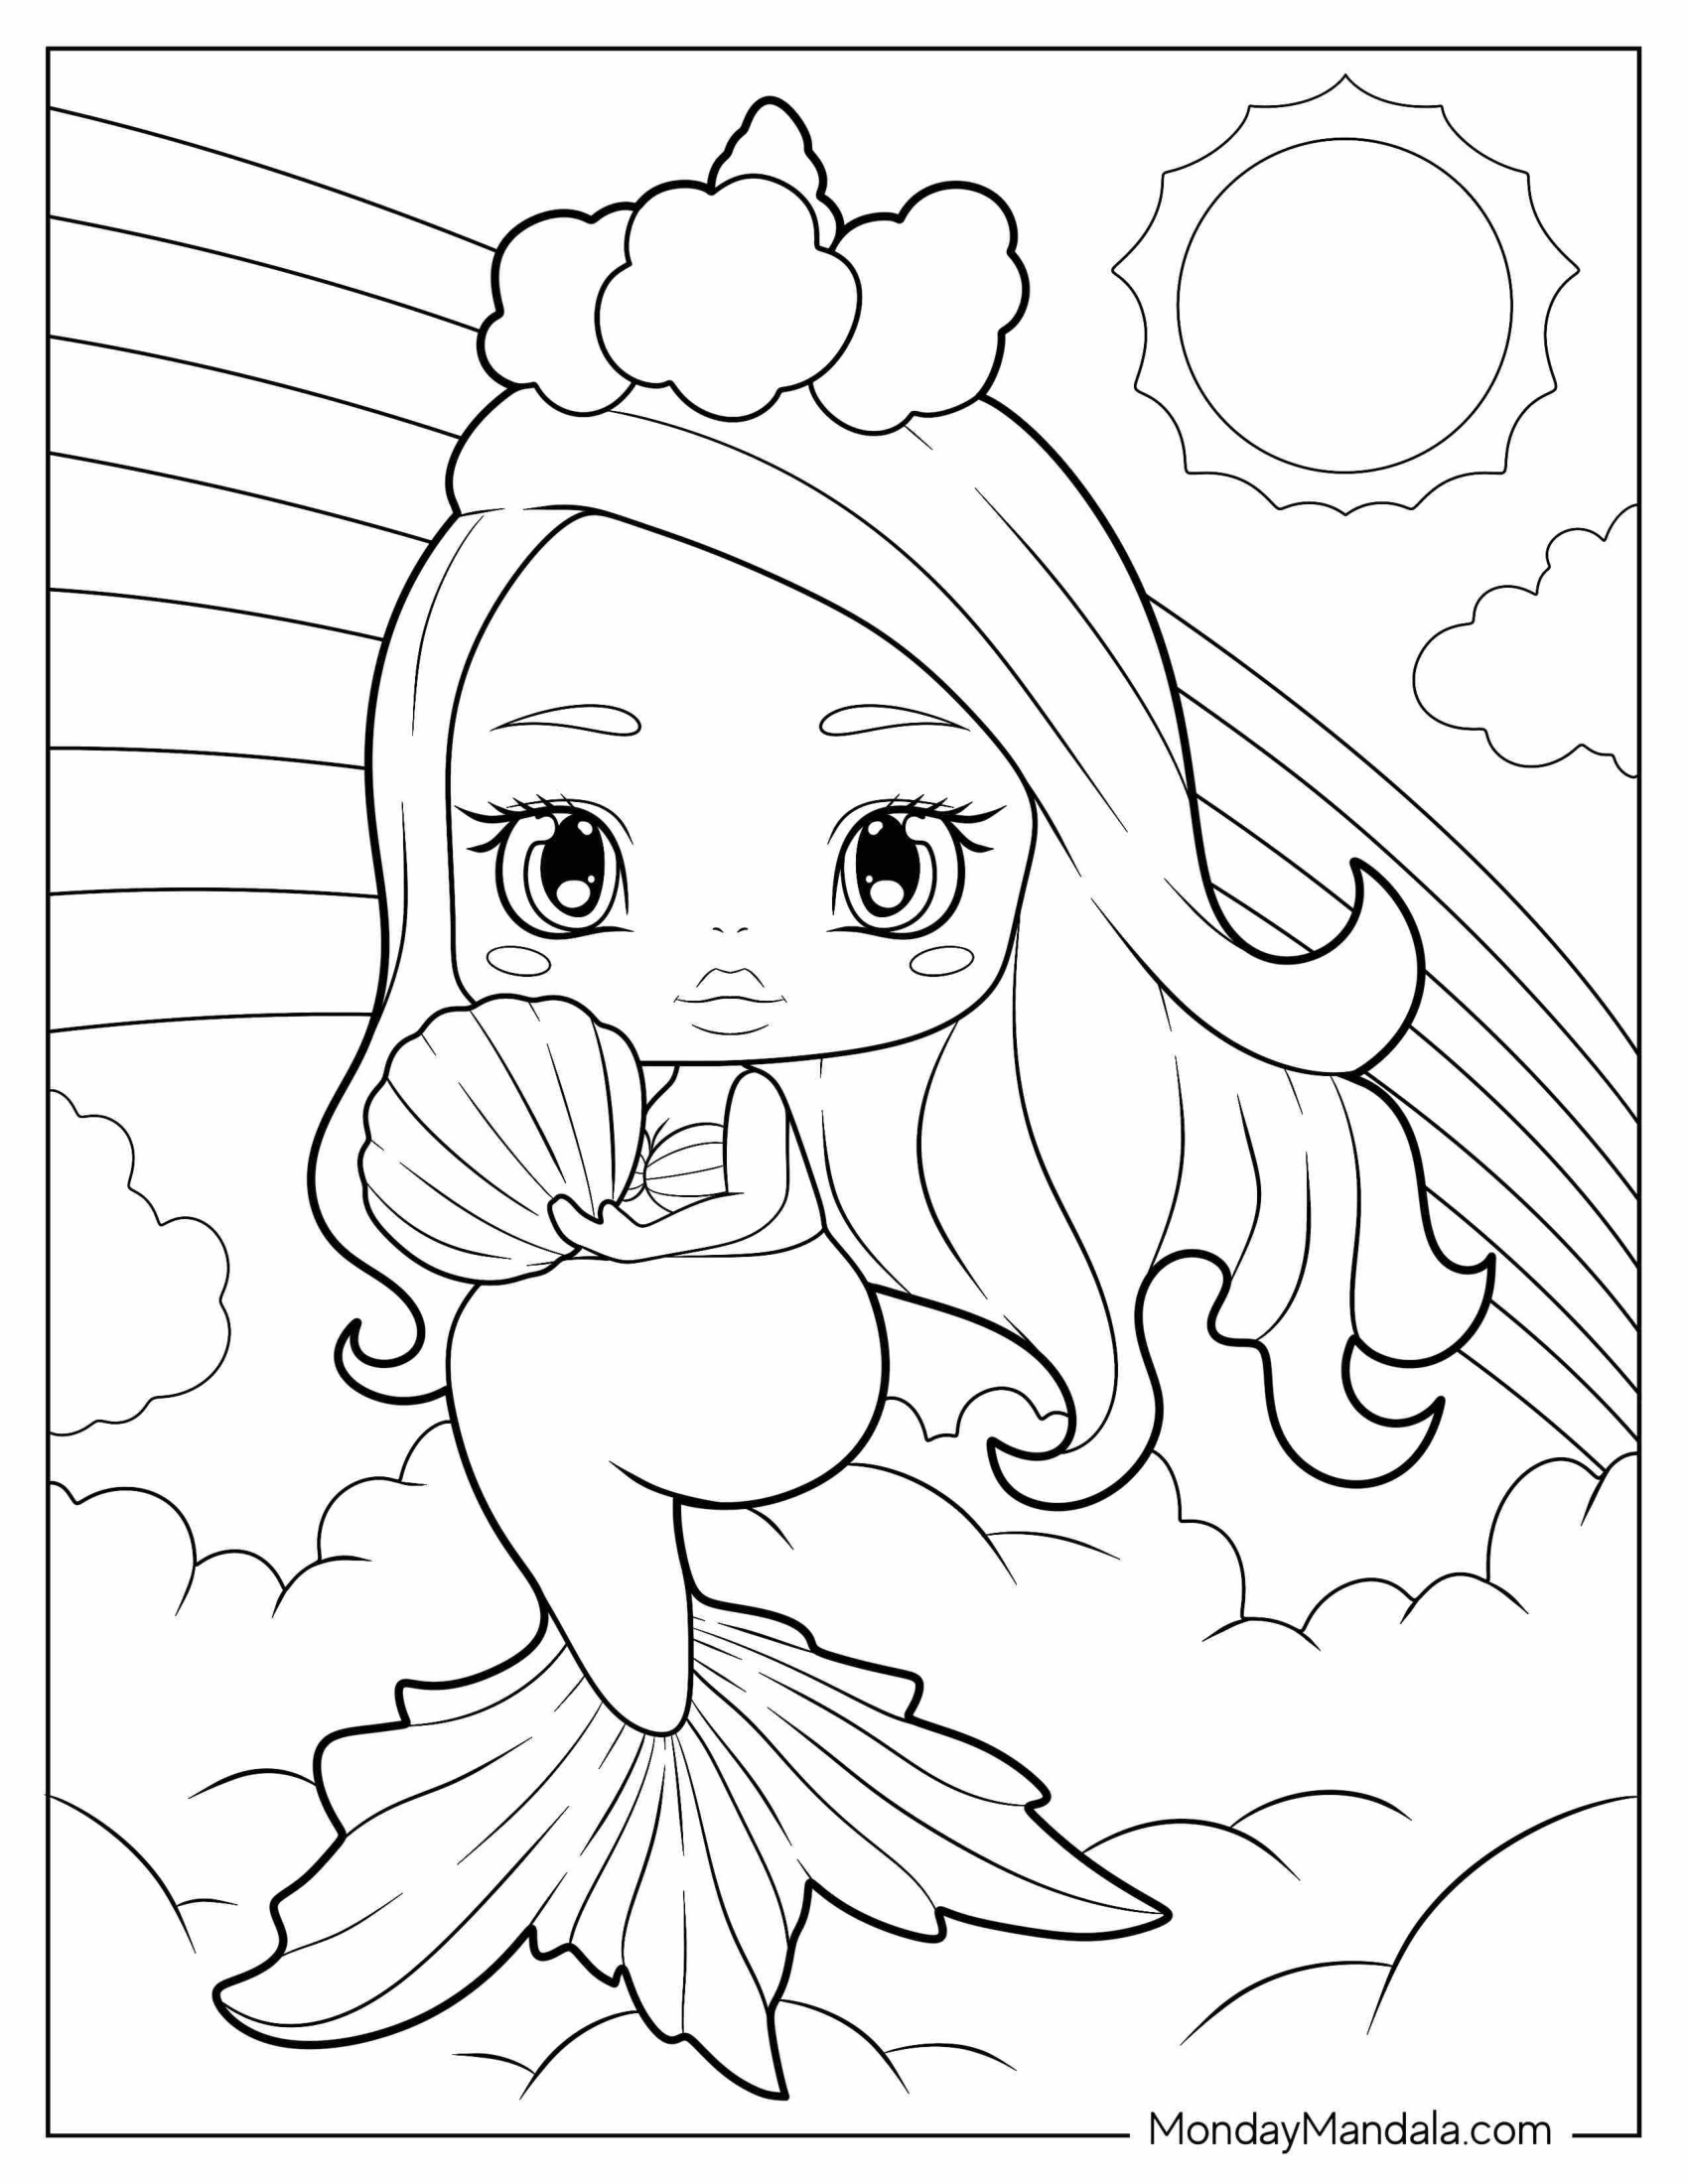
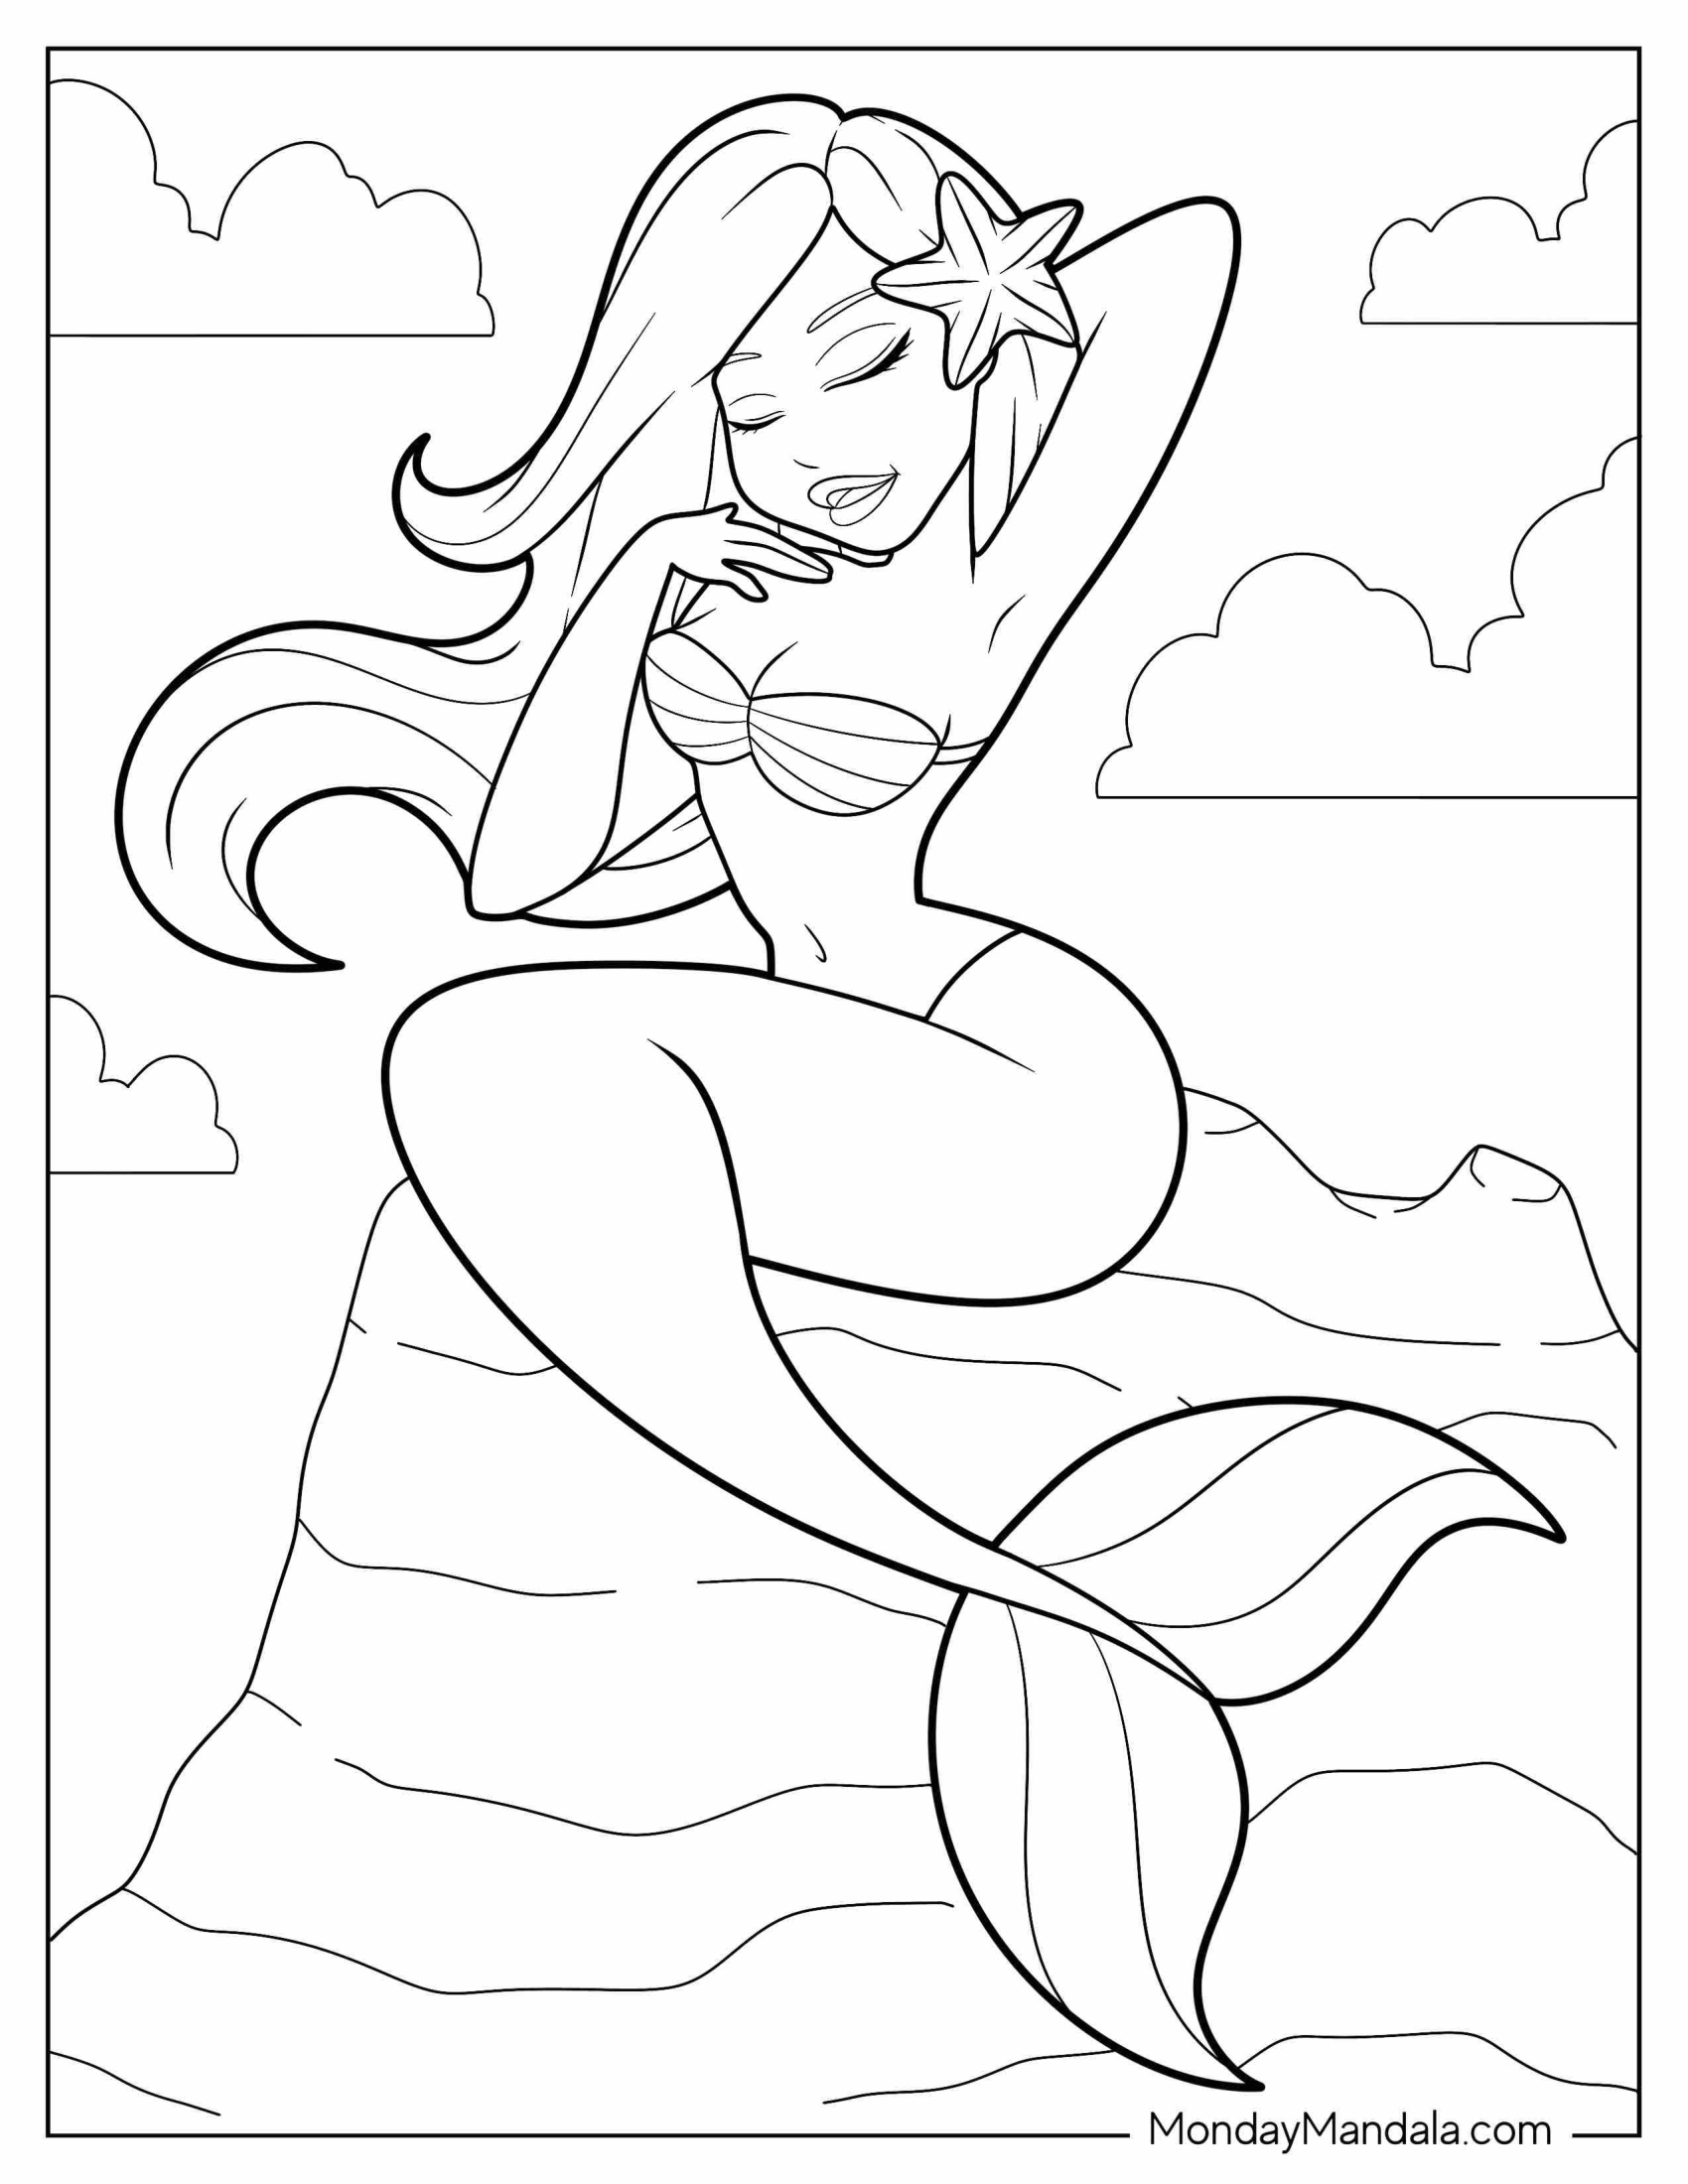
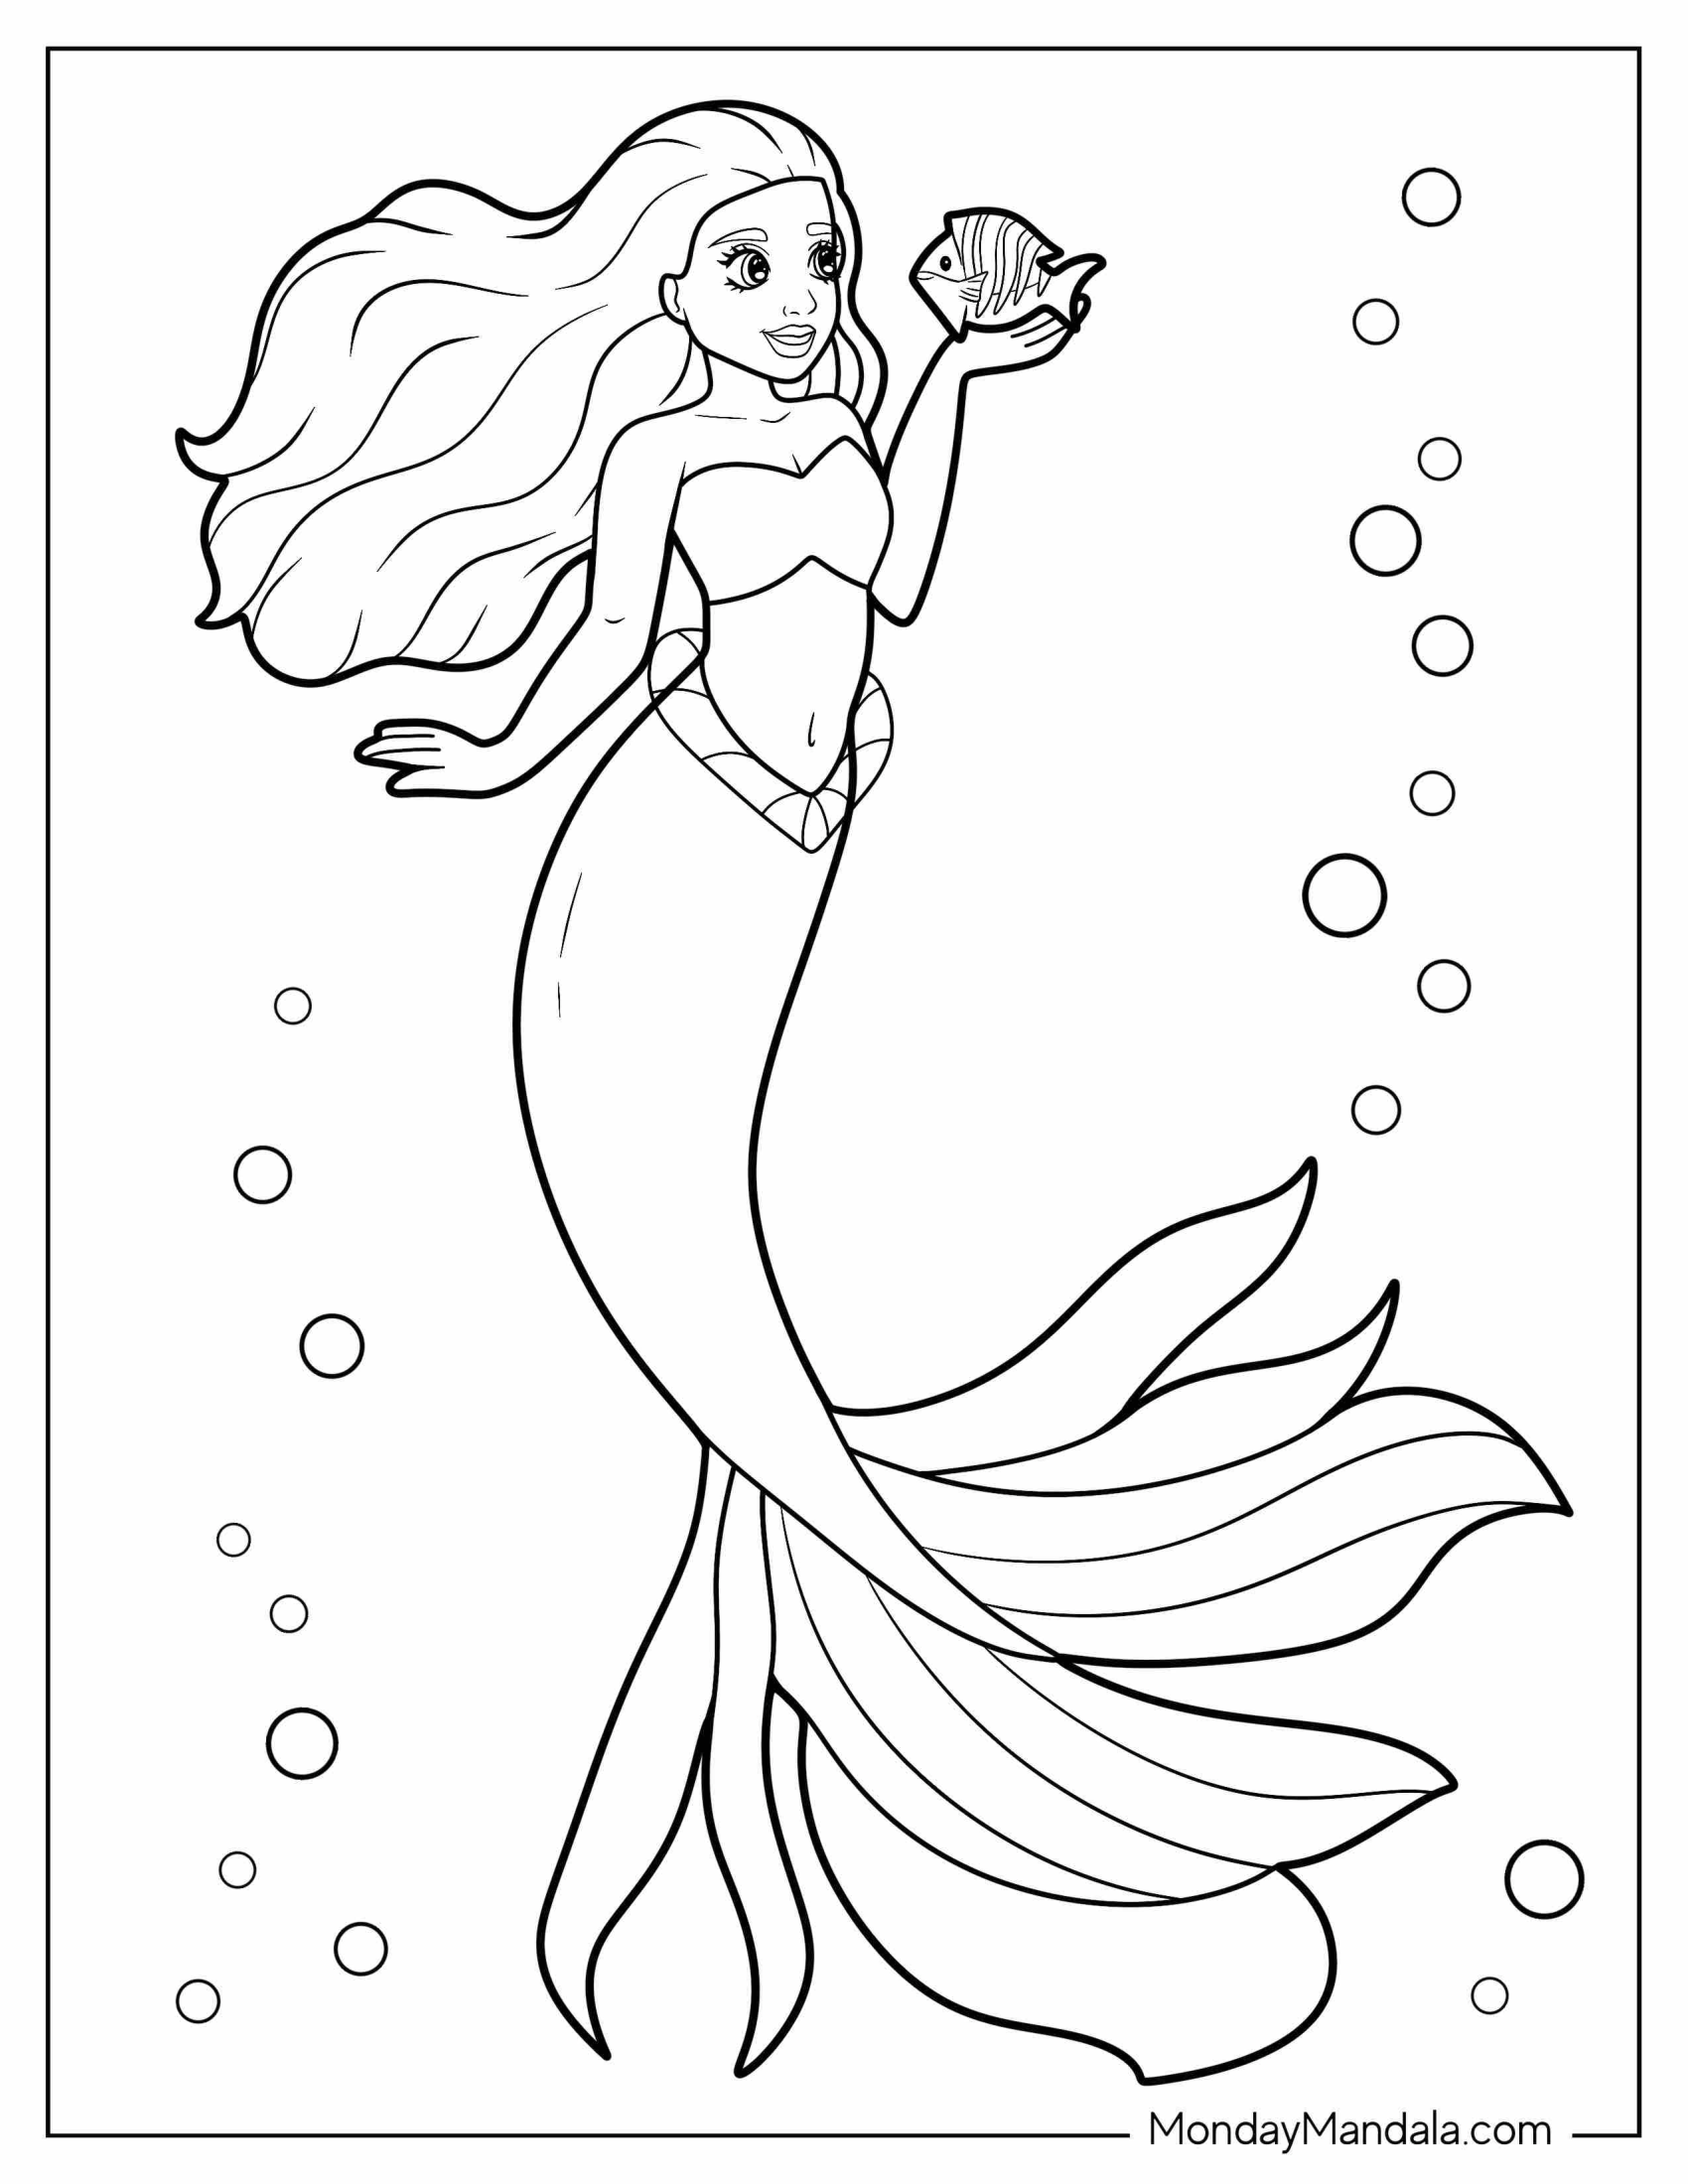
Unleash Your Creativity with Free Mermaid Coloring Pages
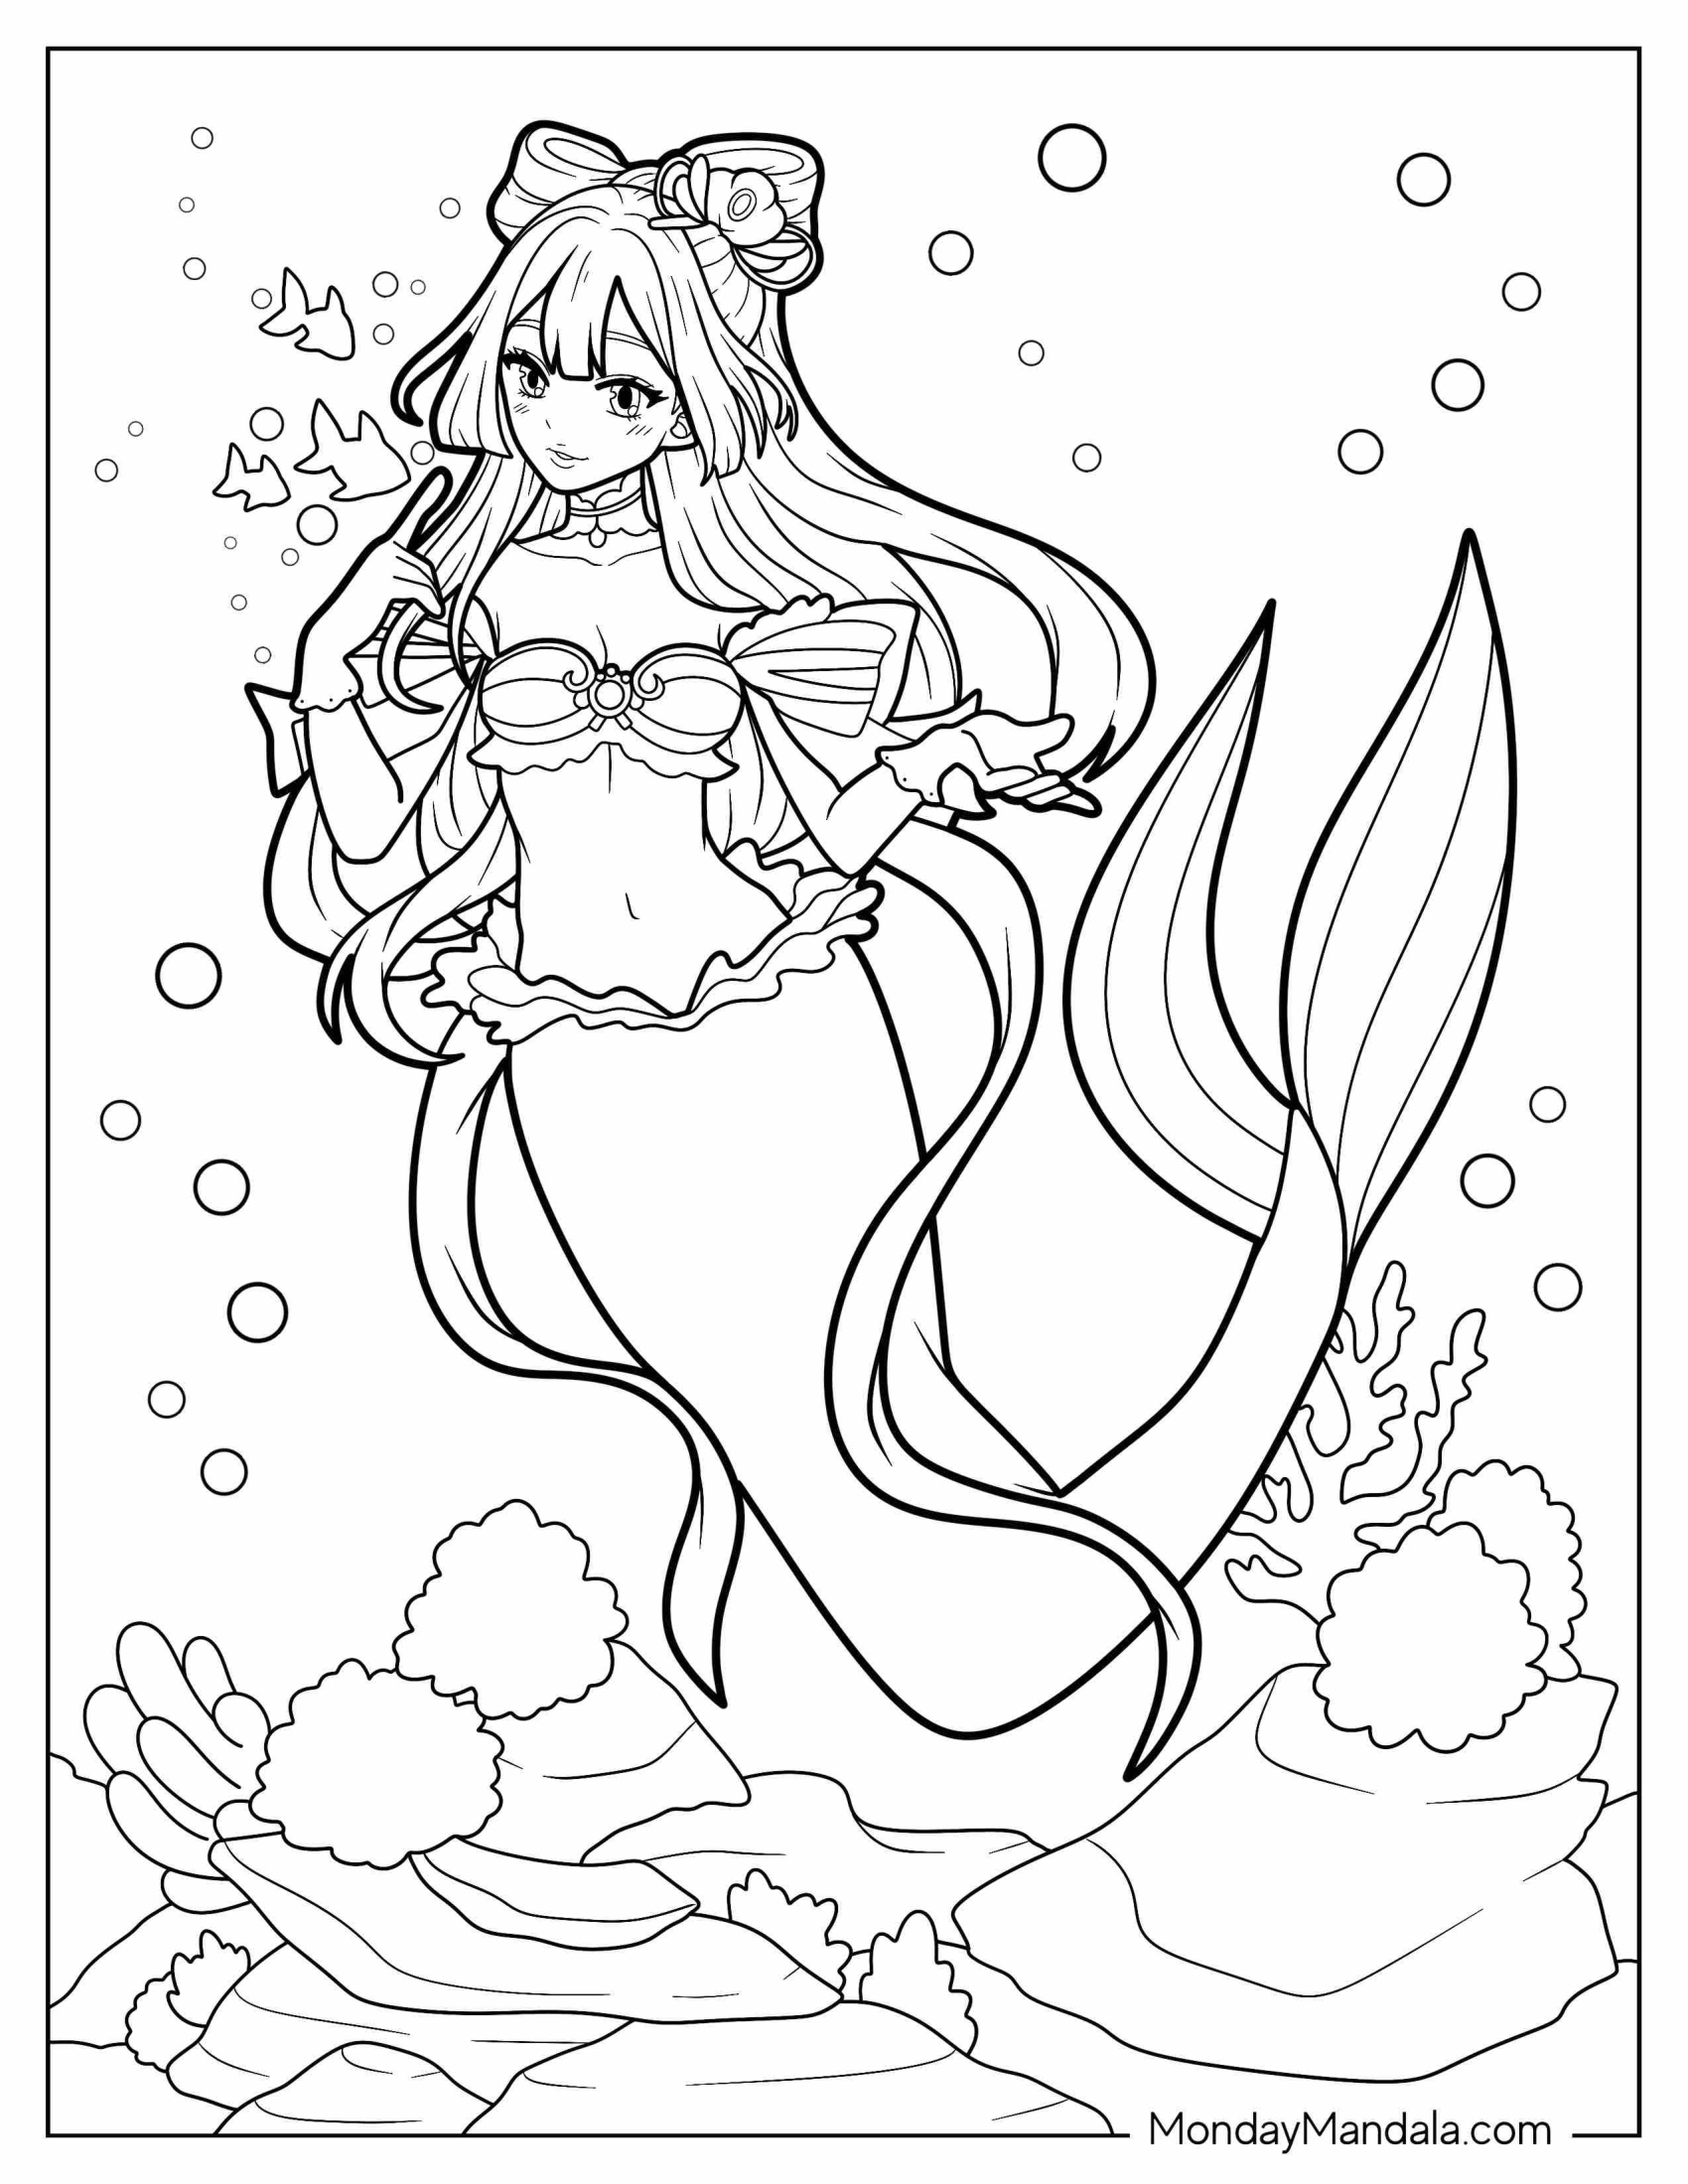
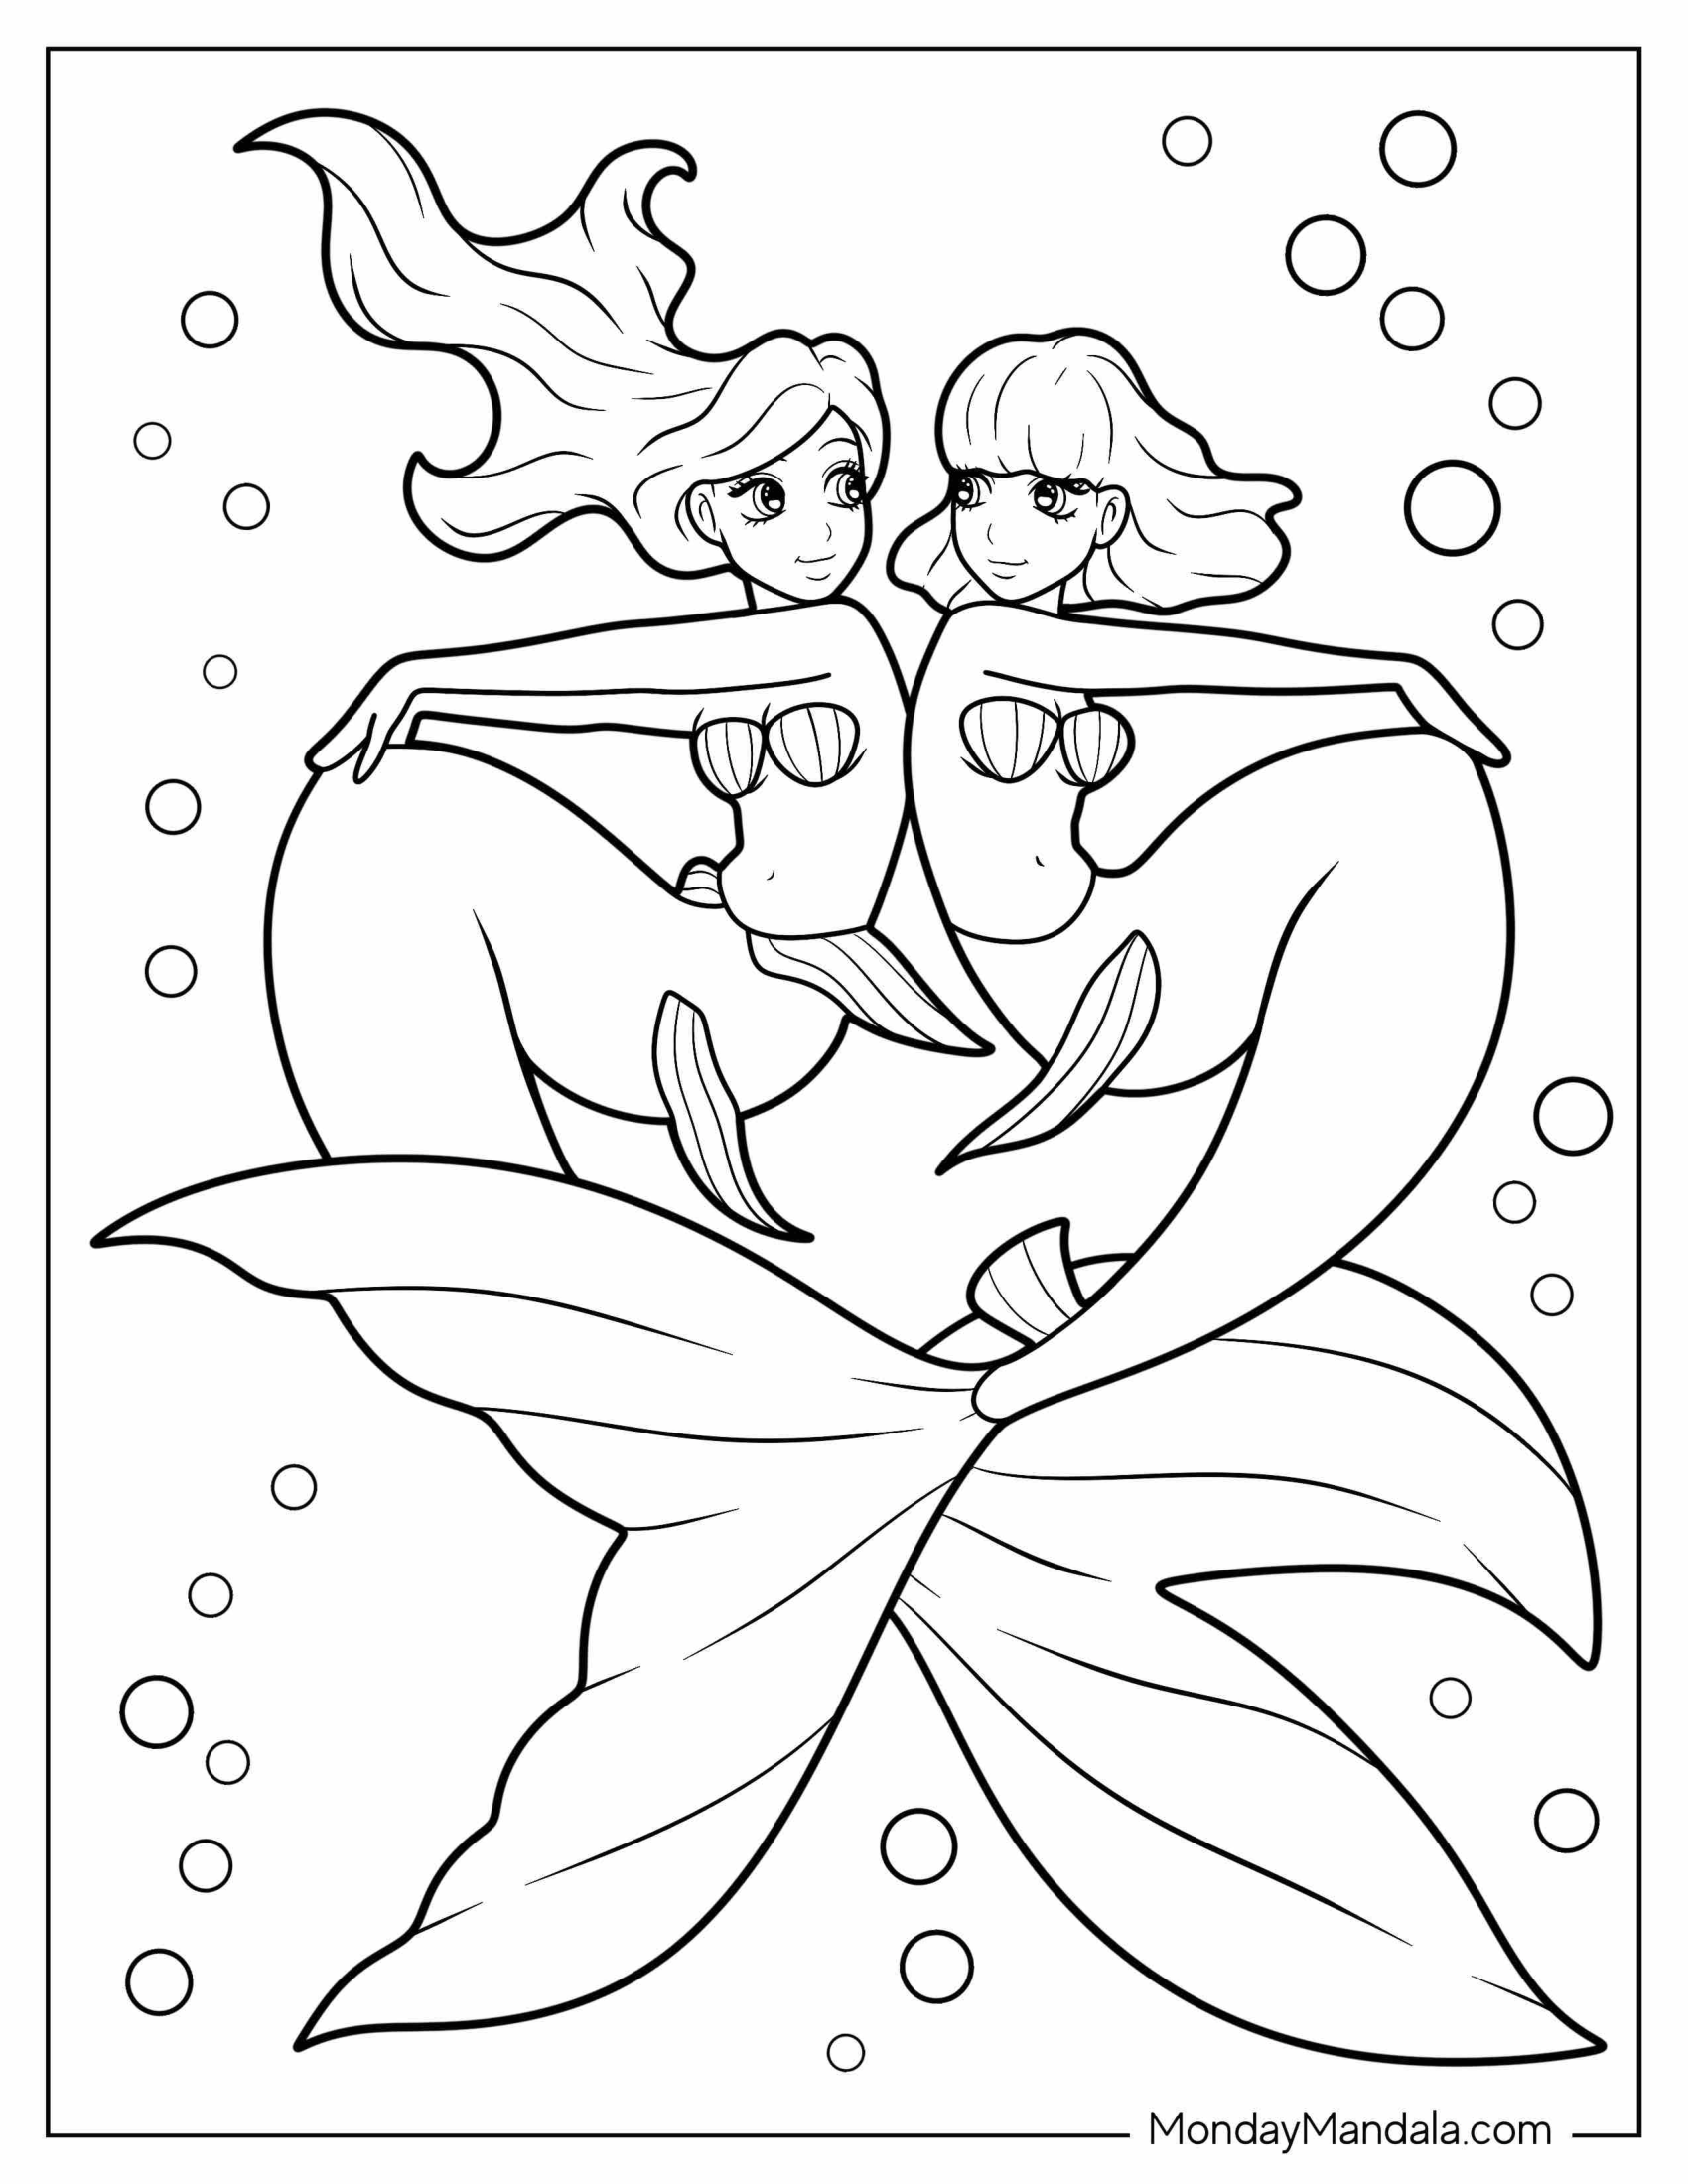
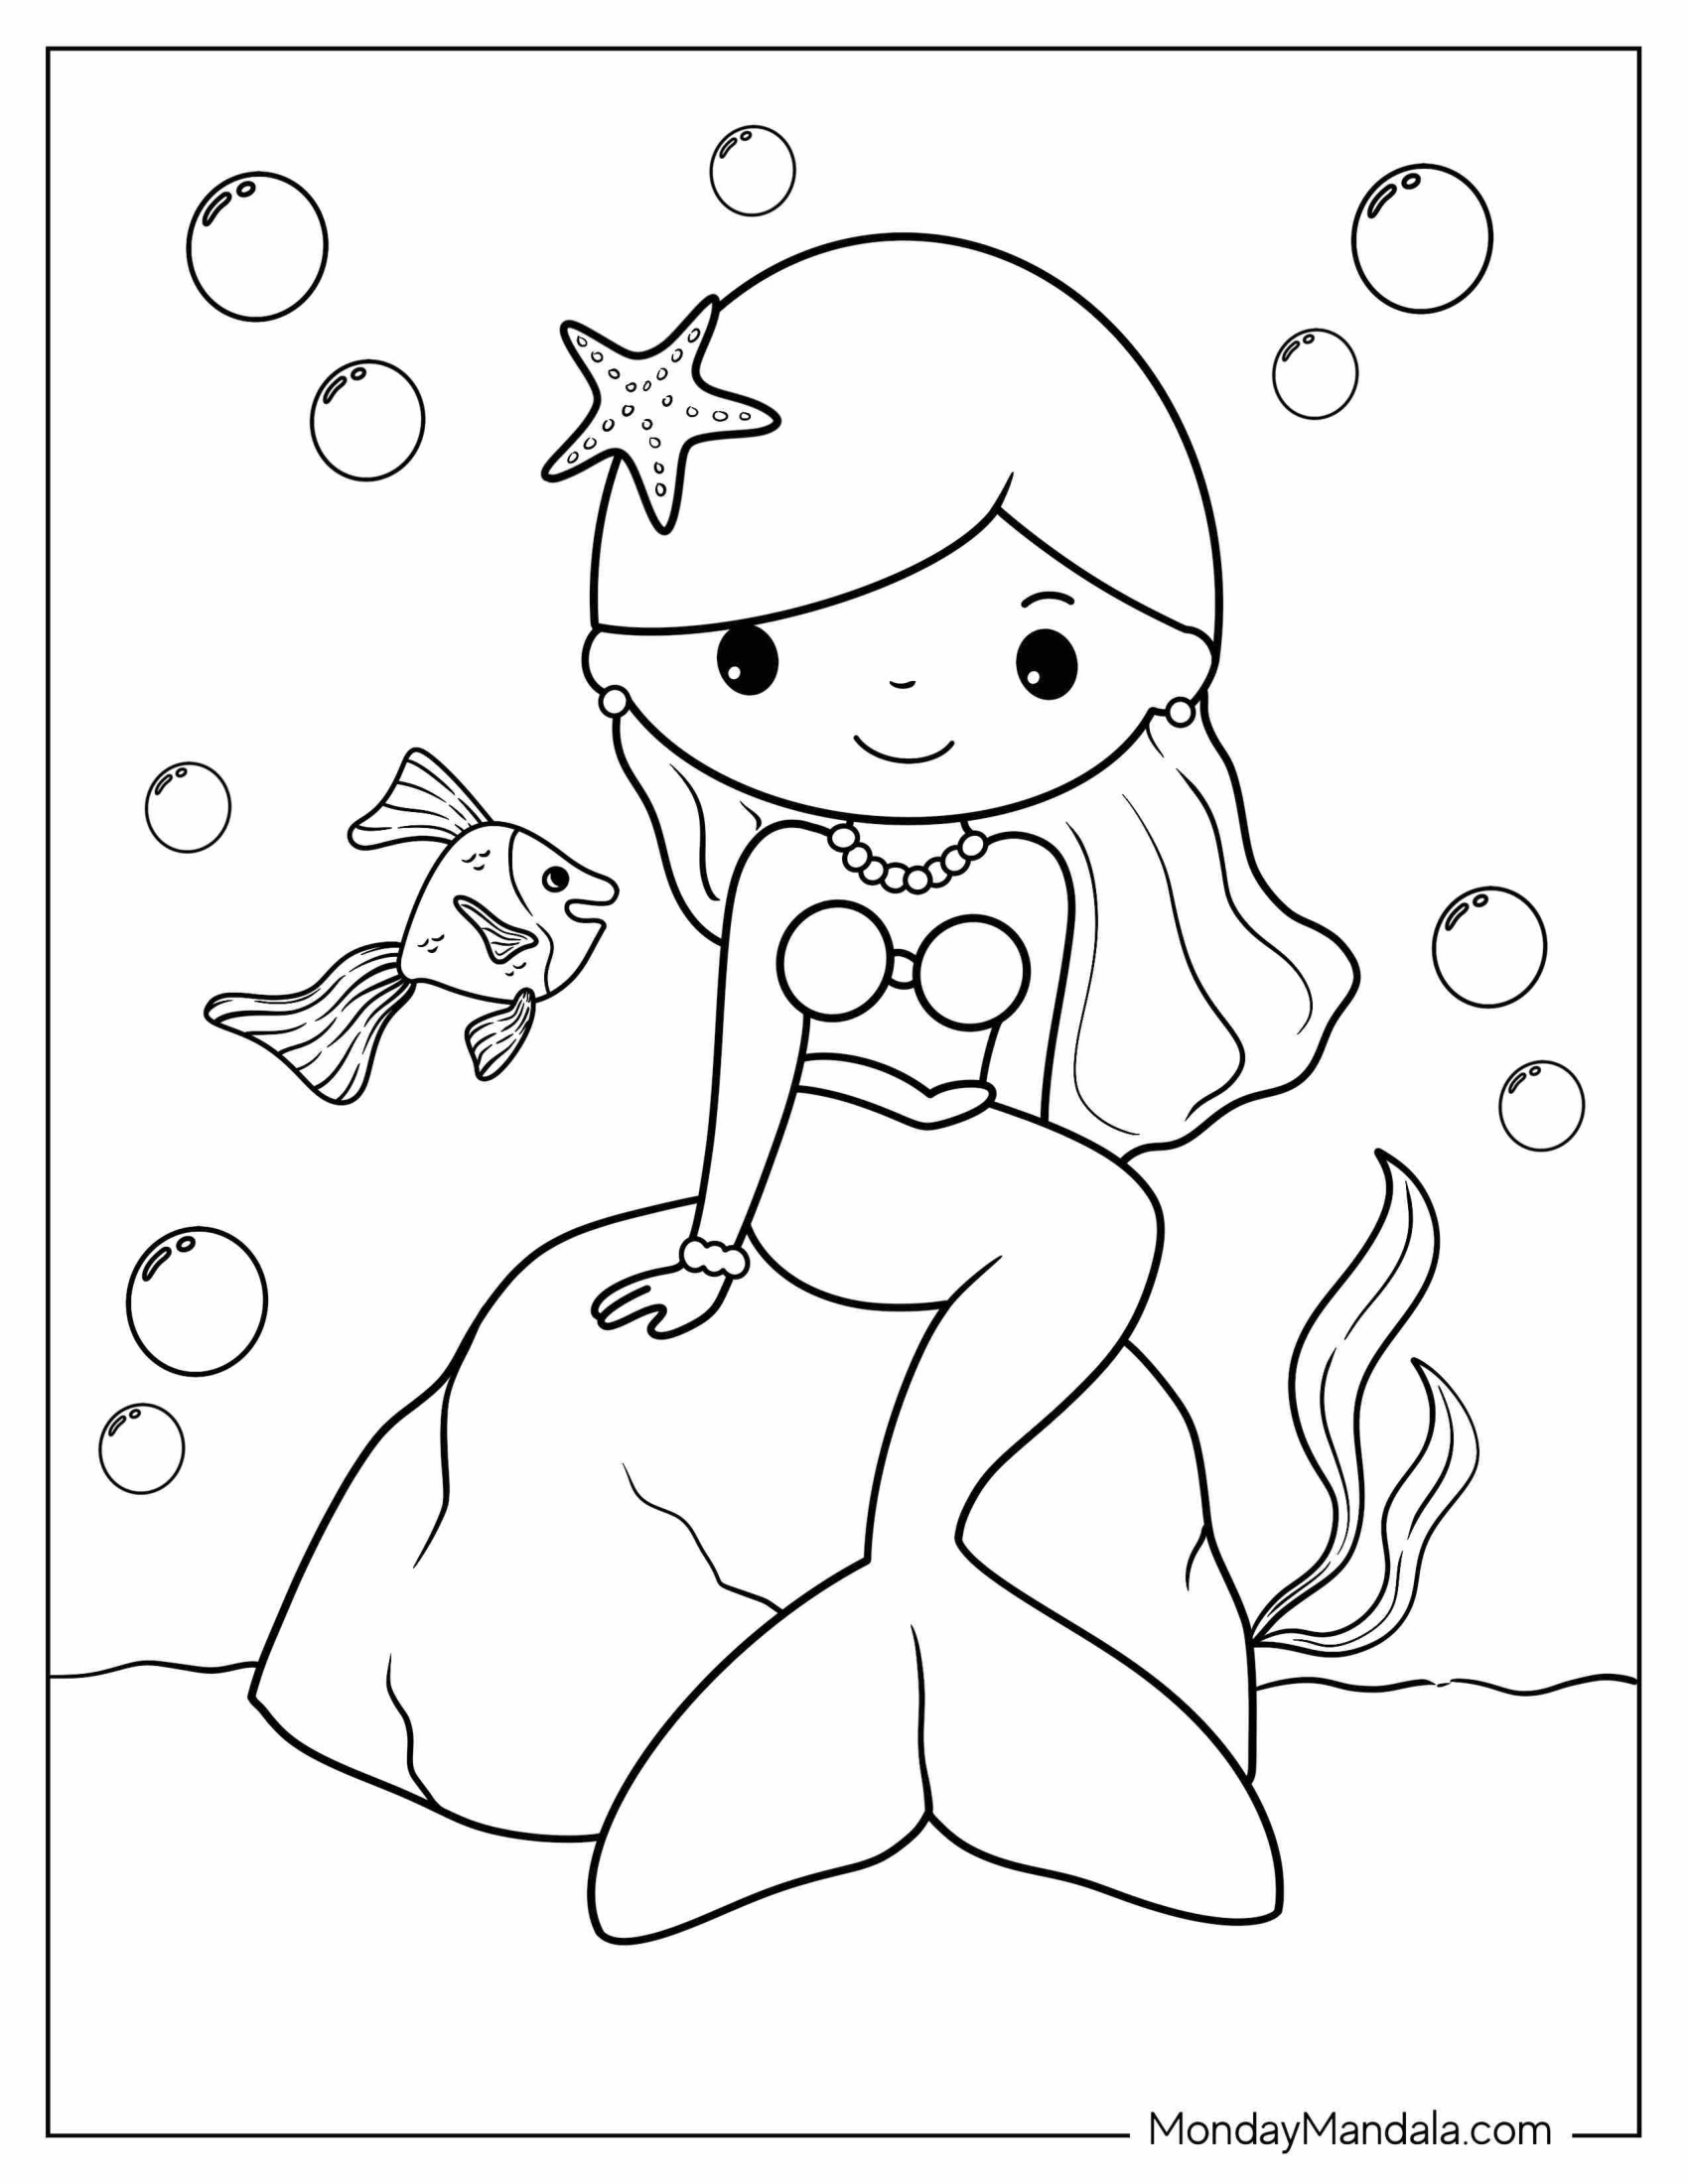
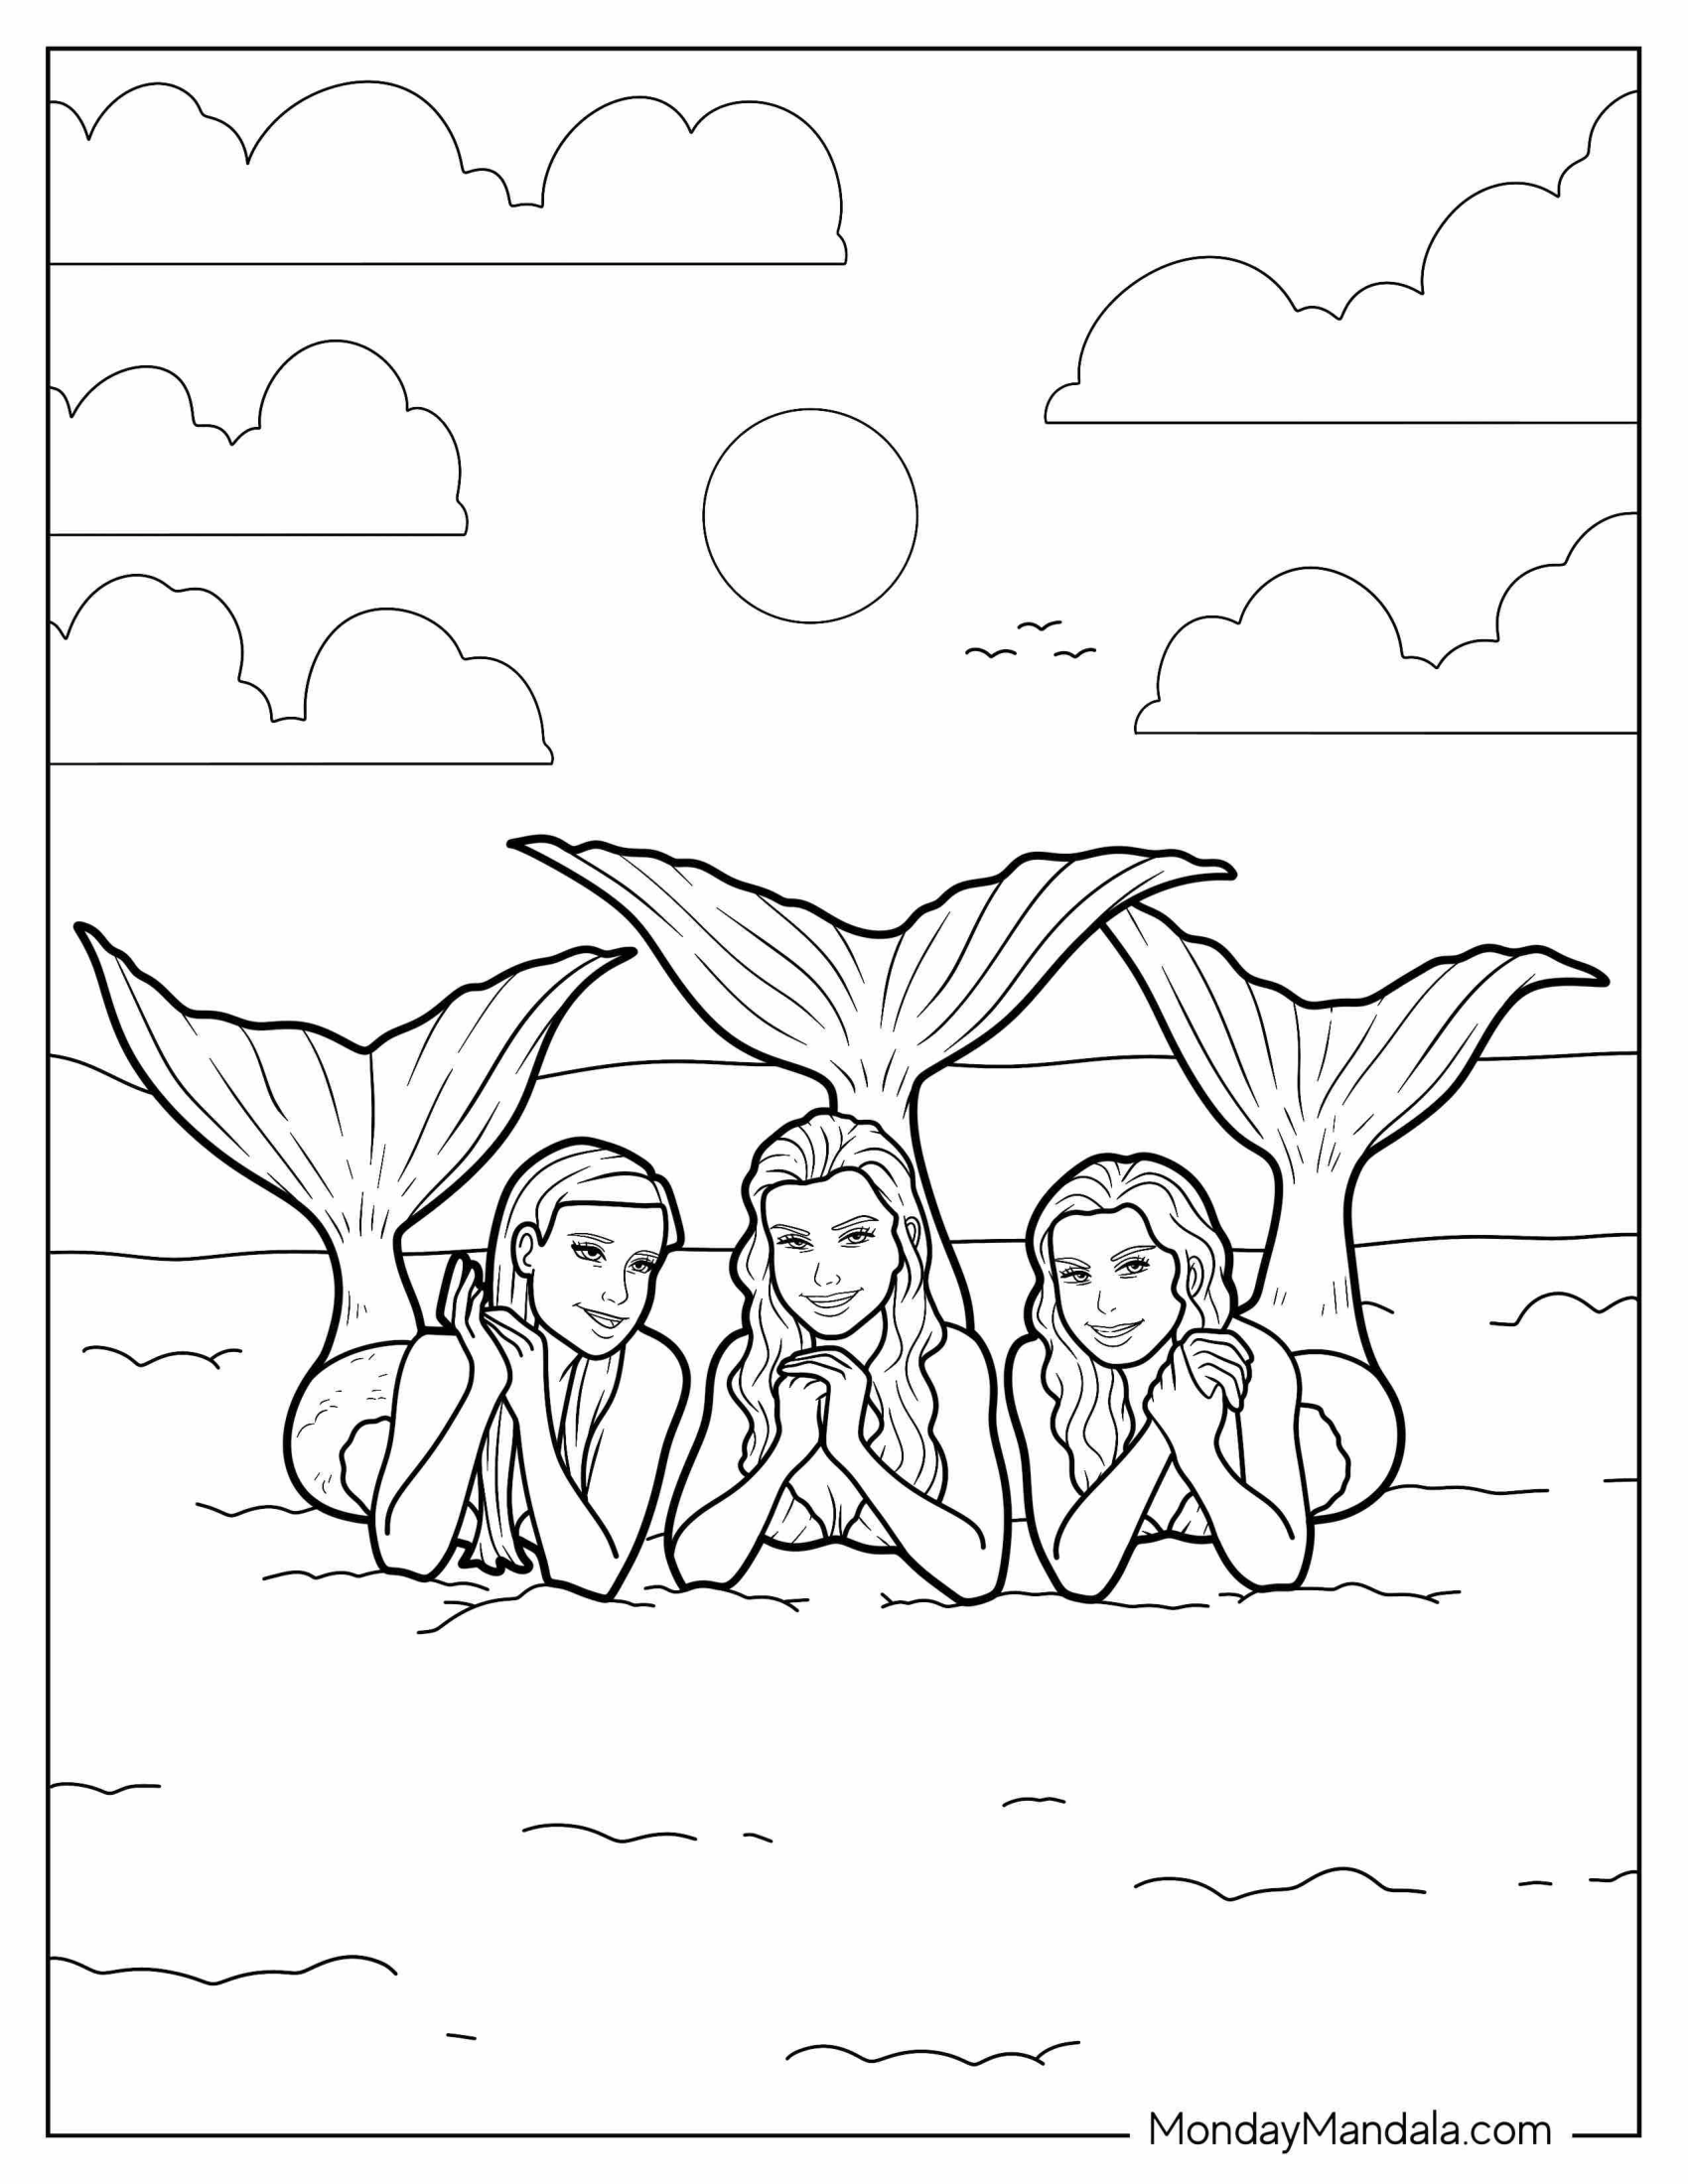
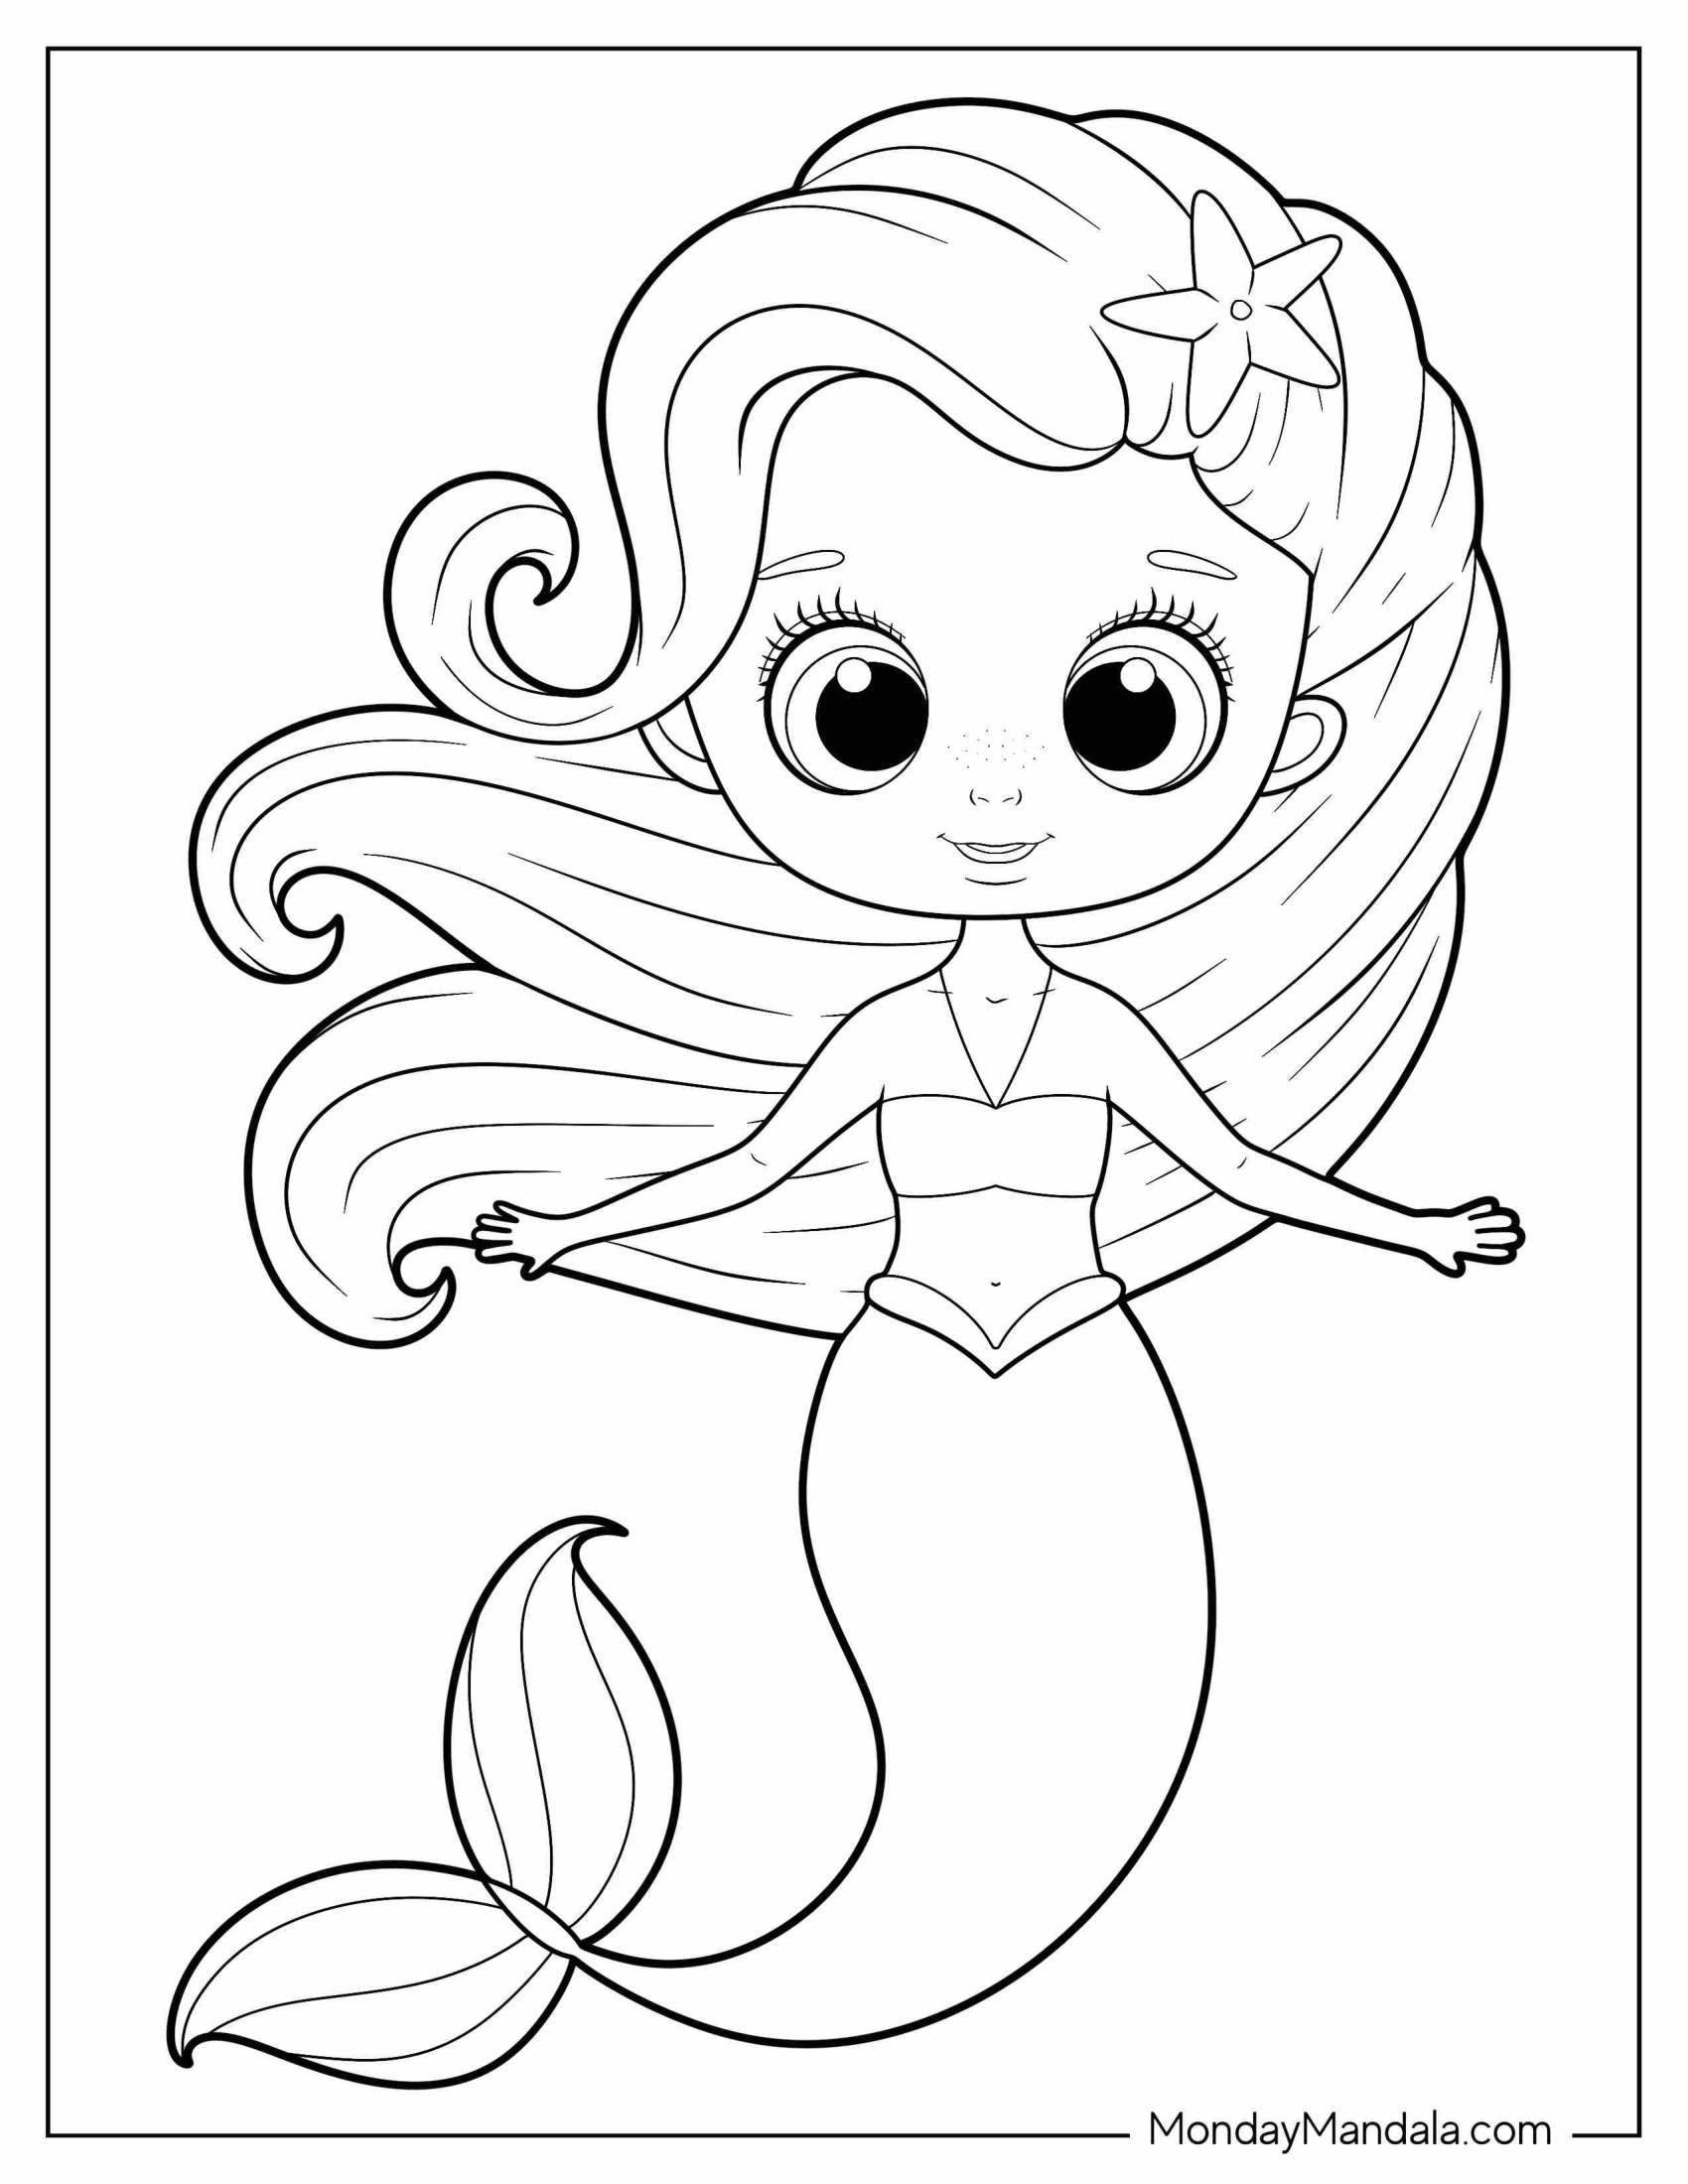
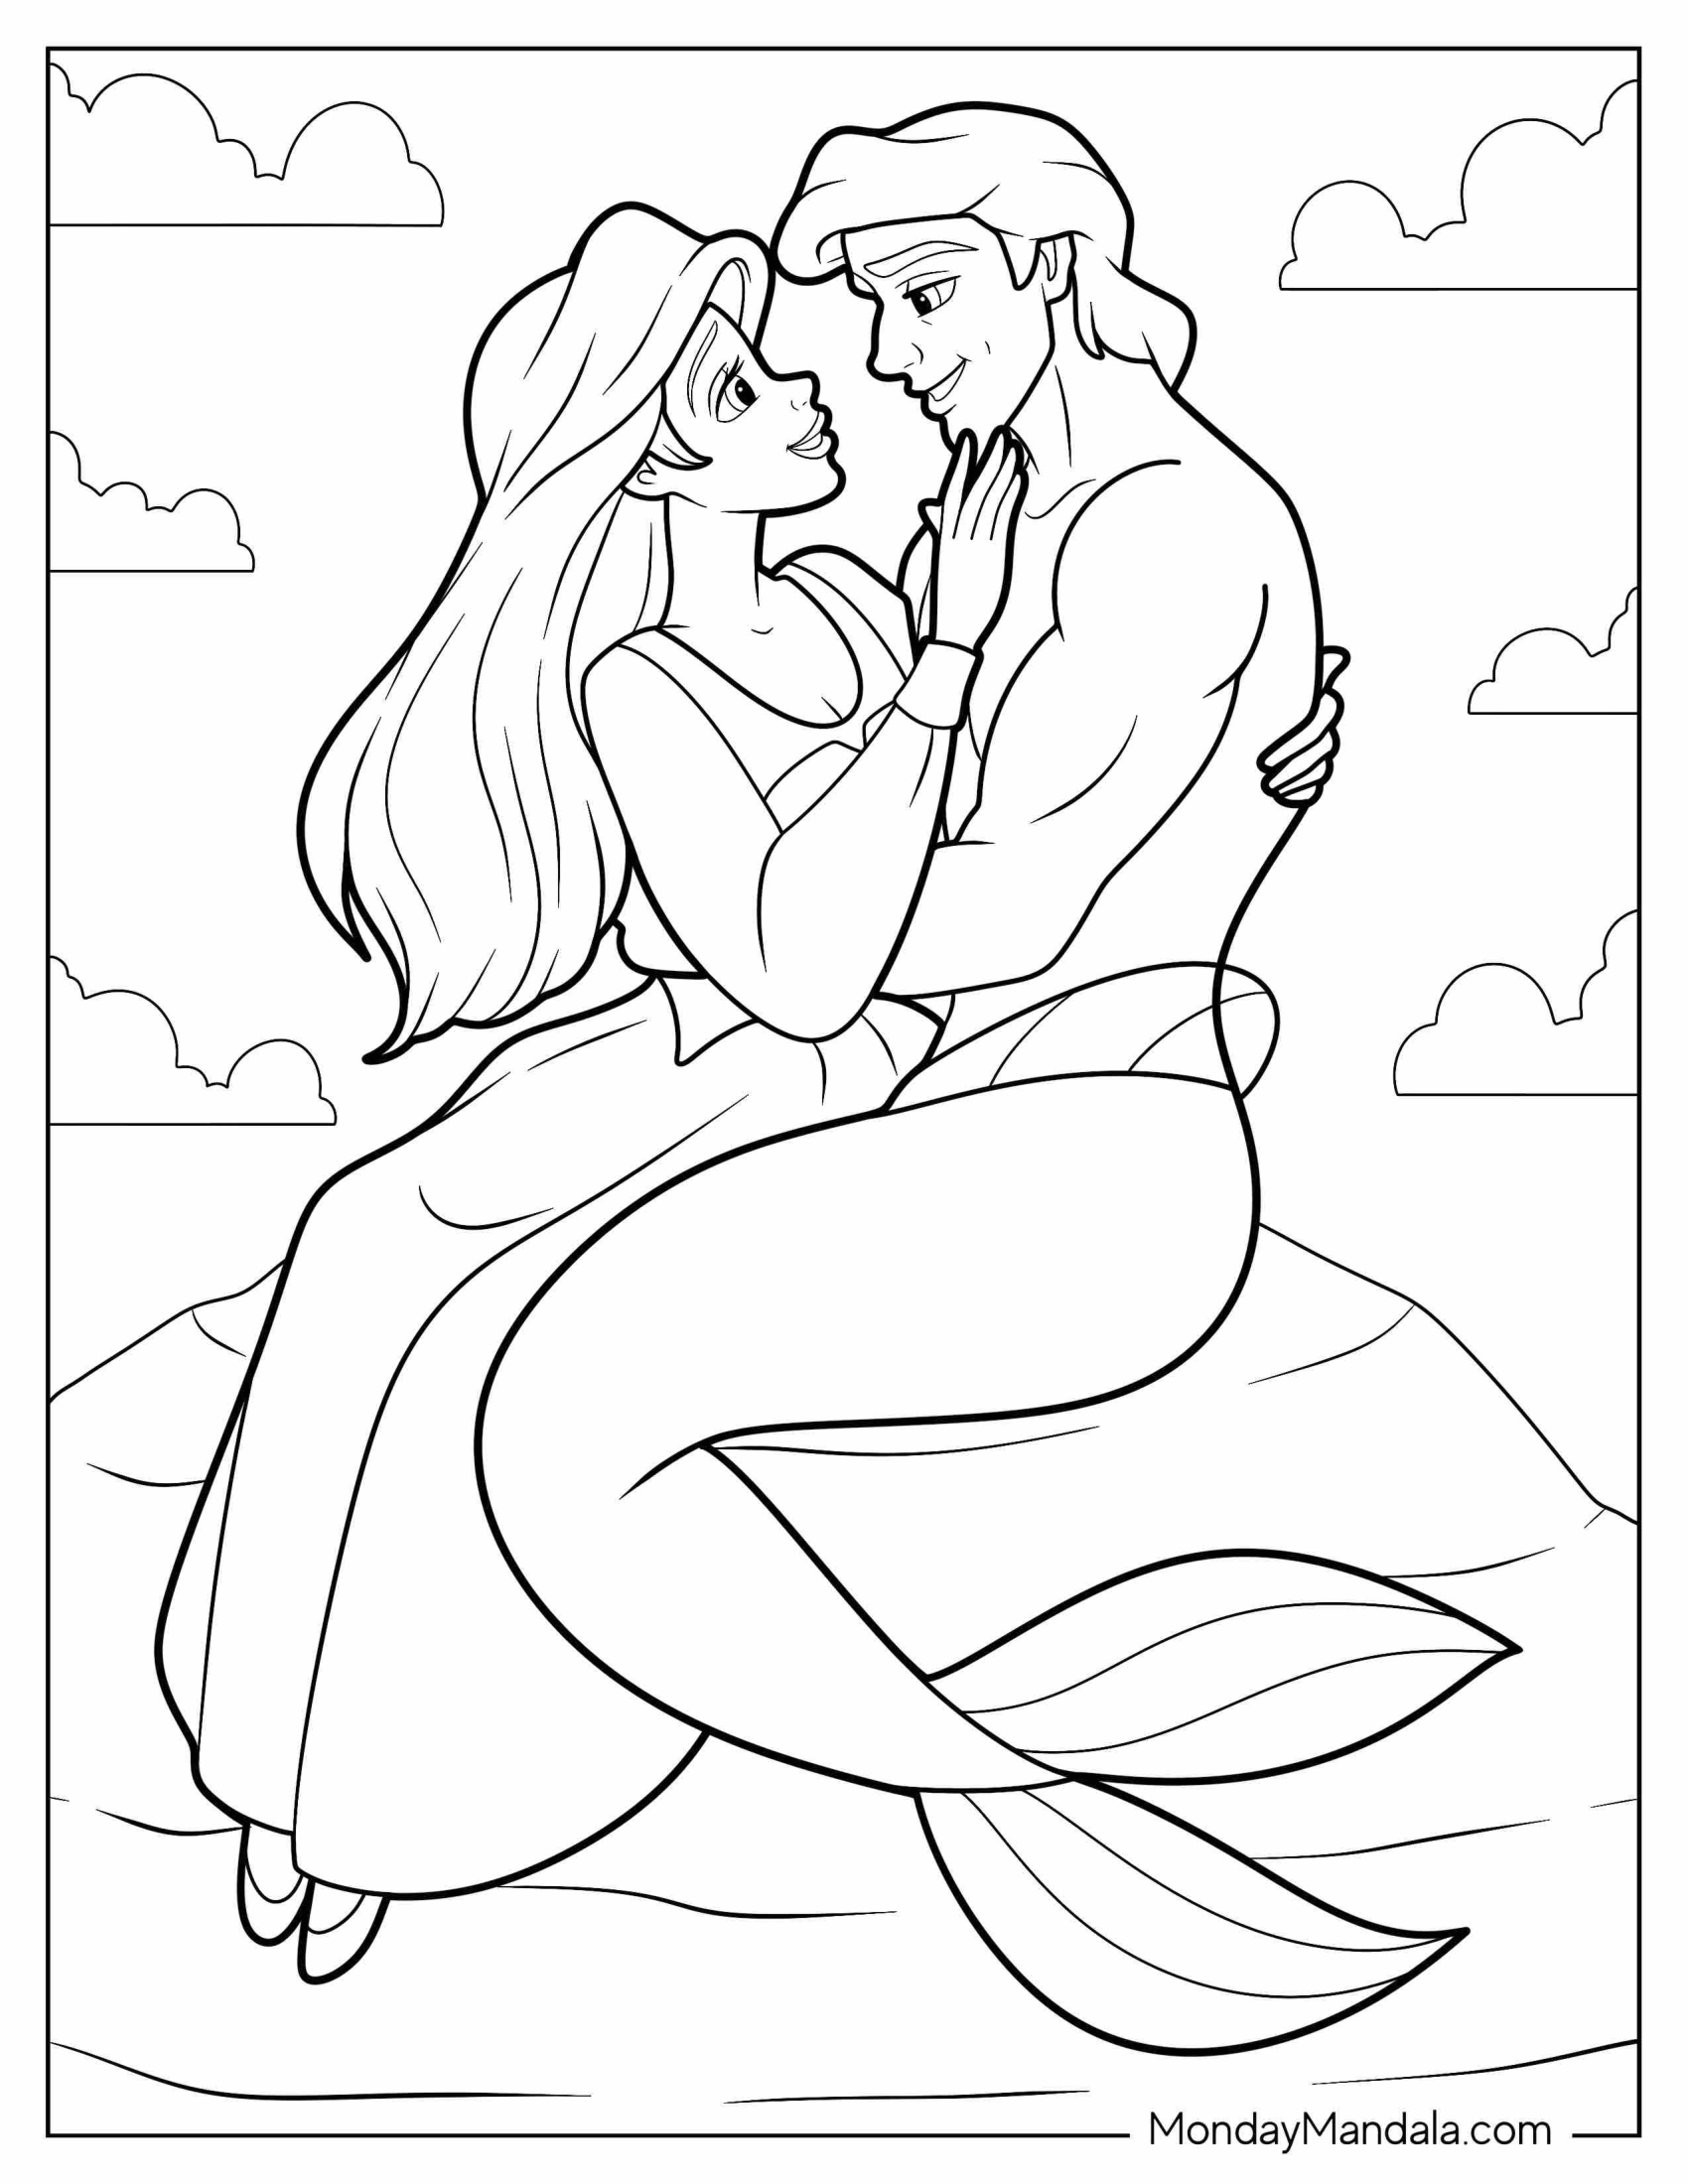
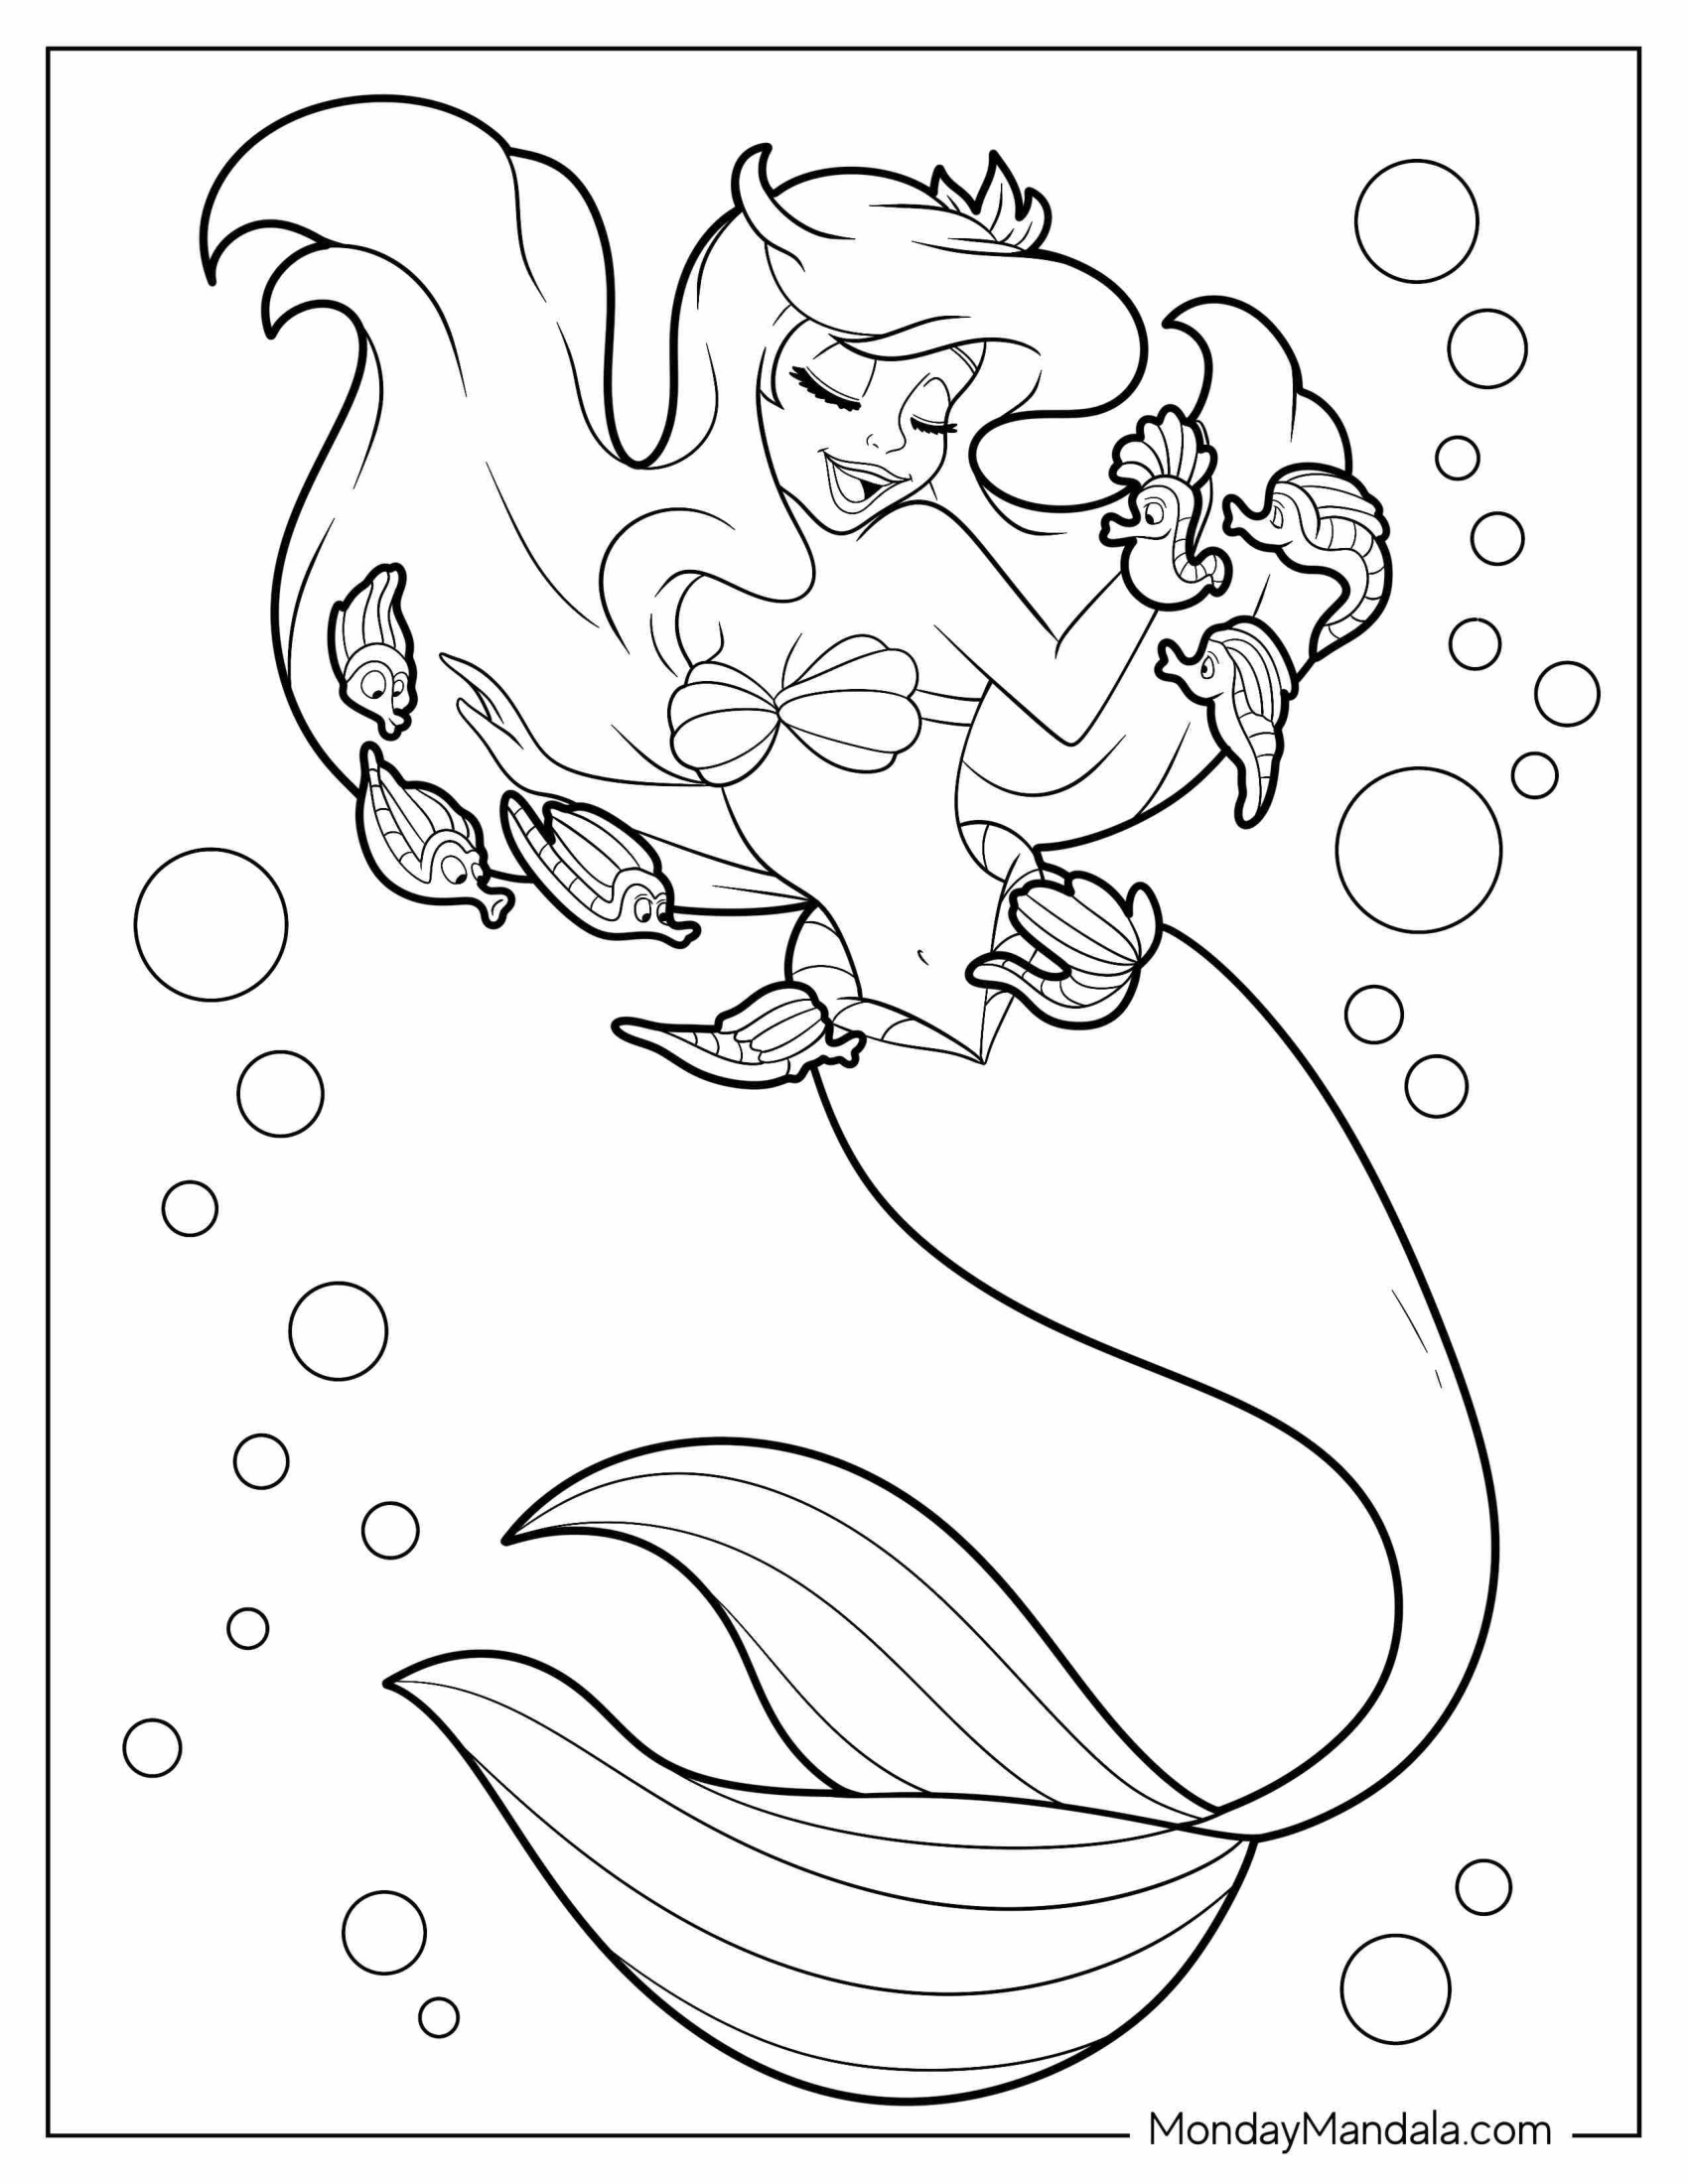
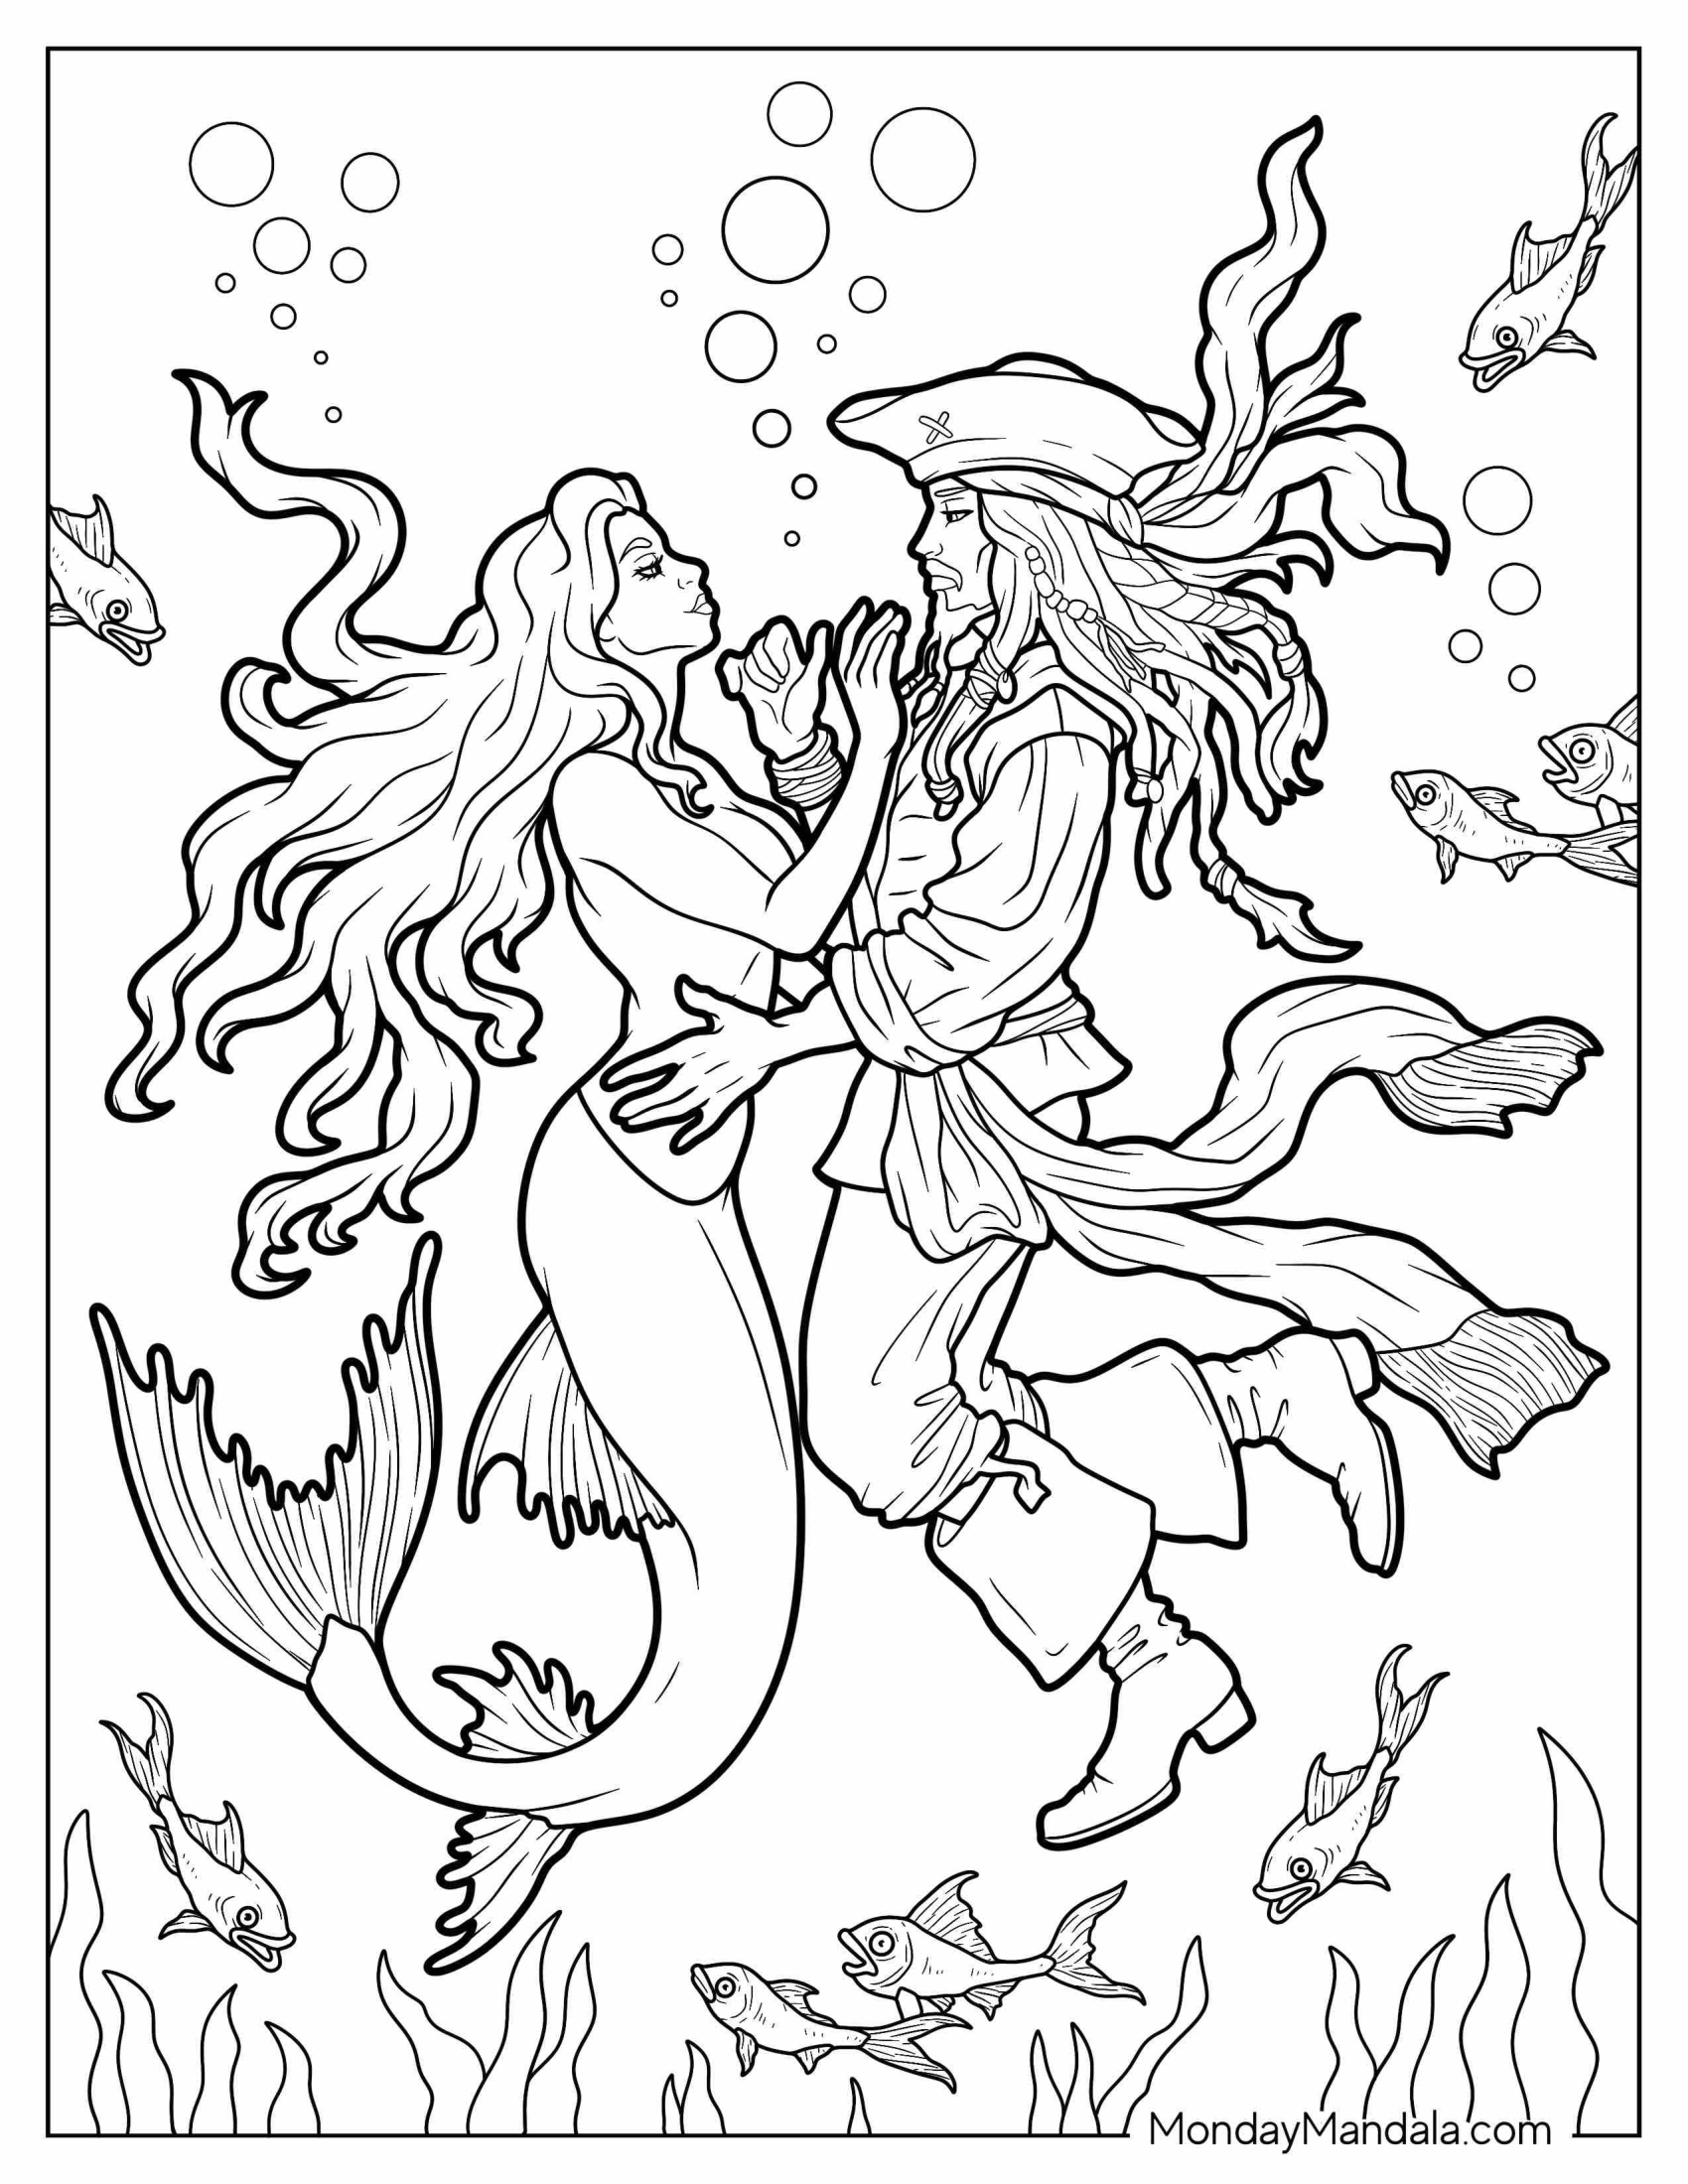
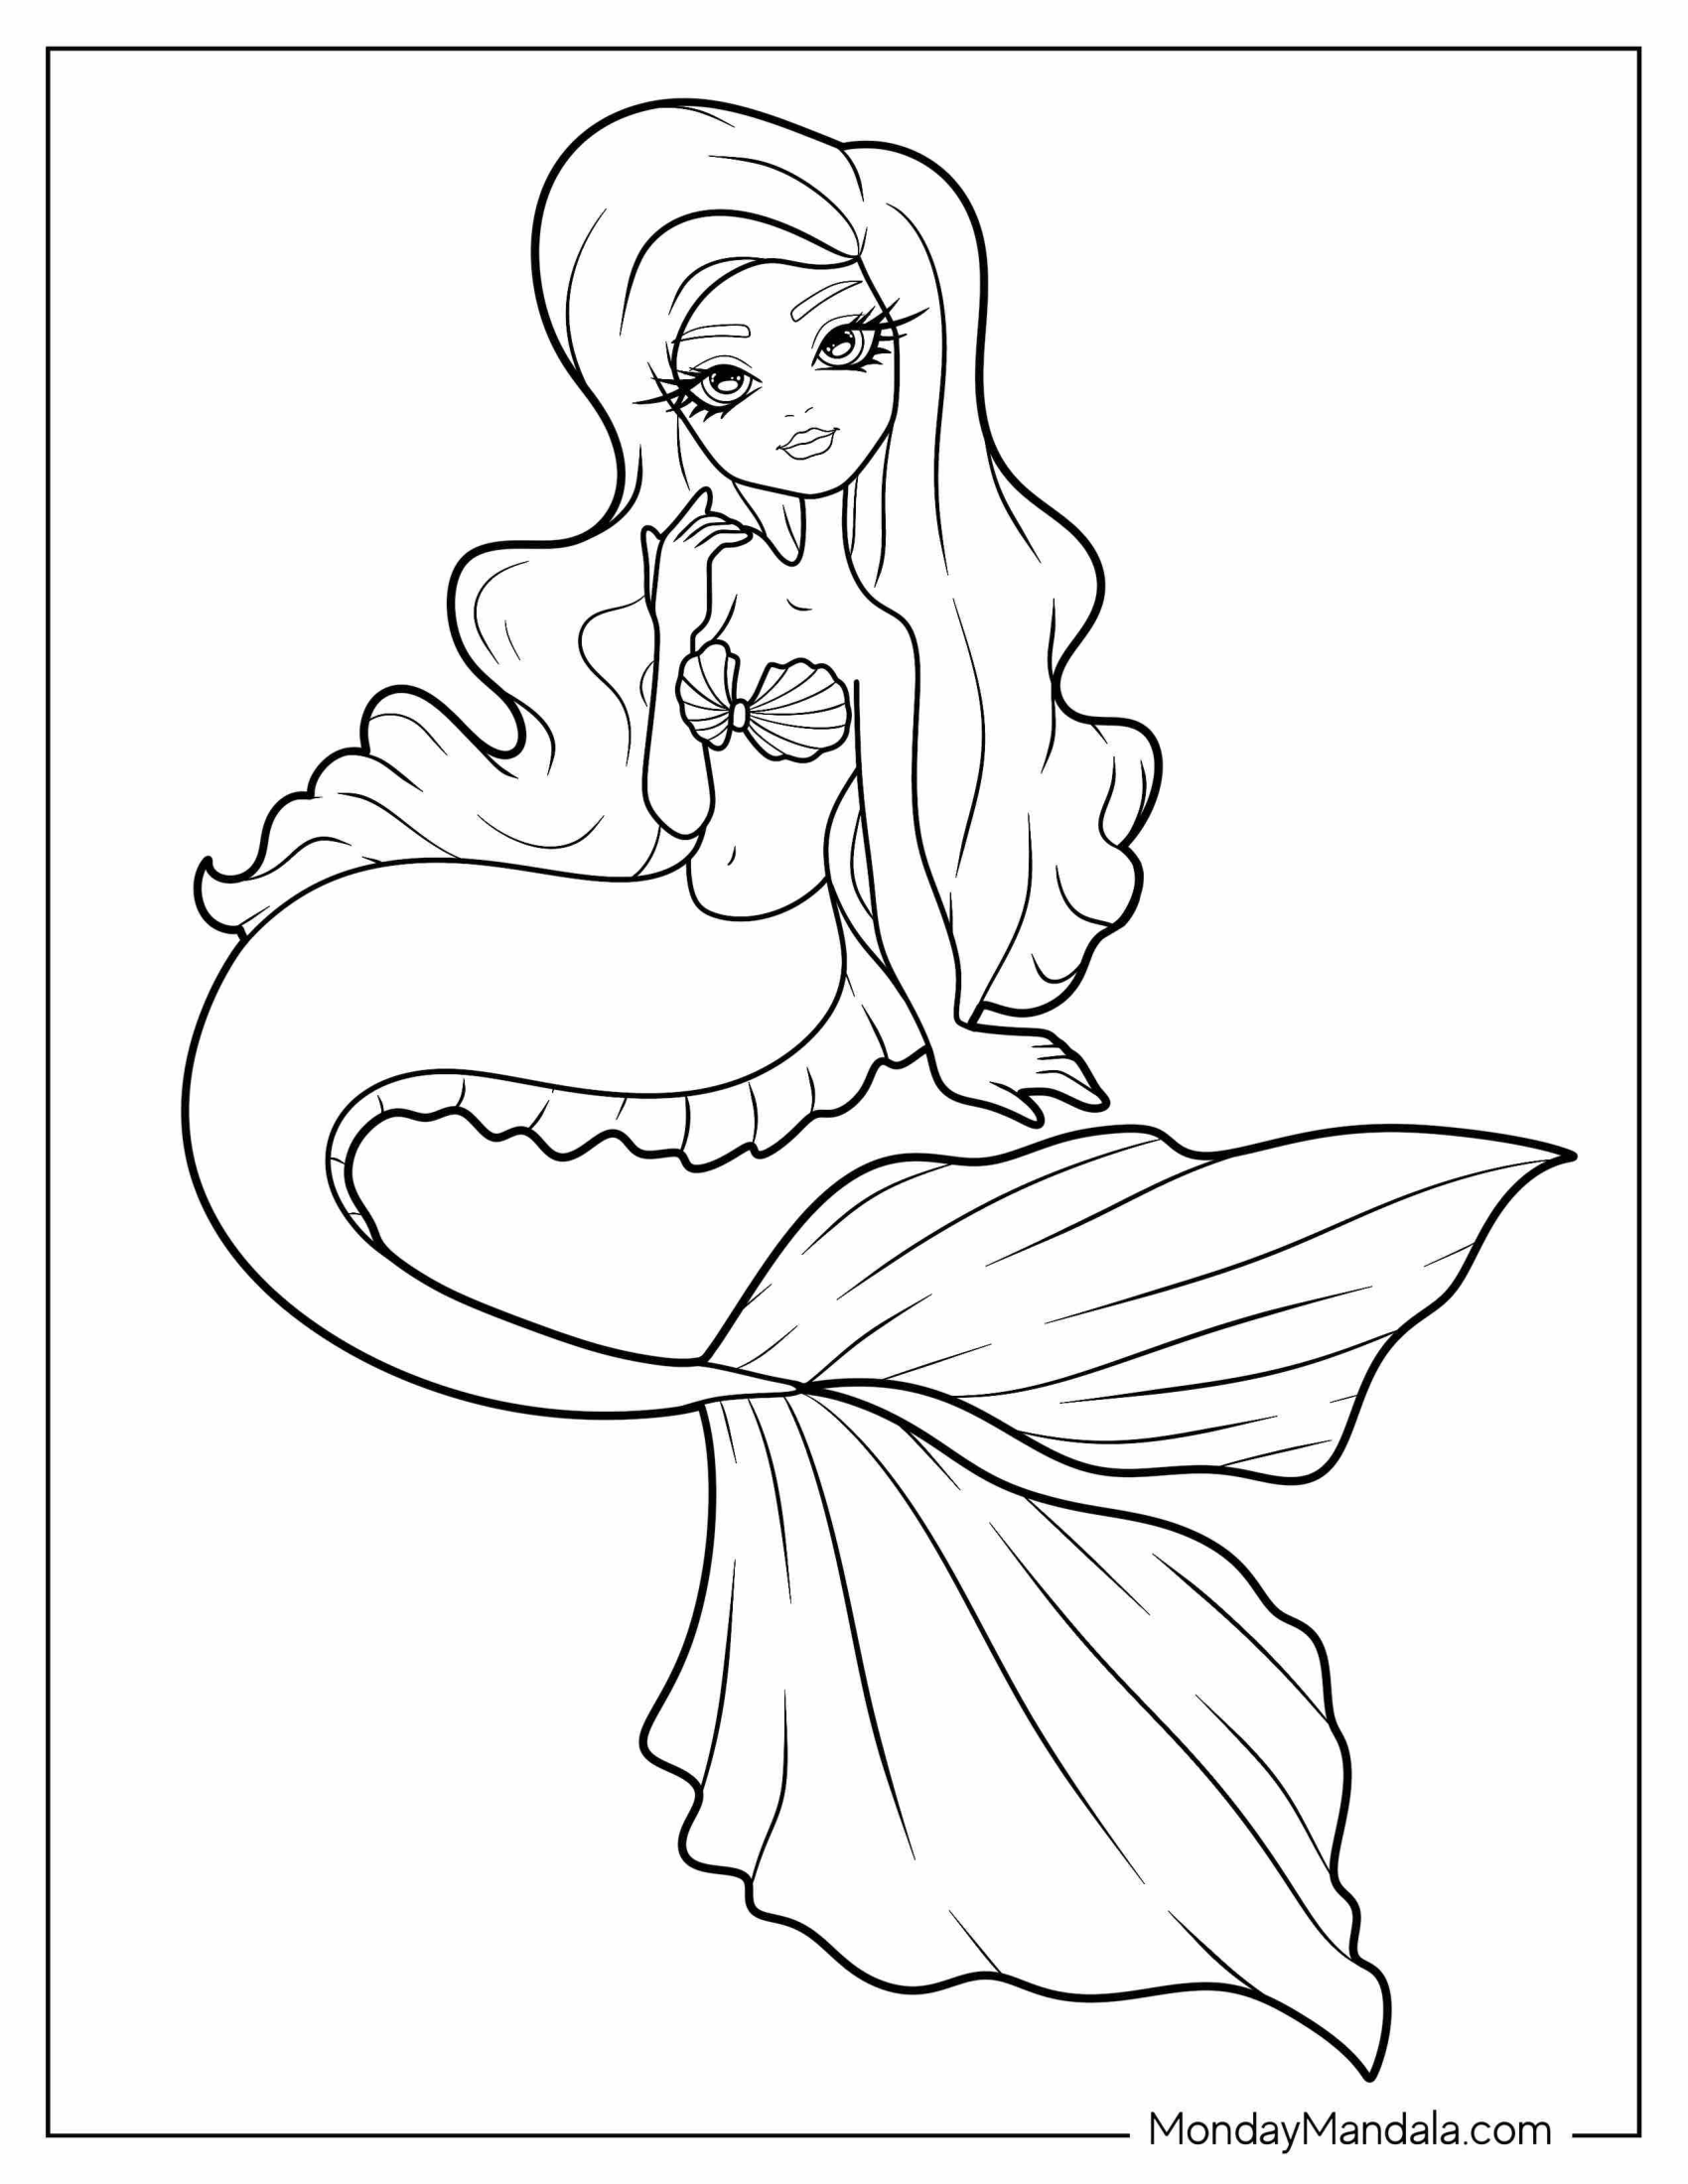
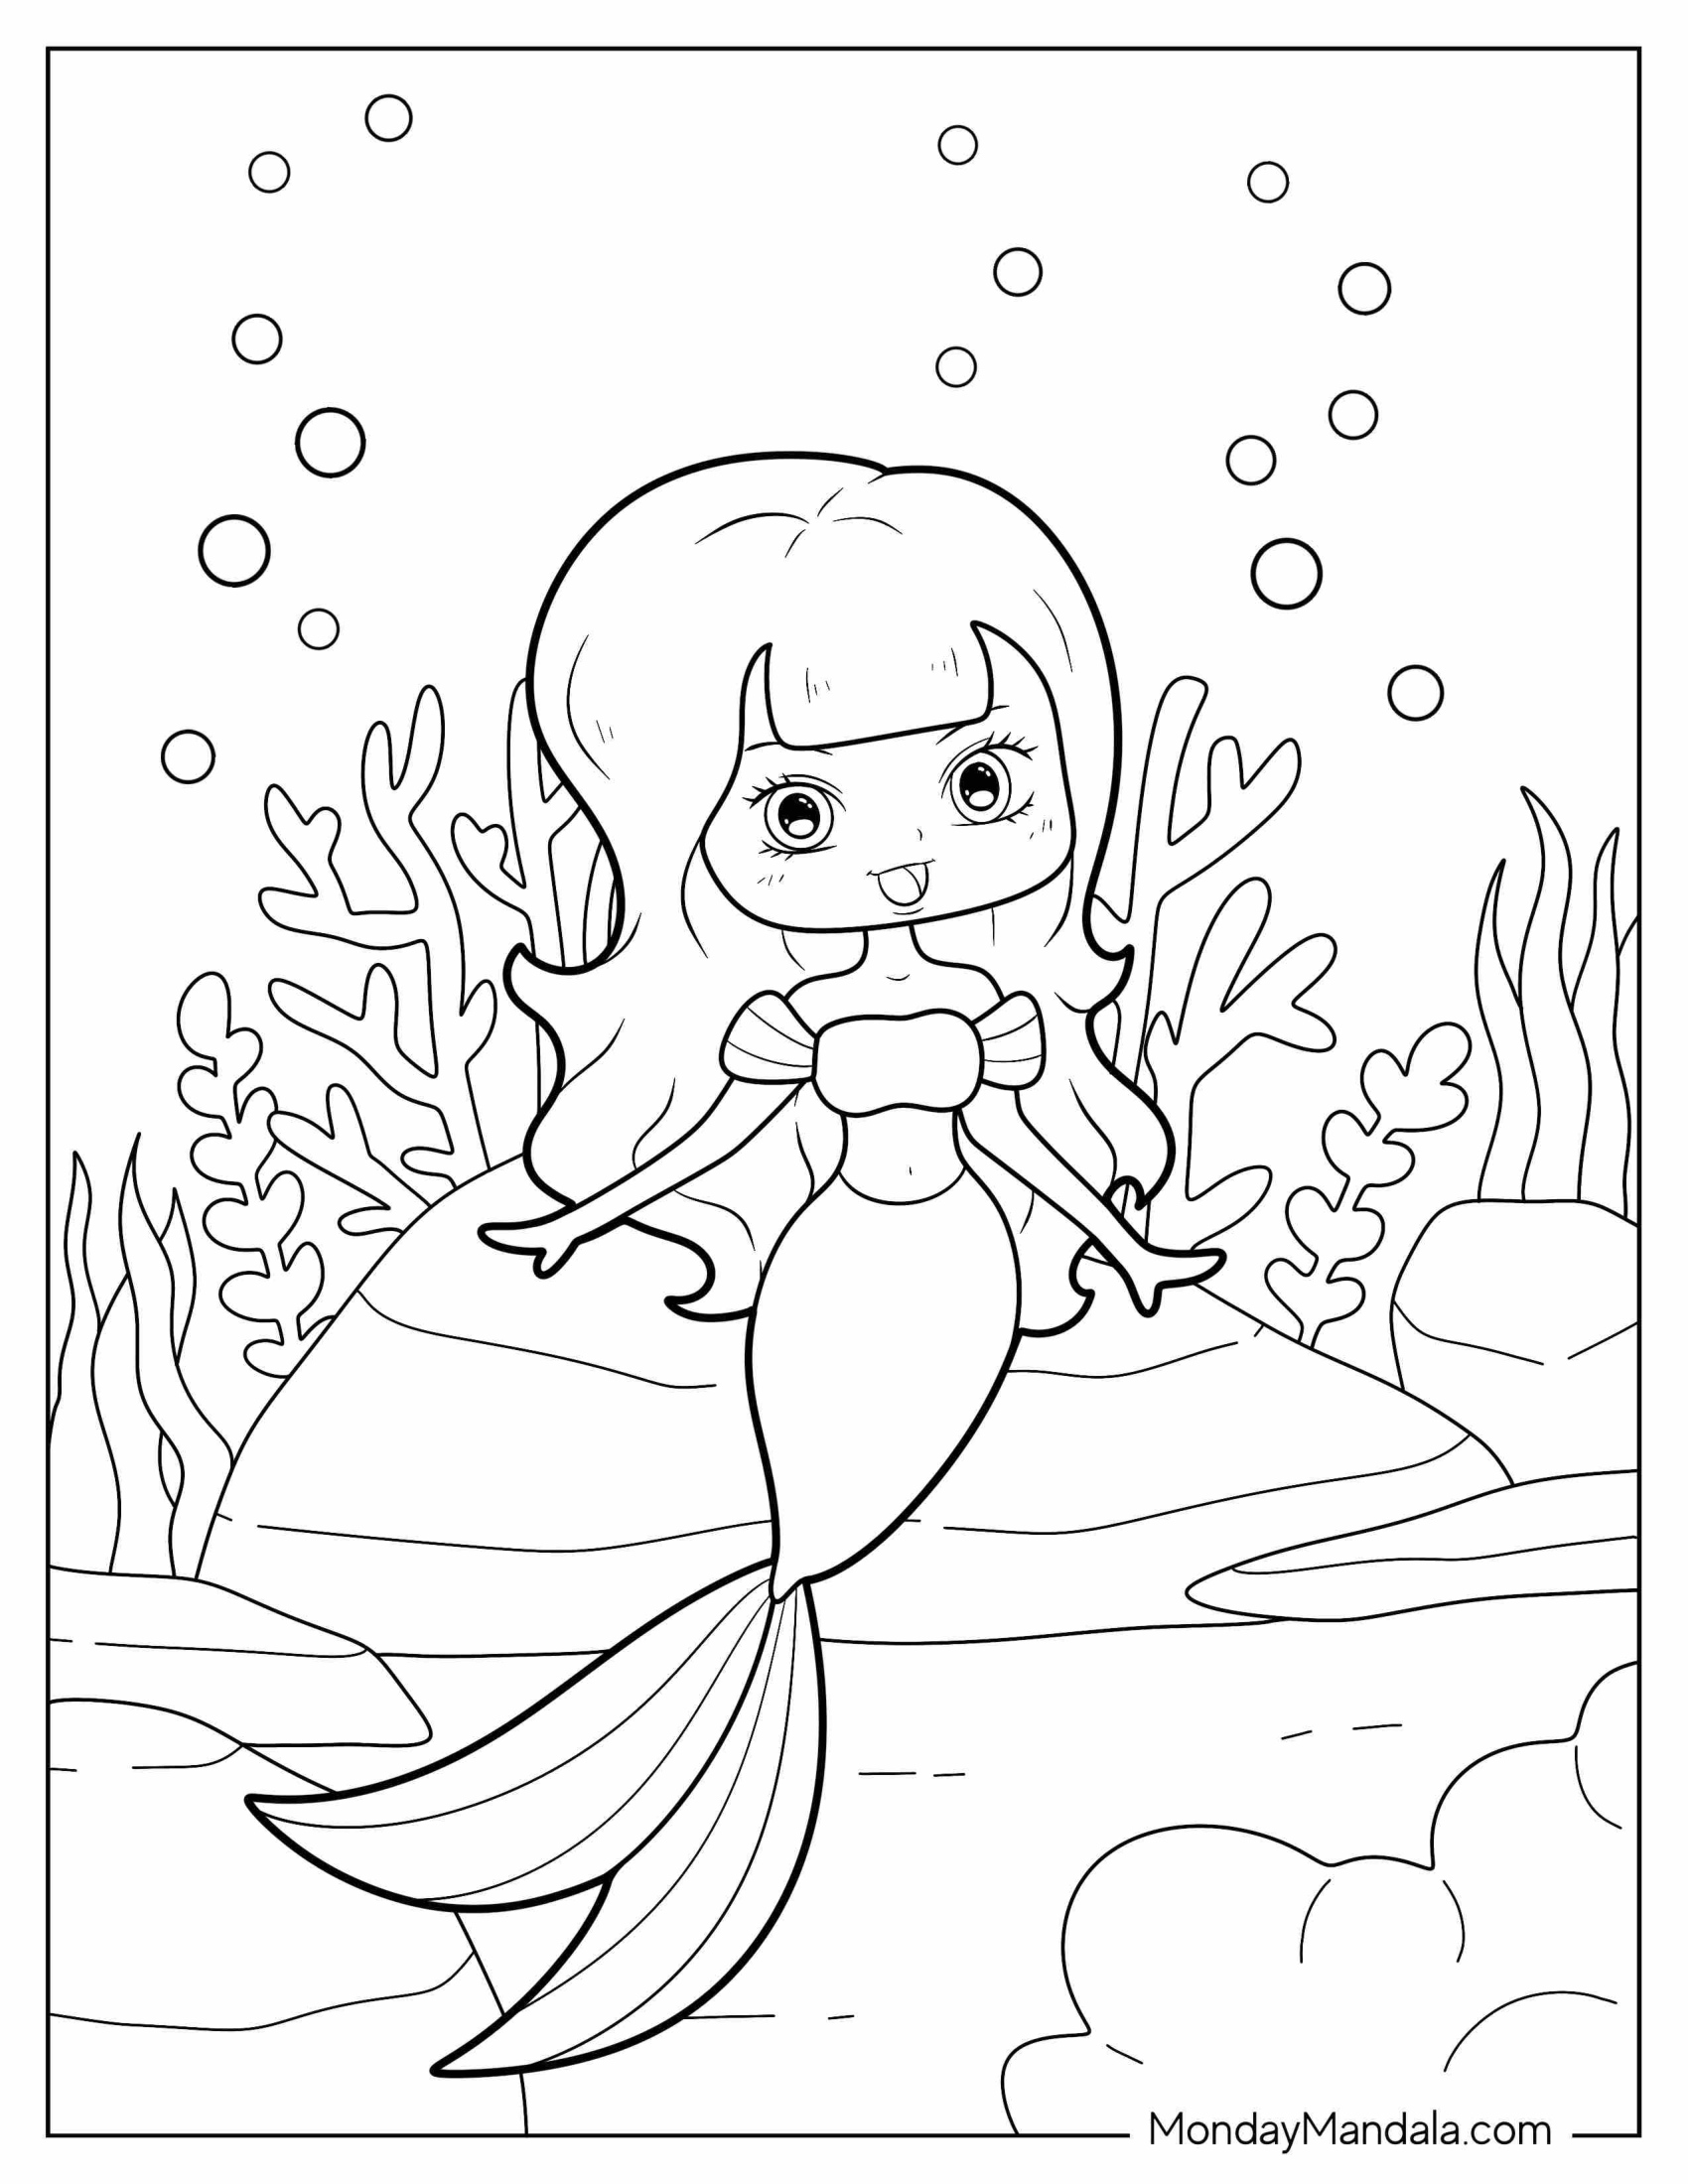
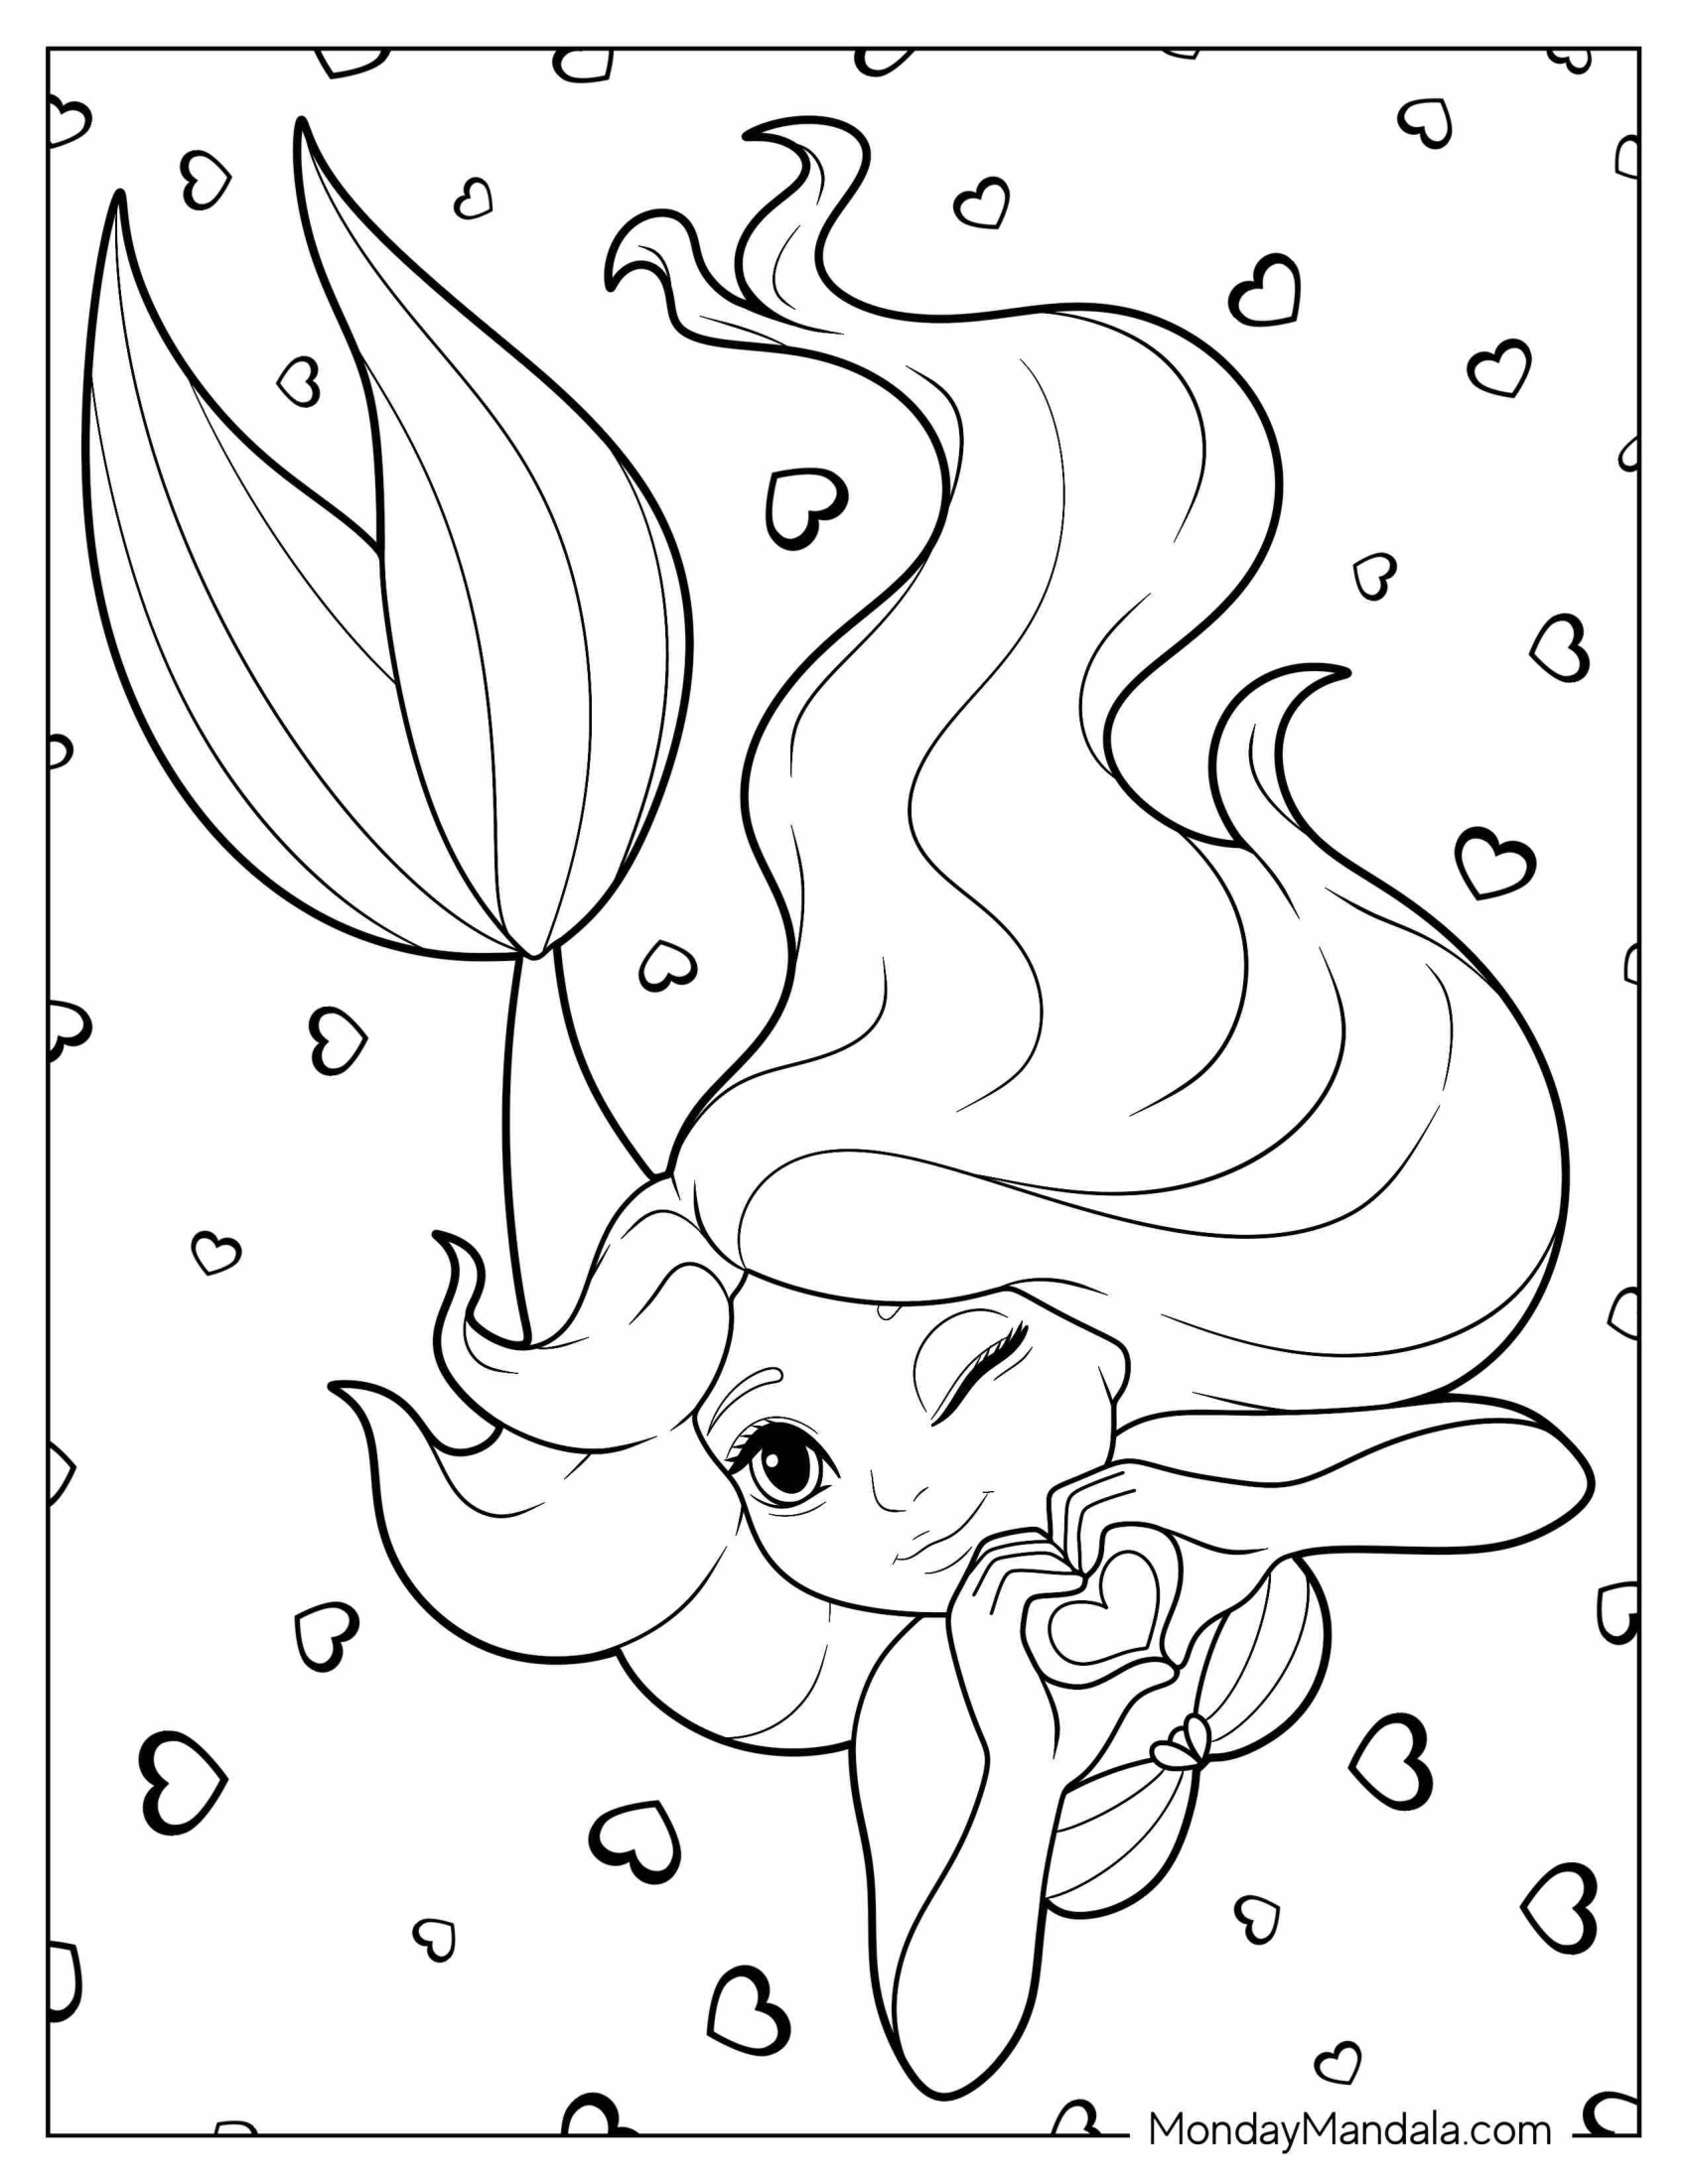
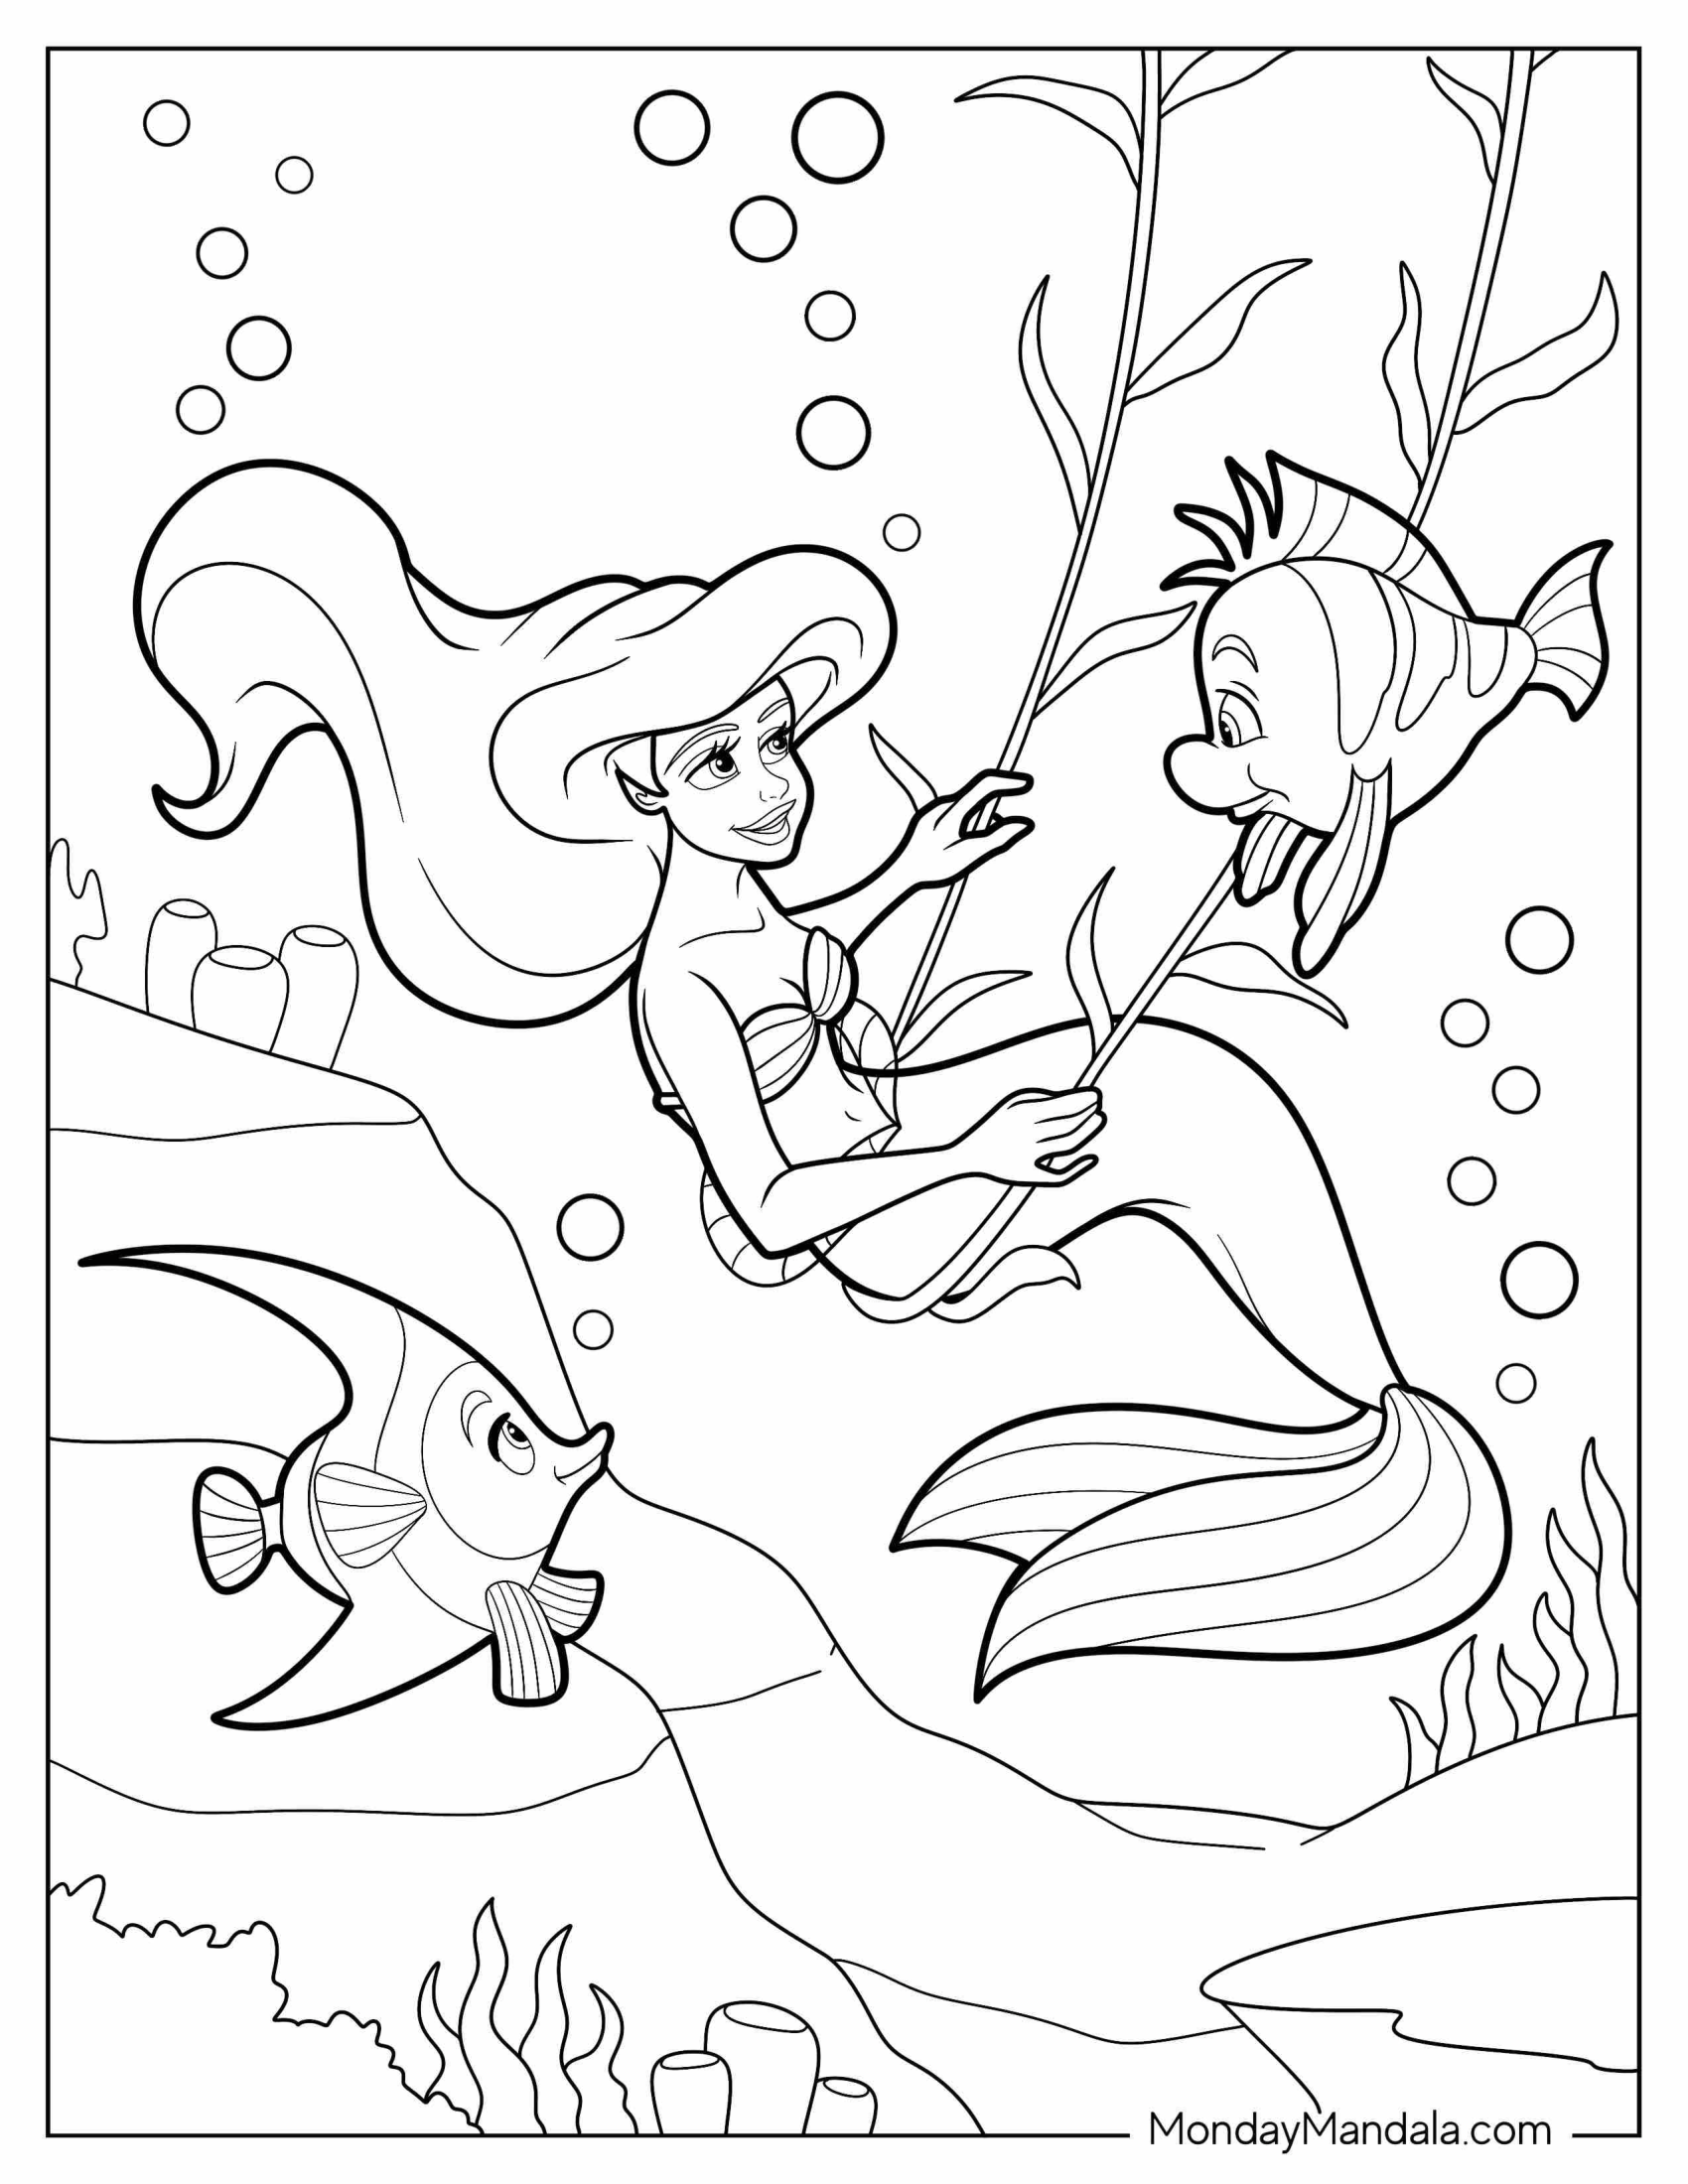
Mermaid coloring pages are a delightful way to spark creativity and imagination in both children and adults alike. In this article, we explored the world of mermaid coloring pages, highlighting the benefits of coloring, the different types of mermaid designs available, and the ease of accessing free PDF printables. Whether you’re looking for a relaxing activity or a fun way to spend time with your little ones, mermaid coloring pages offer a treasure trove of possibilities. With their mesmerizing scales, flowing locks, and enchanting tails, mermaids have captivated our imagination for centuries, and now, with these free printables, you can bring them to life in a world of color and fantasy.