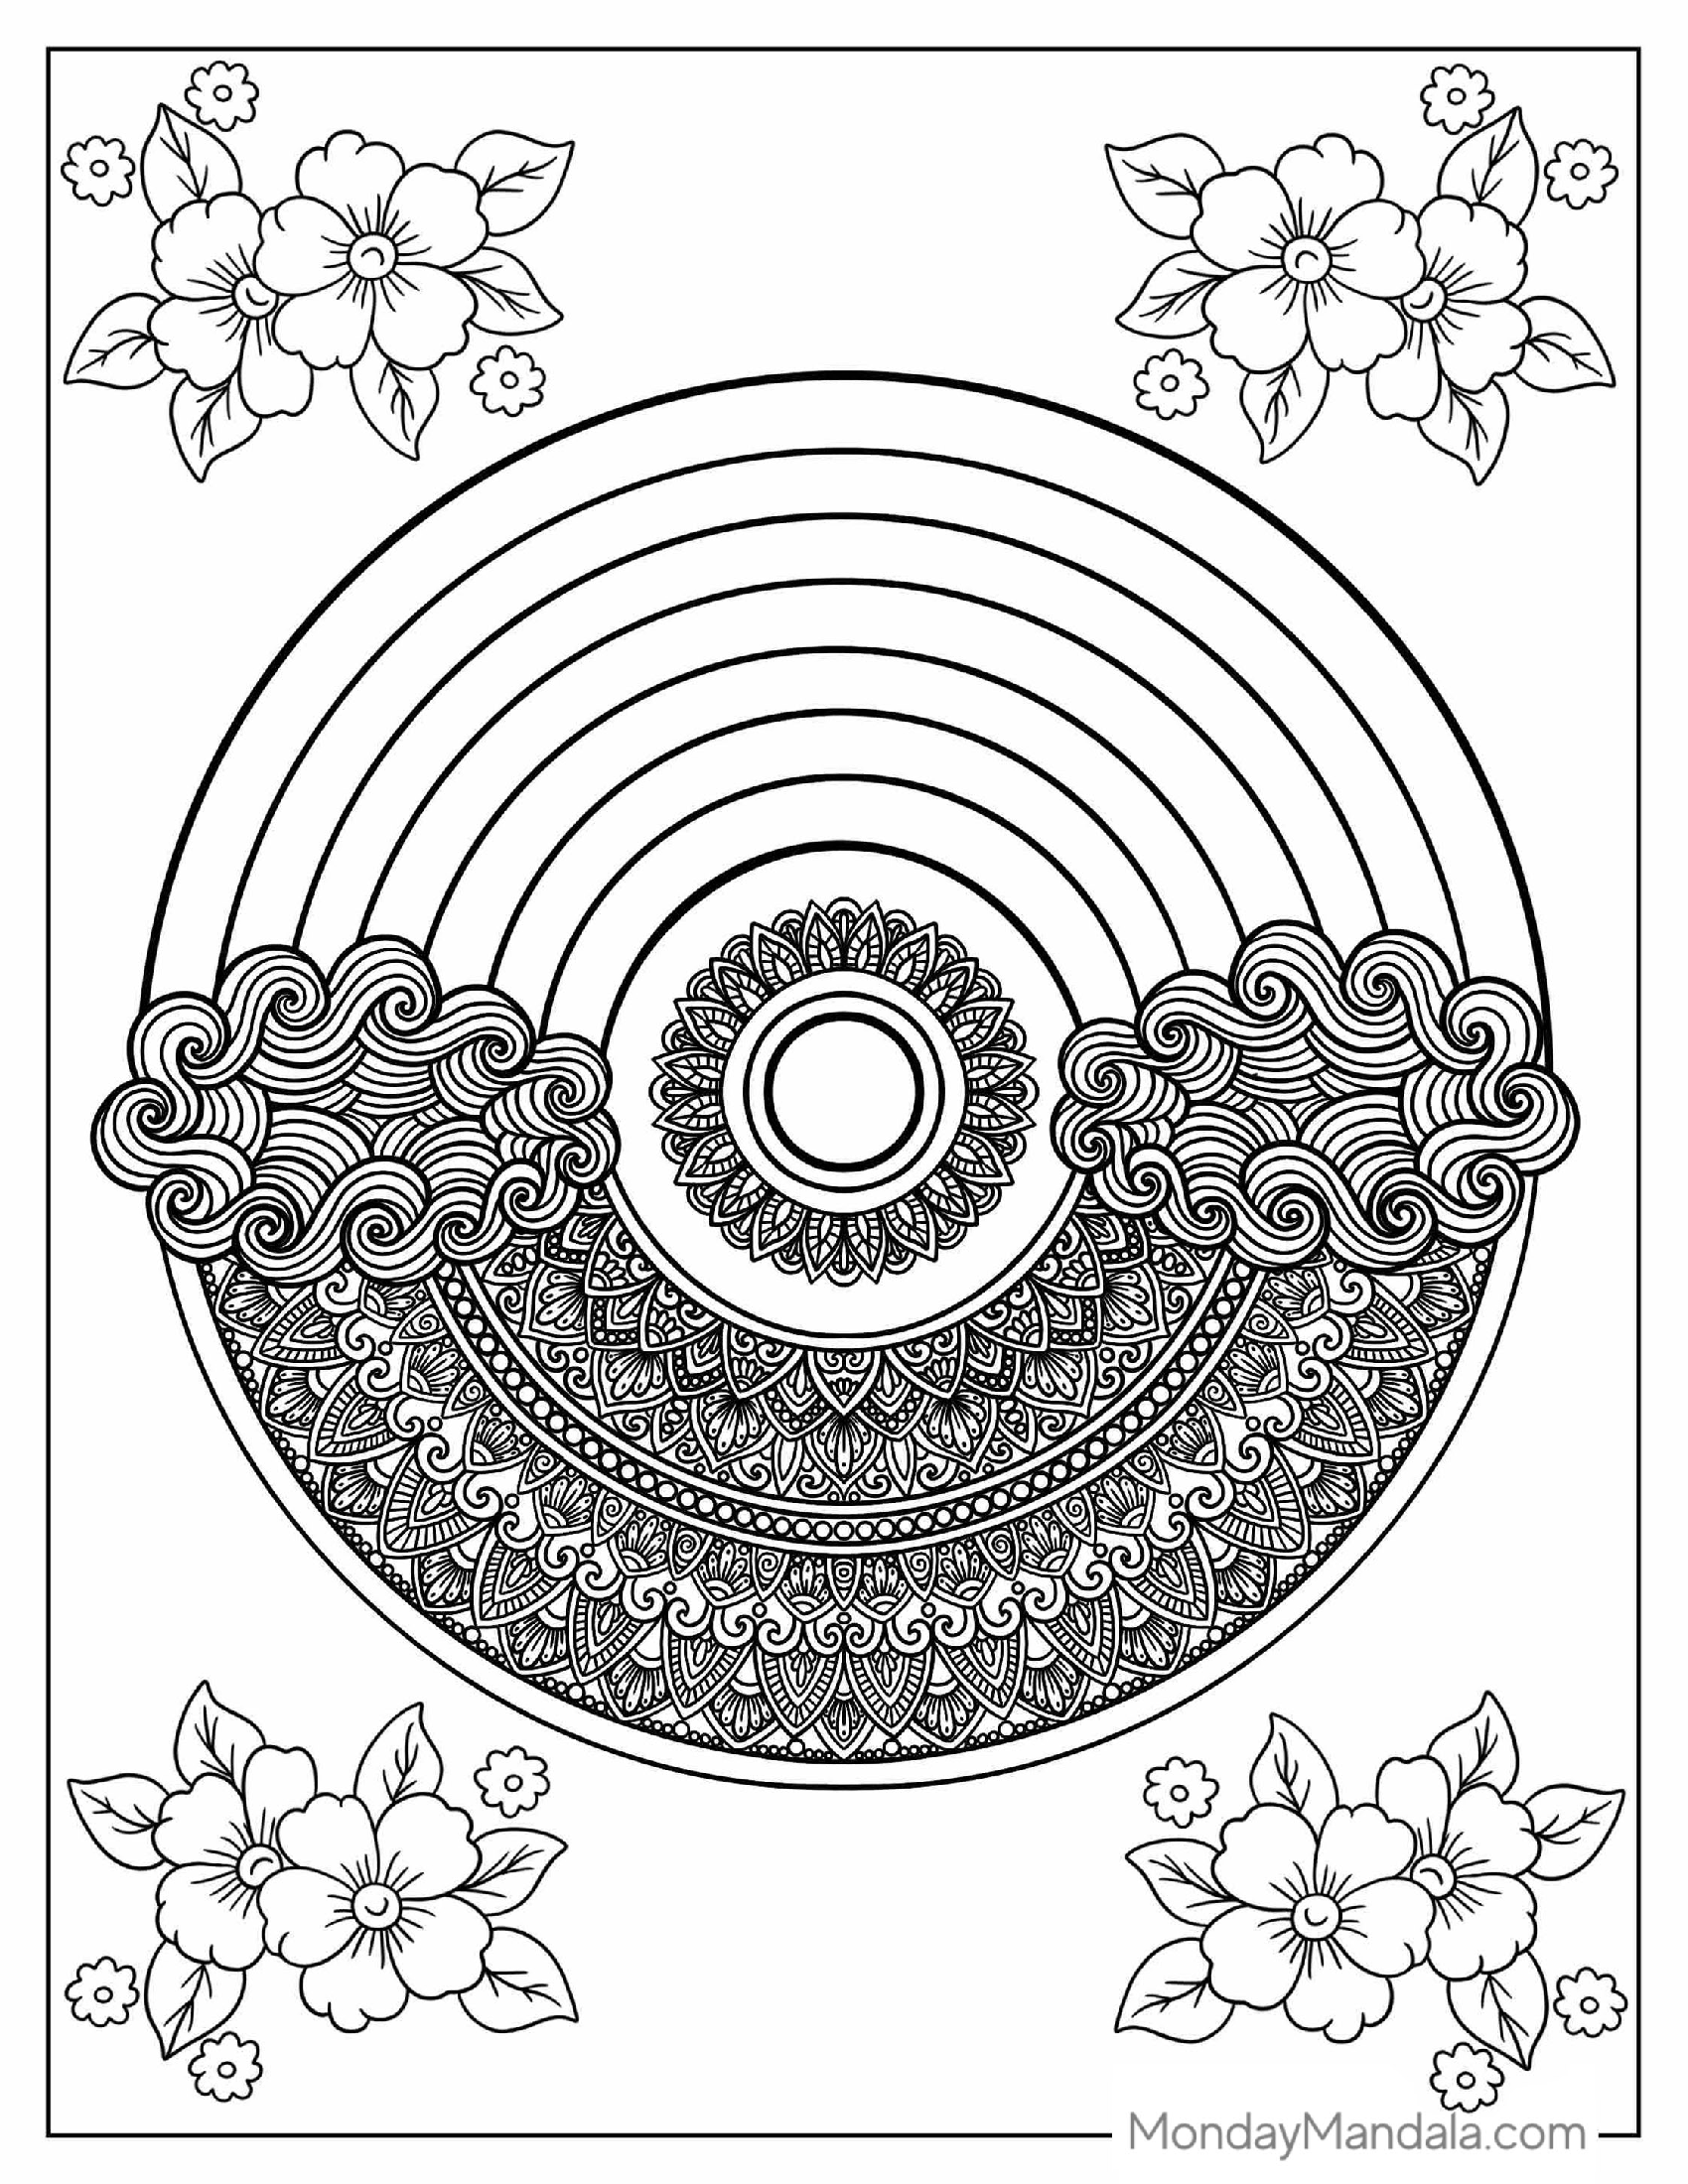
Are you ready to unleash your creativity and add some color to your life? We’ve got you covered! Our Rainbow Coloring Pages are now available in a convenient PDF format, making it easy to print and color on the go. To convert our original web-based coloring pages into printable PDFs, we used a simple formula: taking the vibrant illustrations and designs, adding a dash of magic, and voilà! You now have a collection of free and downloadable Rainbow Coloring Pages that are ready to be filled with your favorite colors. So, grab your favorite markers, crayons, or colored pencils and get ready to create some masterpieces!
Free Printable Rainbow Coloring Pages – Download Now
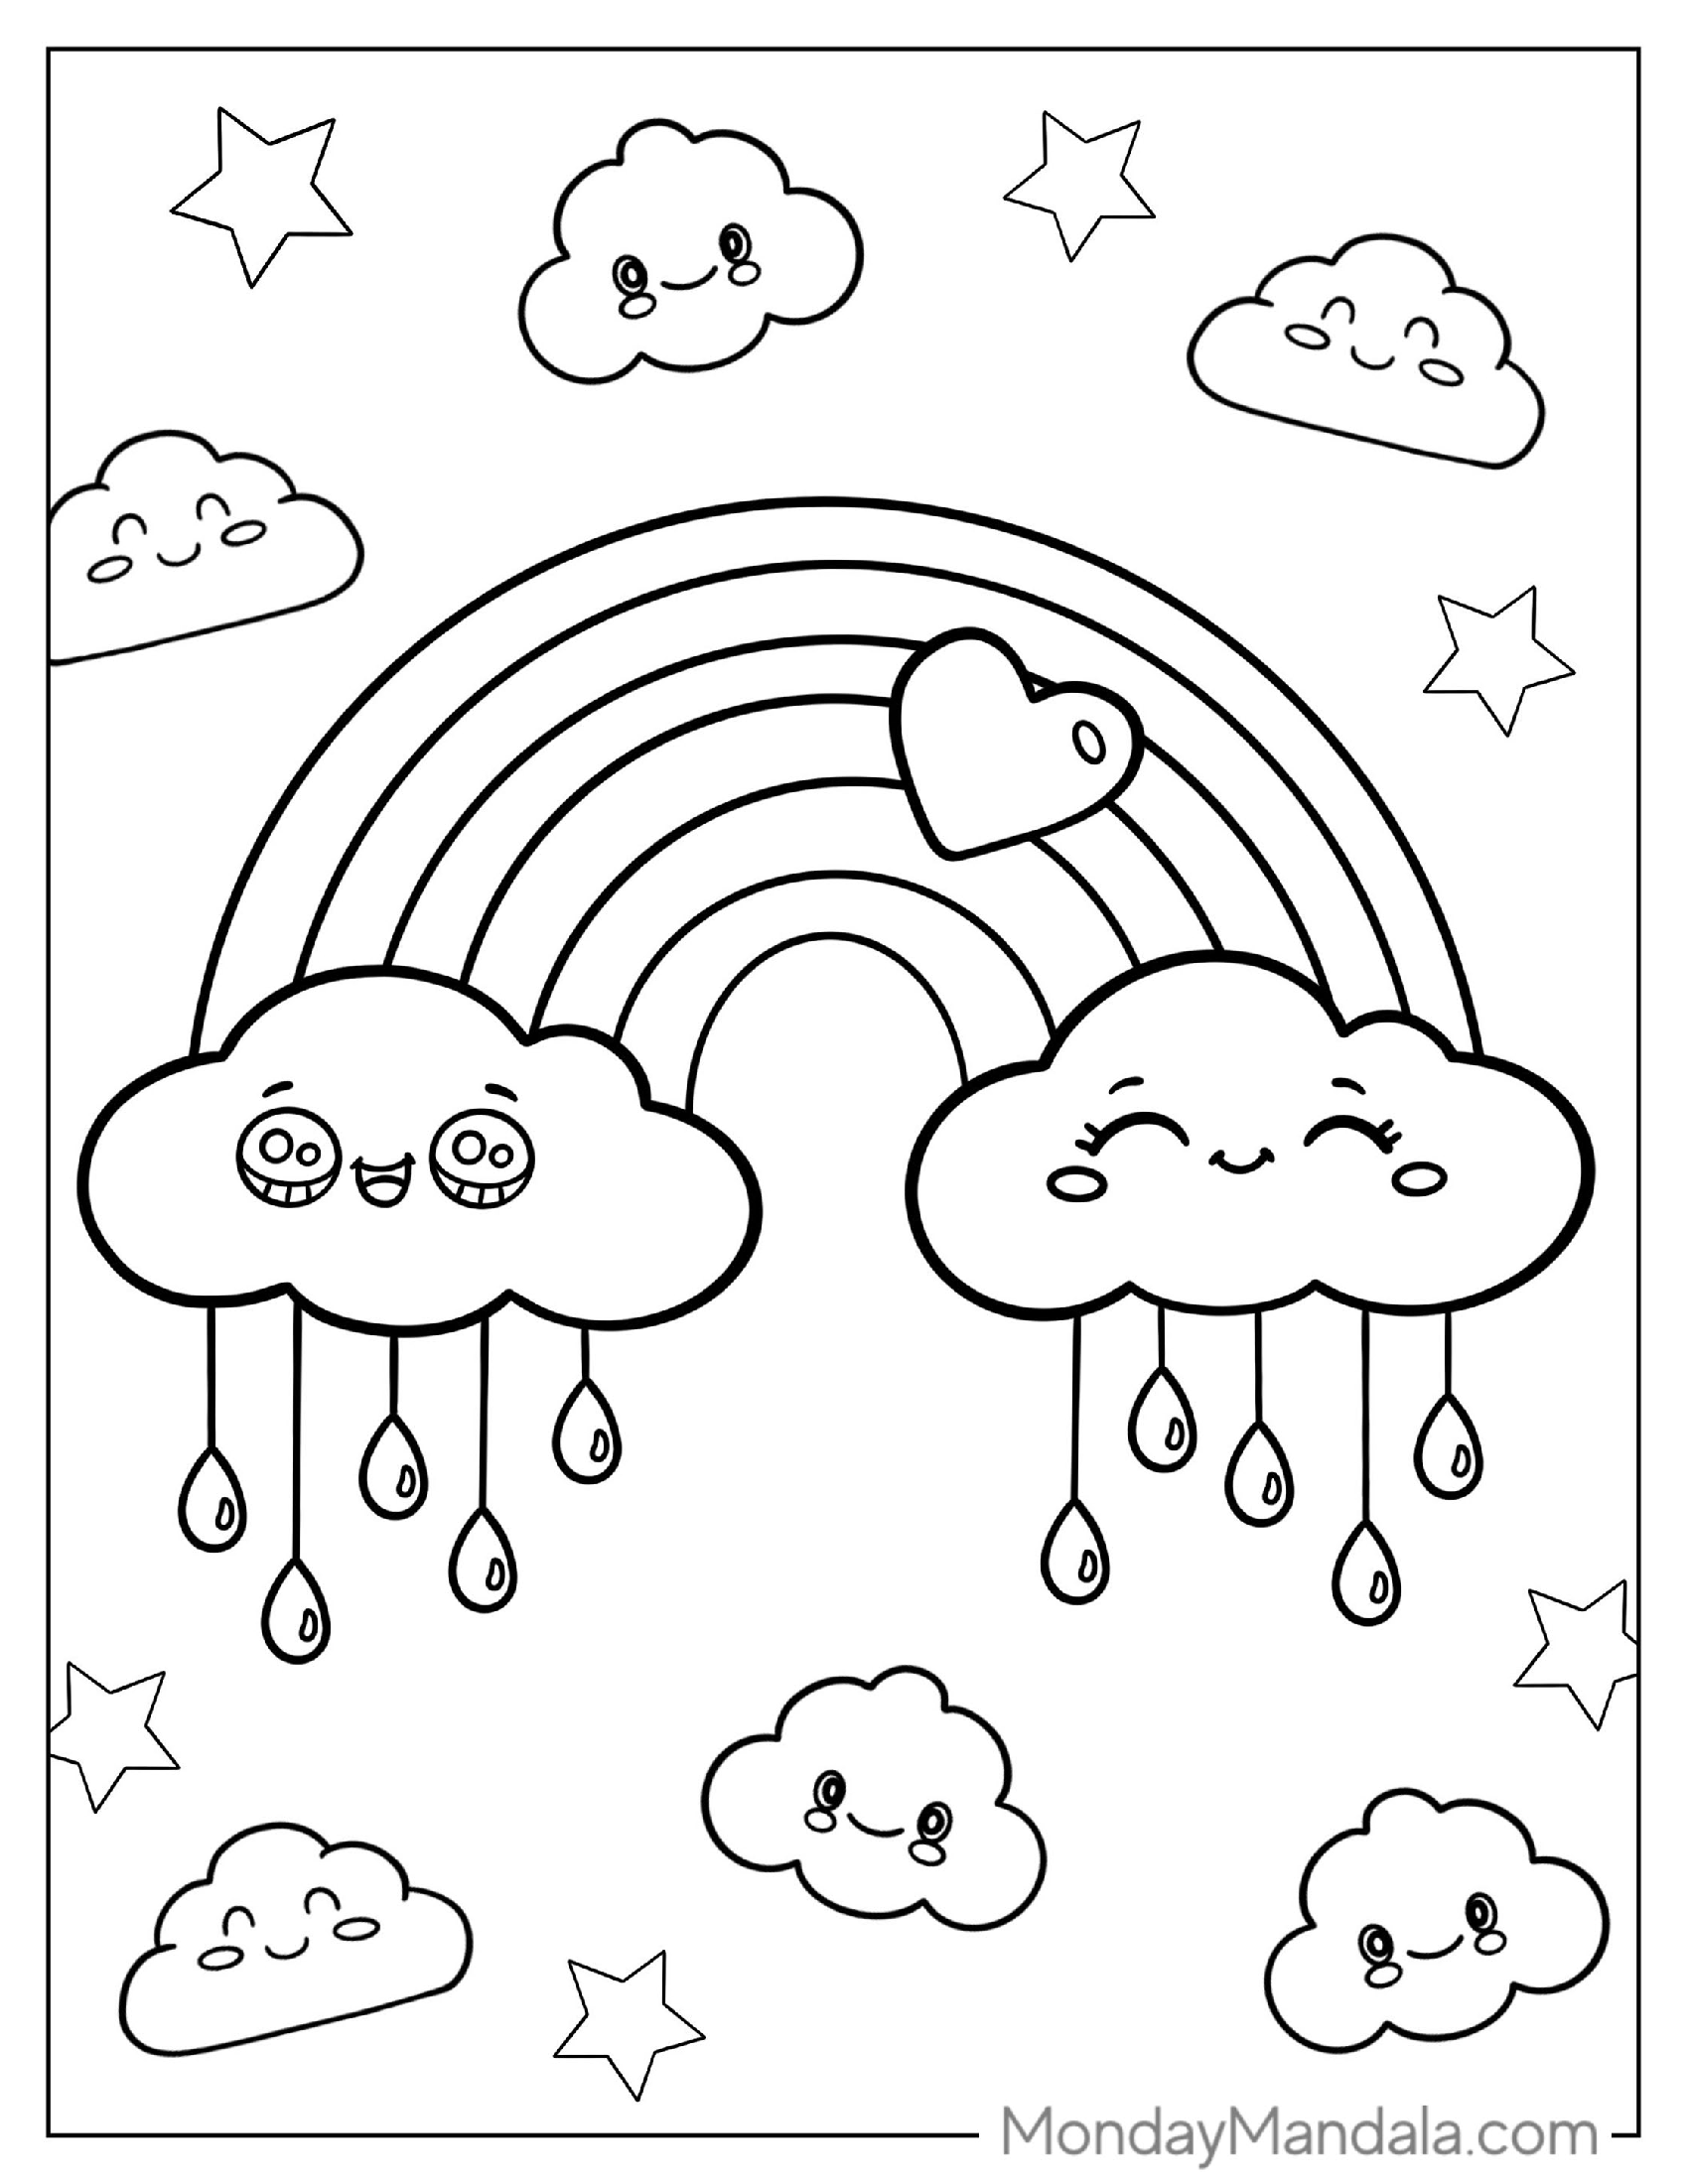
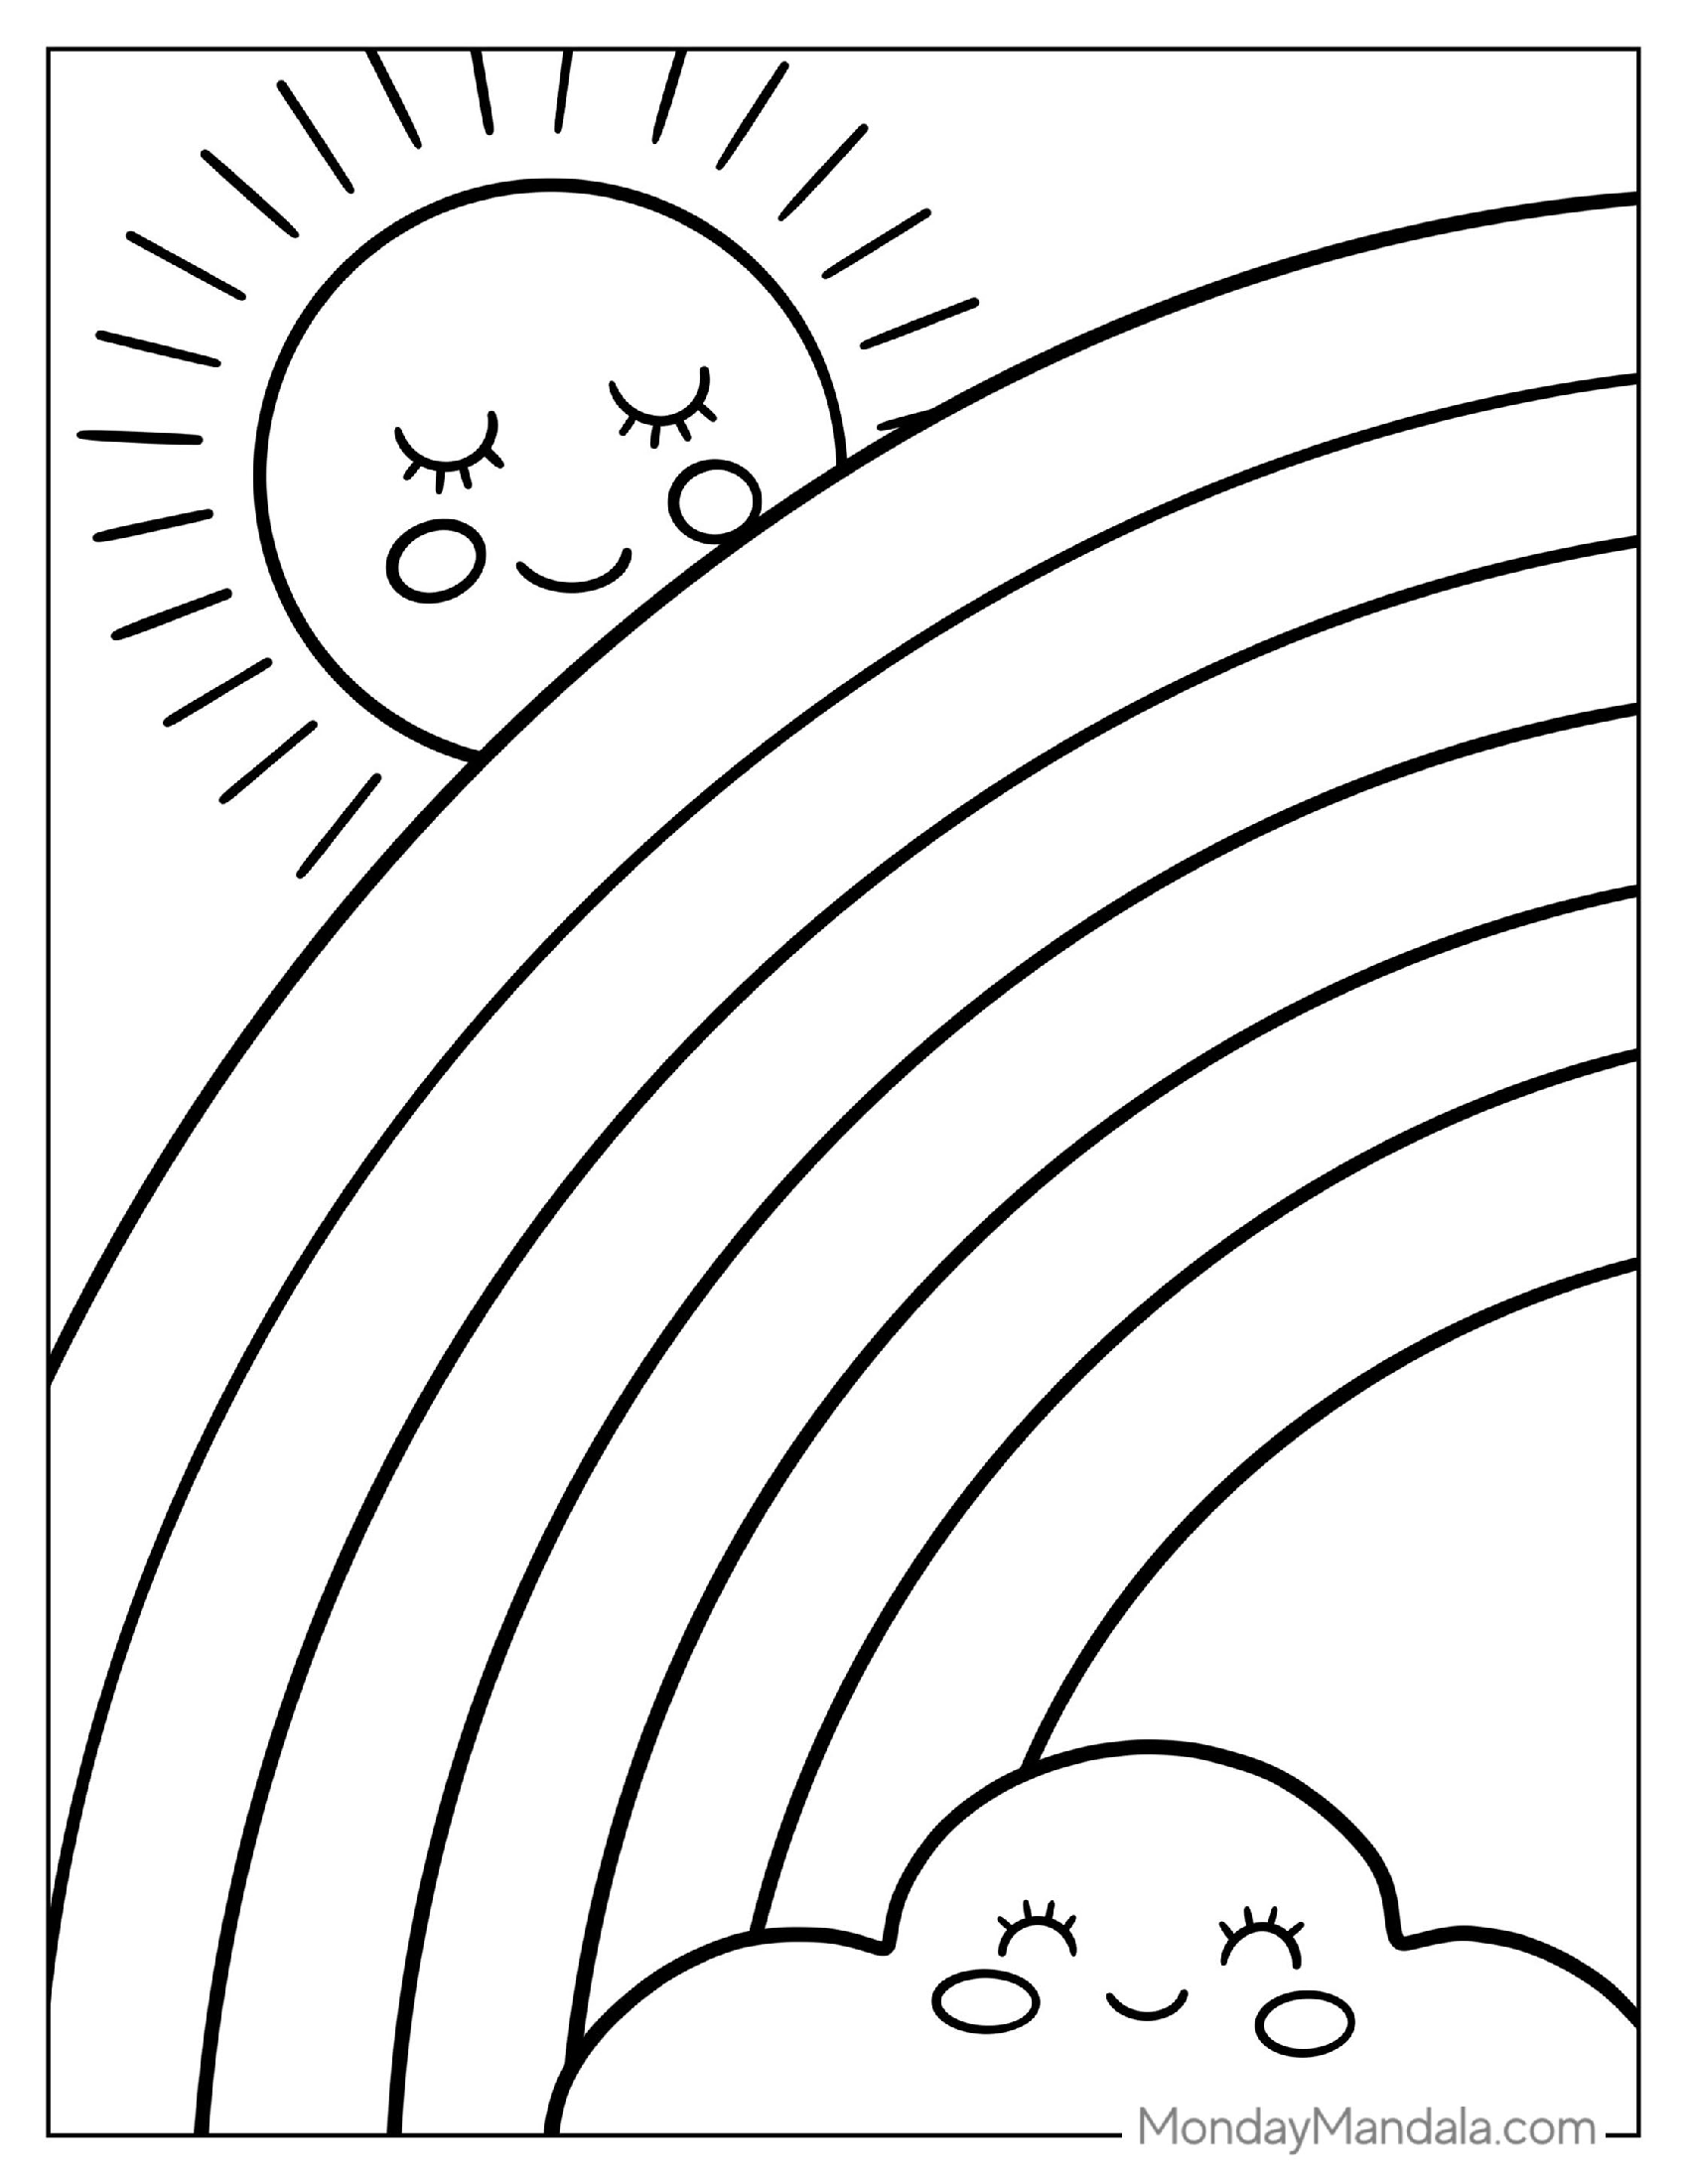
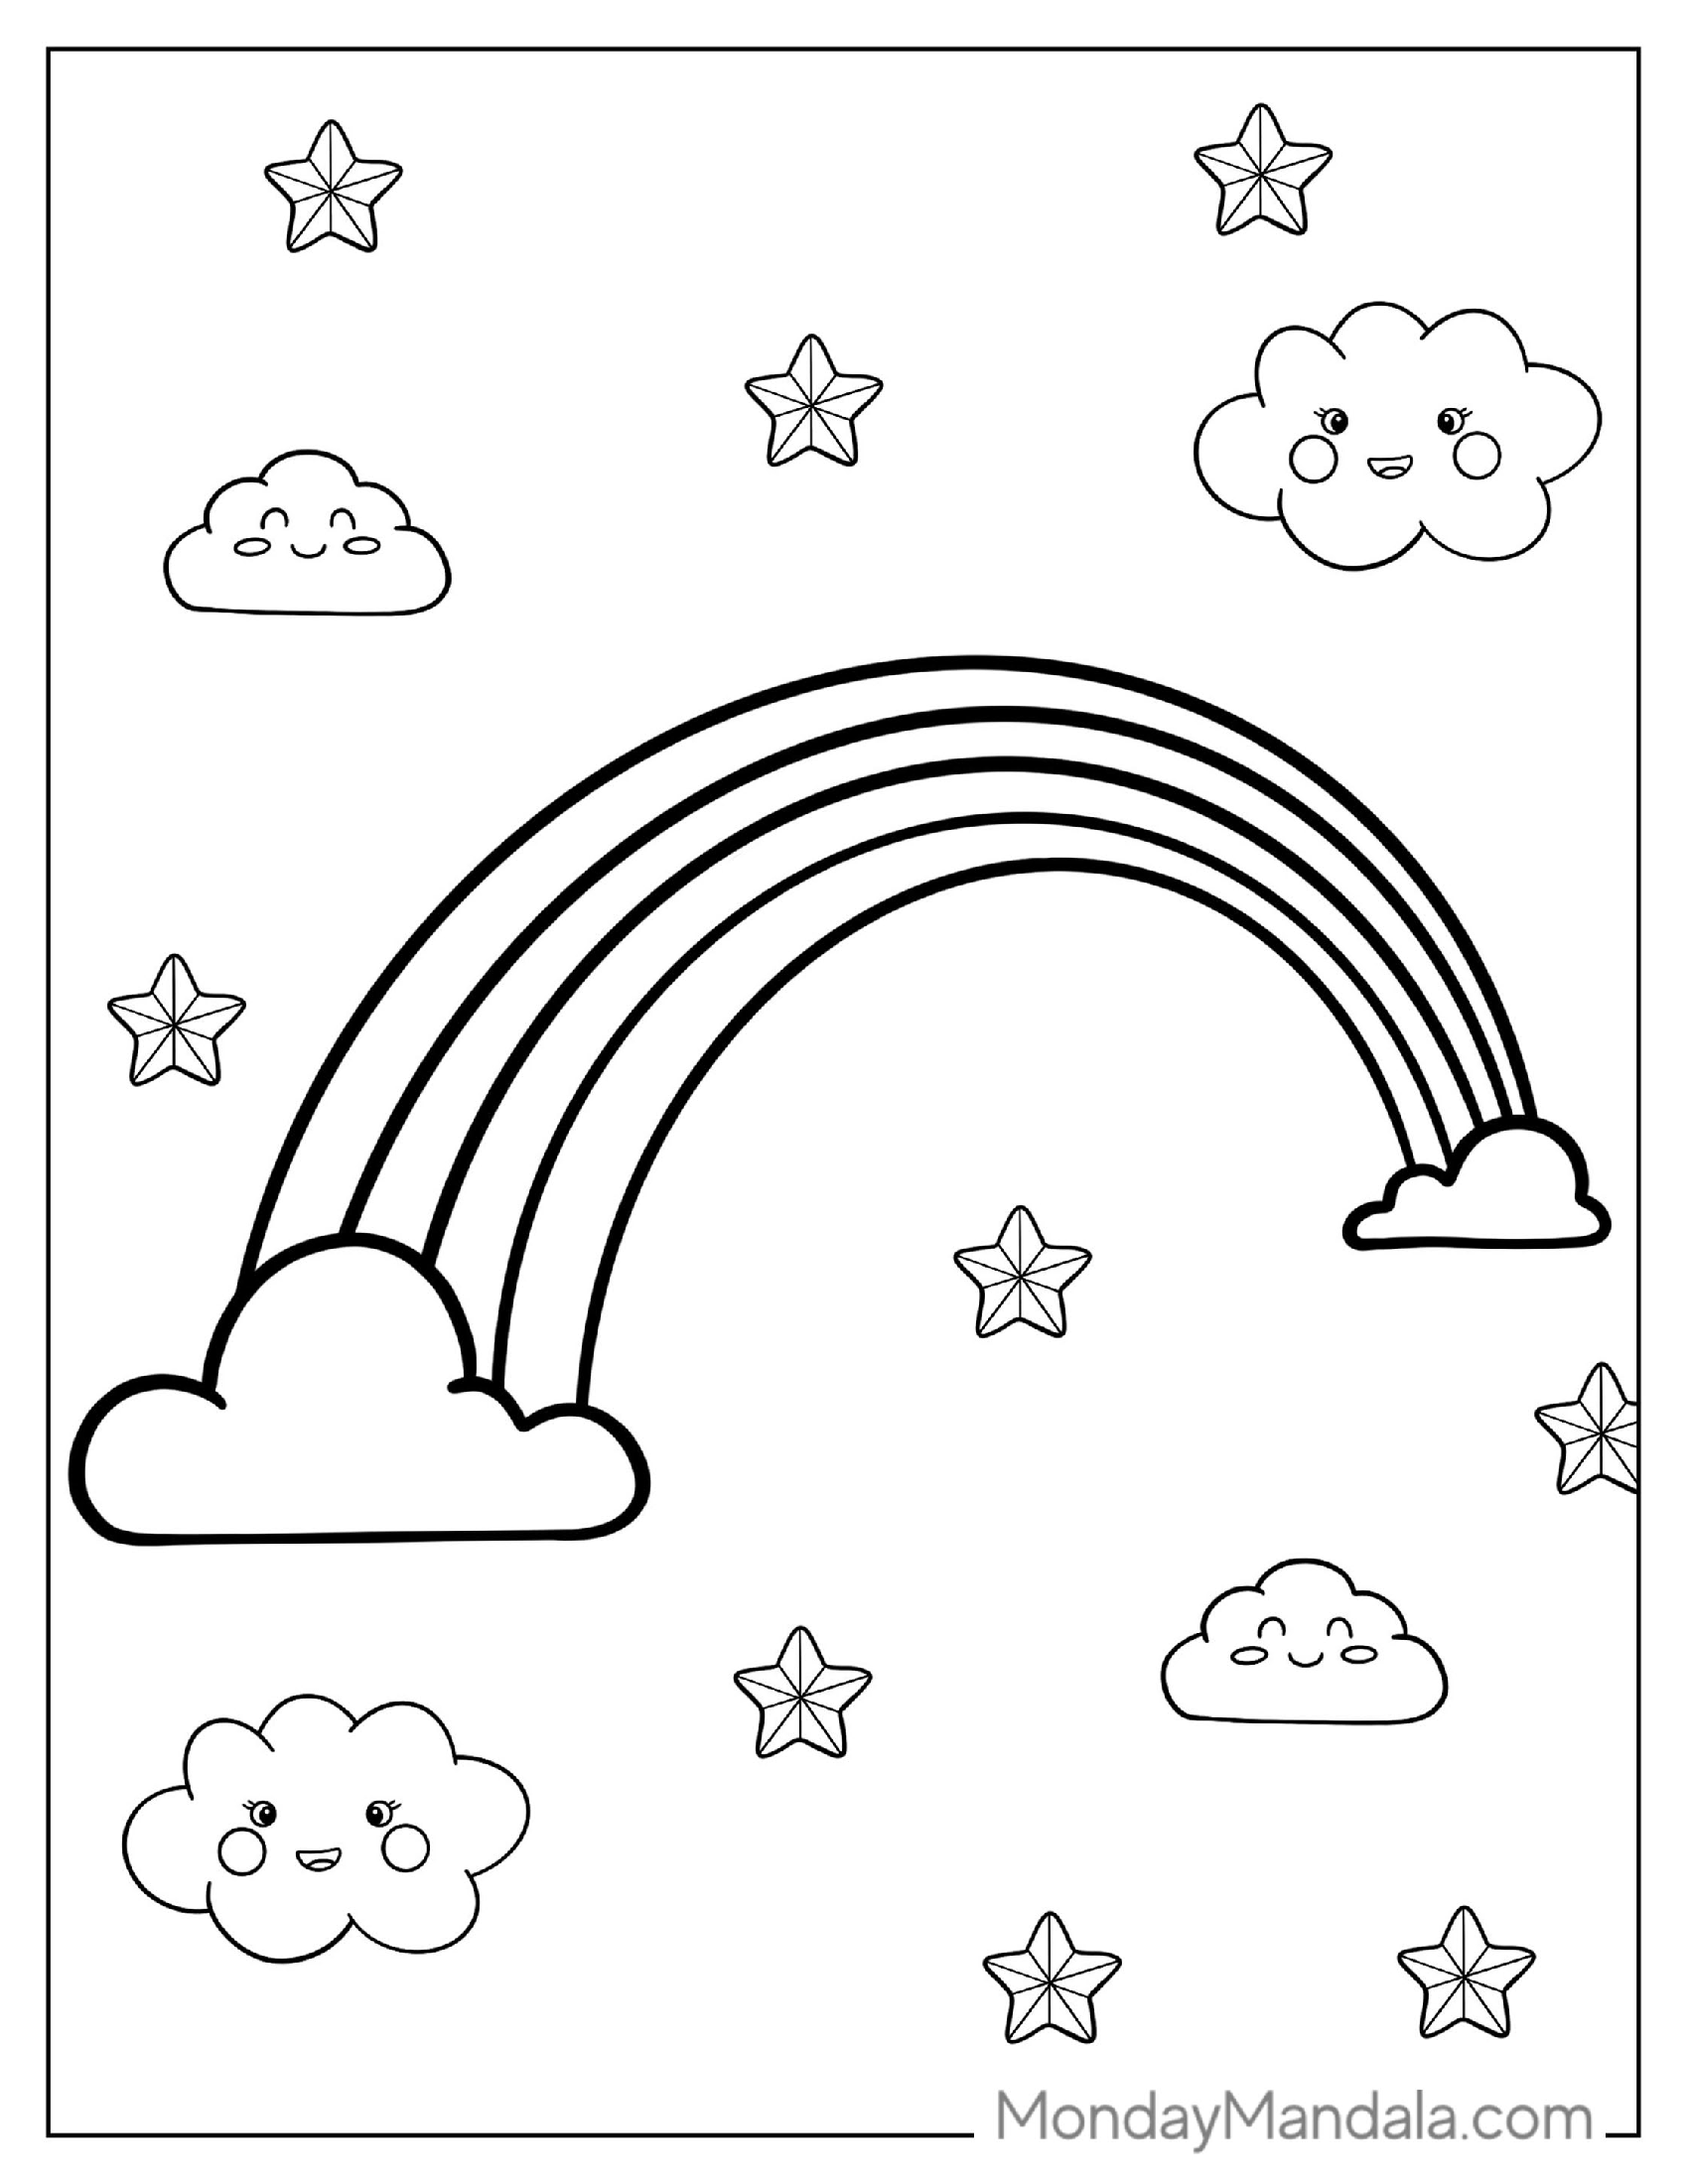
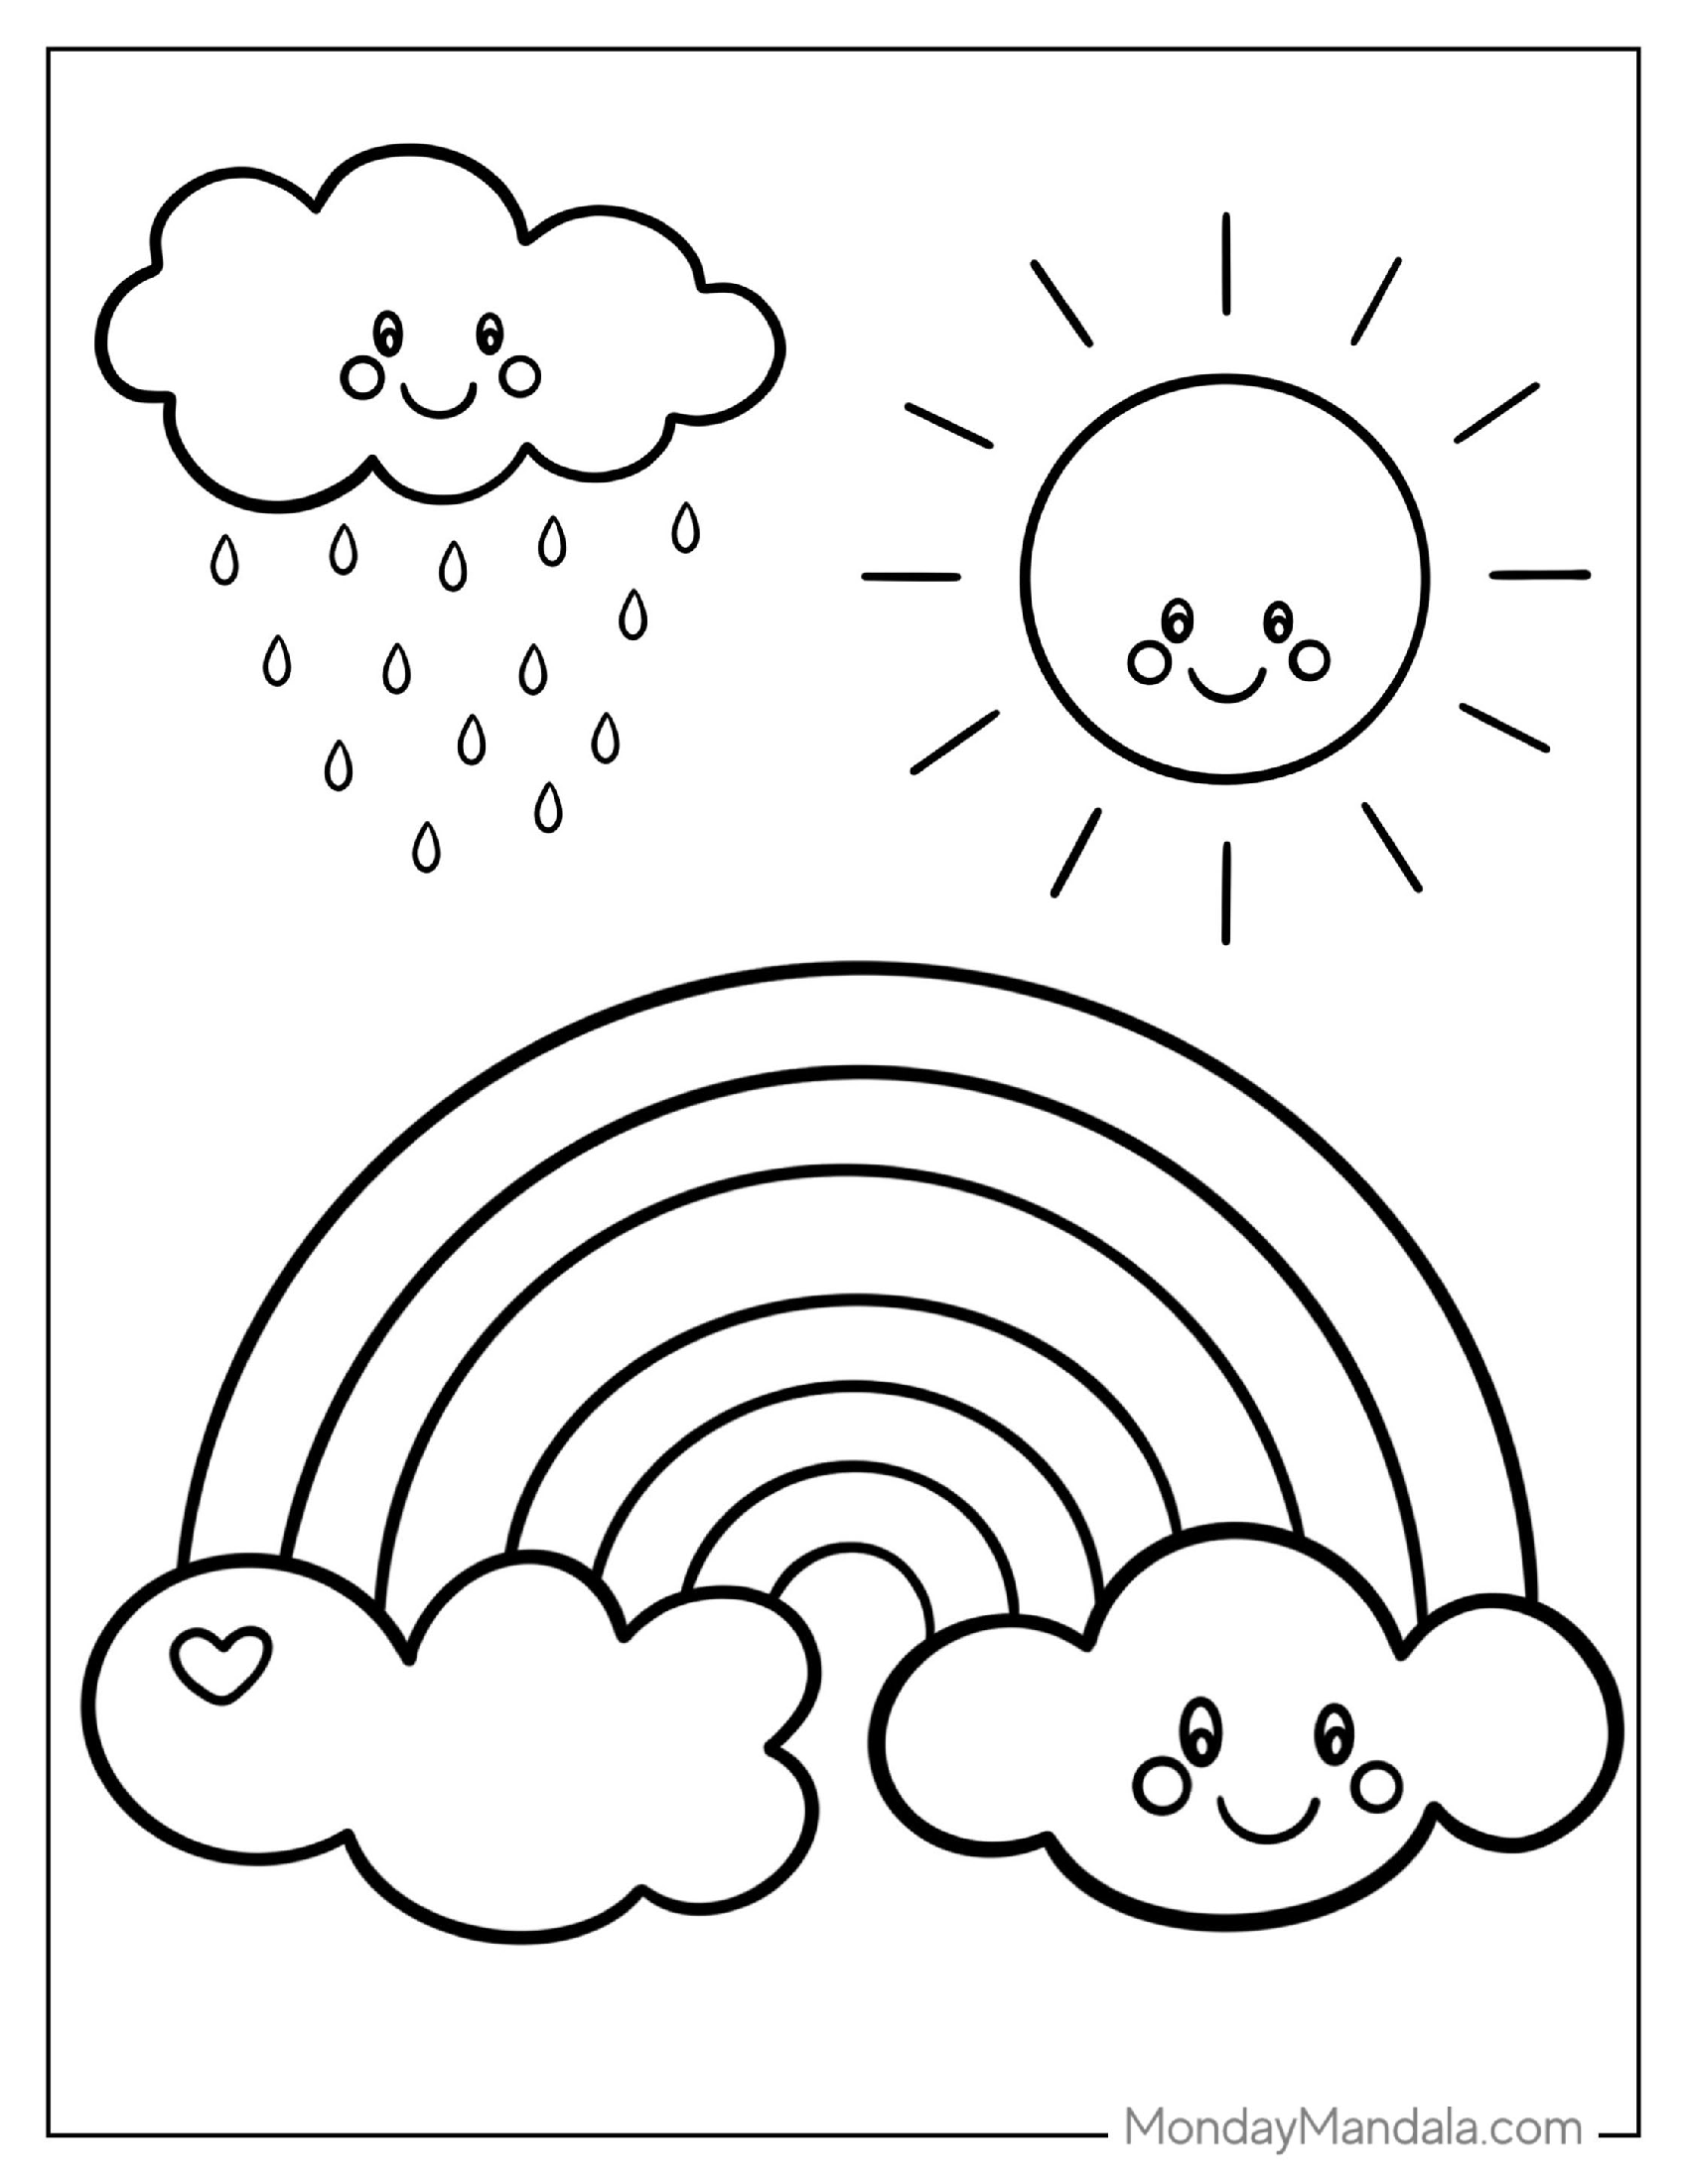

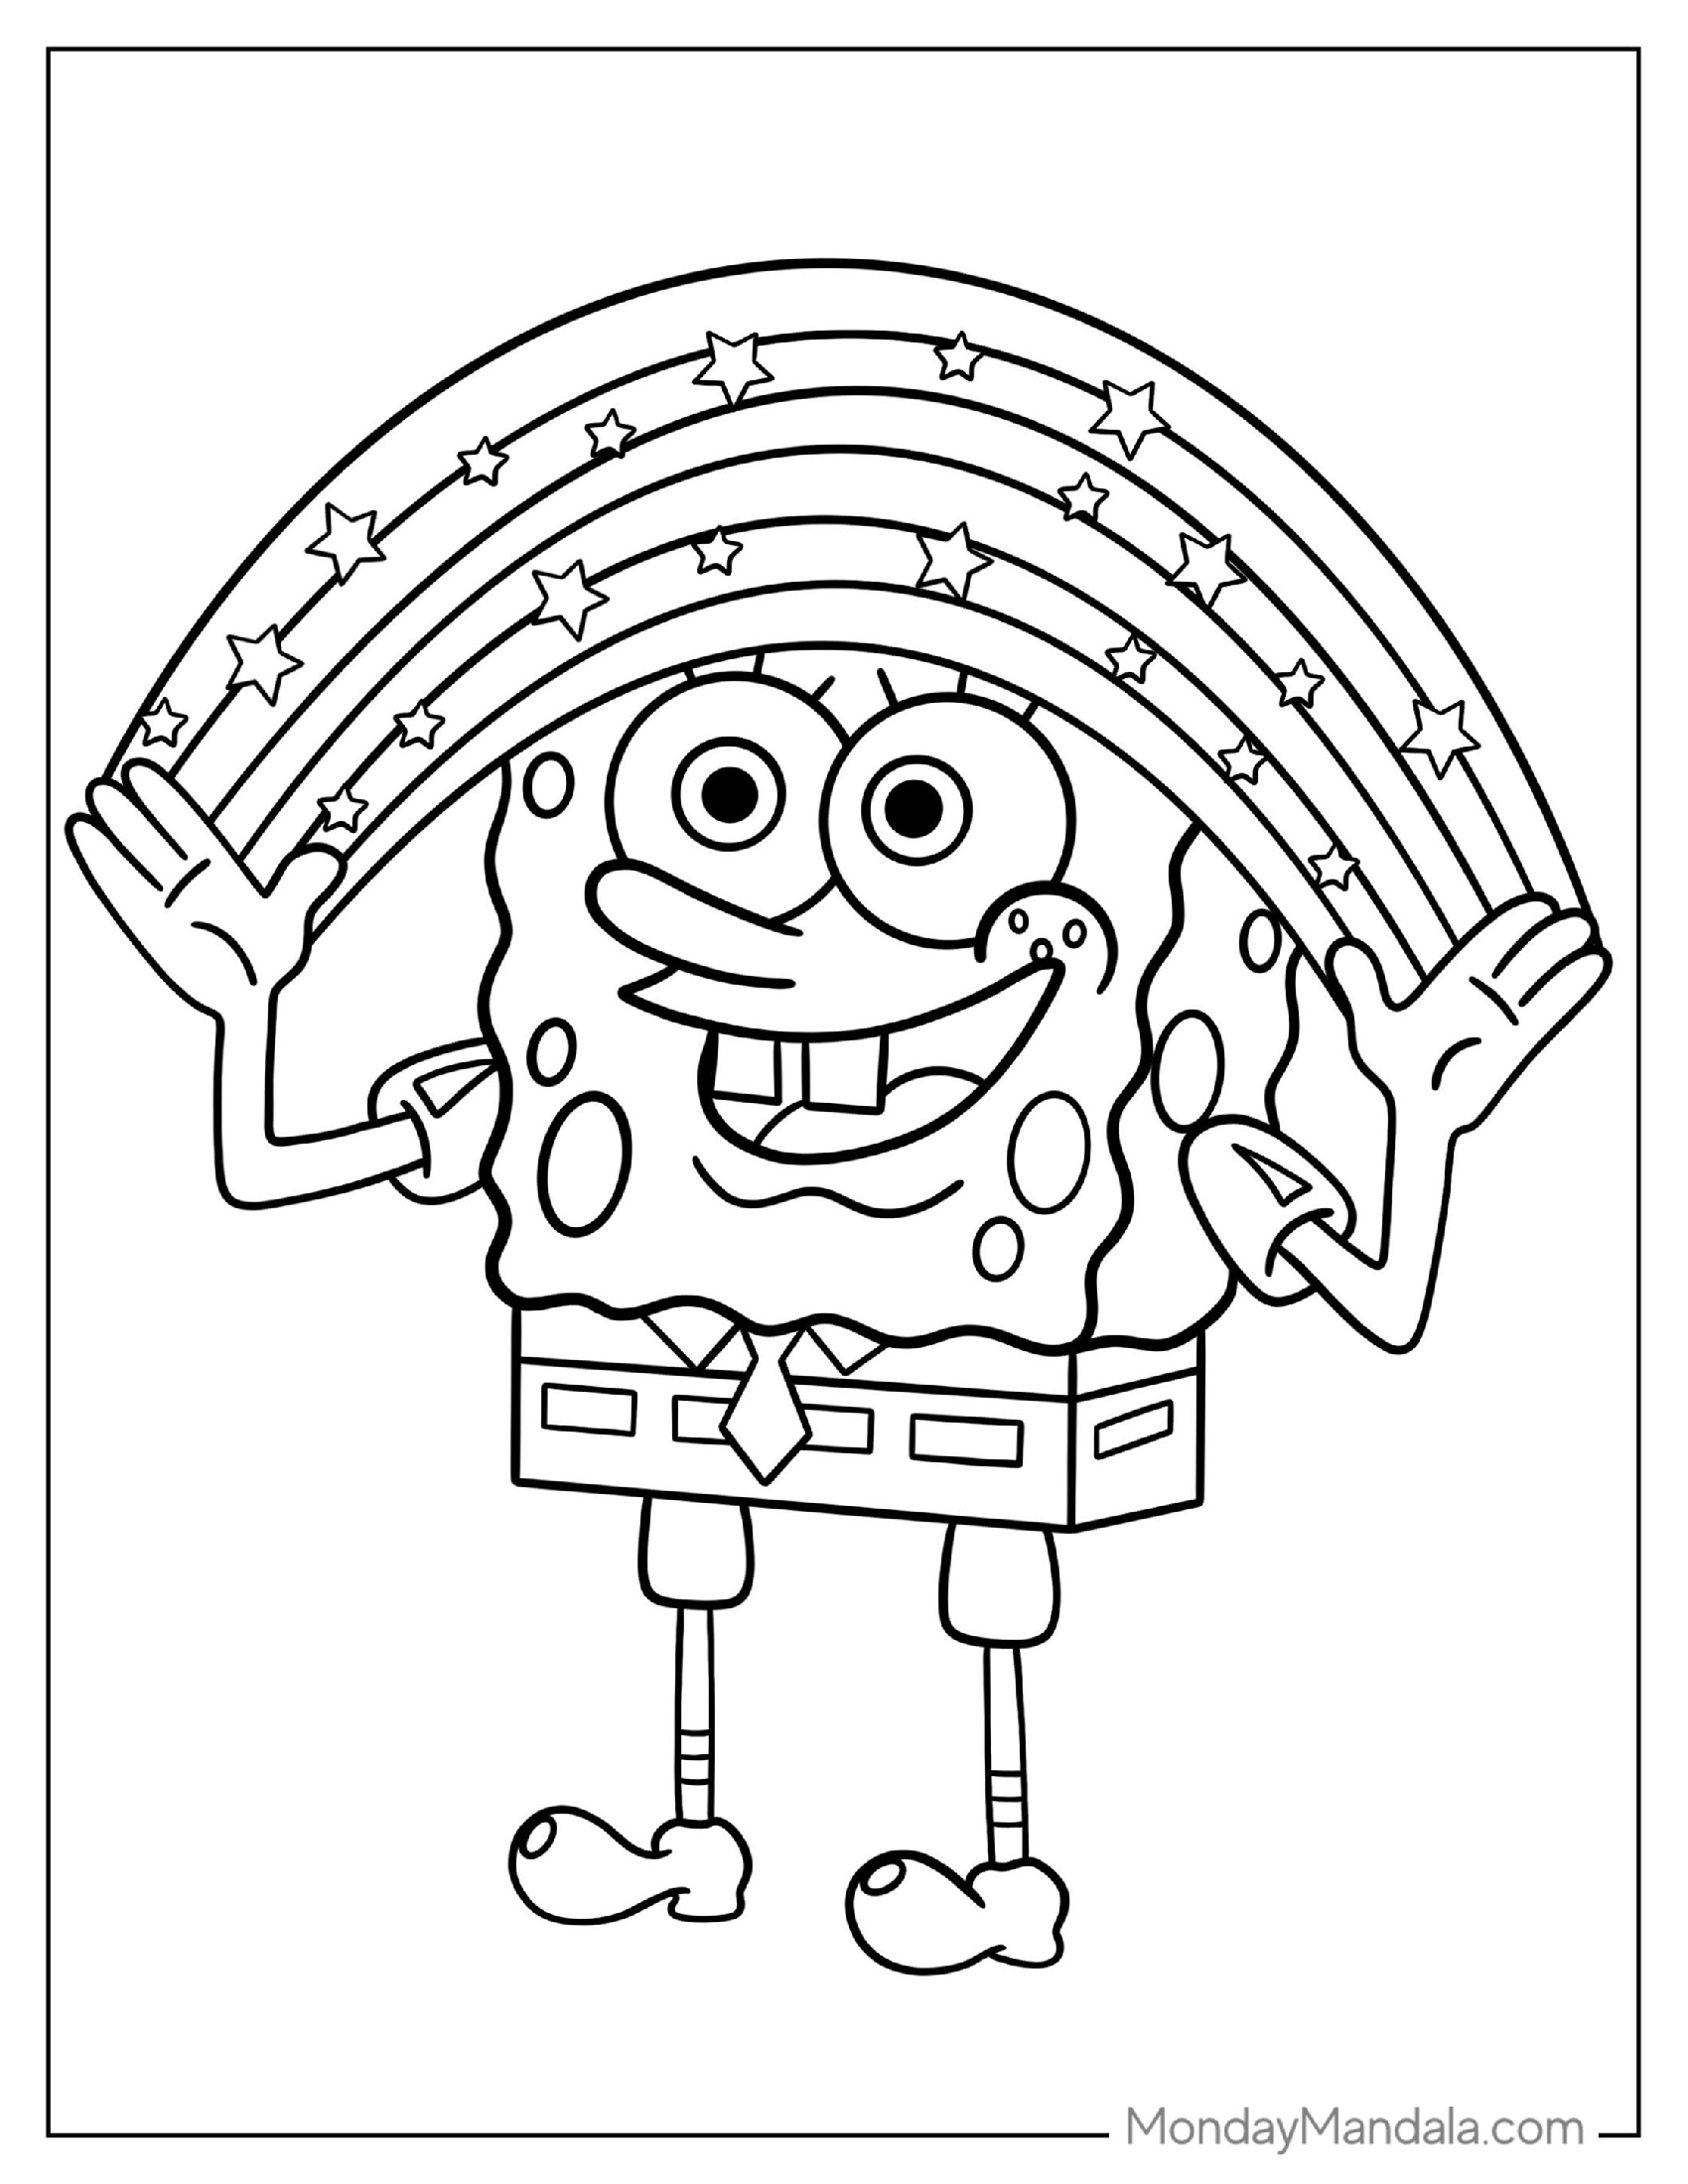
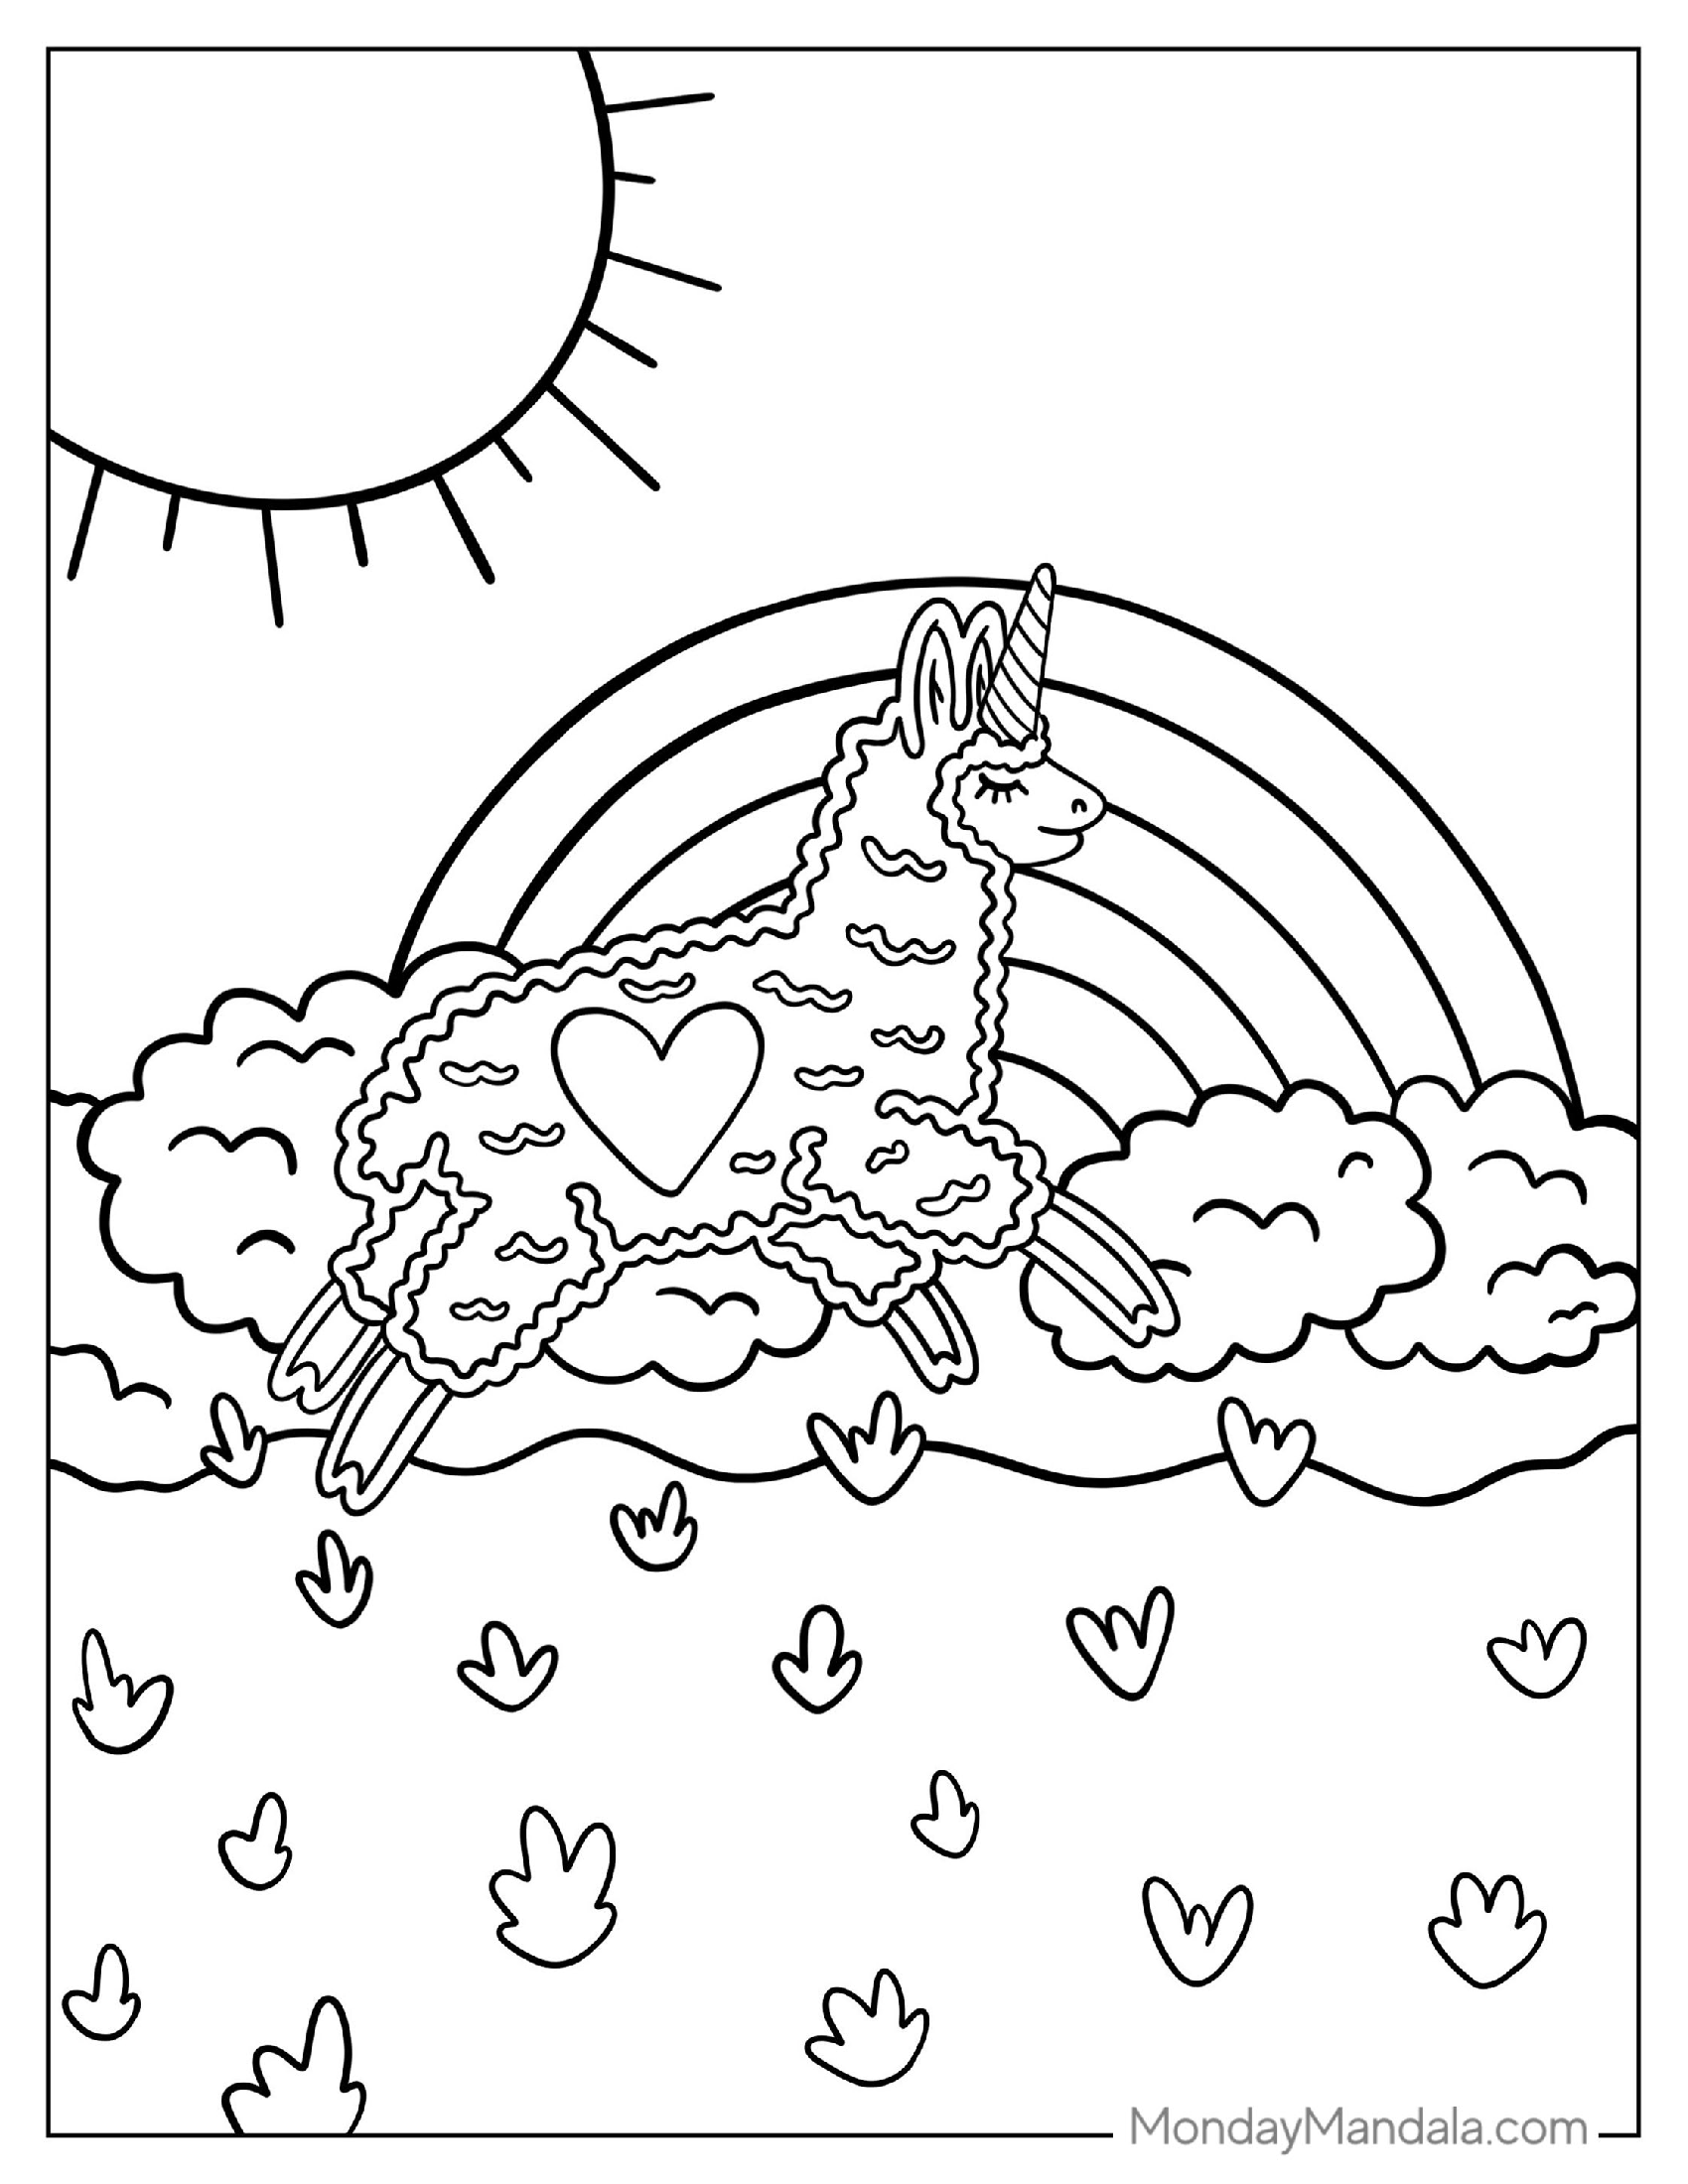

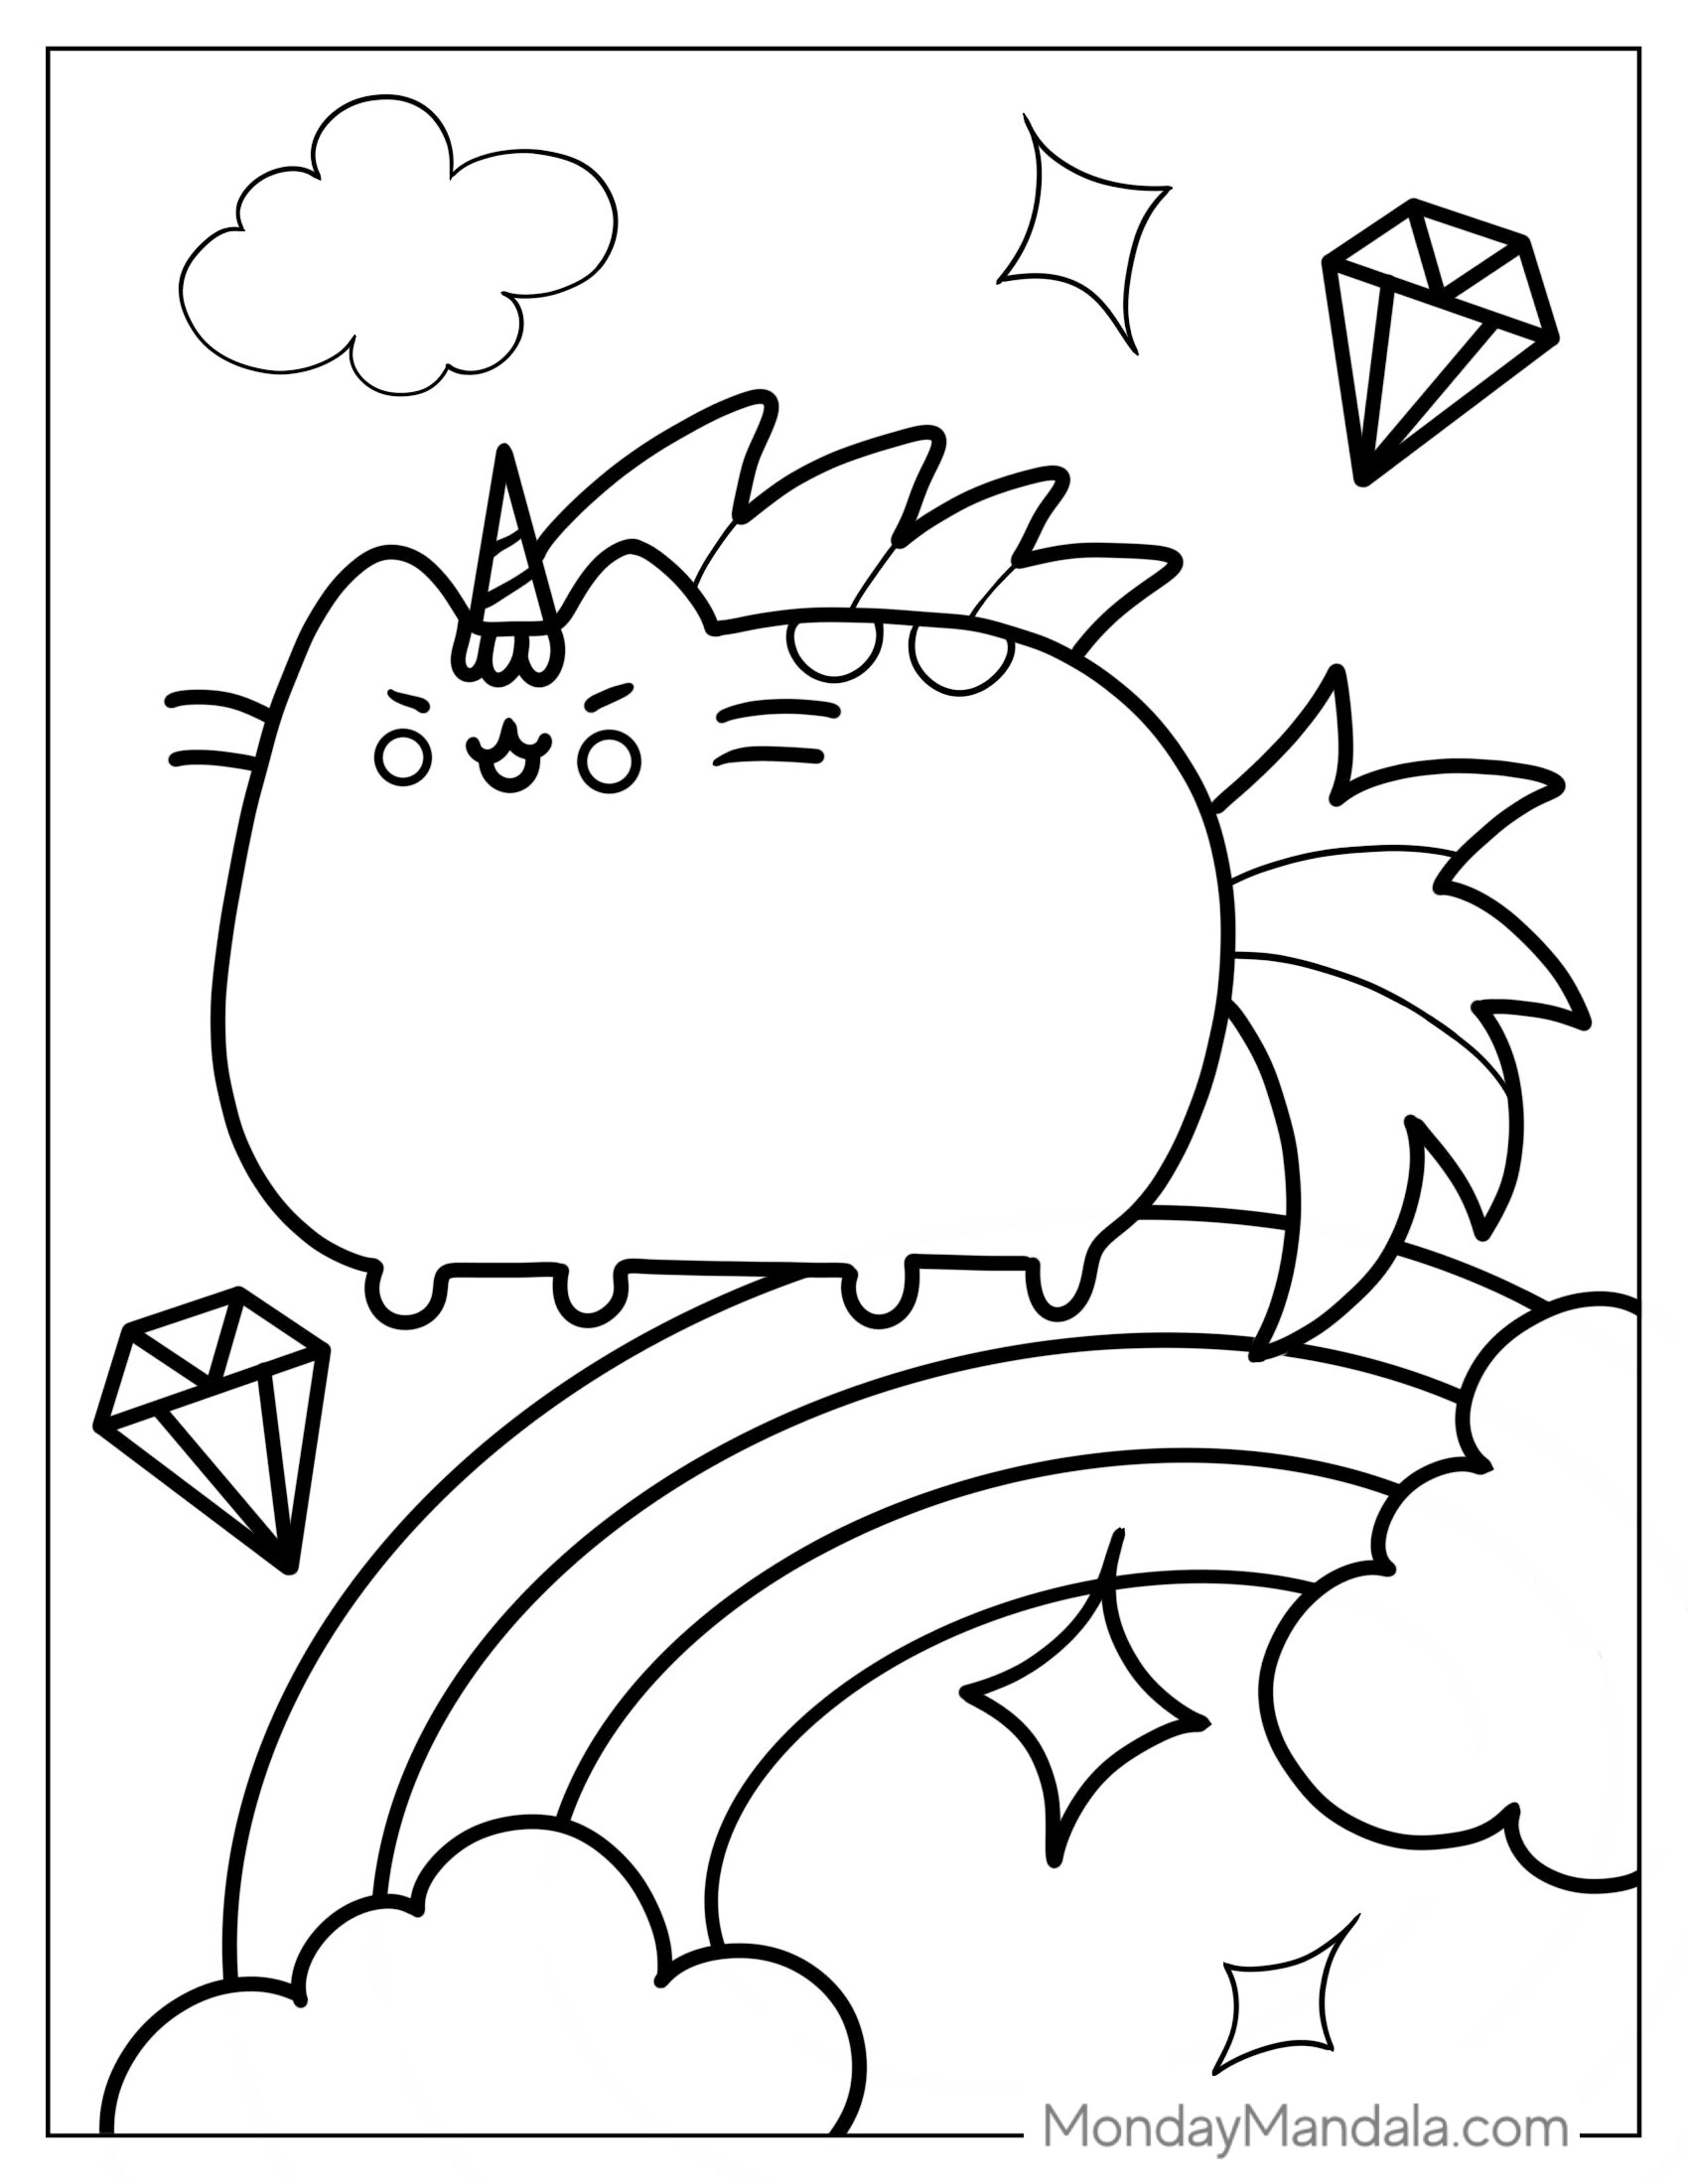
Unleash Your Creativity with Free Rainbow Coloring Pages
Rainbow coloring pages are a wonderful way to add some color and joy to your day. In this article, we explored the benefits of coloring for adults and children alike, and provided a range of free PDF printables featuring beautiful rainbow designs. From mandalas to animals, and from simple to intricate, our collection has something for everyone. Whether you’re looking to relax and unwind, or to encourage creativity and self-expression in your little ones, rainbow coloring pages are the perfect solution. So why not grab some colored pencils and get creative with our free printable rainbow coloring pages?