Are you ready to unleash your creativity and dive into the mysterious world of Gravity Falls? We’re excited to share with you a unique opportunity to convert our Gravity Falls coloring pages into free PDF printables, making it easy to print and color on the go! To achieve this conversion, we employed a simple yet effective formula: taking our original coloring pages and transforming them into high-quality PDF files that can be easily downloaded and printed. With this conversion, you’ll be able to enjoy the thrill of coloring your favorite Gravity Falls characters and scenes, all while having the flexibility to print and color whenever and wherever you like.
Free Printable Gravity Falls Coloring Pages – Download Now
Unleash Your Creativity with Free Gravity Falls Coloring Pages
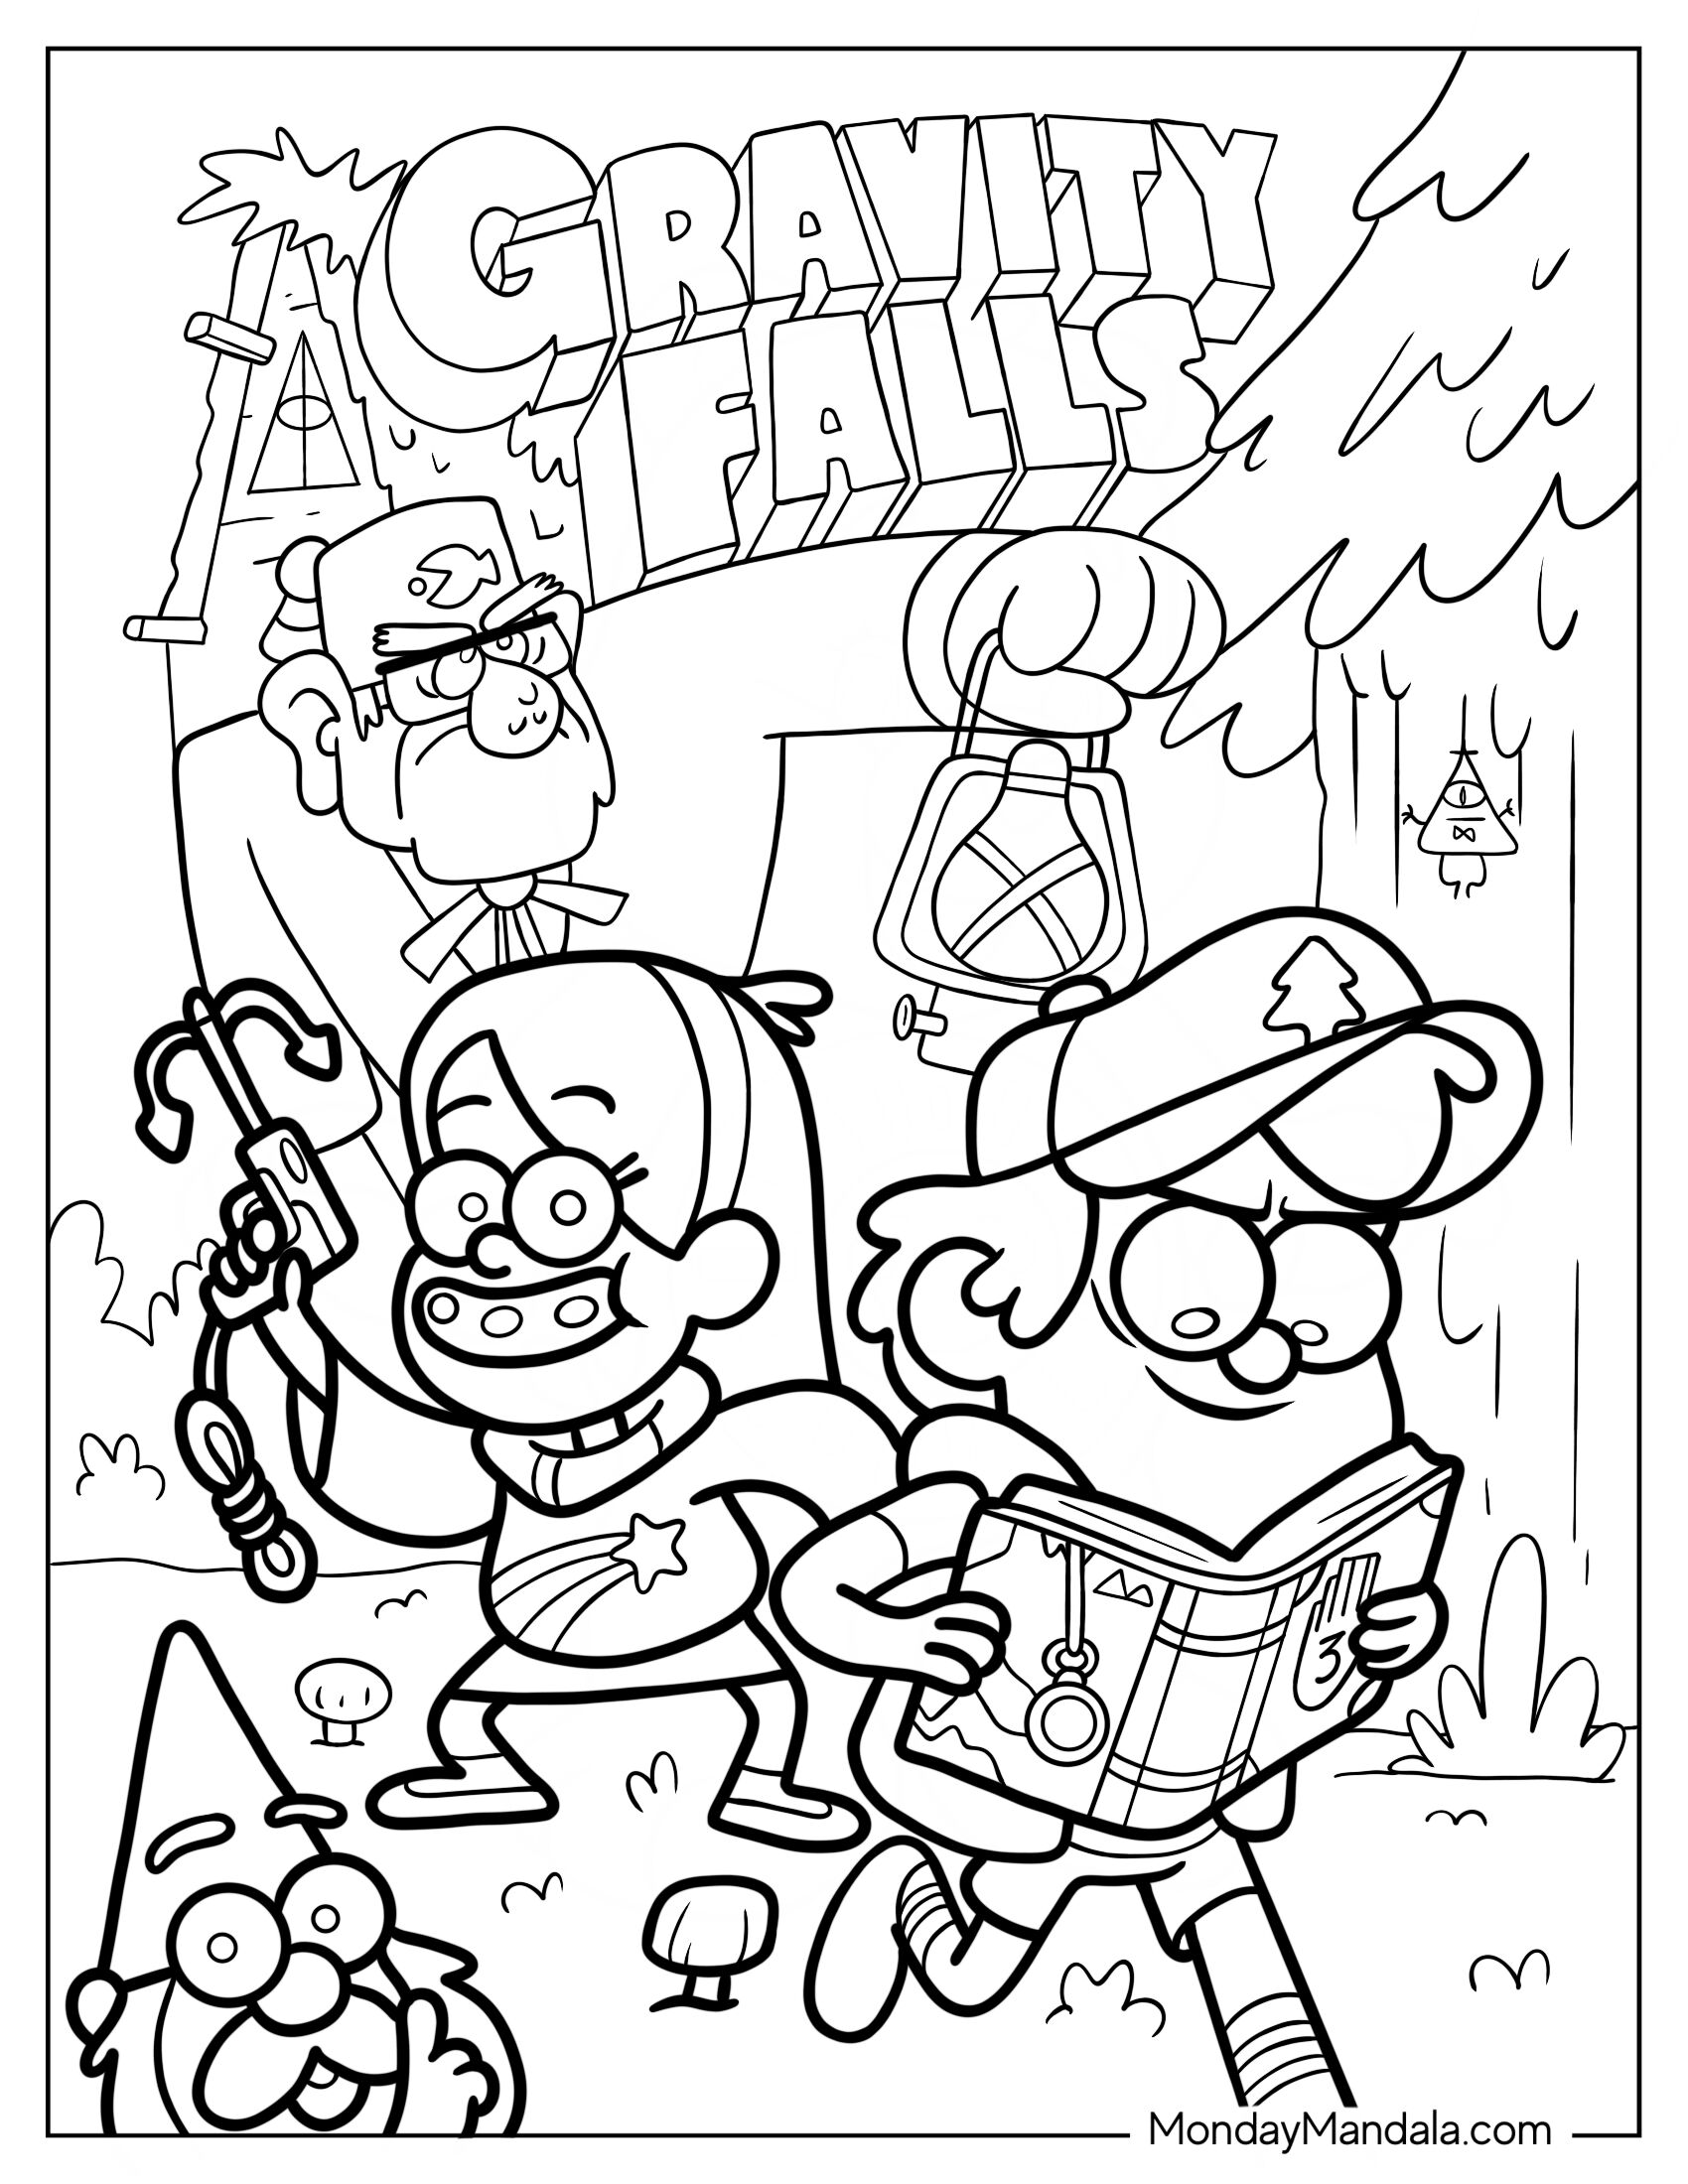
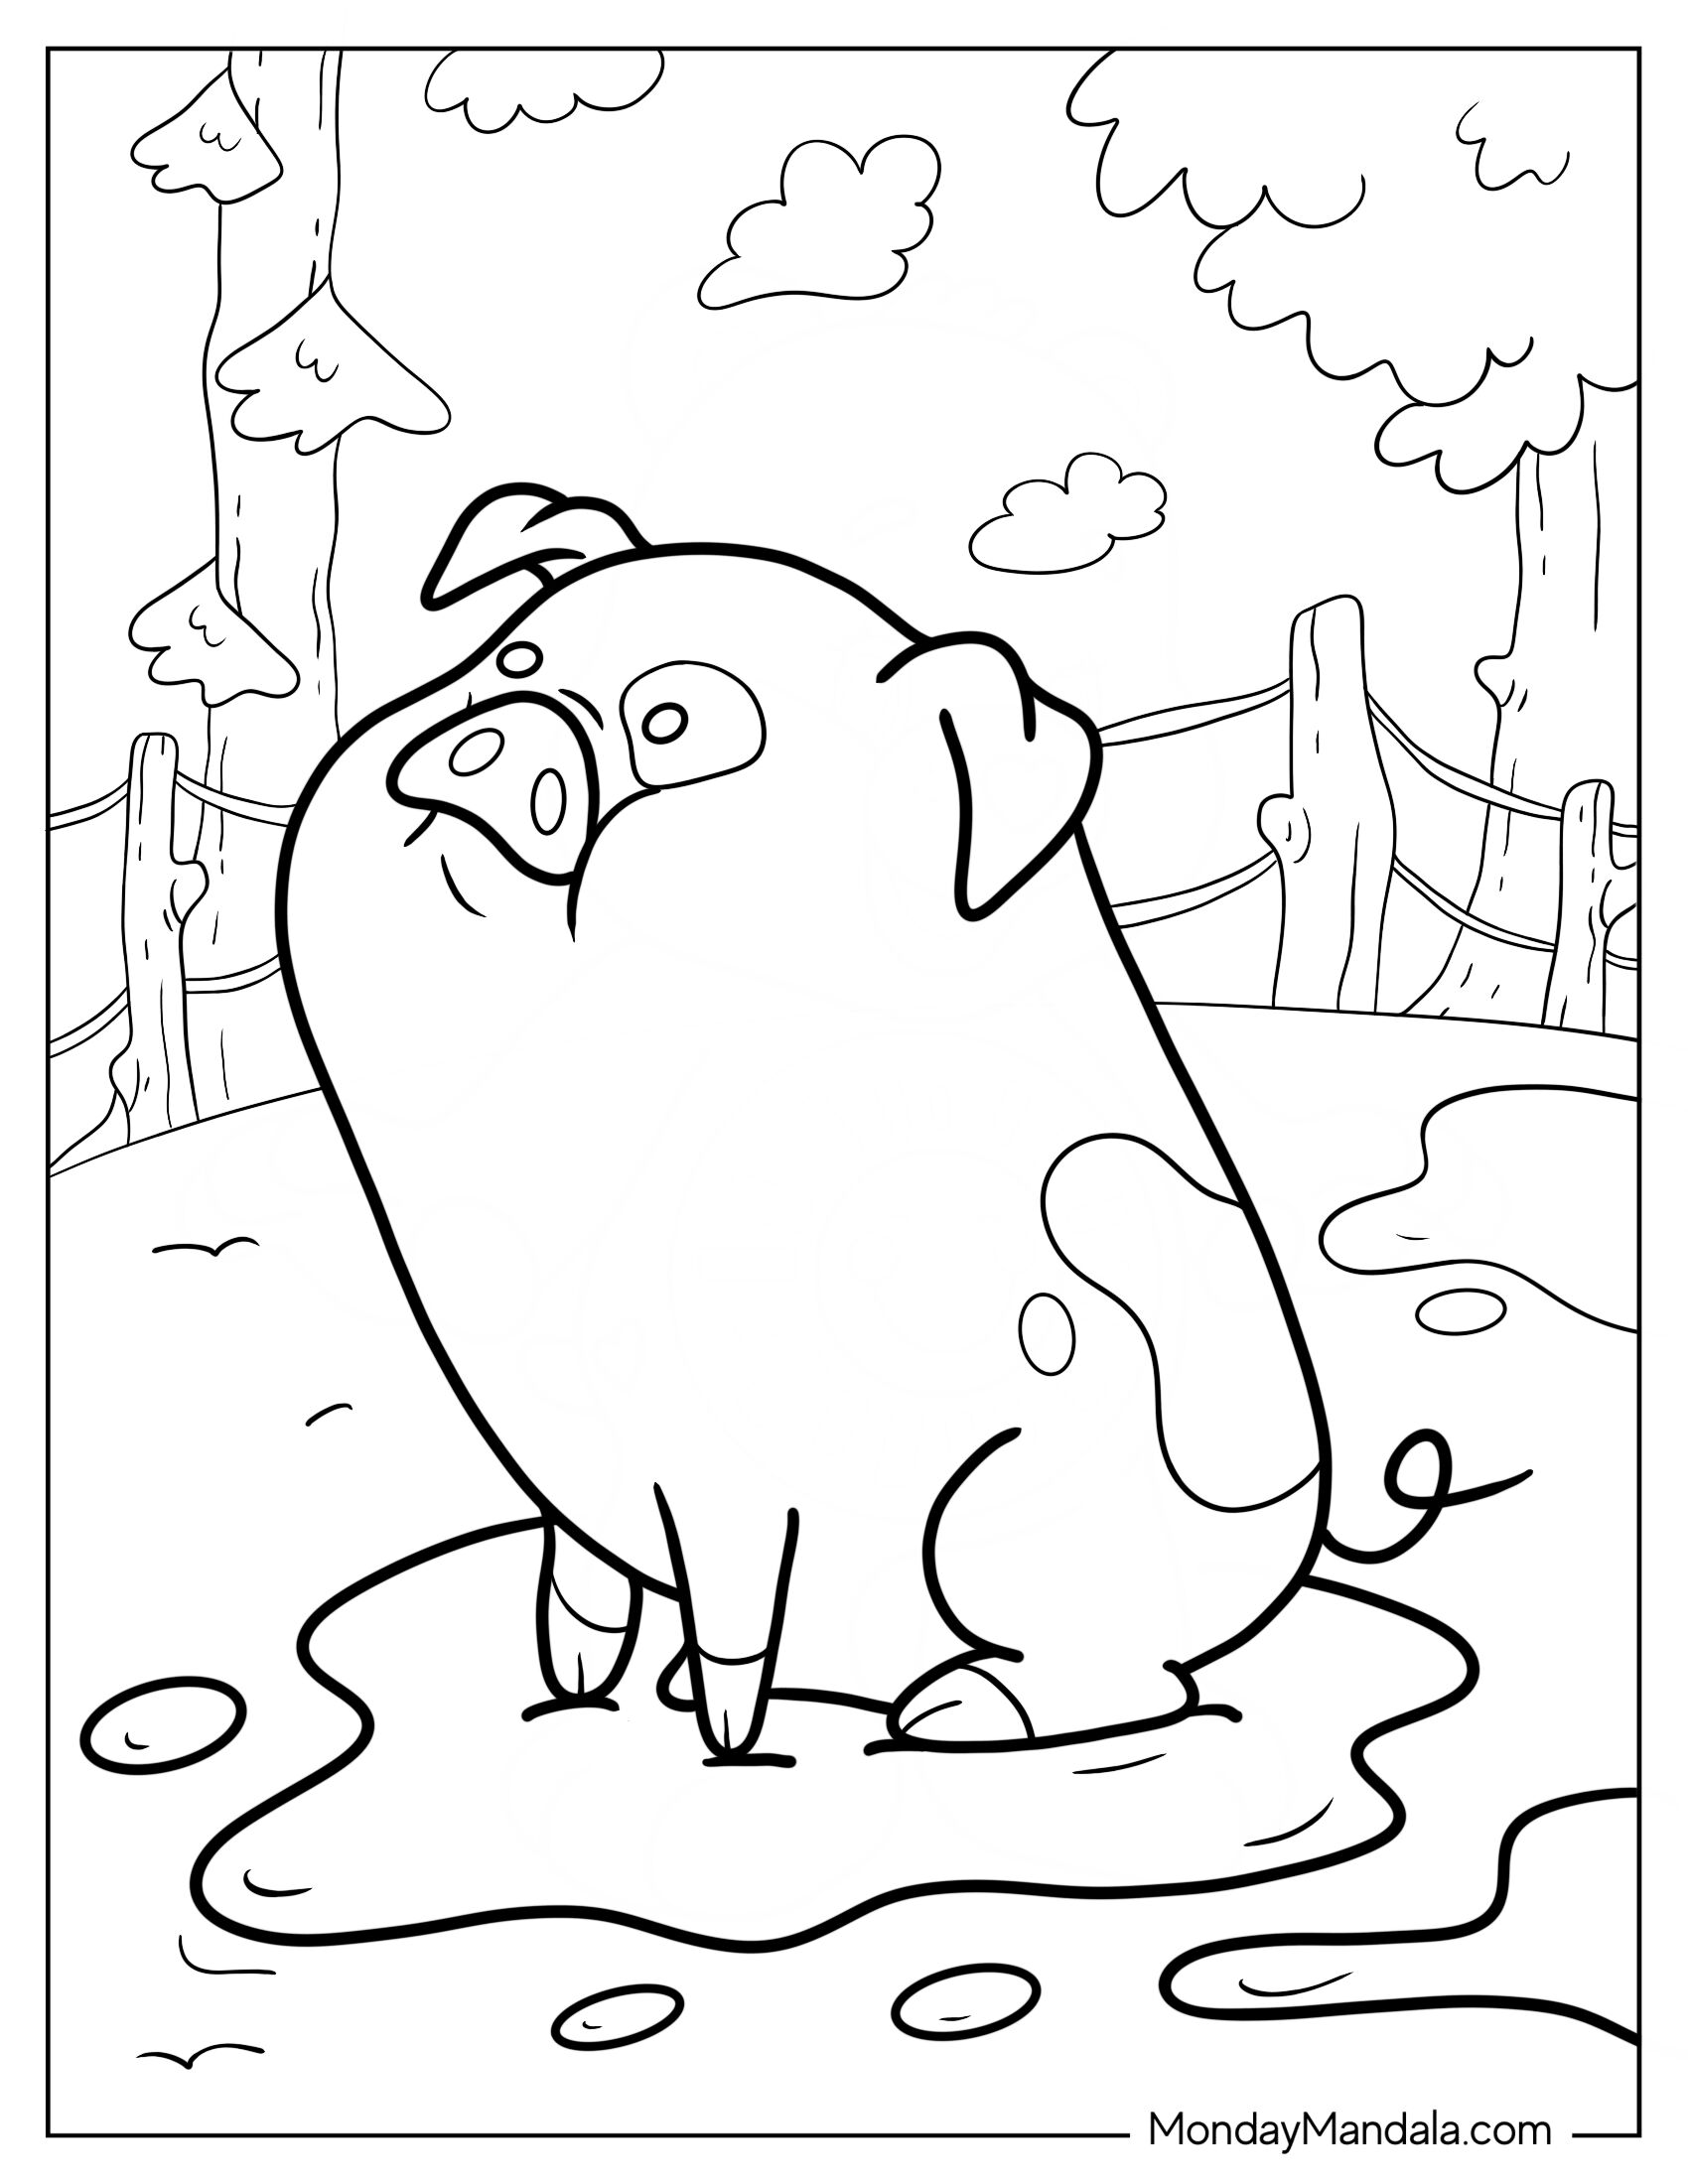
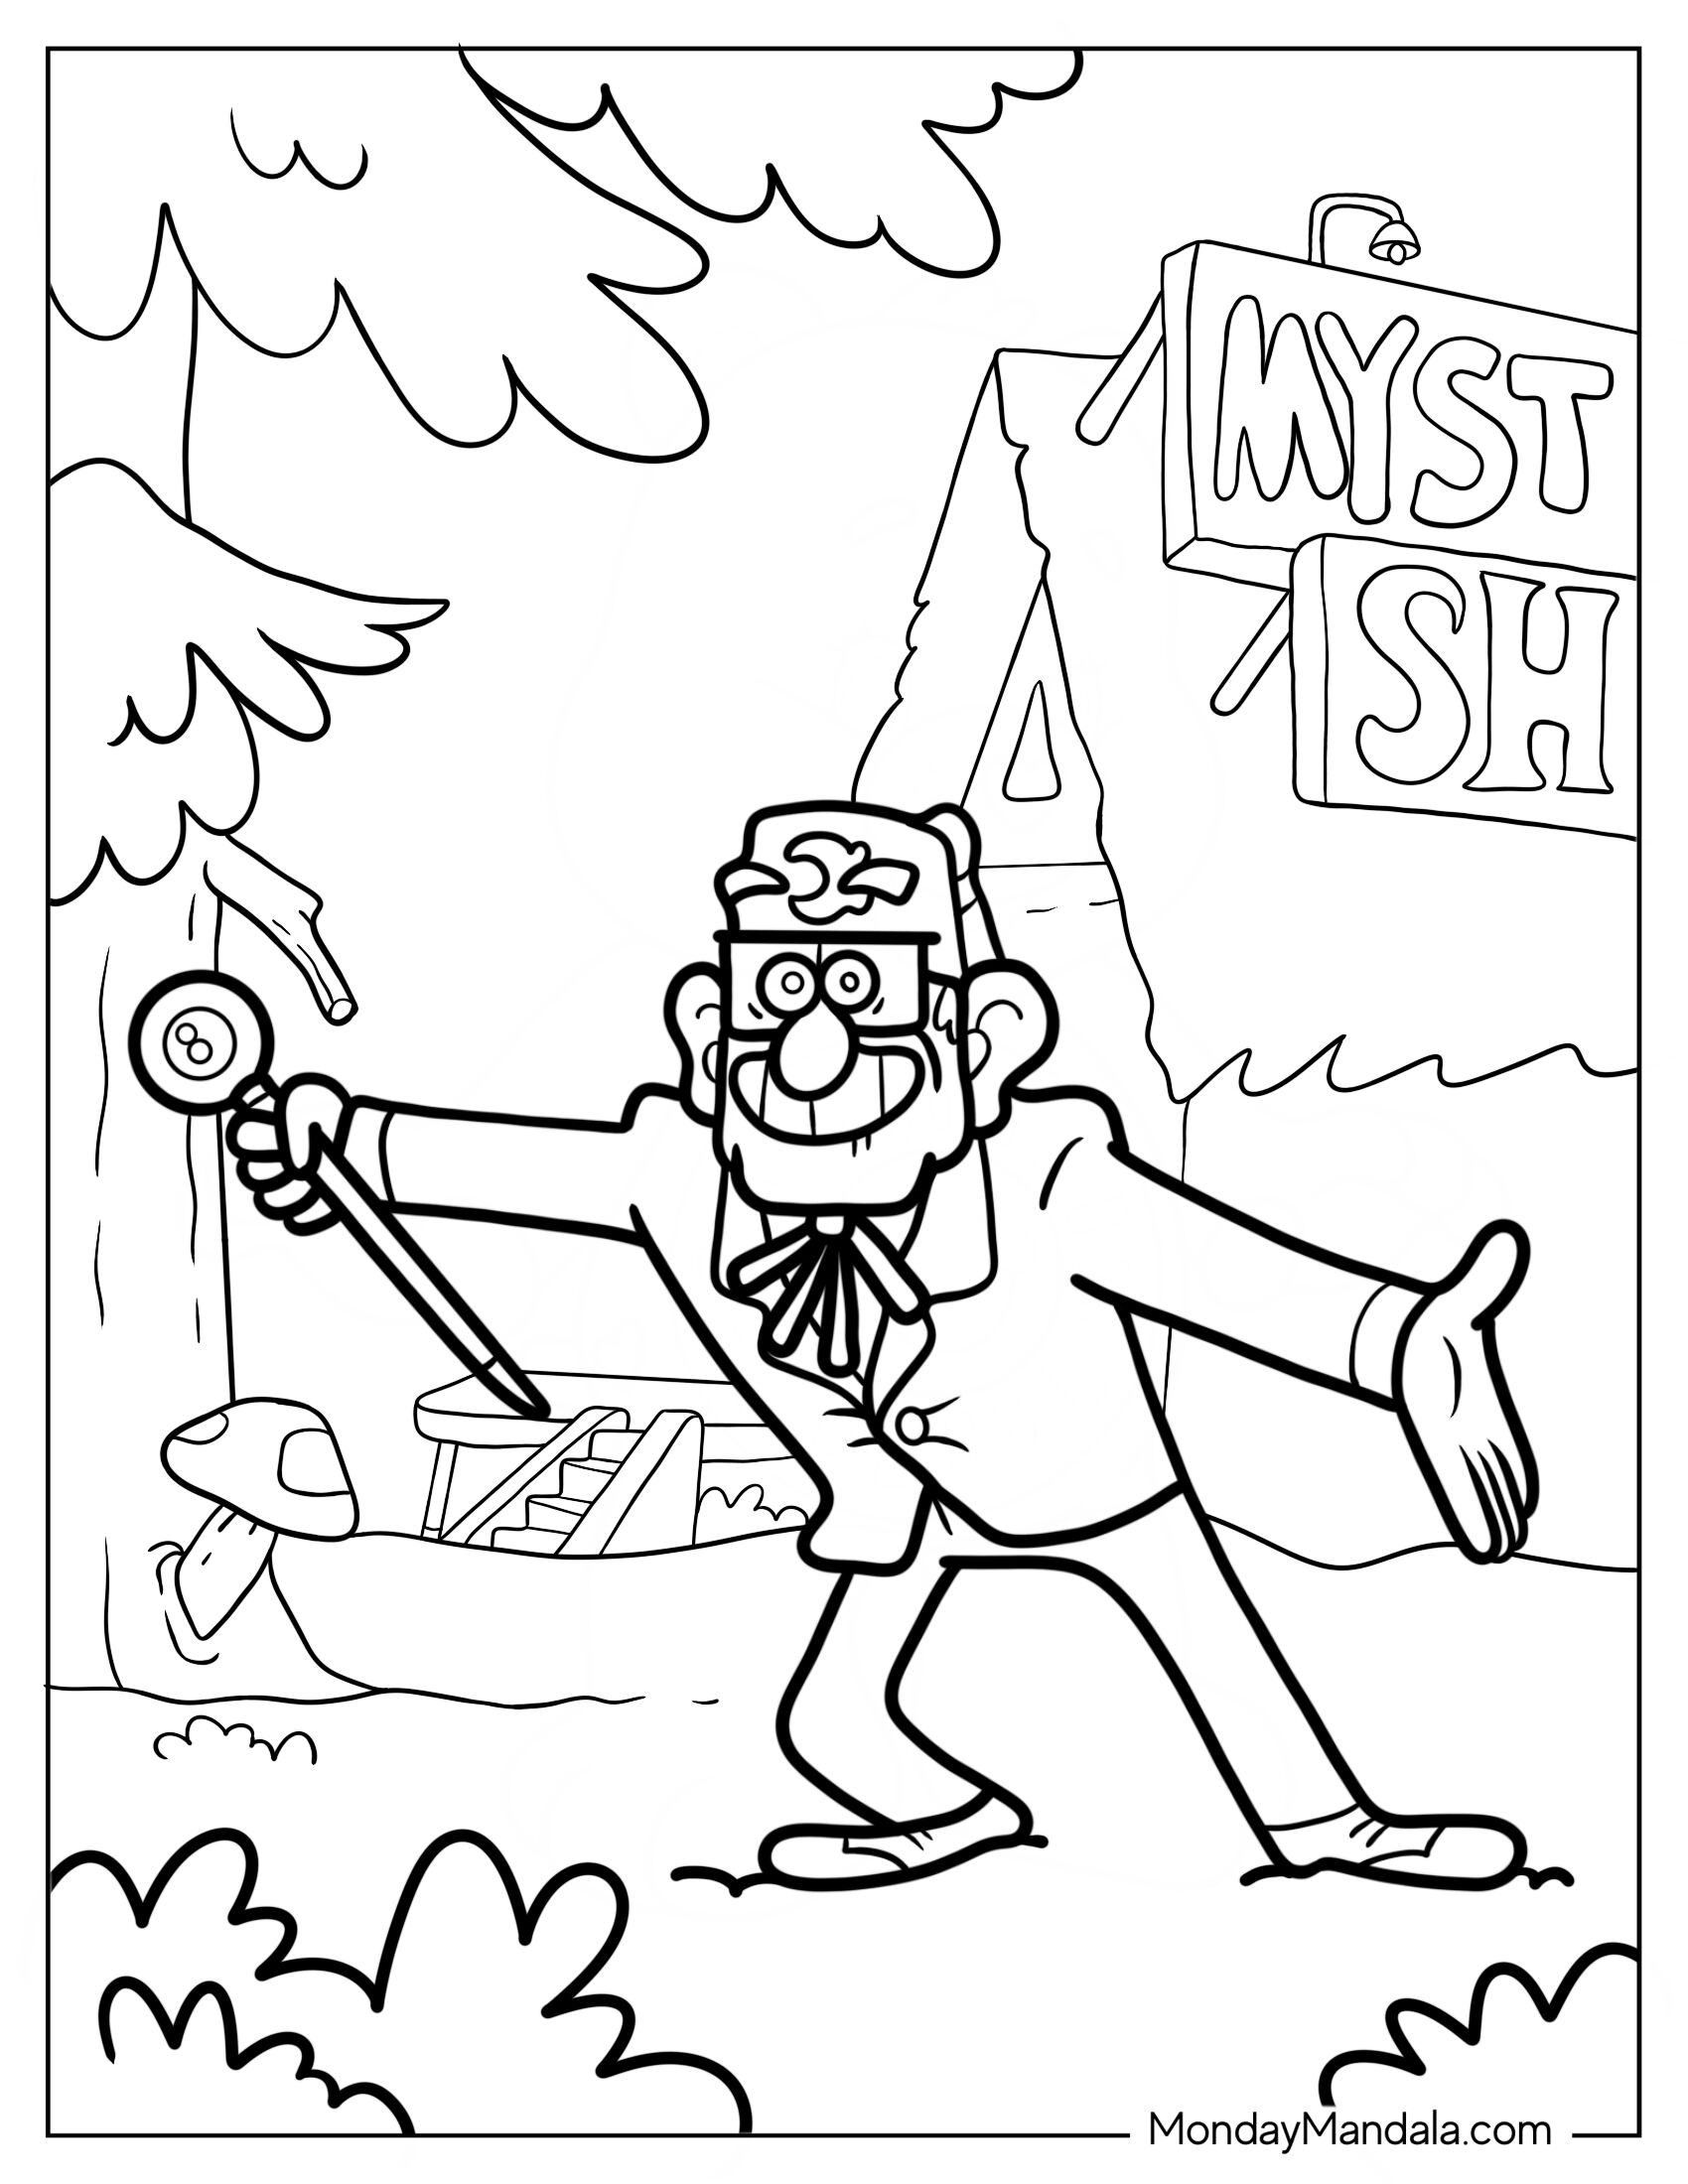
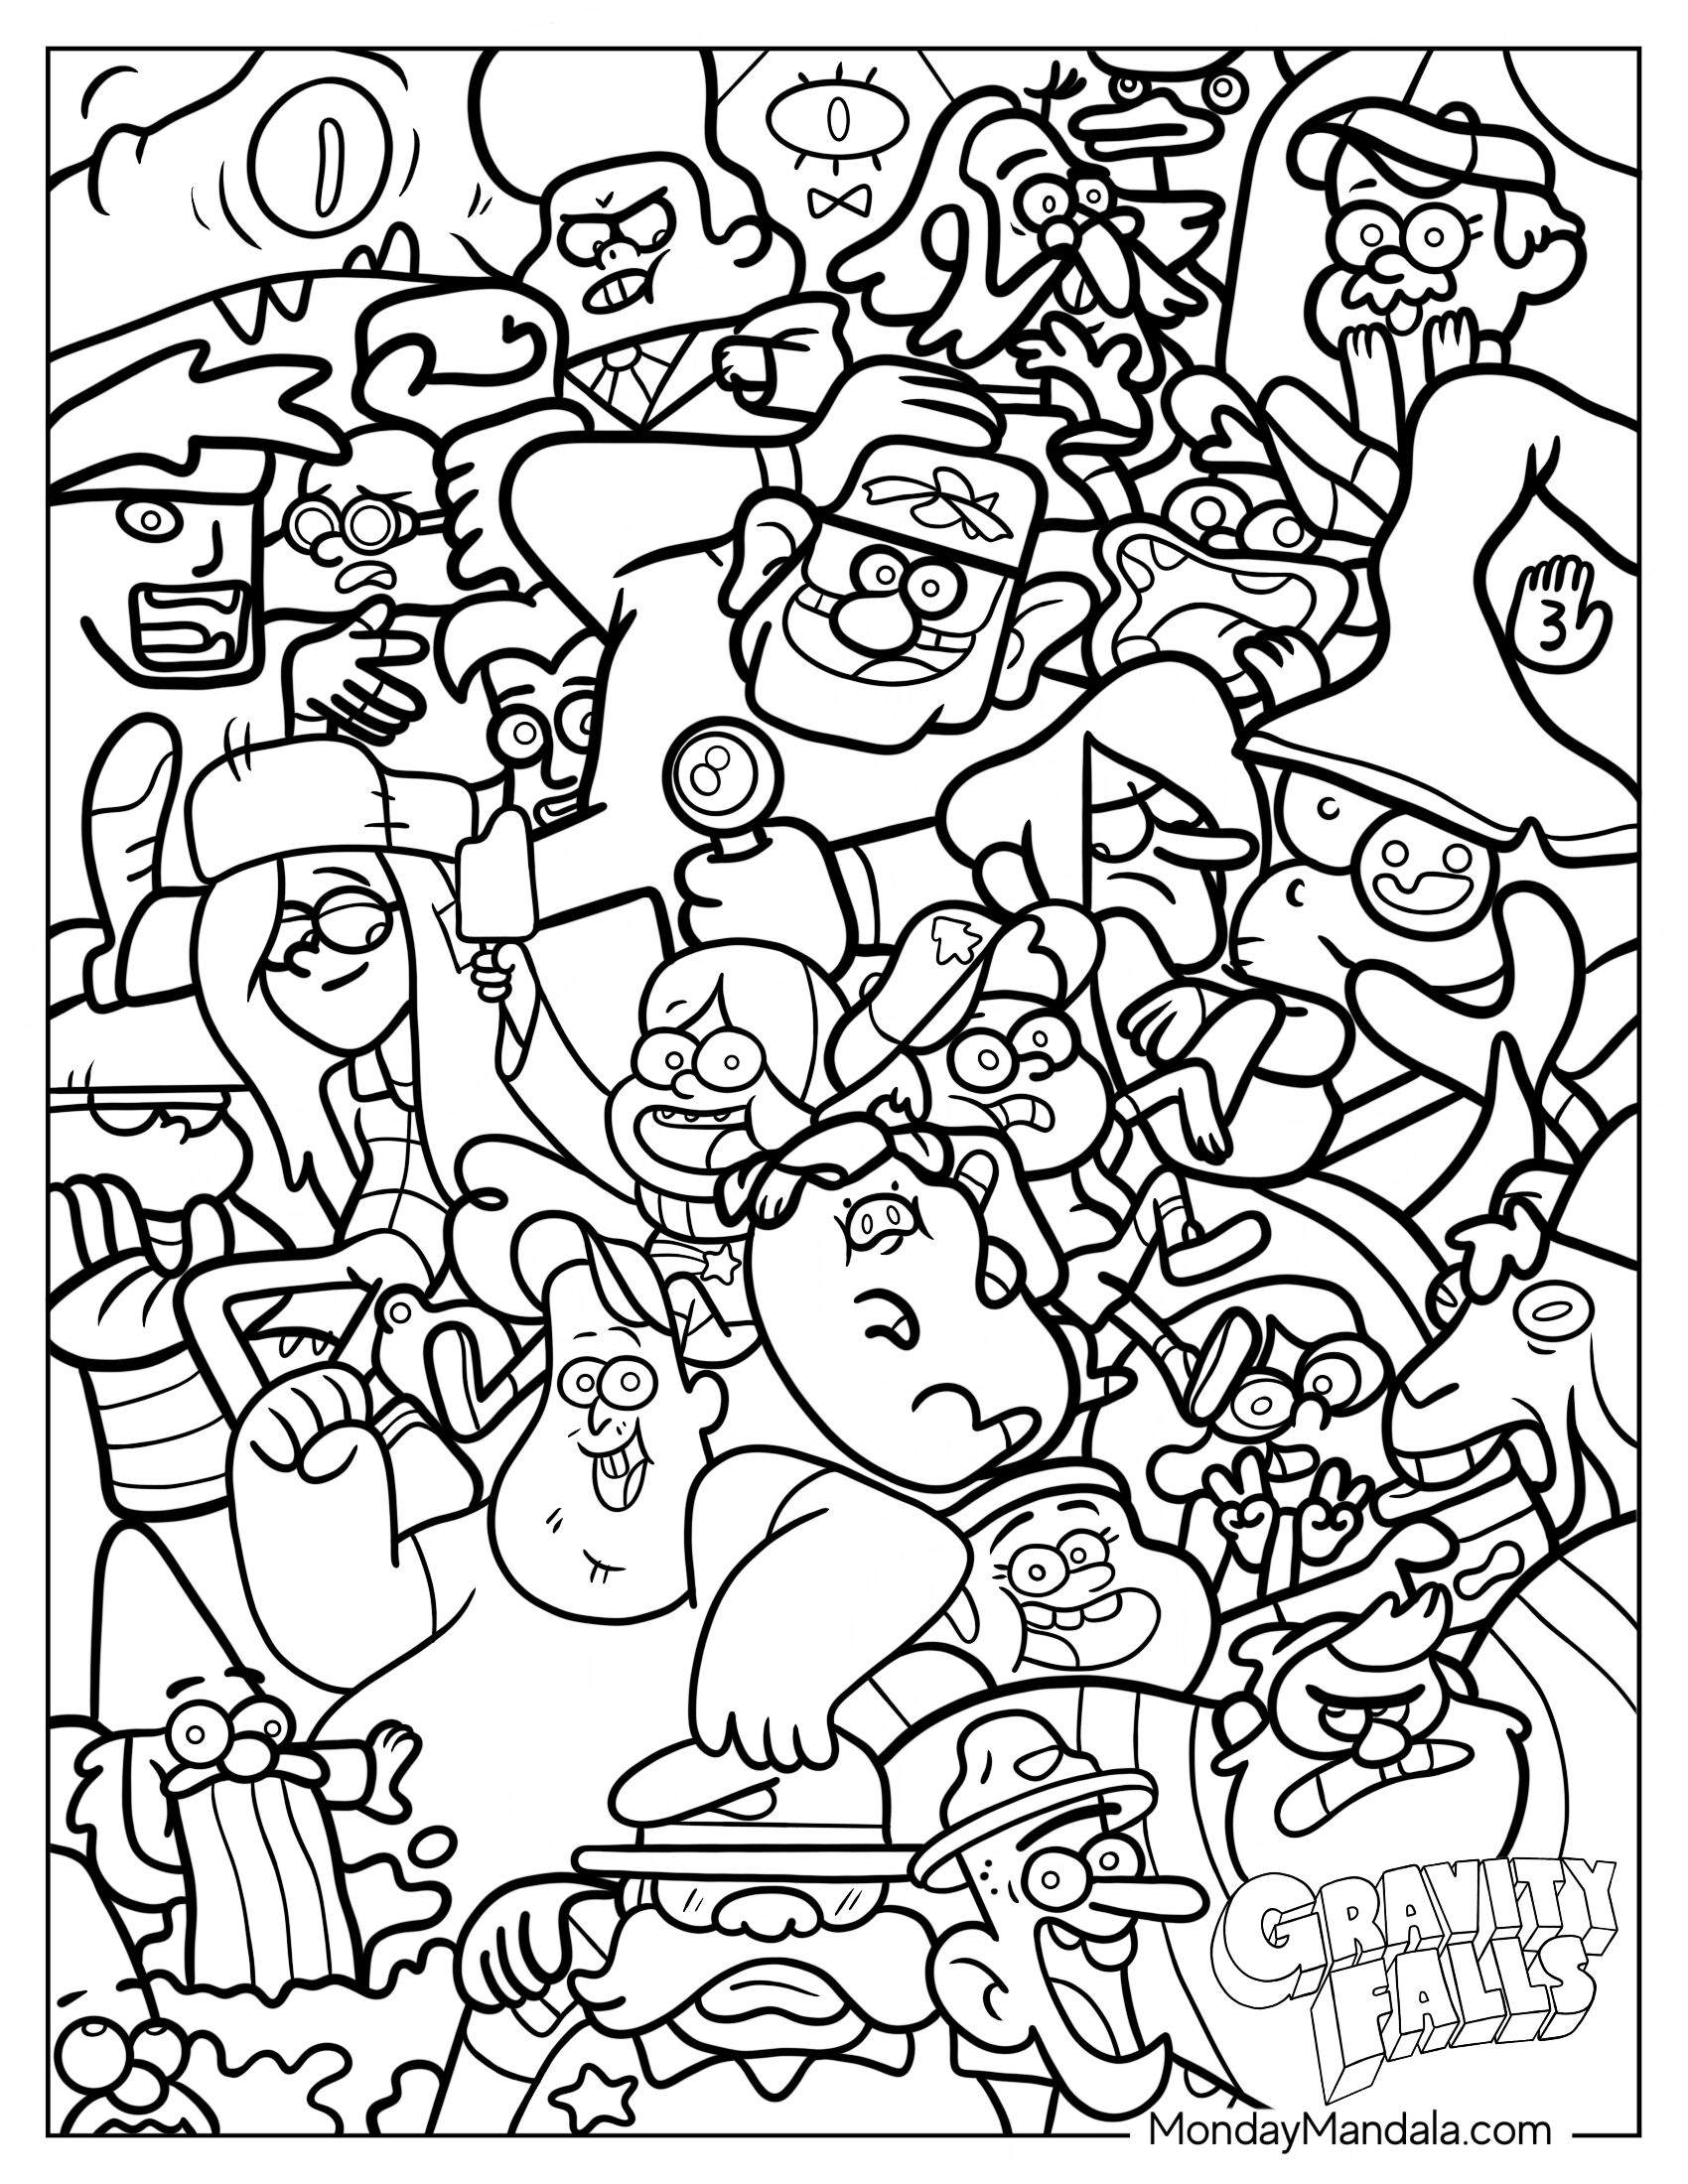
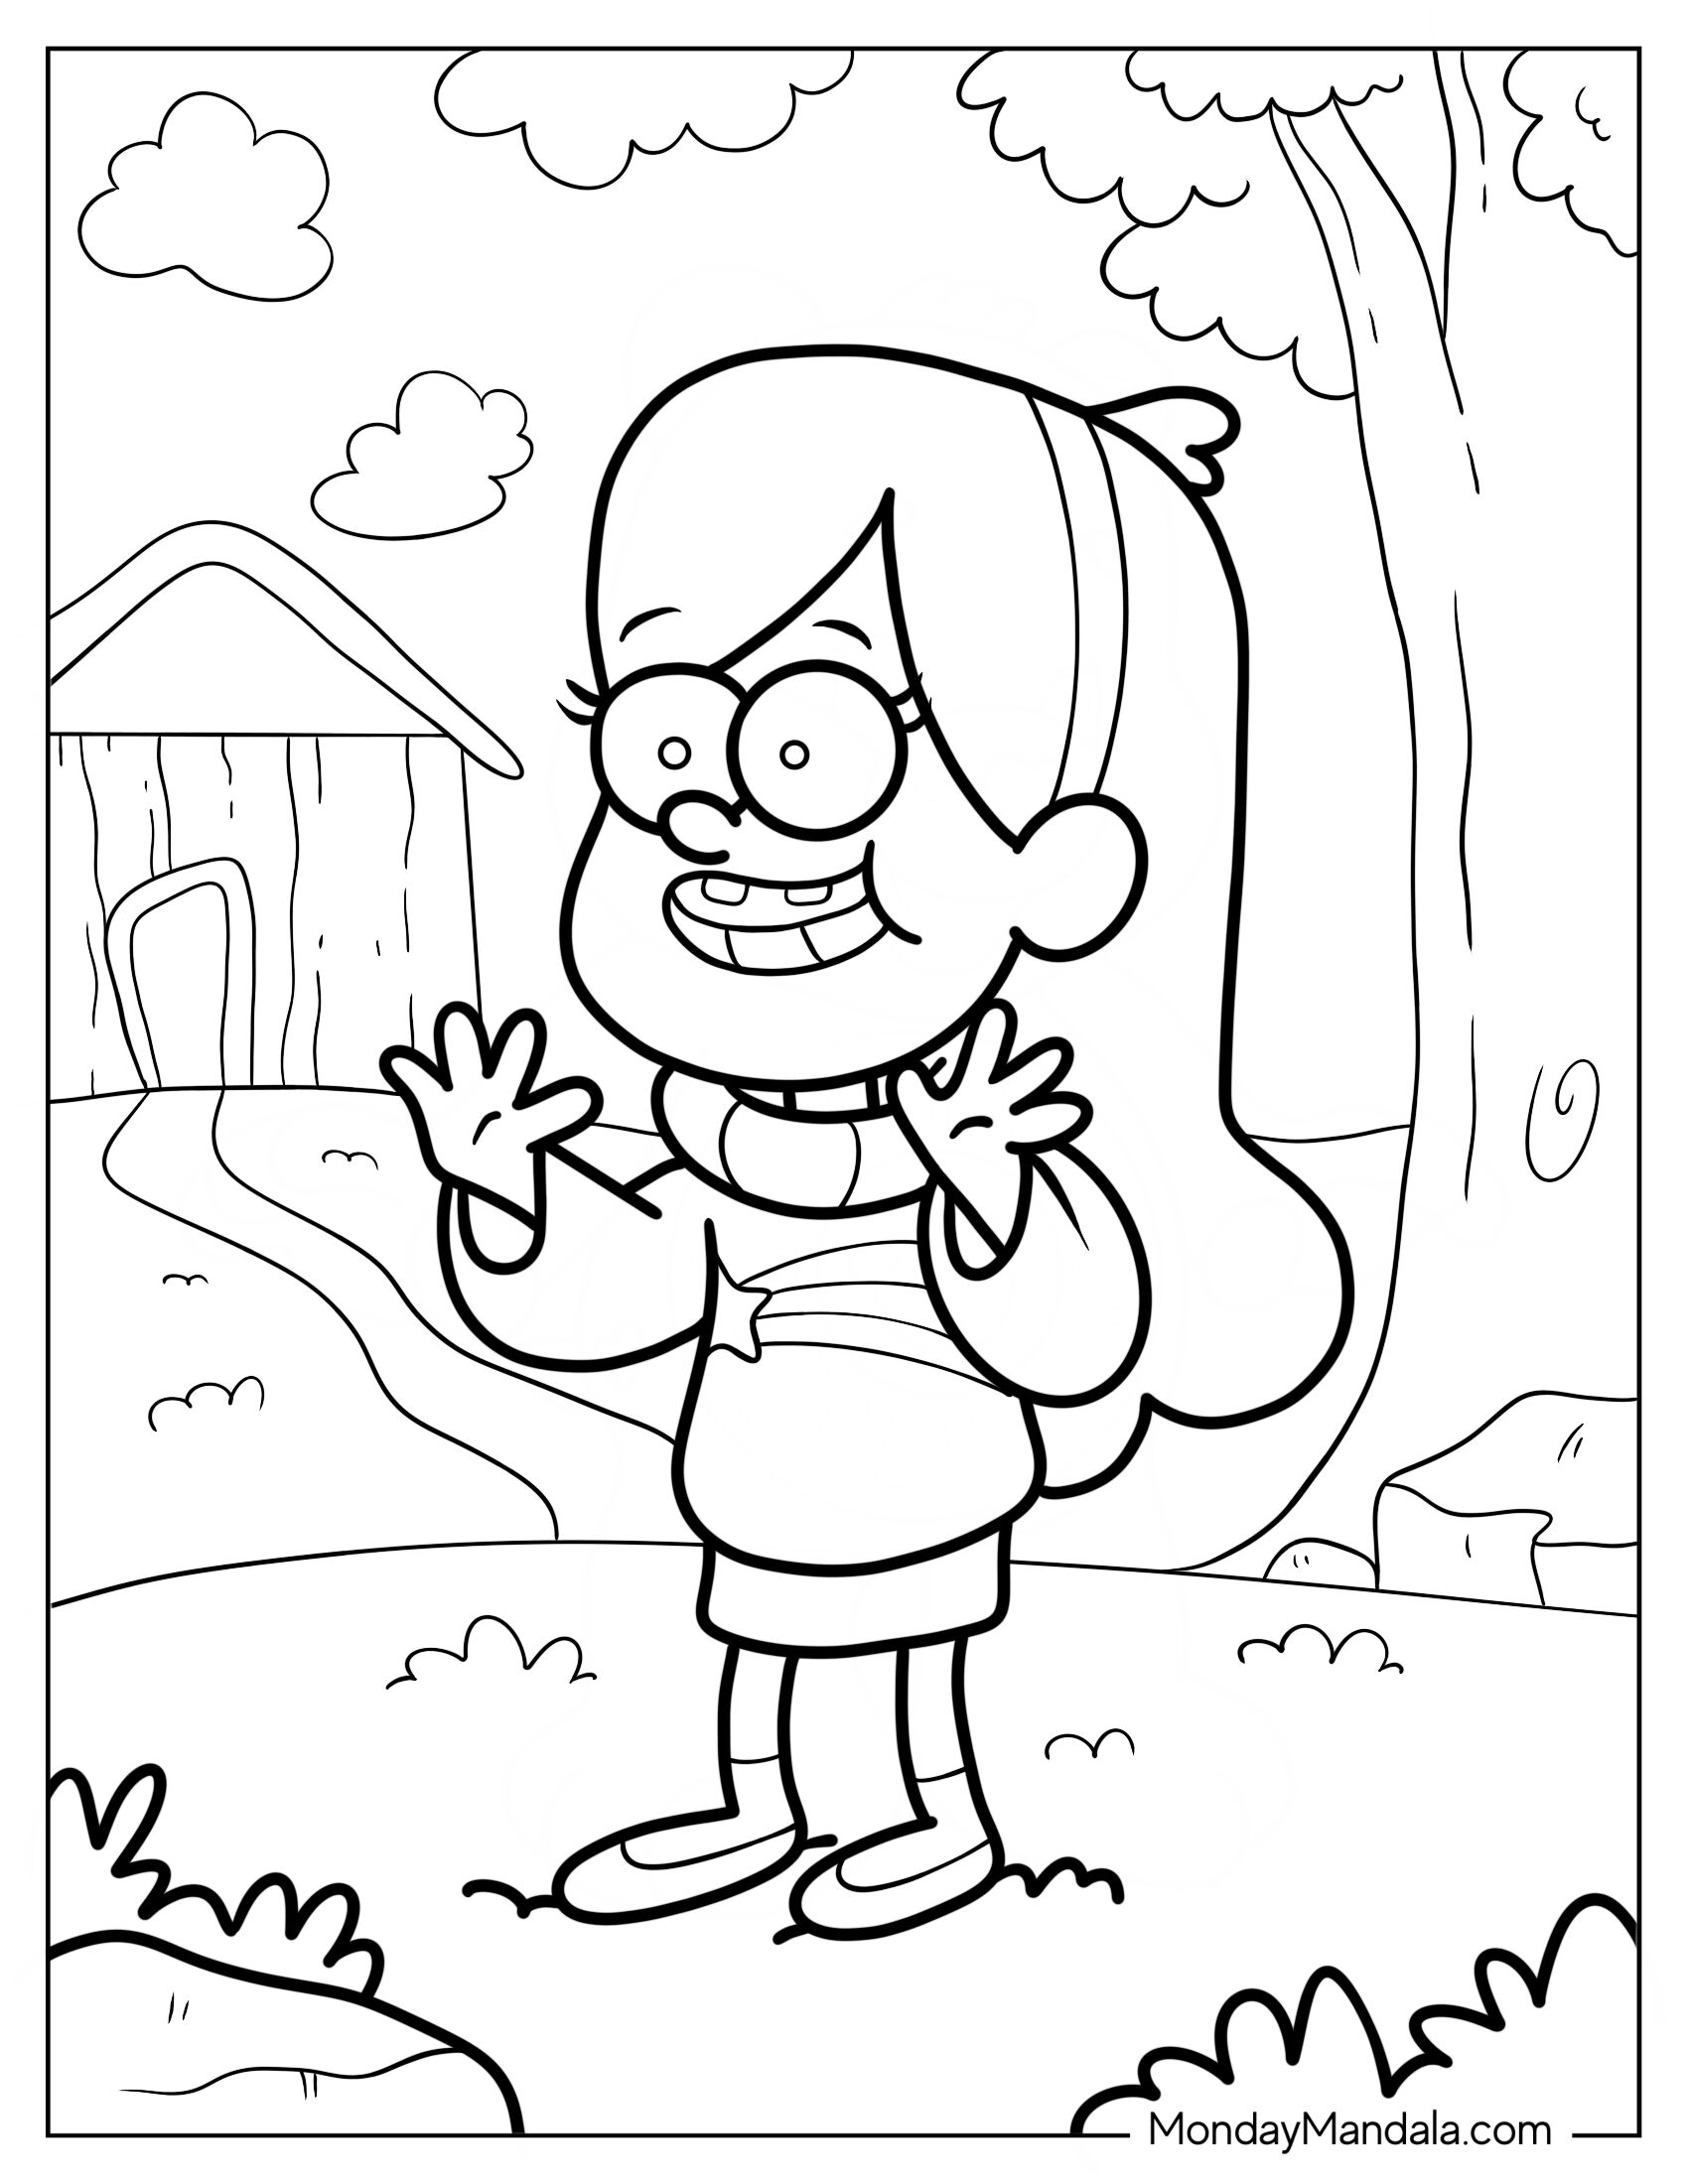
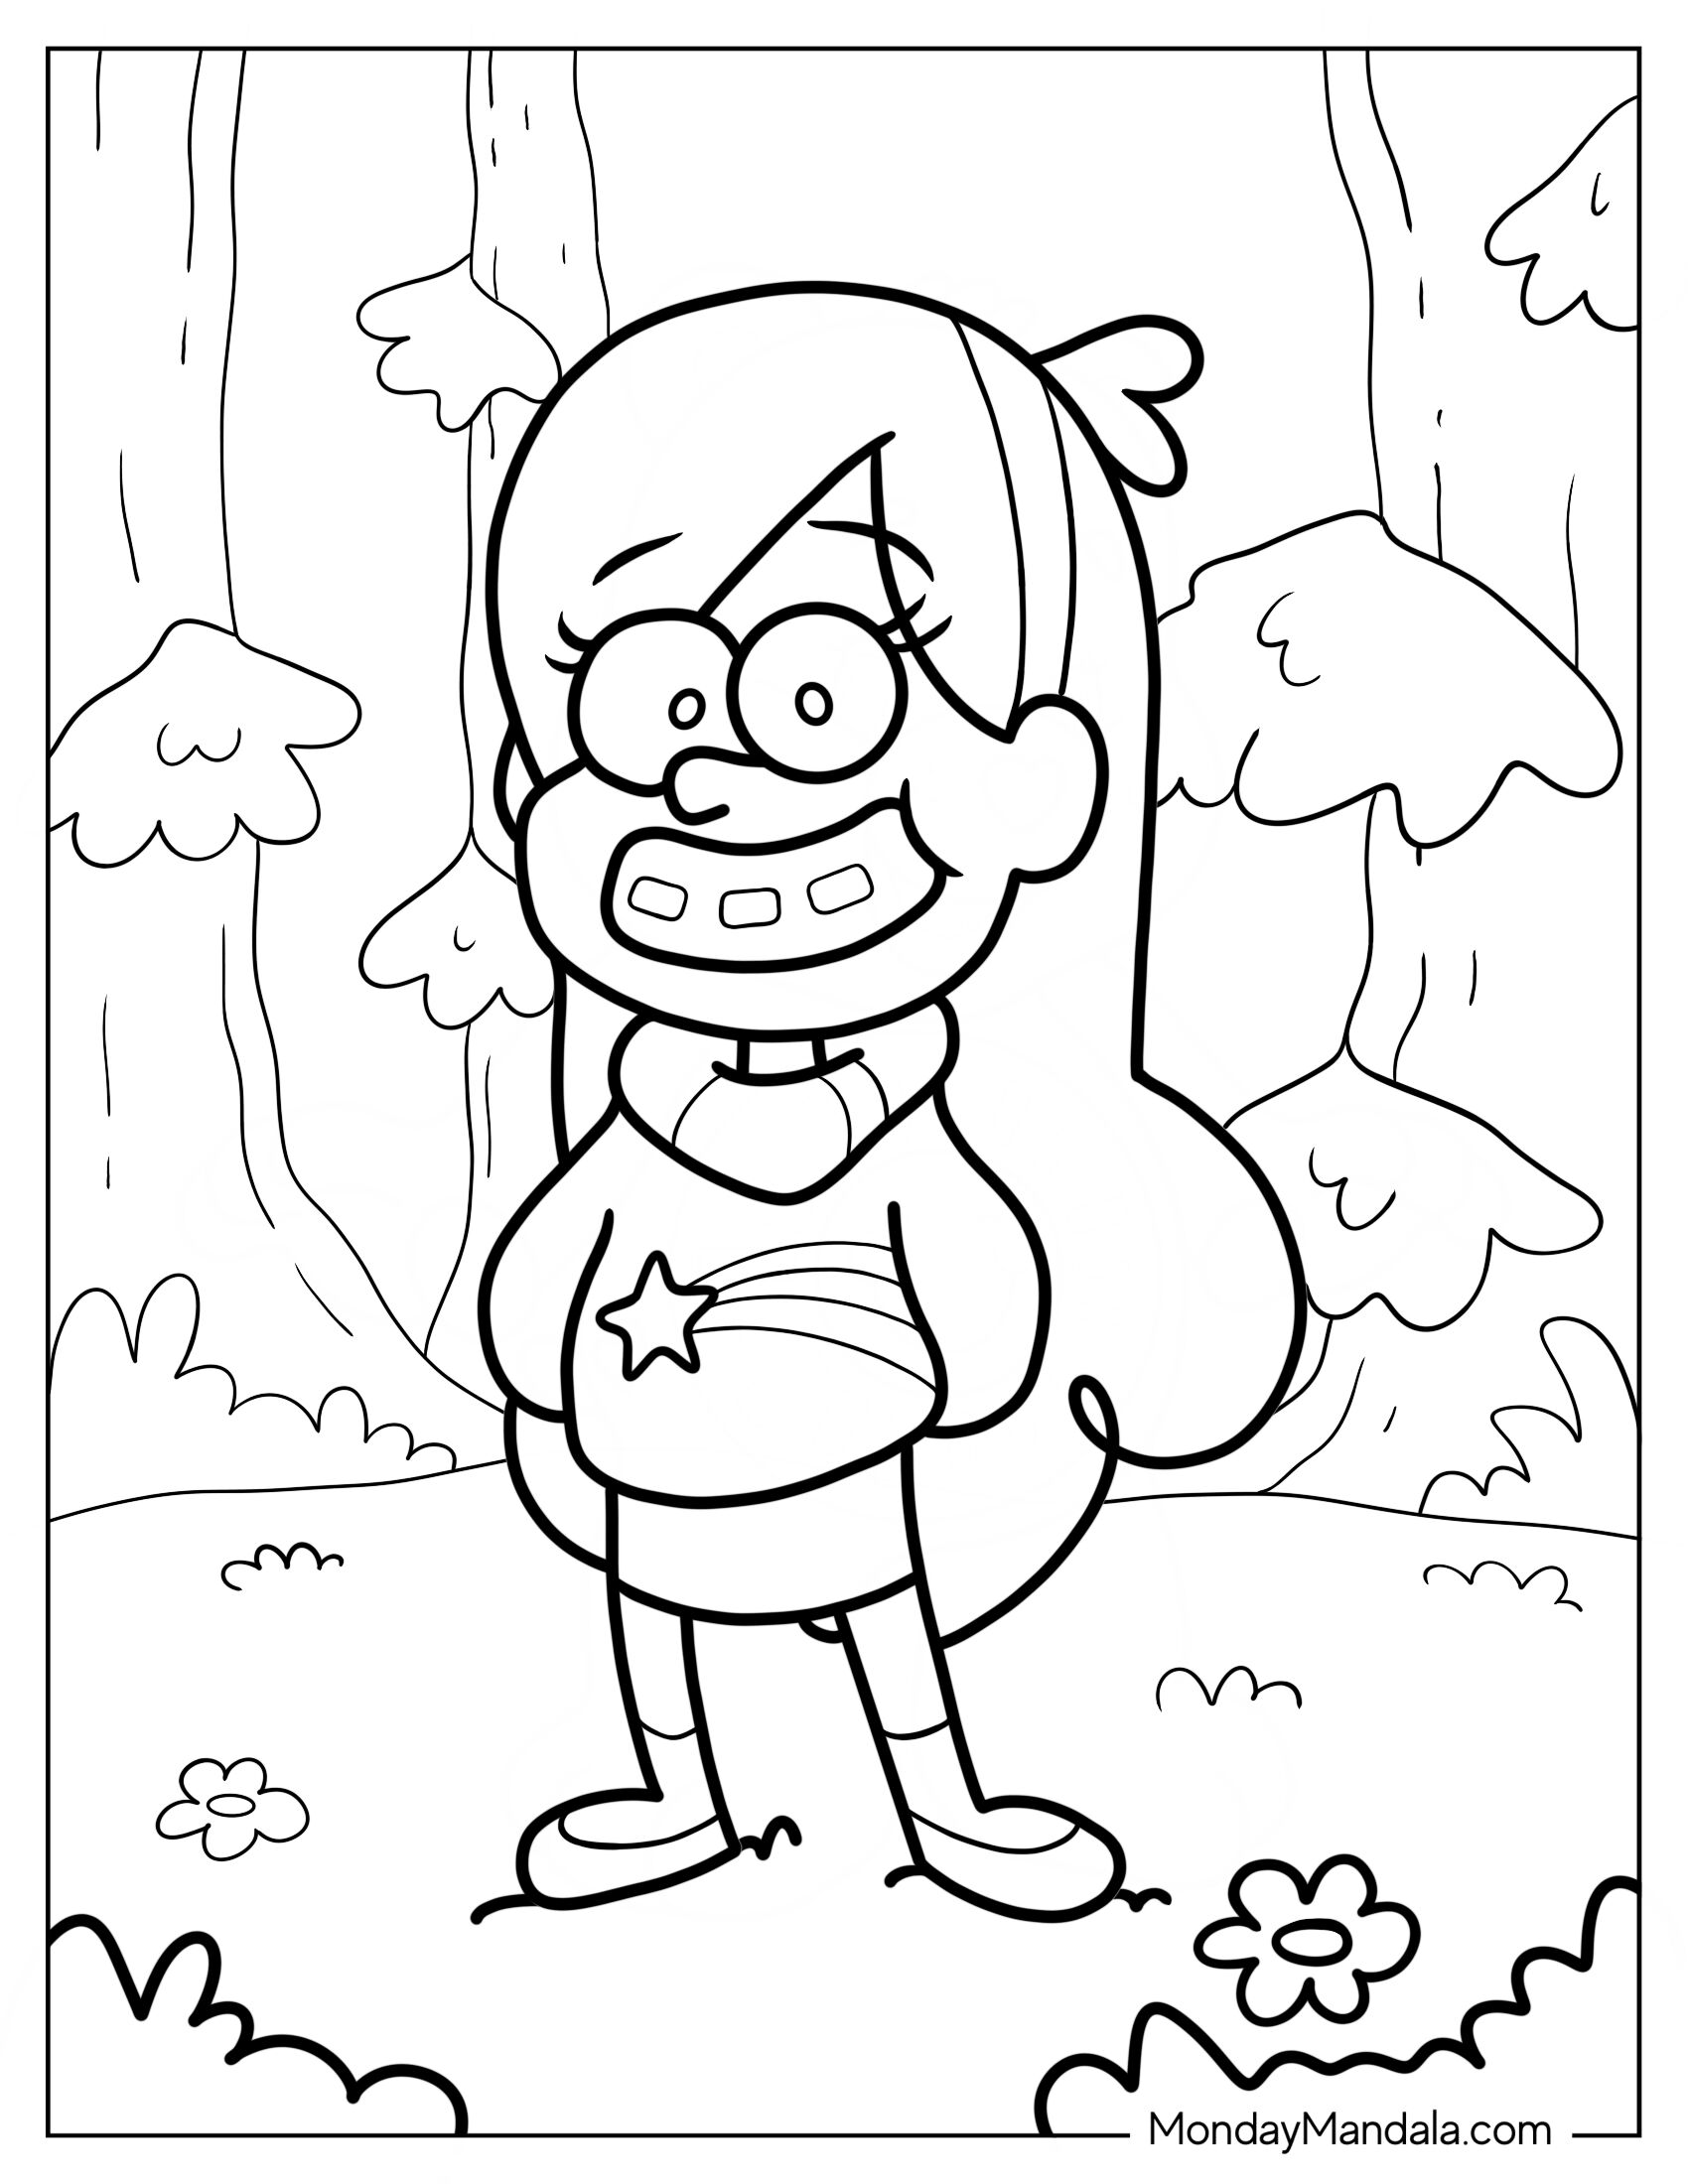
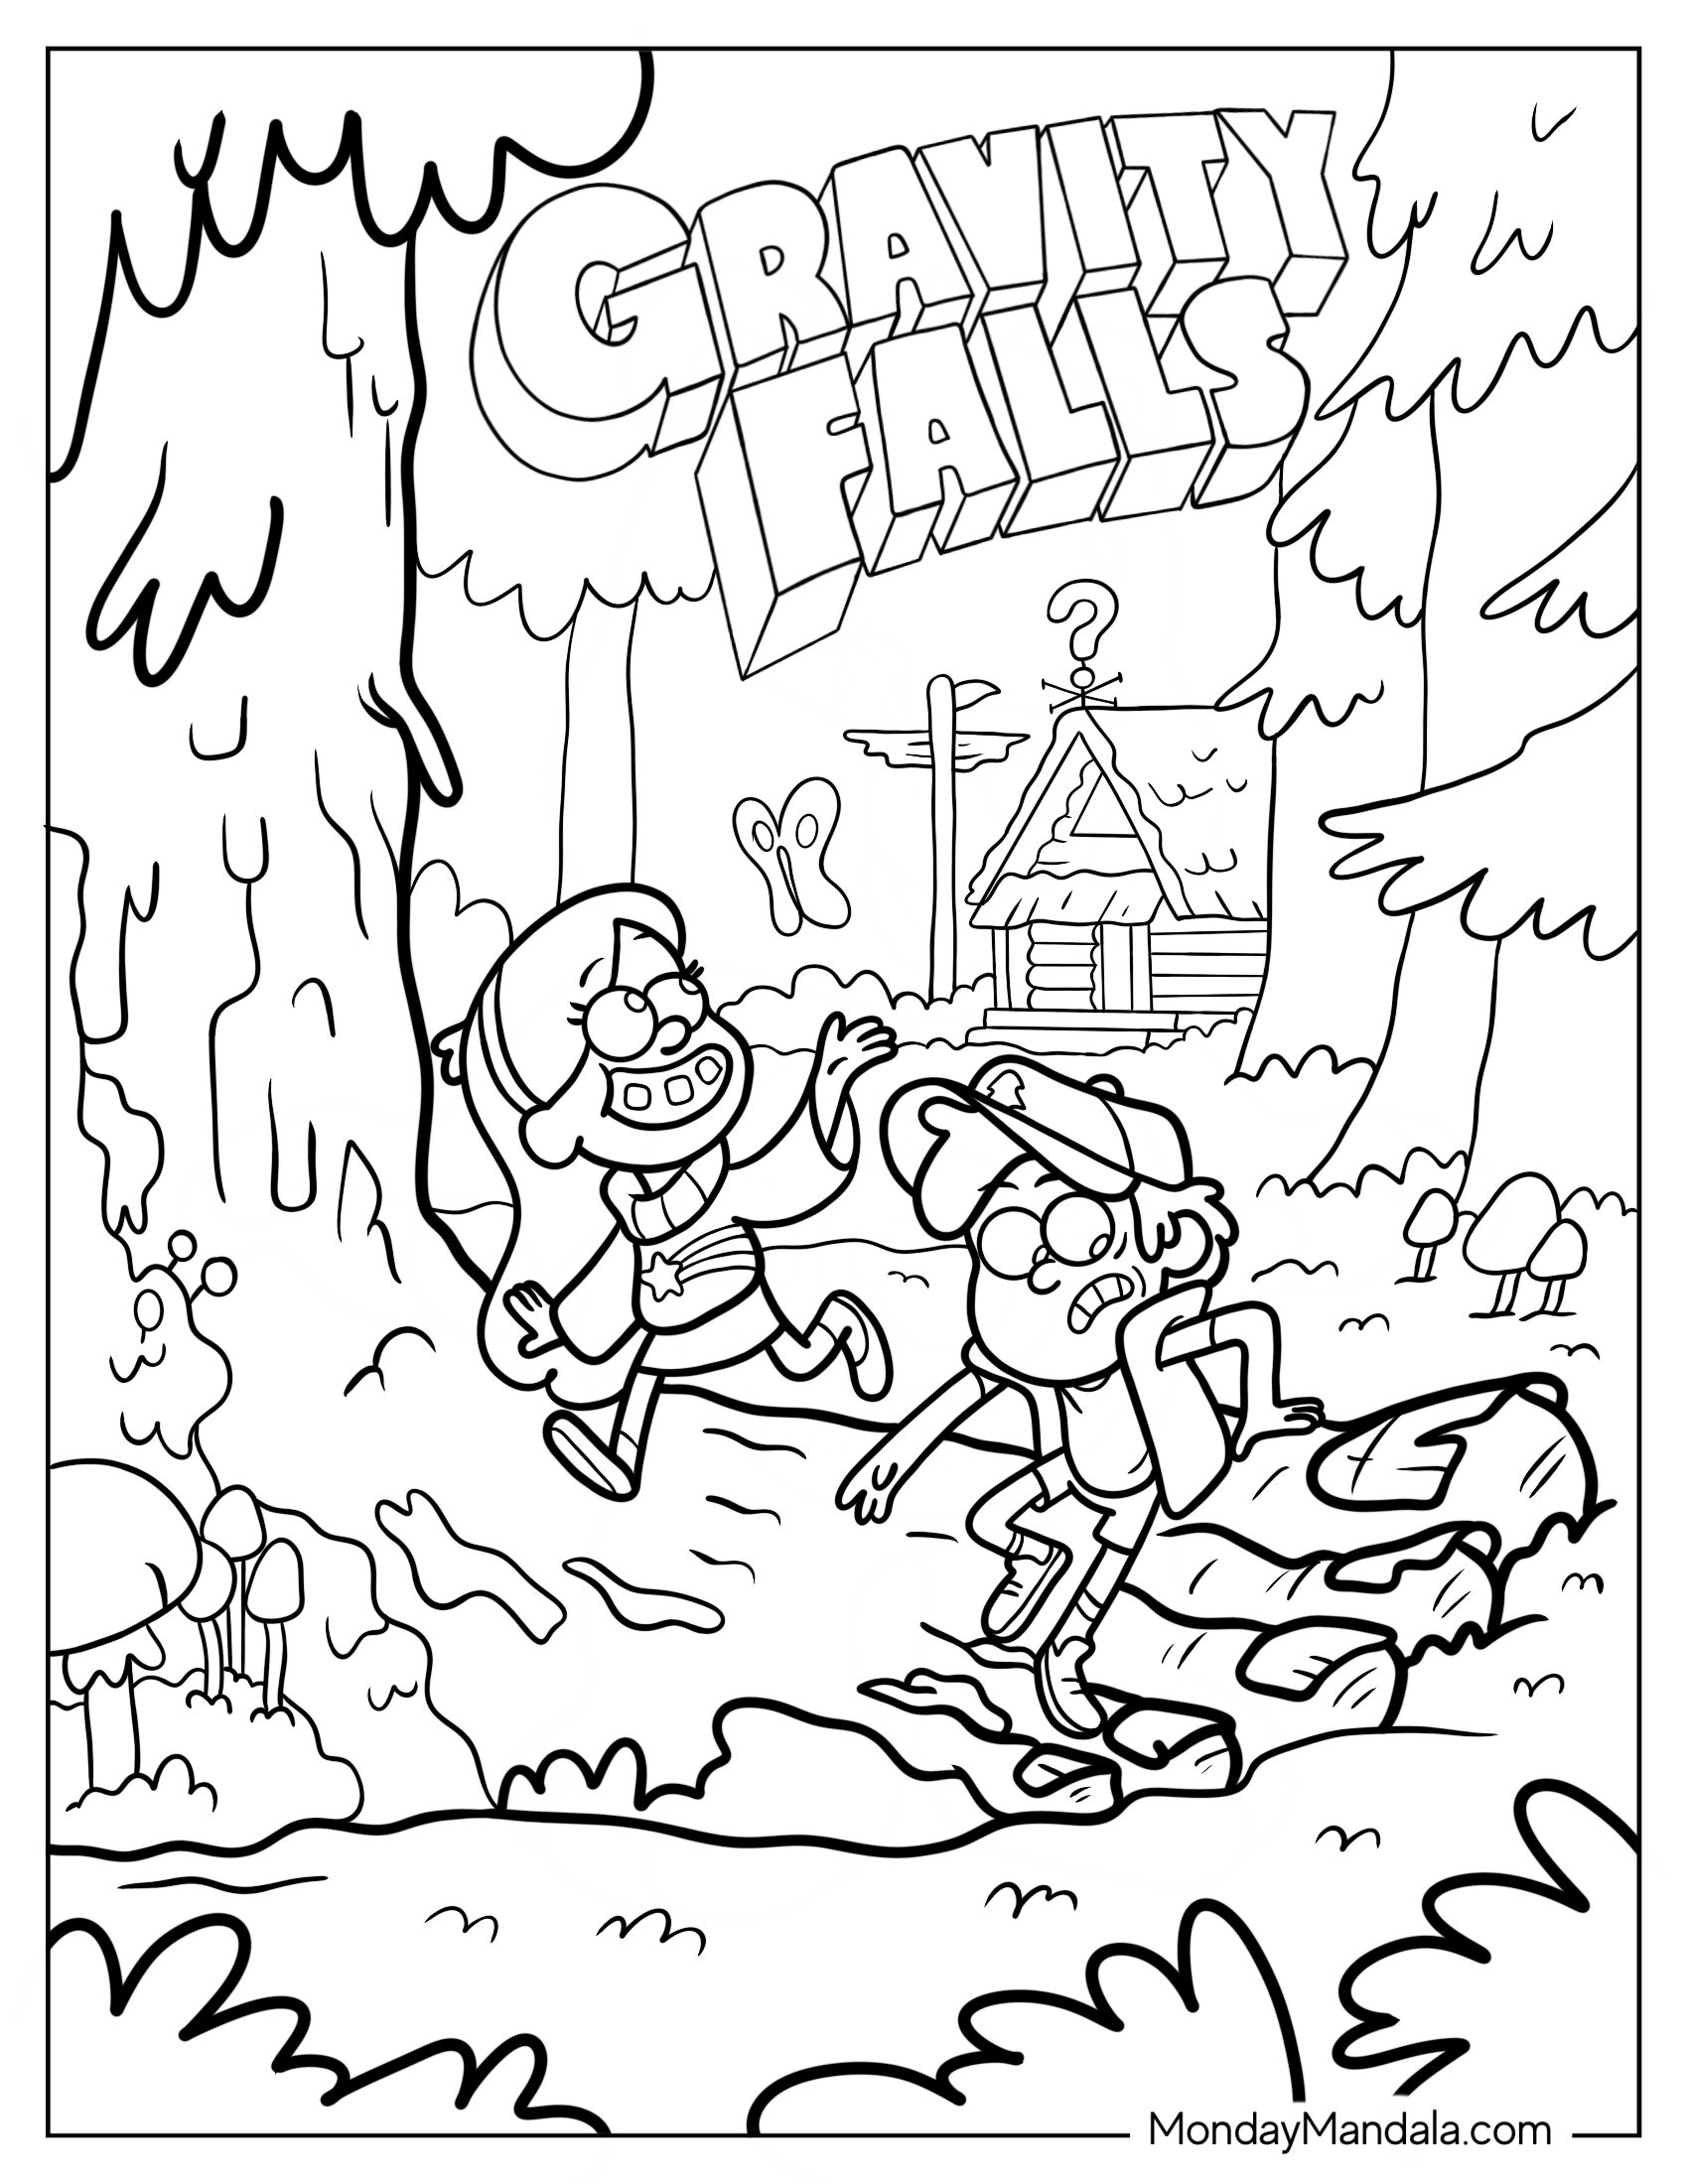
Gravity Falls, a popular animated TV series, has captured the hearts of many with its unique blend of mystery, adventure, and humor. To bring this enchanting world to life, we’ve created a collection of free Gravity Falls coloring pages for kids and adults alike. These printables feature beloved characters like Dipper, Mabel, and Grunkle Stan, as well as iconic locations like the Mystery Shack and the Enchanted Forest. Whether you’re a fan of the show or just looking for a fun and creative activity, these coloring pages are sure to delight. So grab your crayons and markers, and get ready to dive into the whimsical world of Gravity Falls!