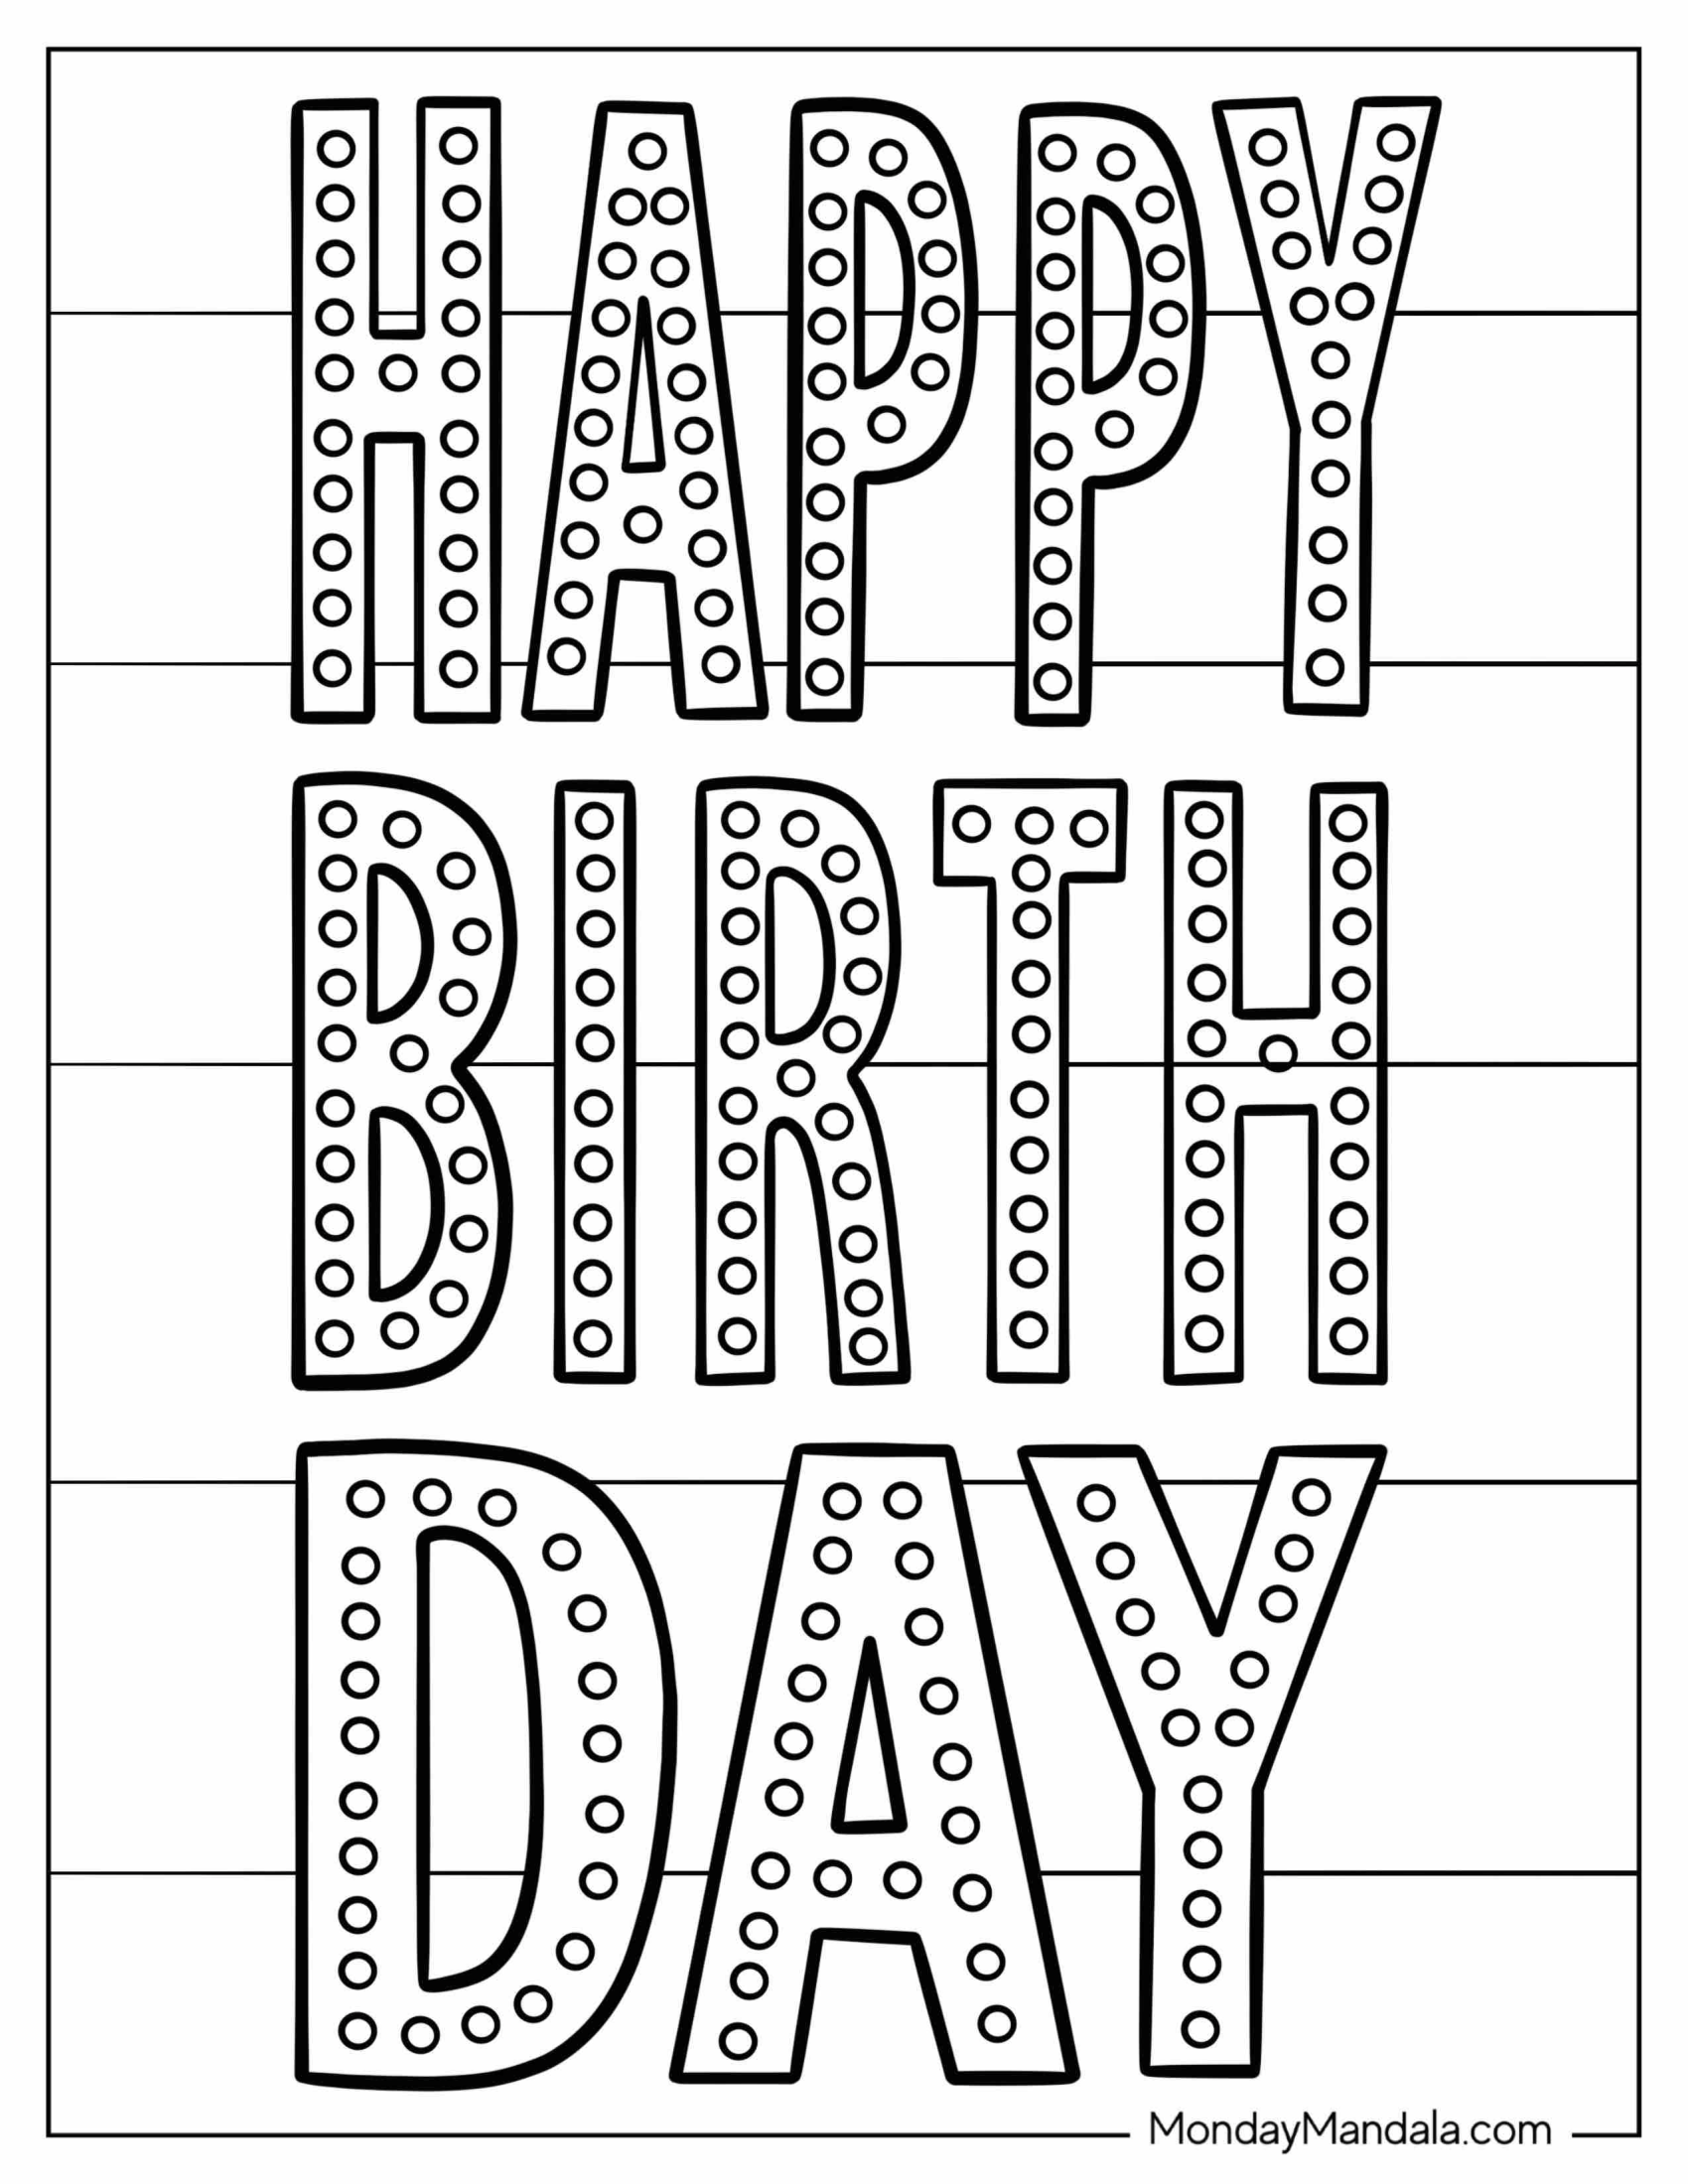
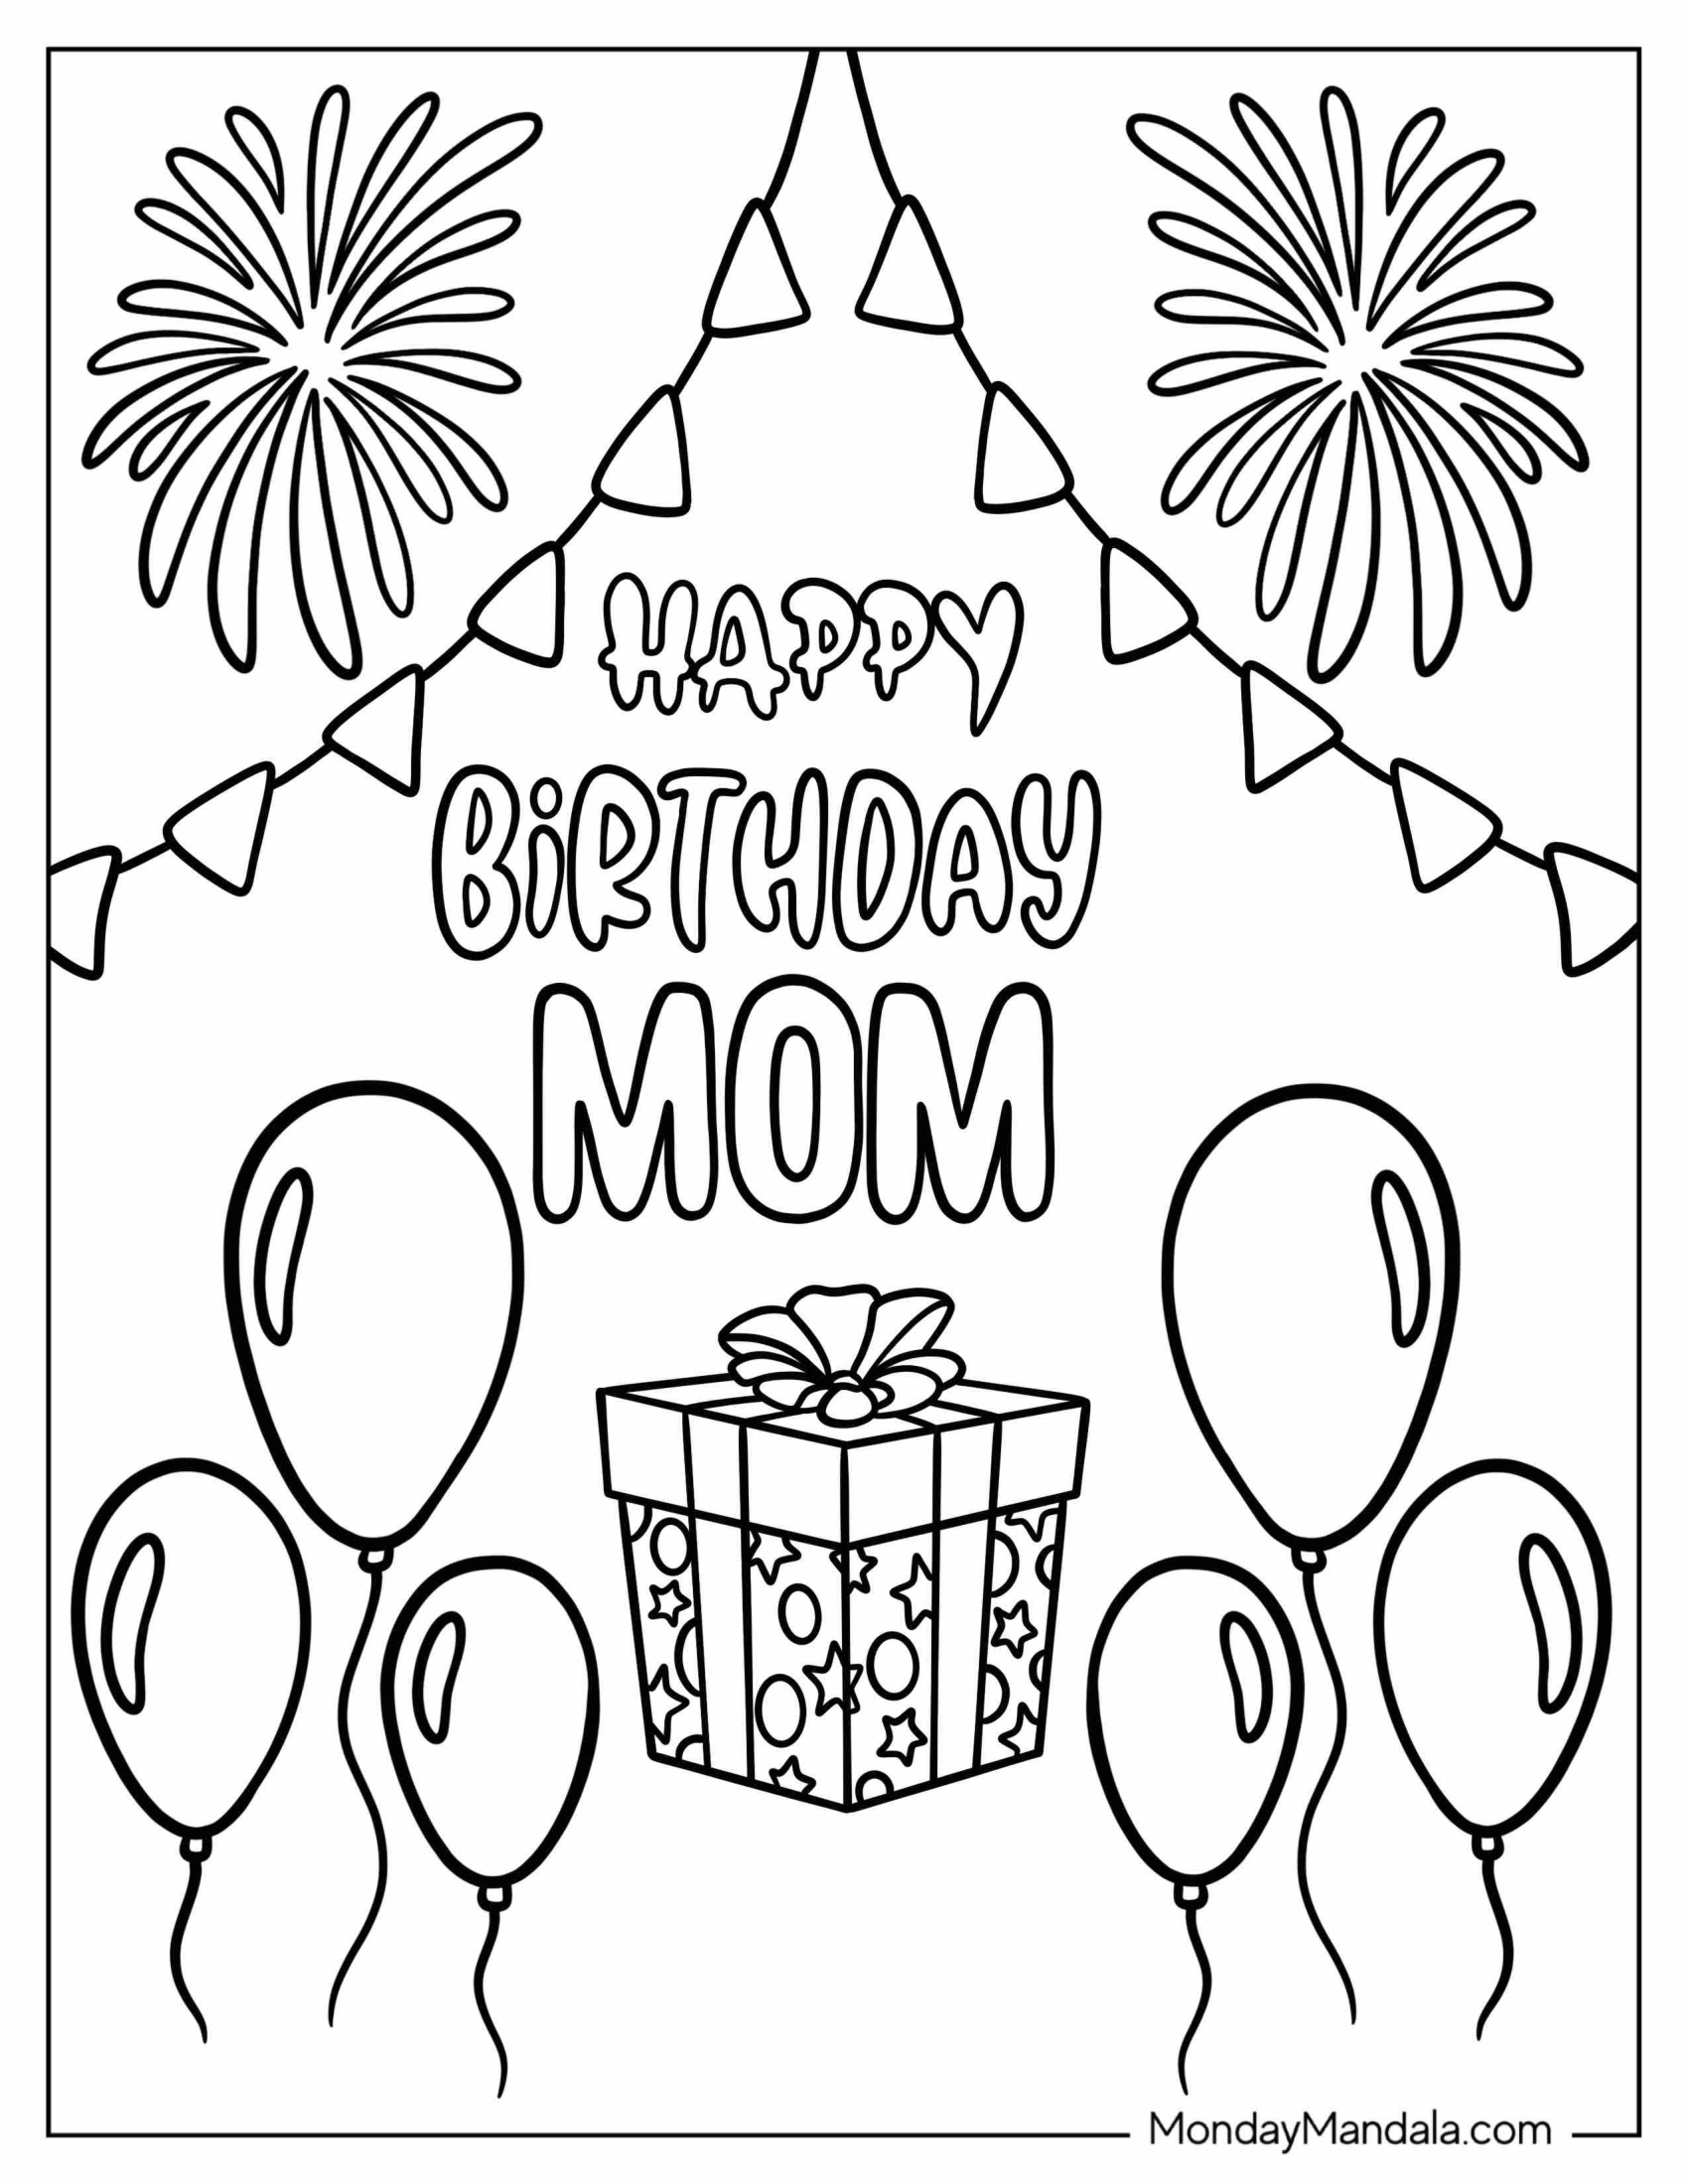
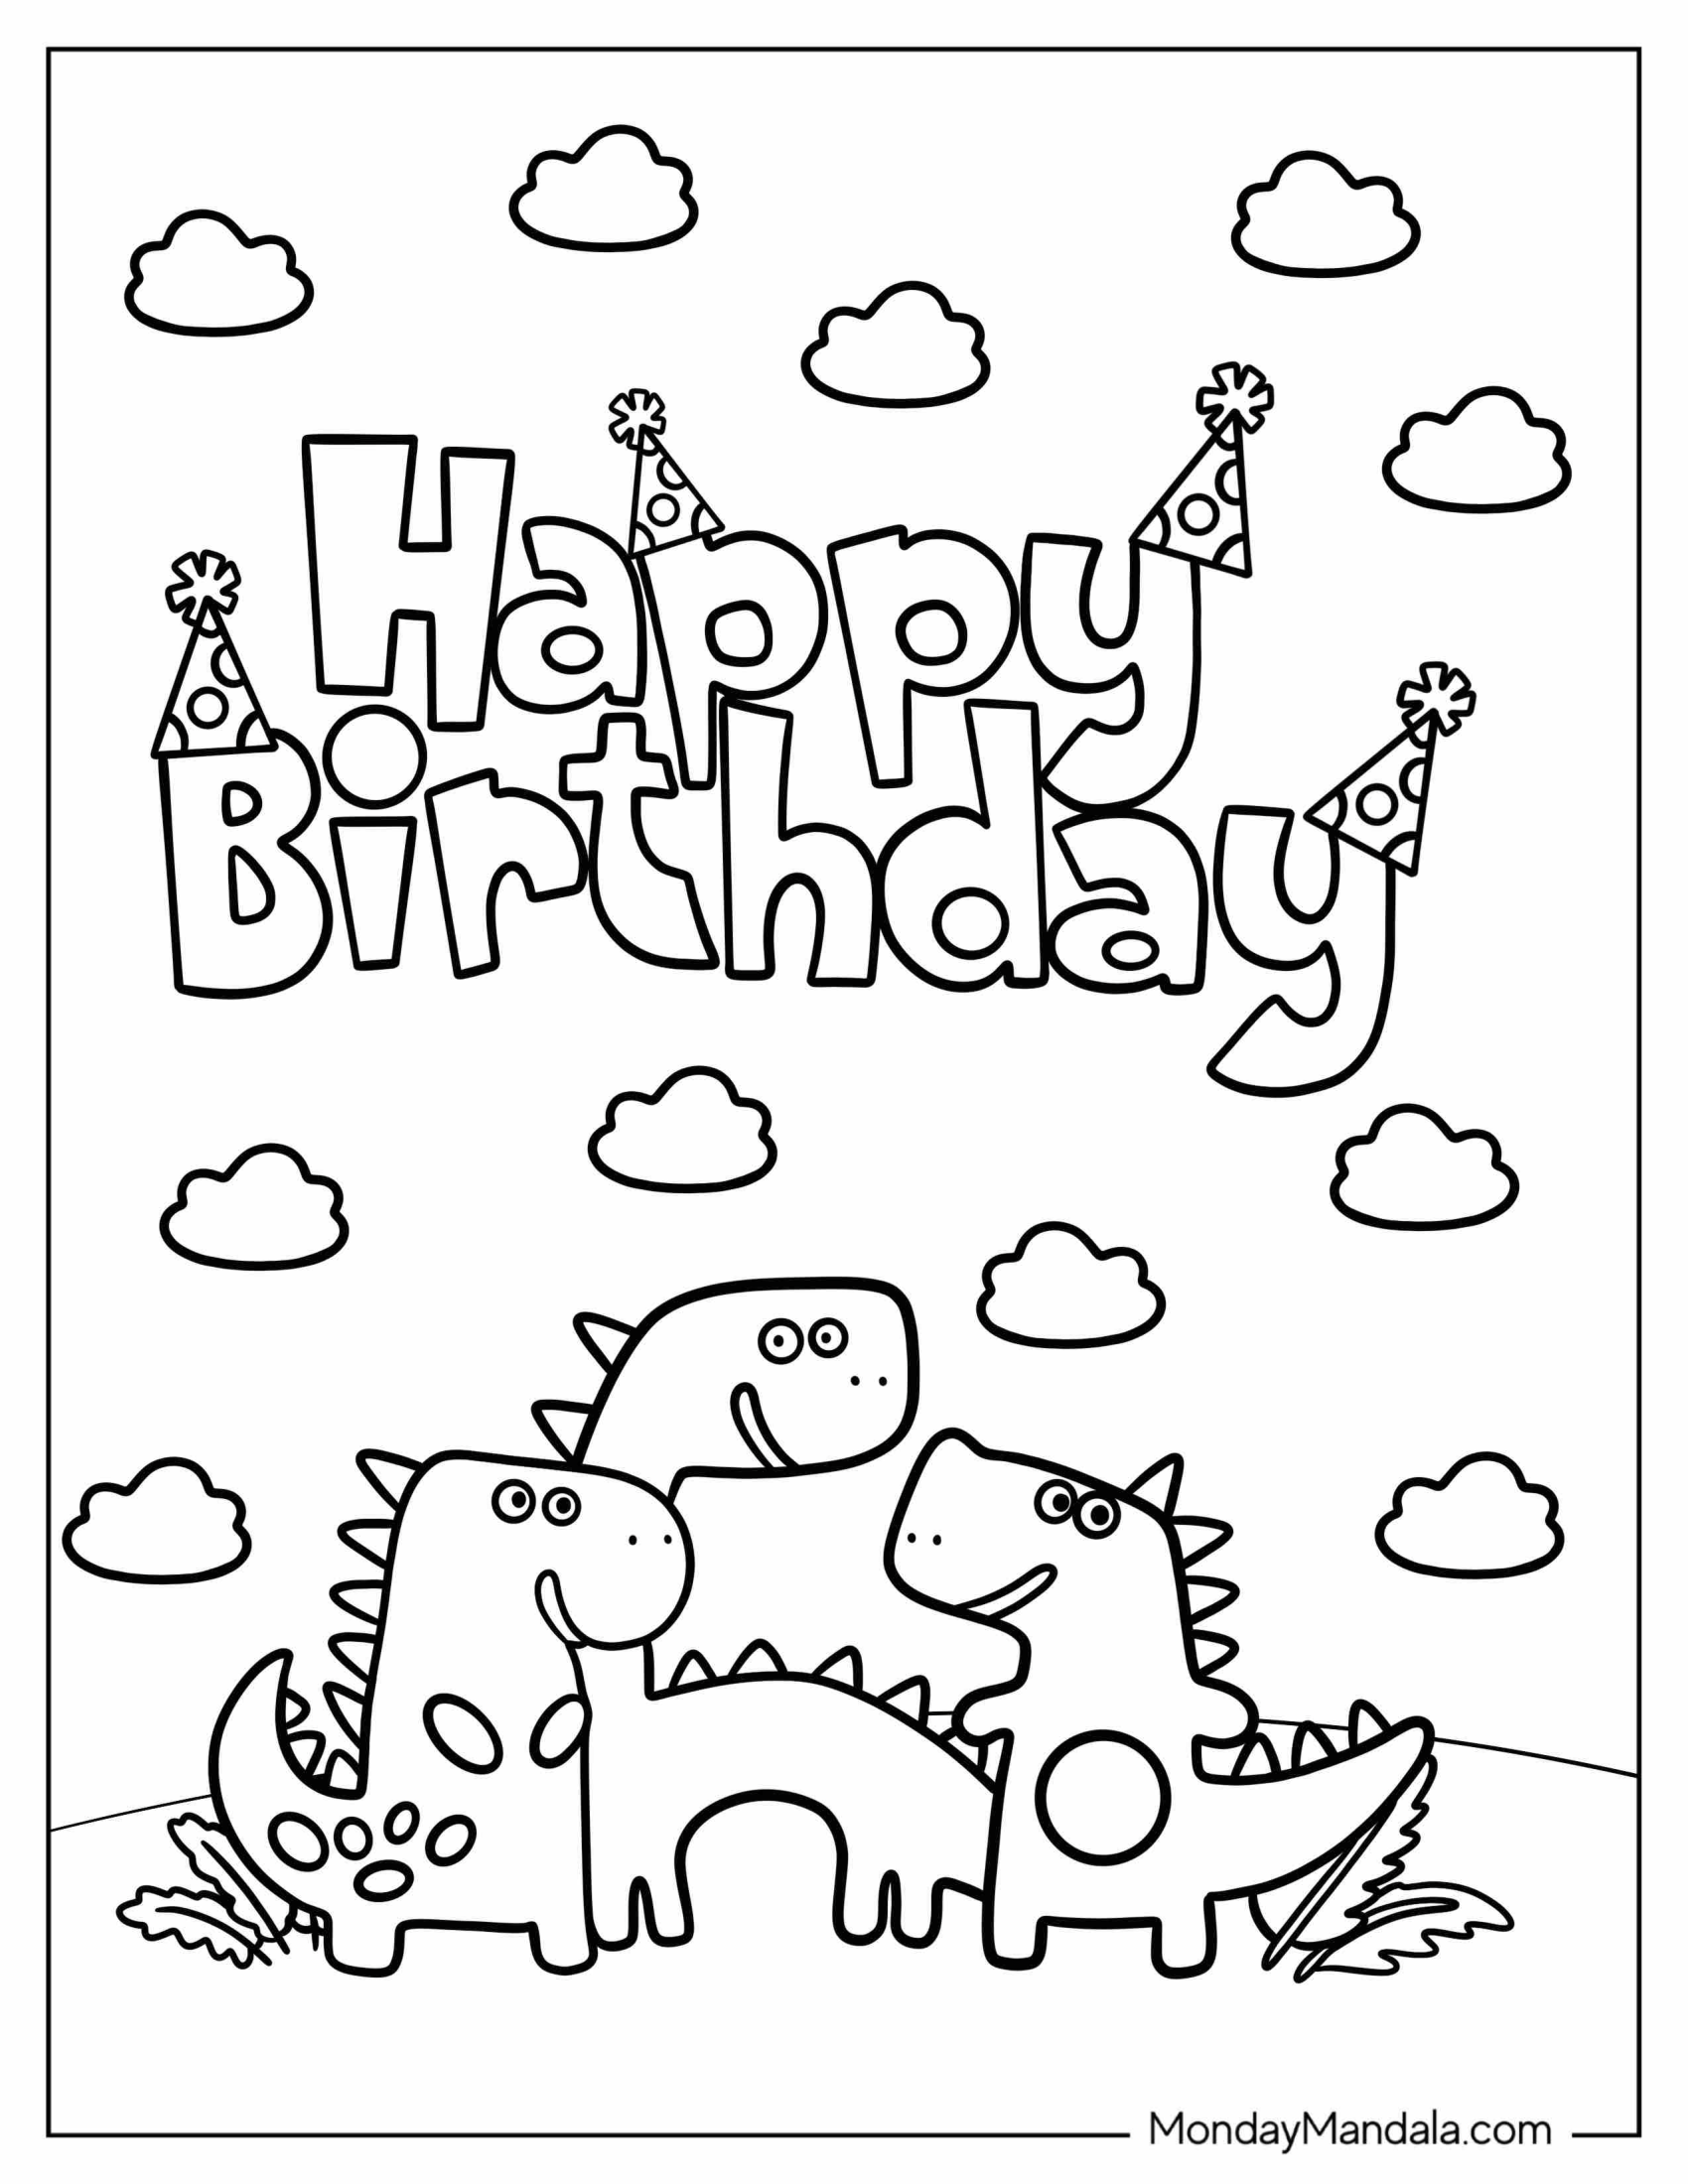
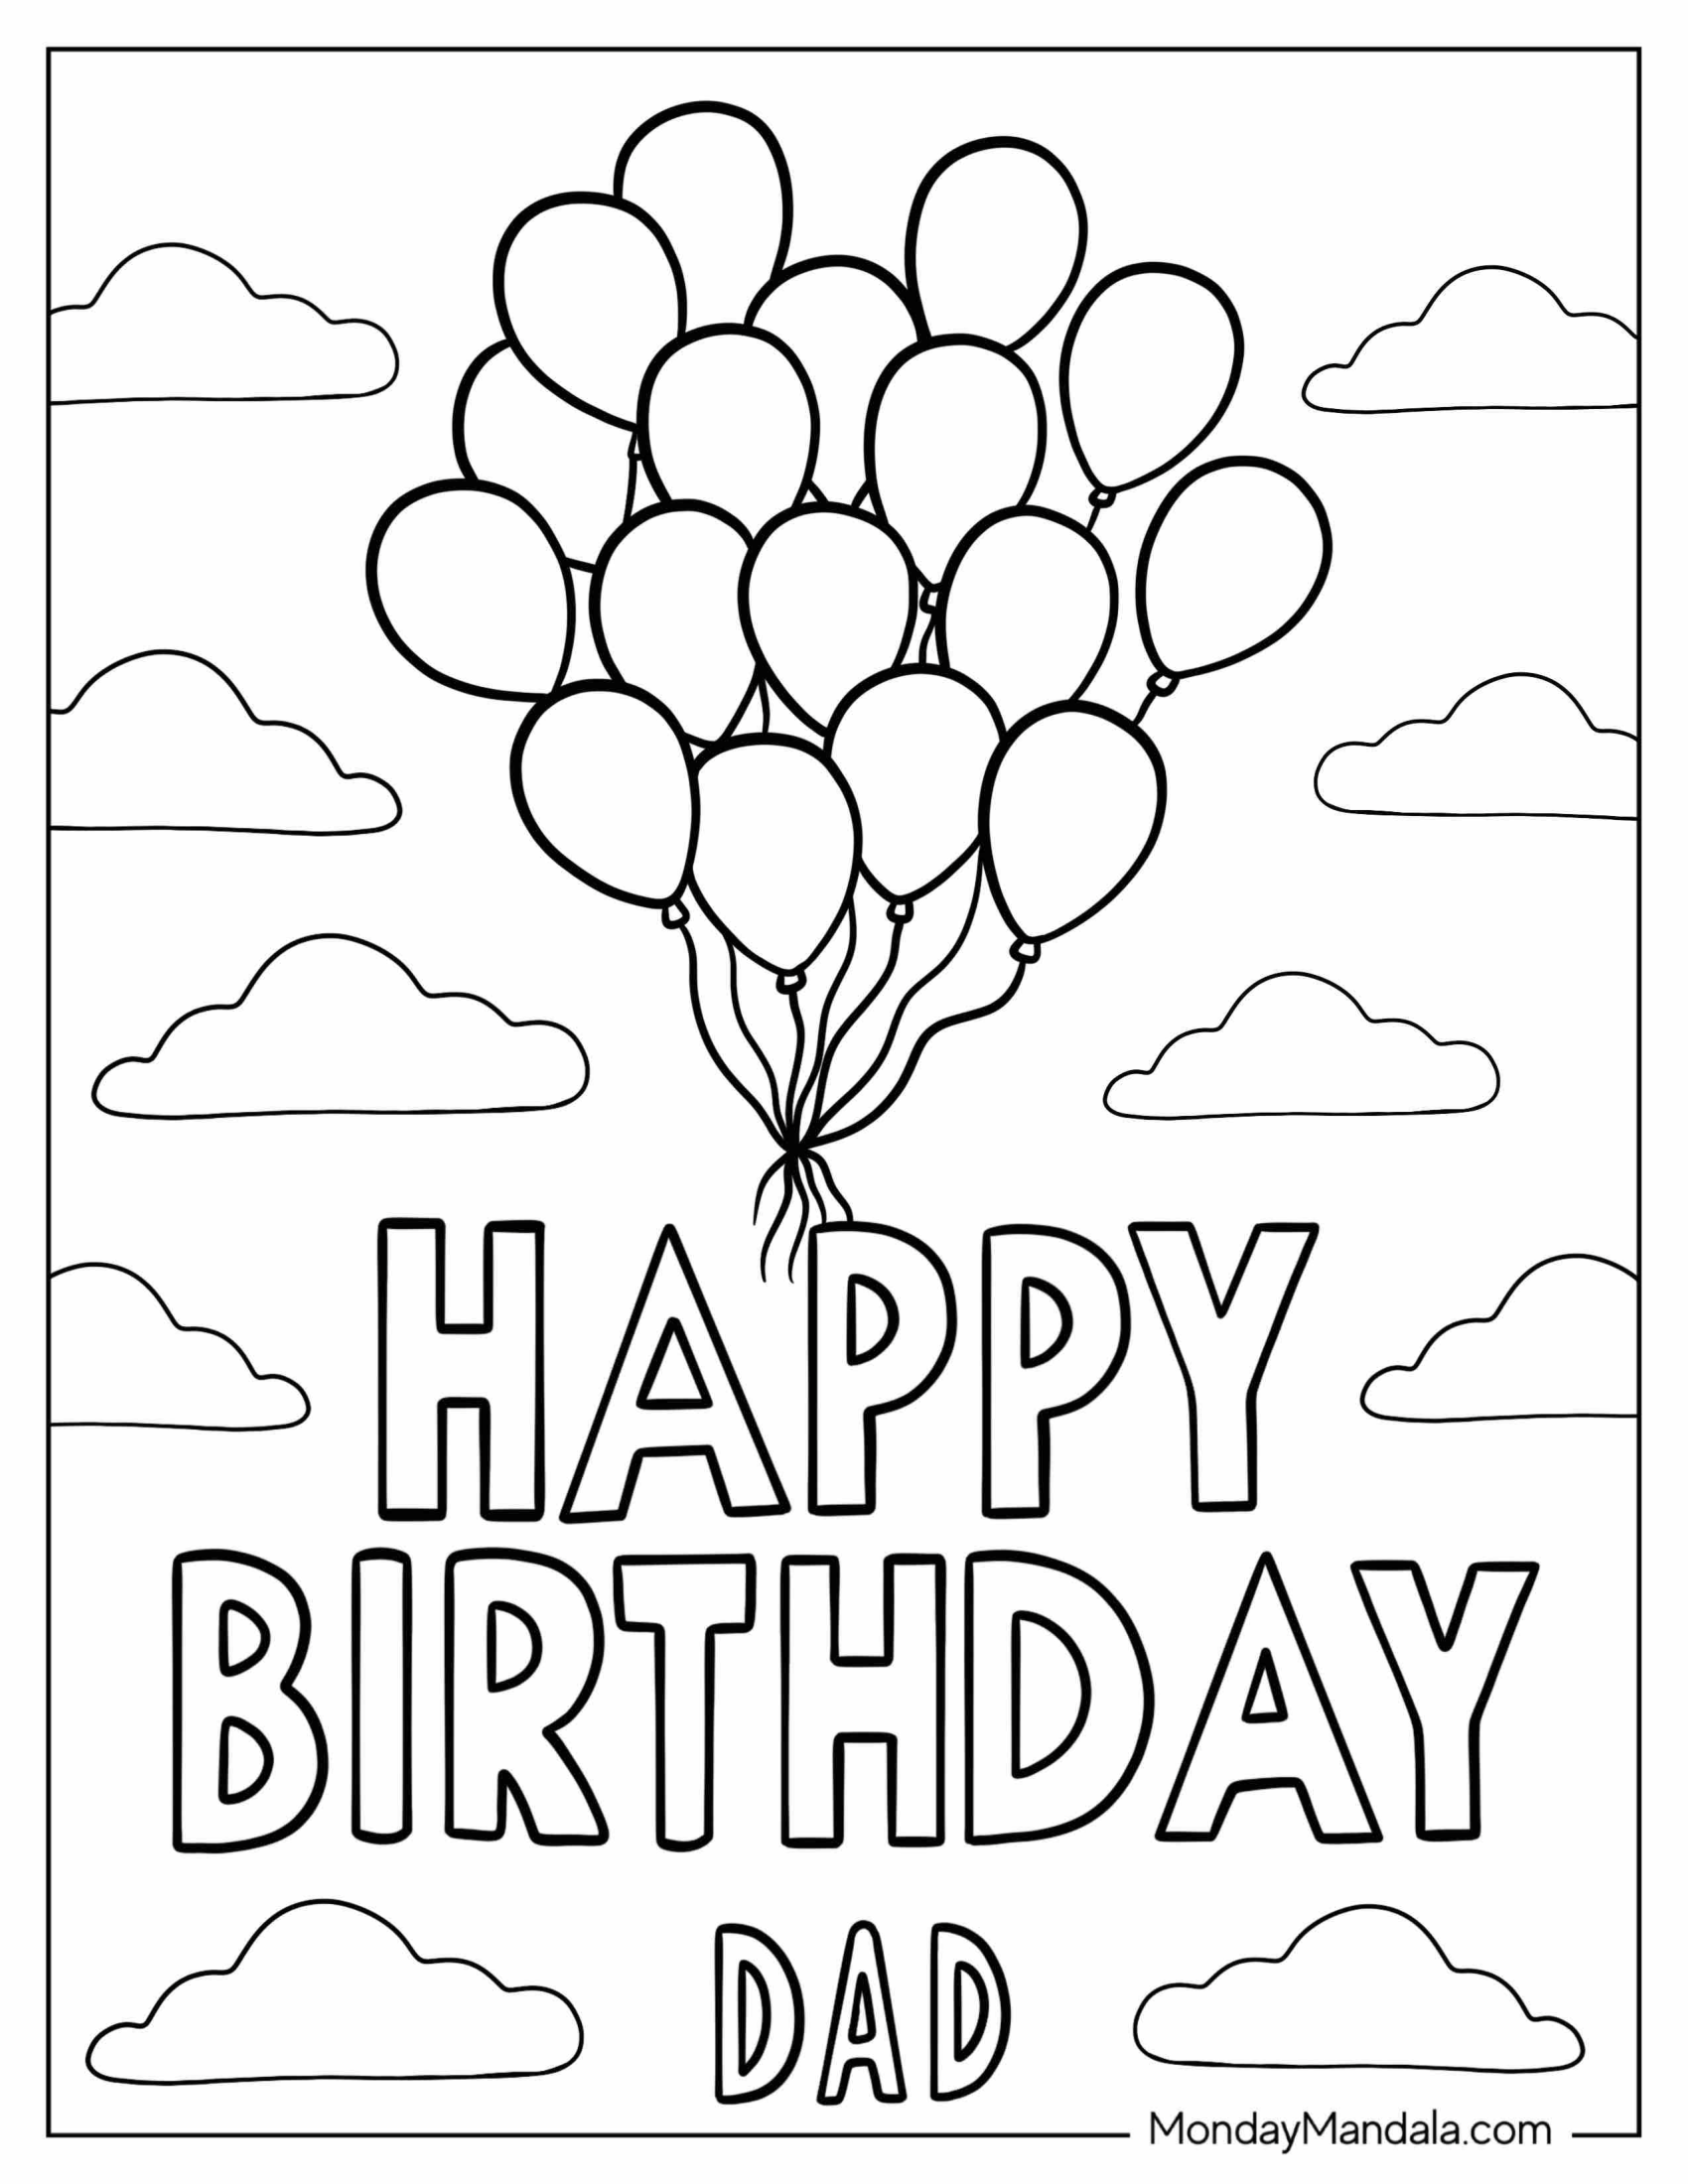
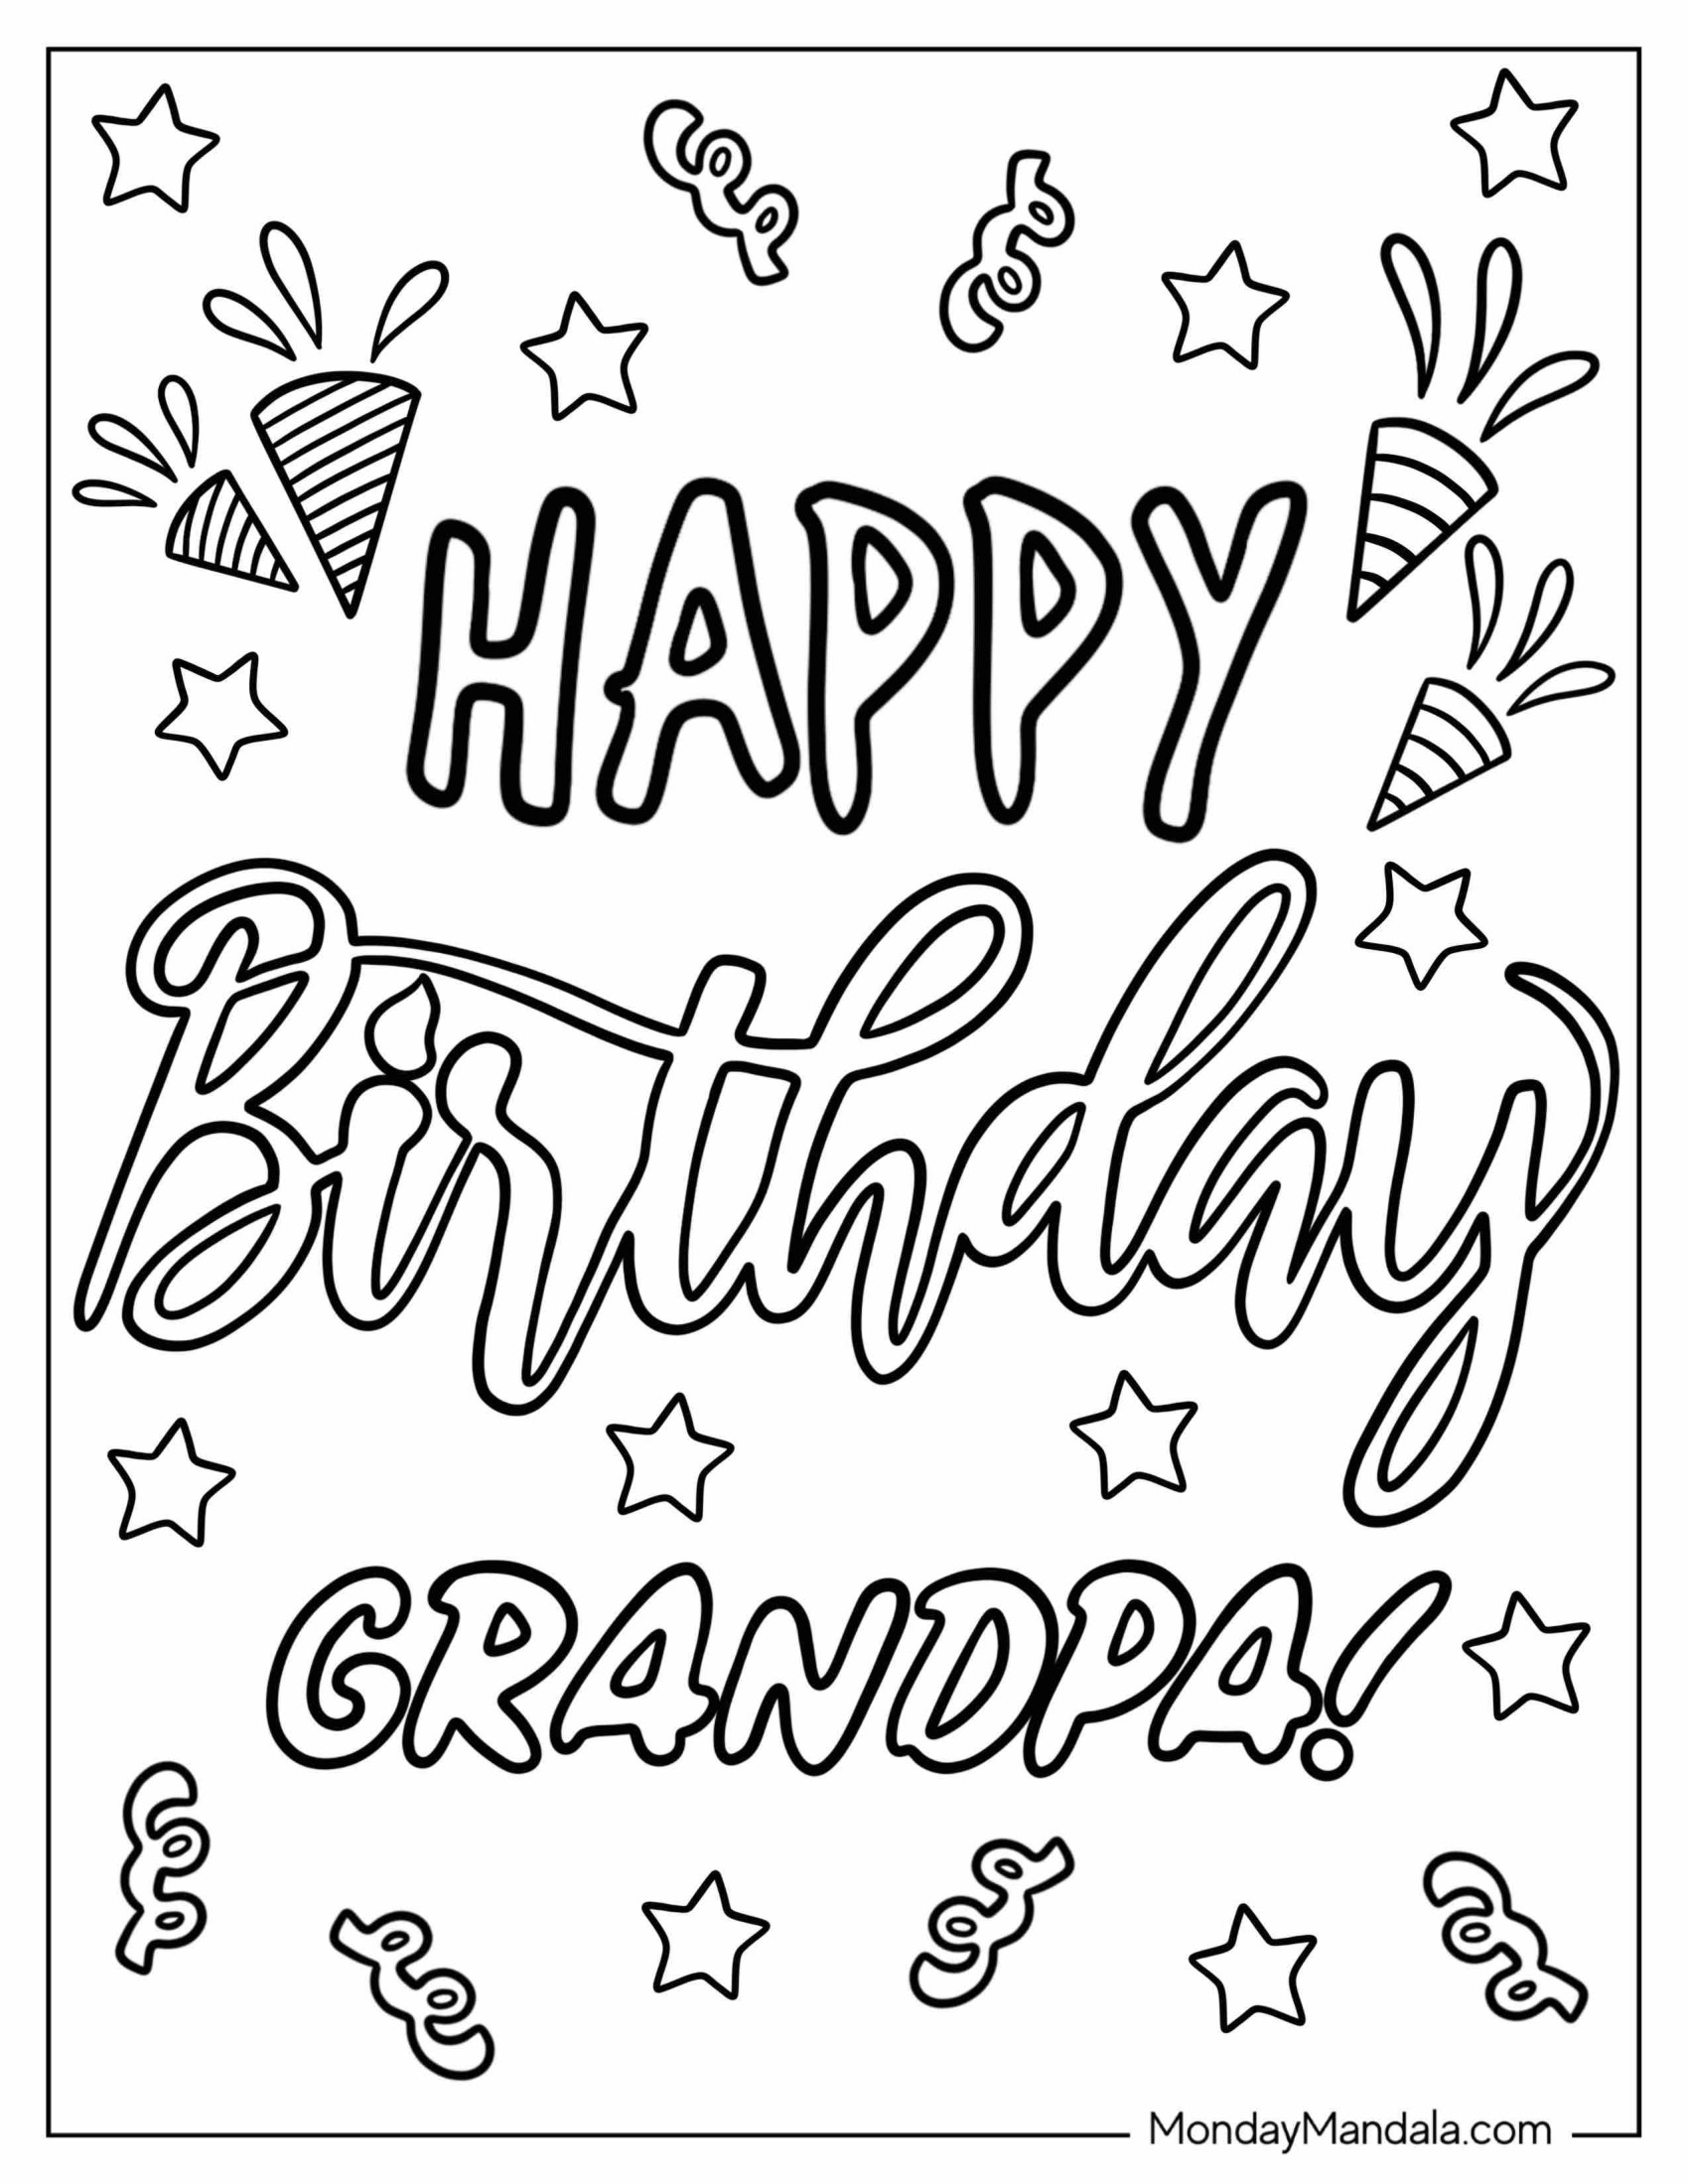
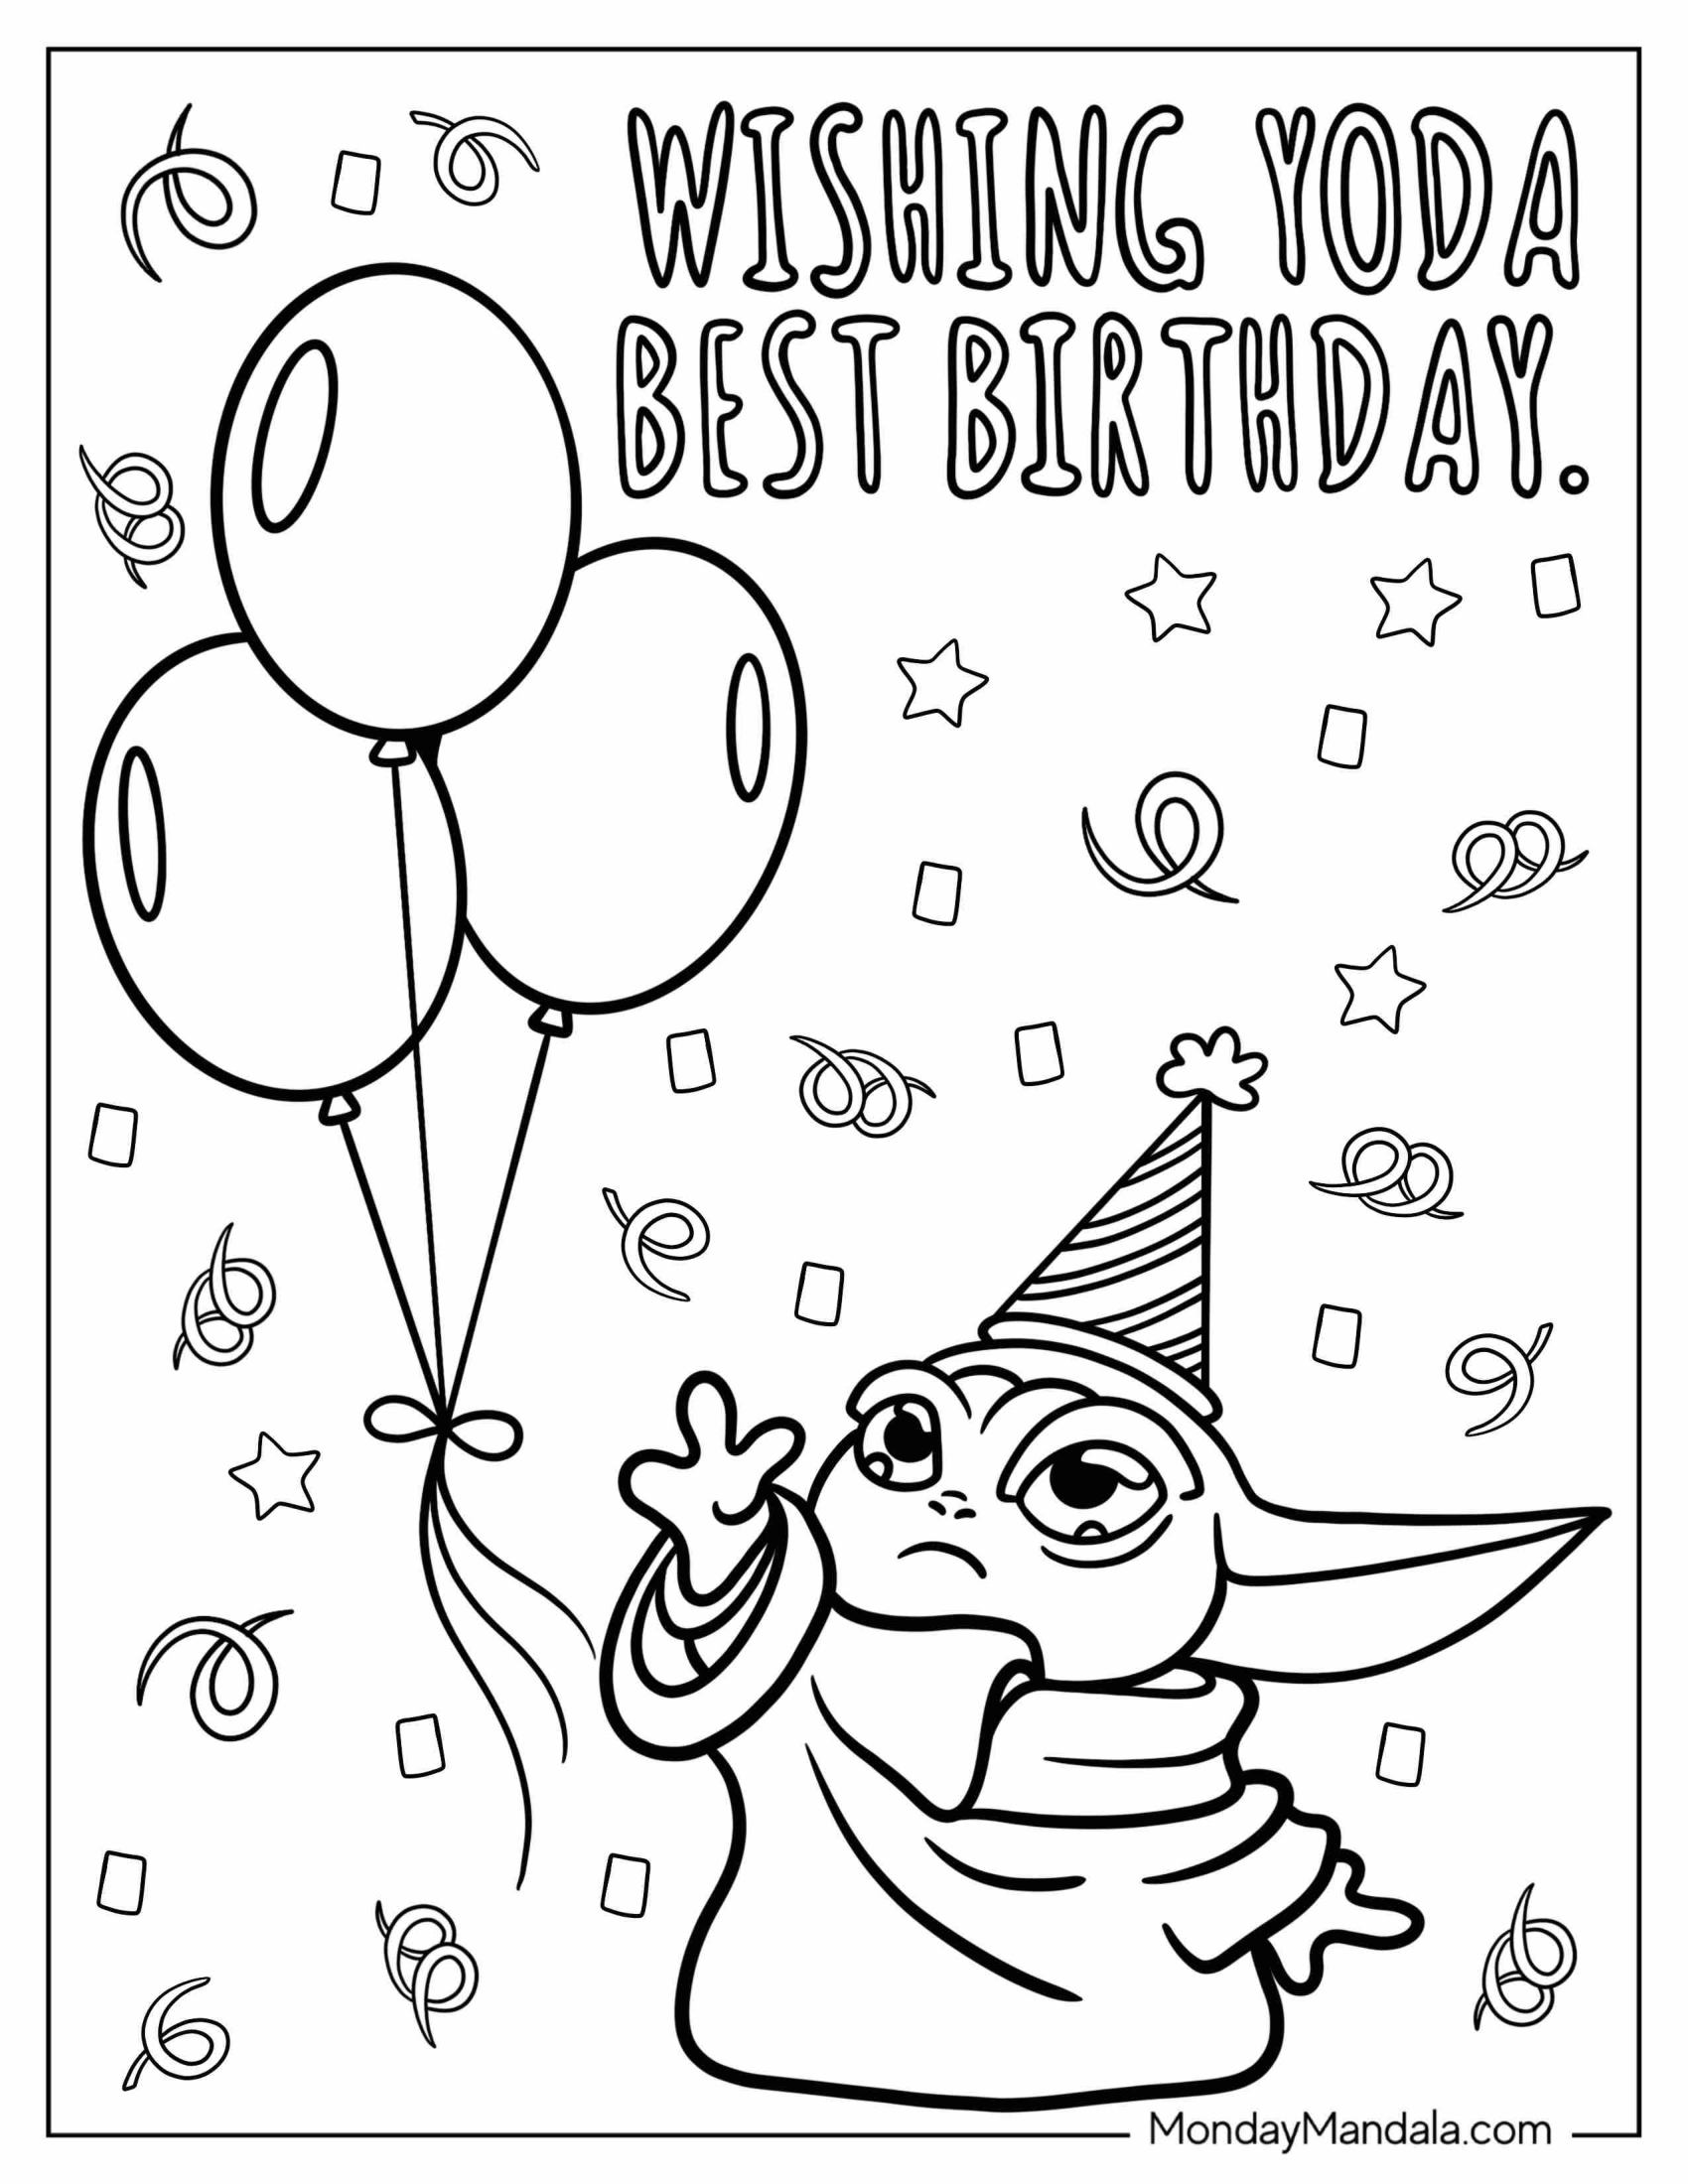
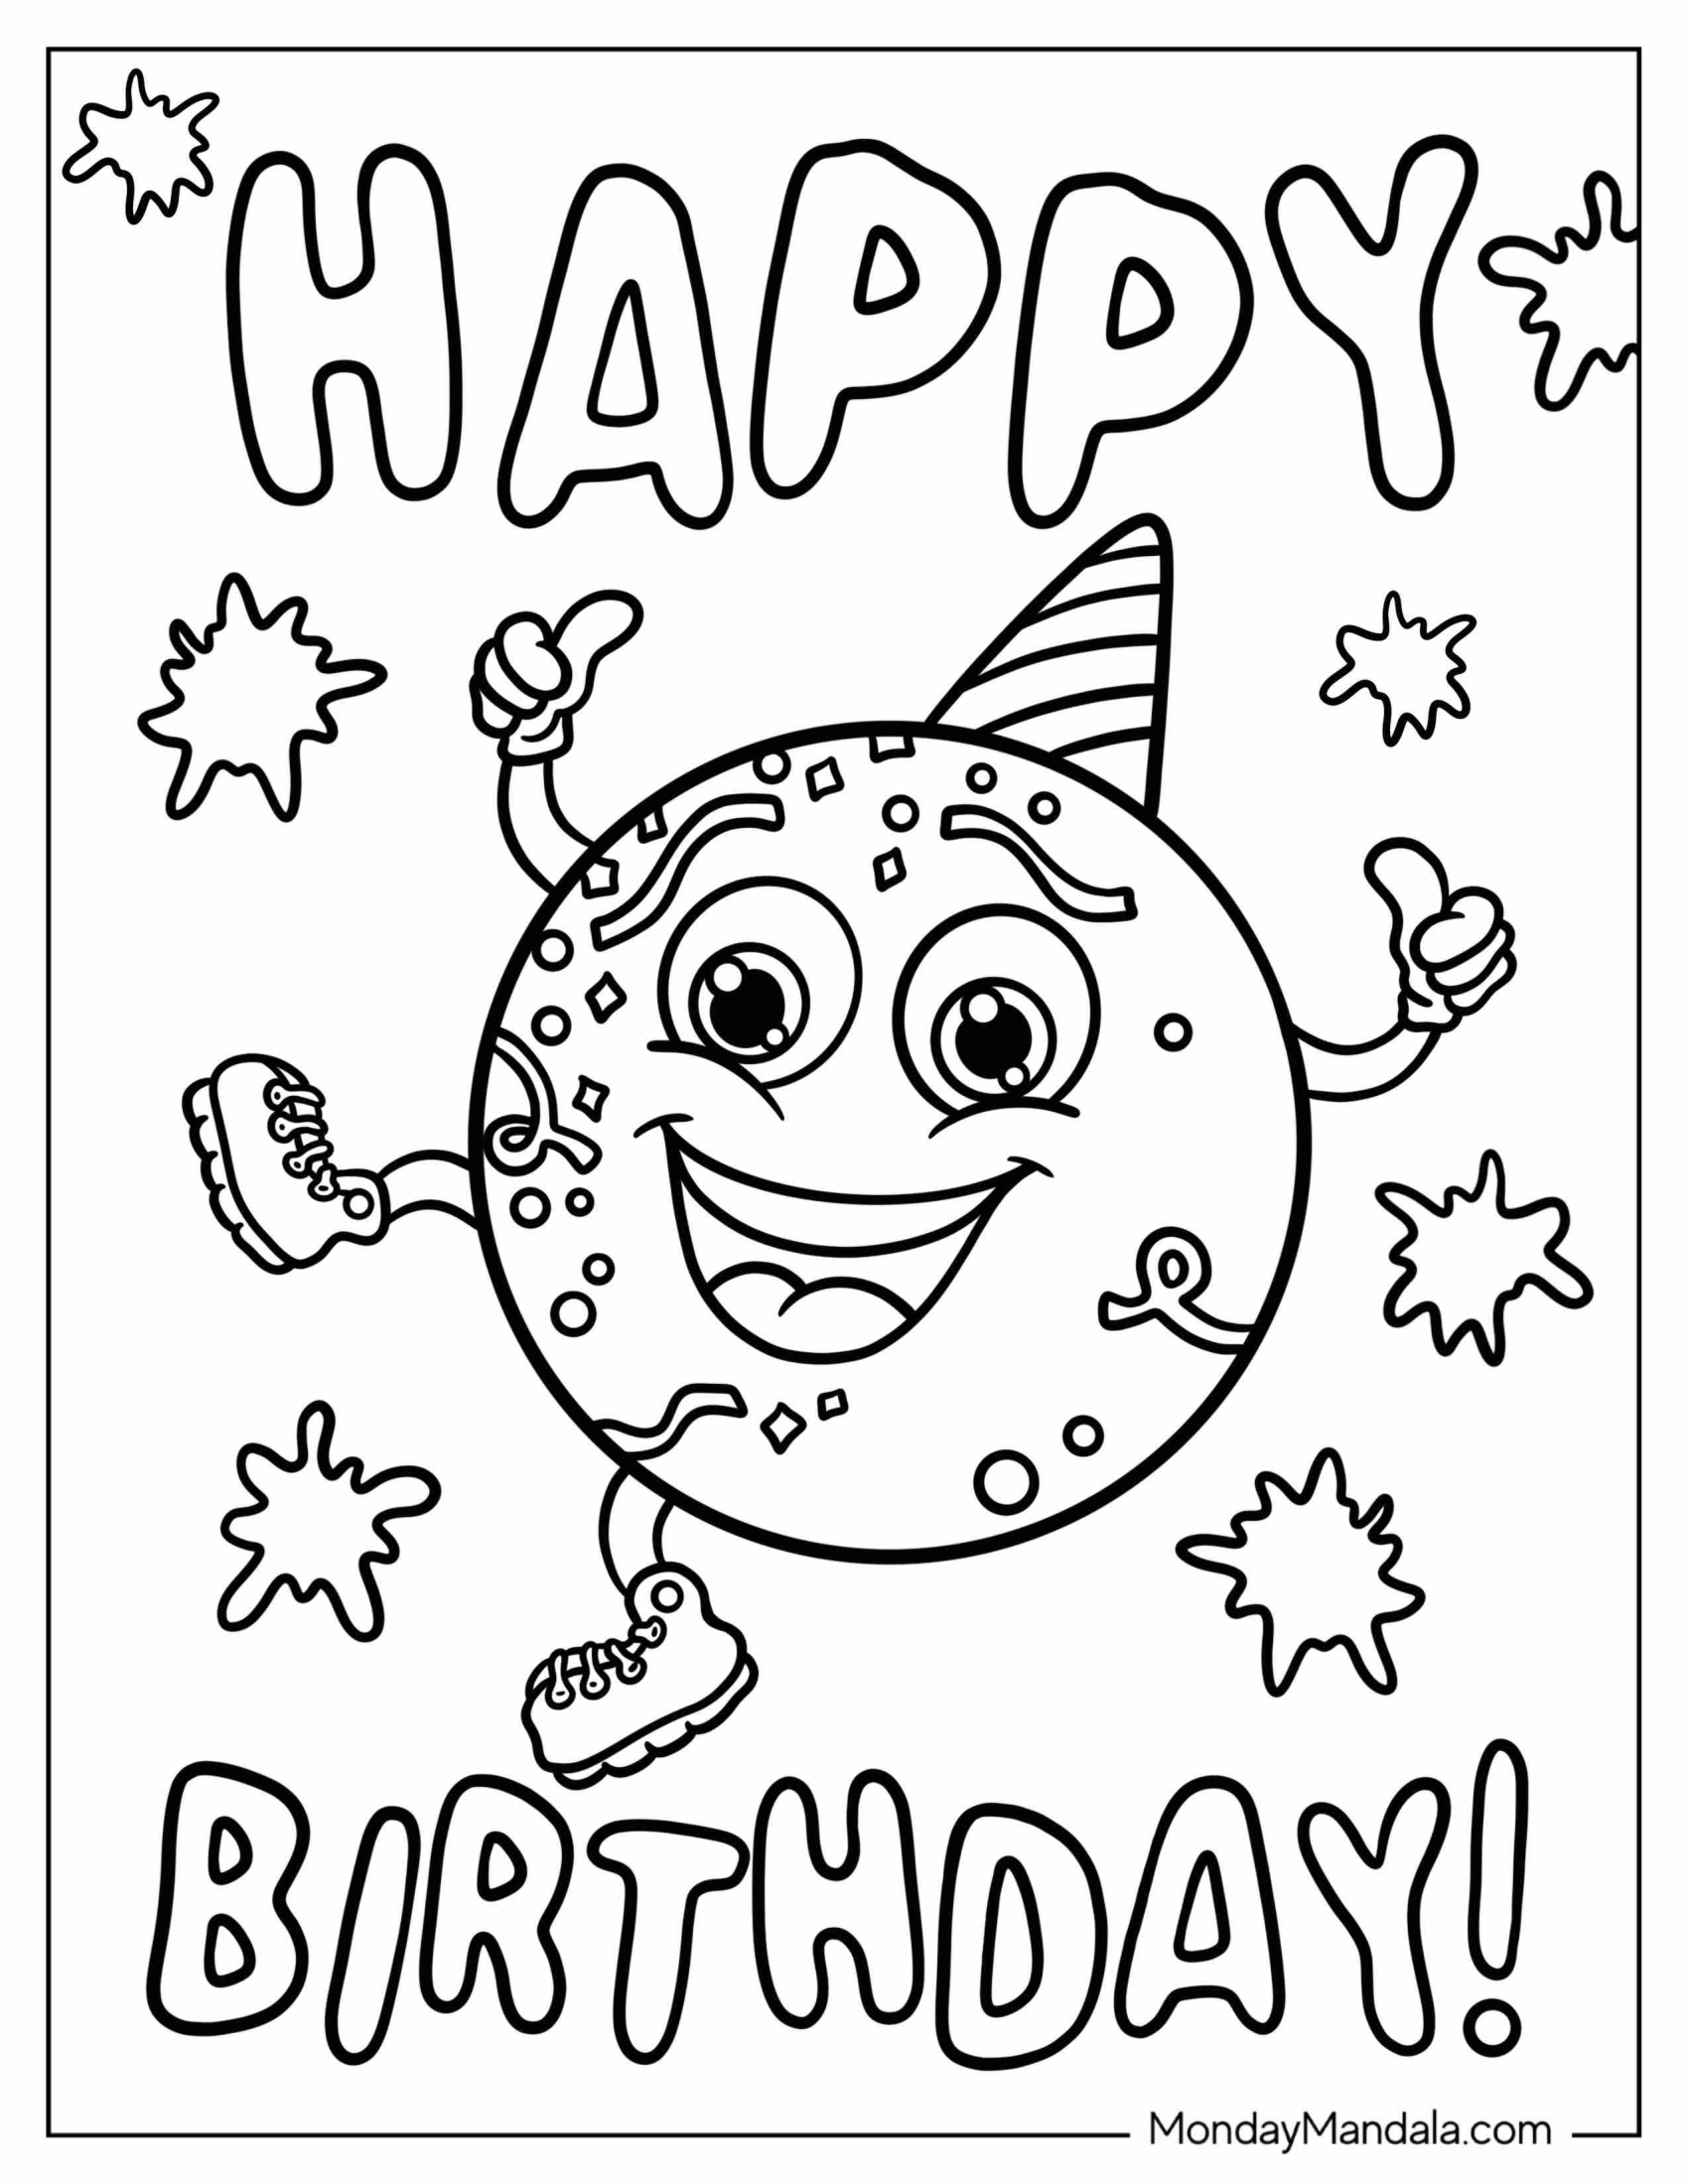
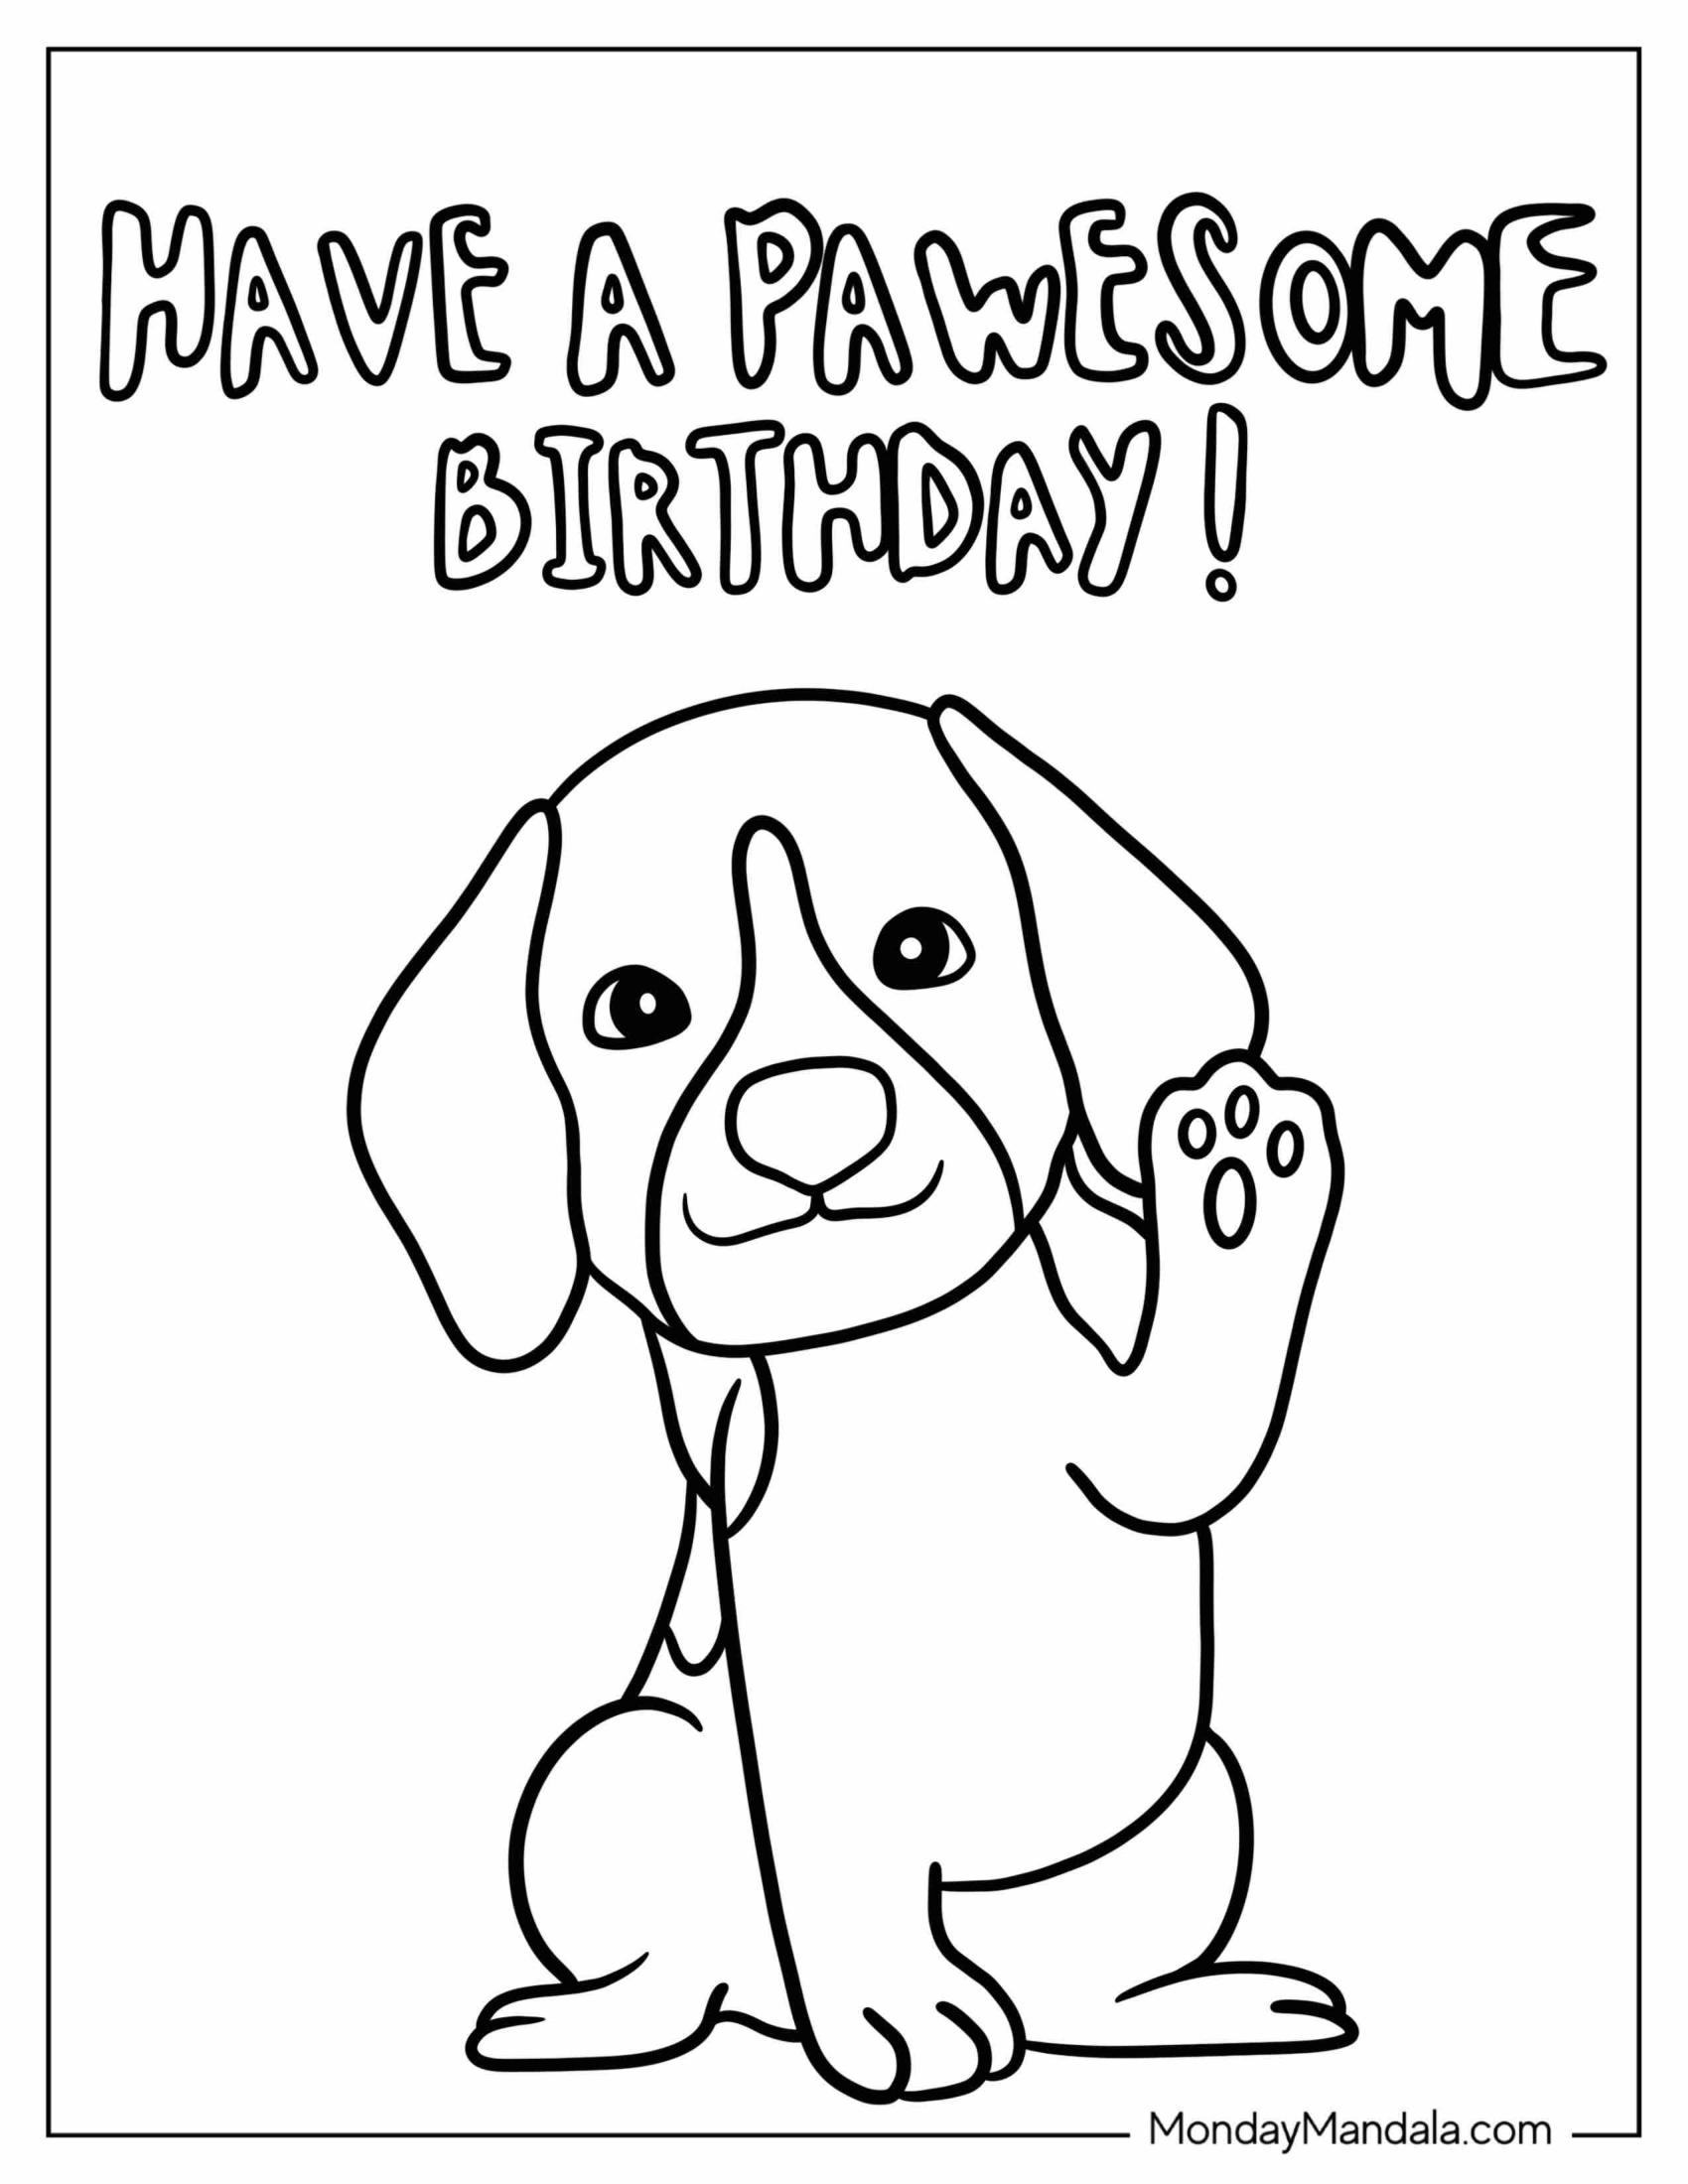
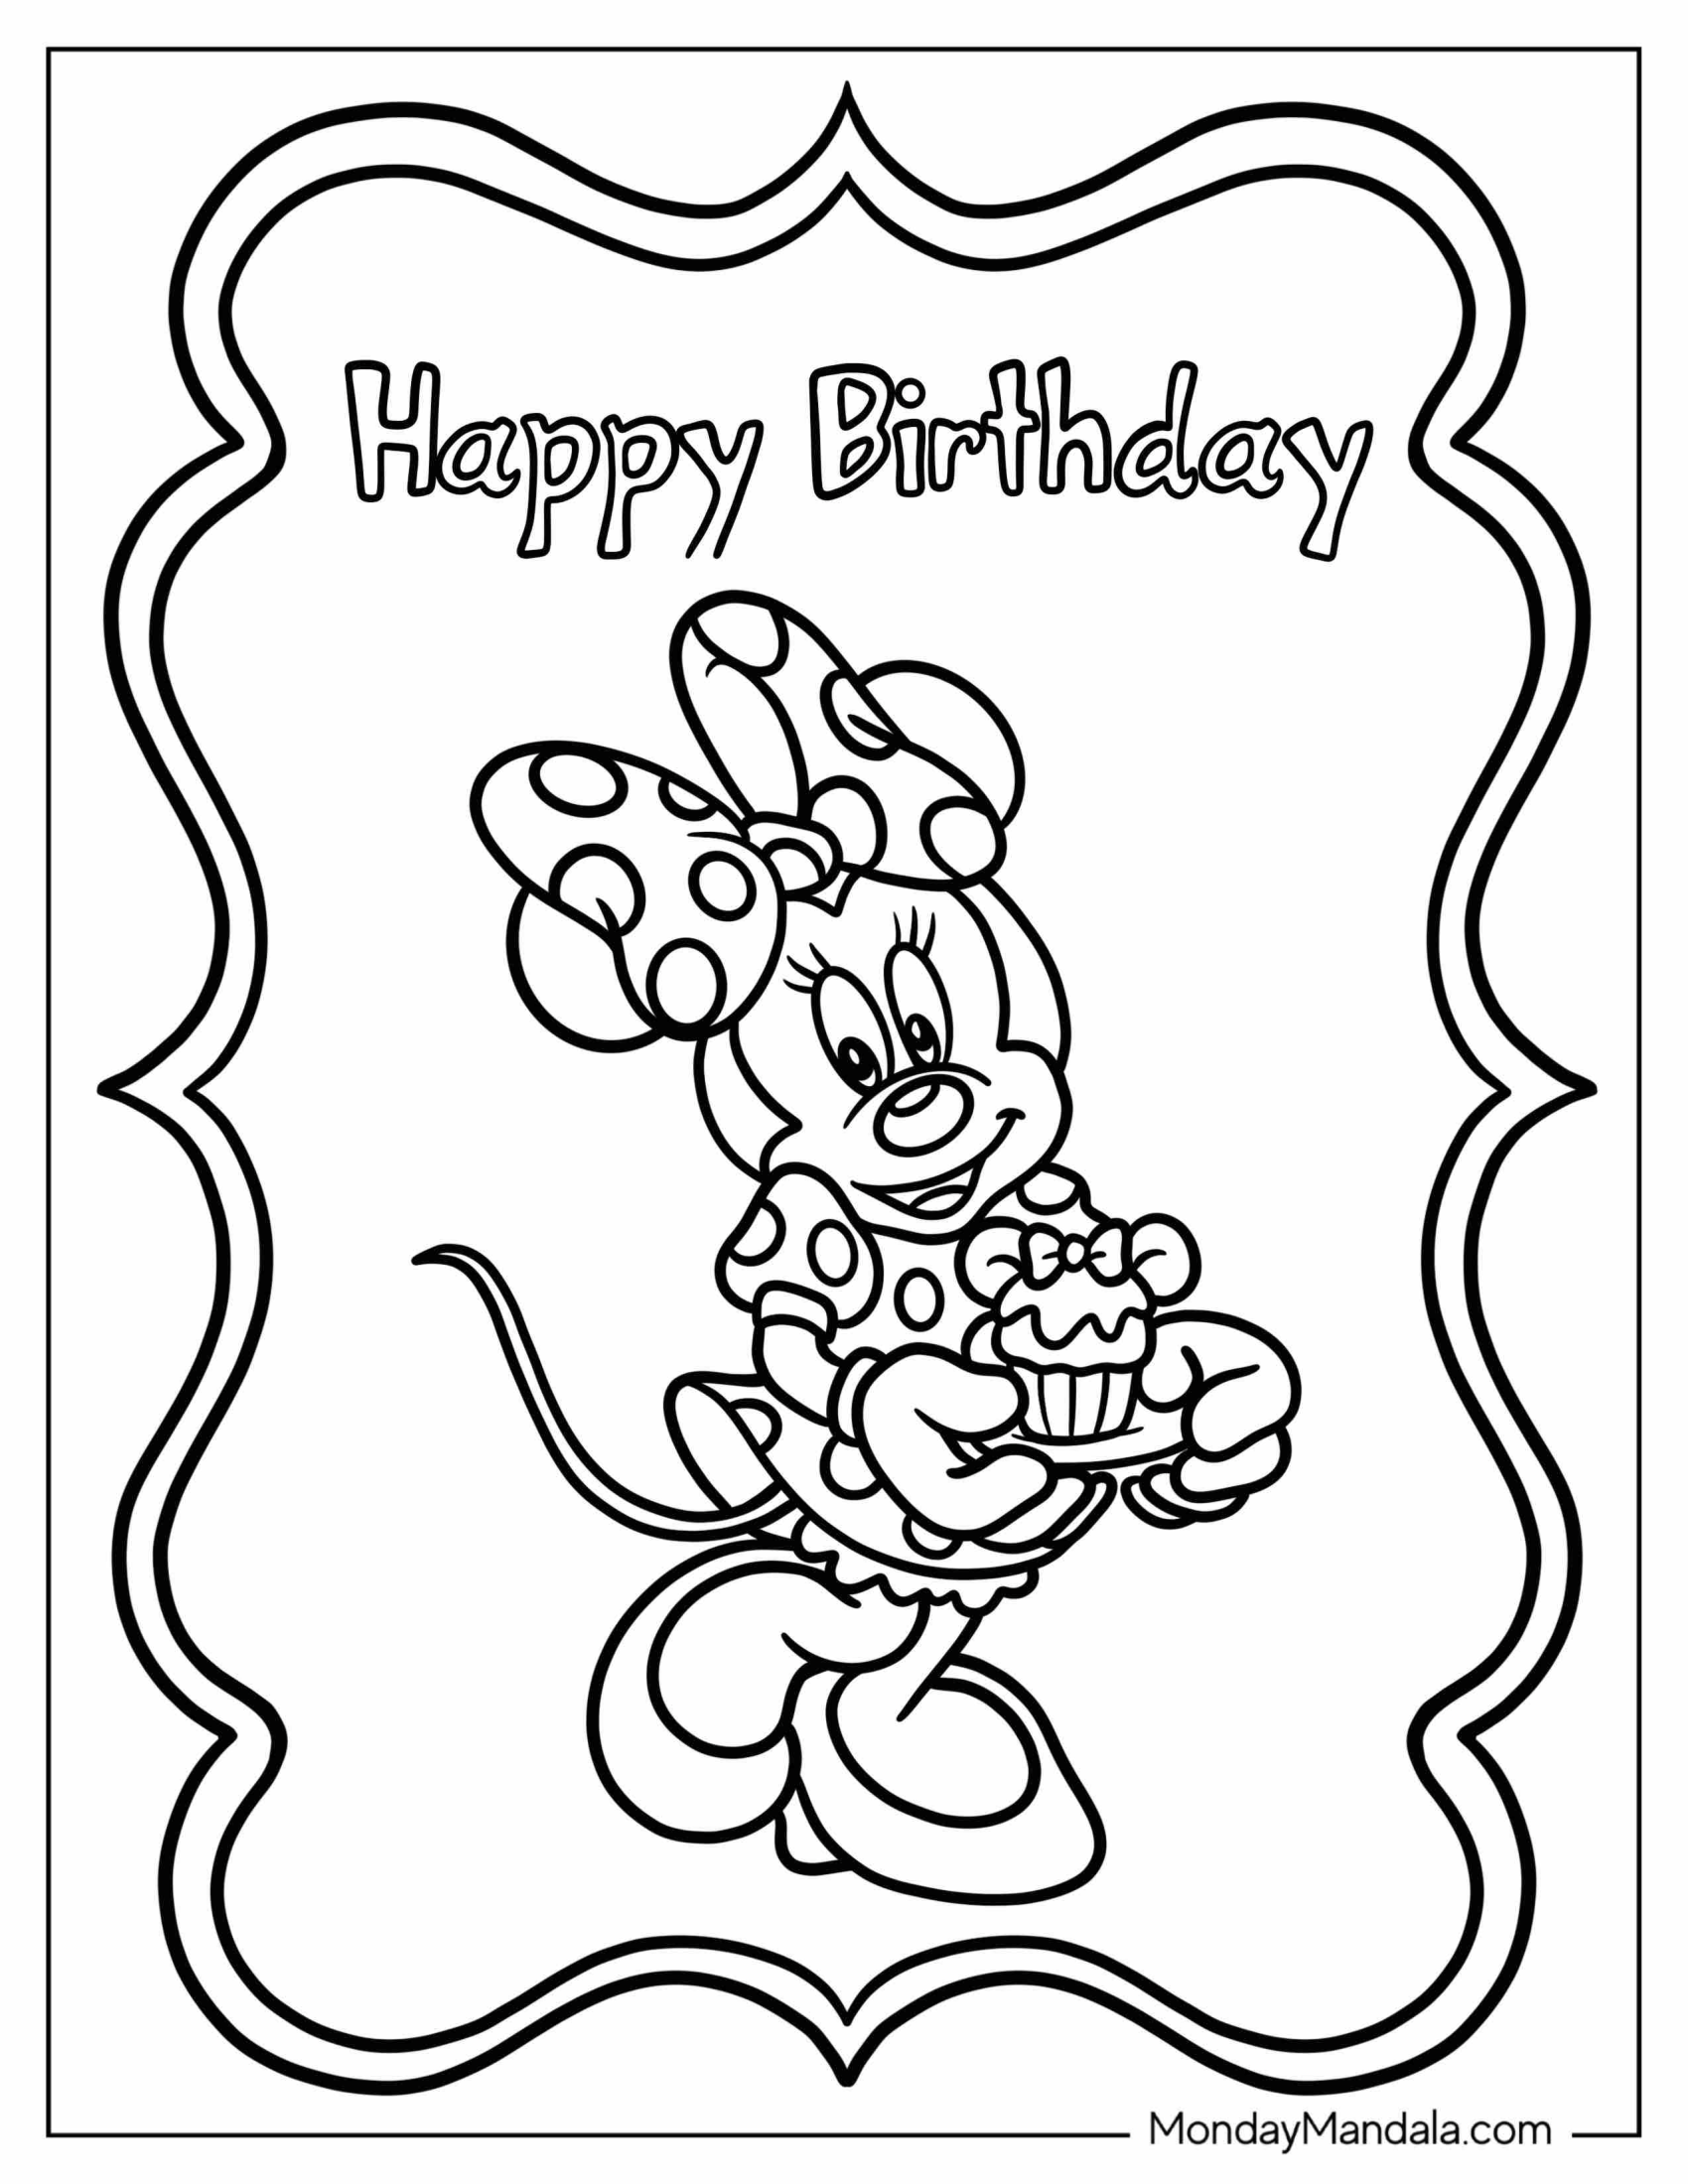
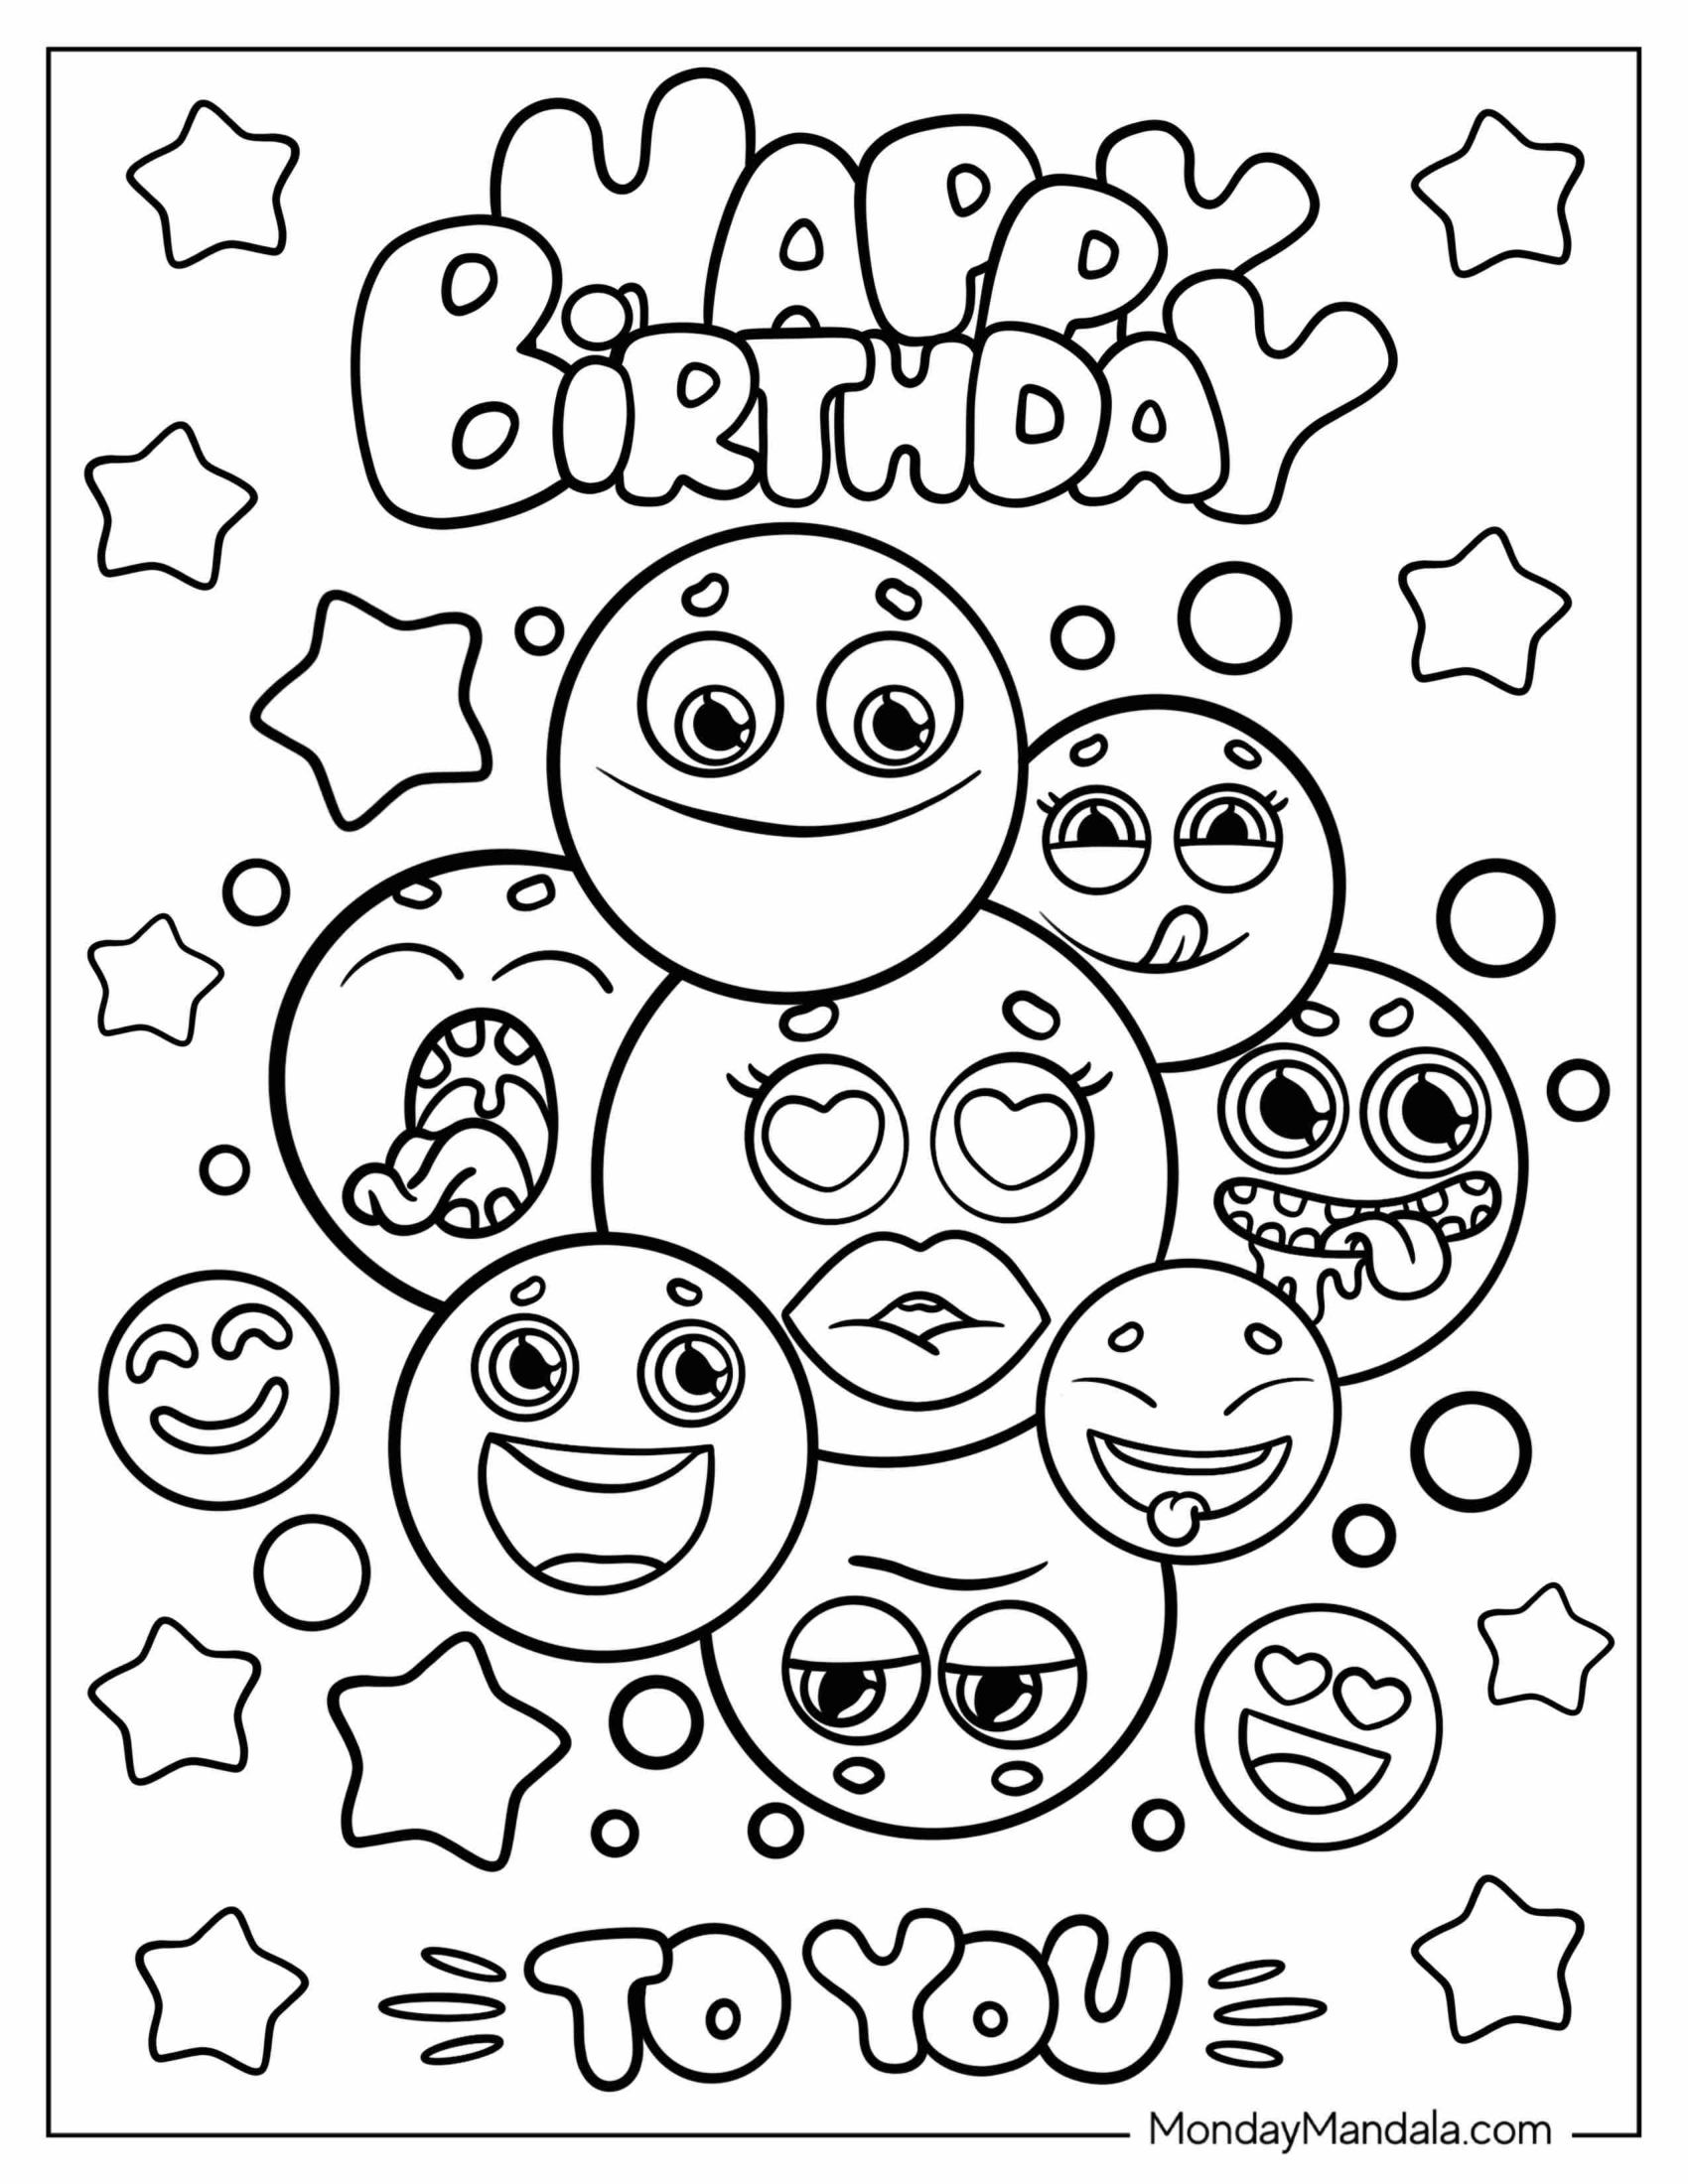
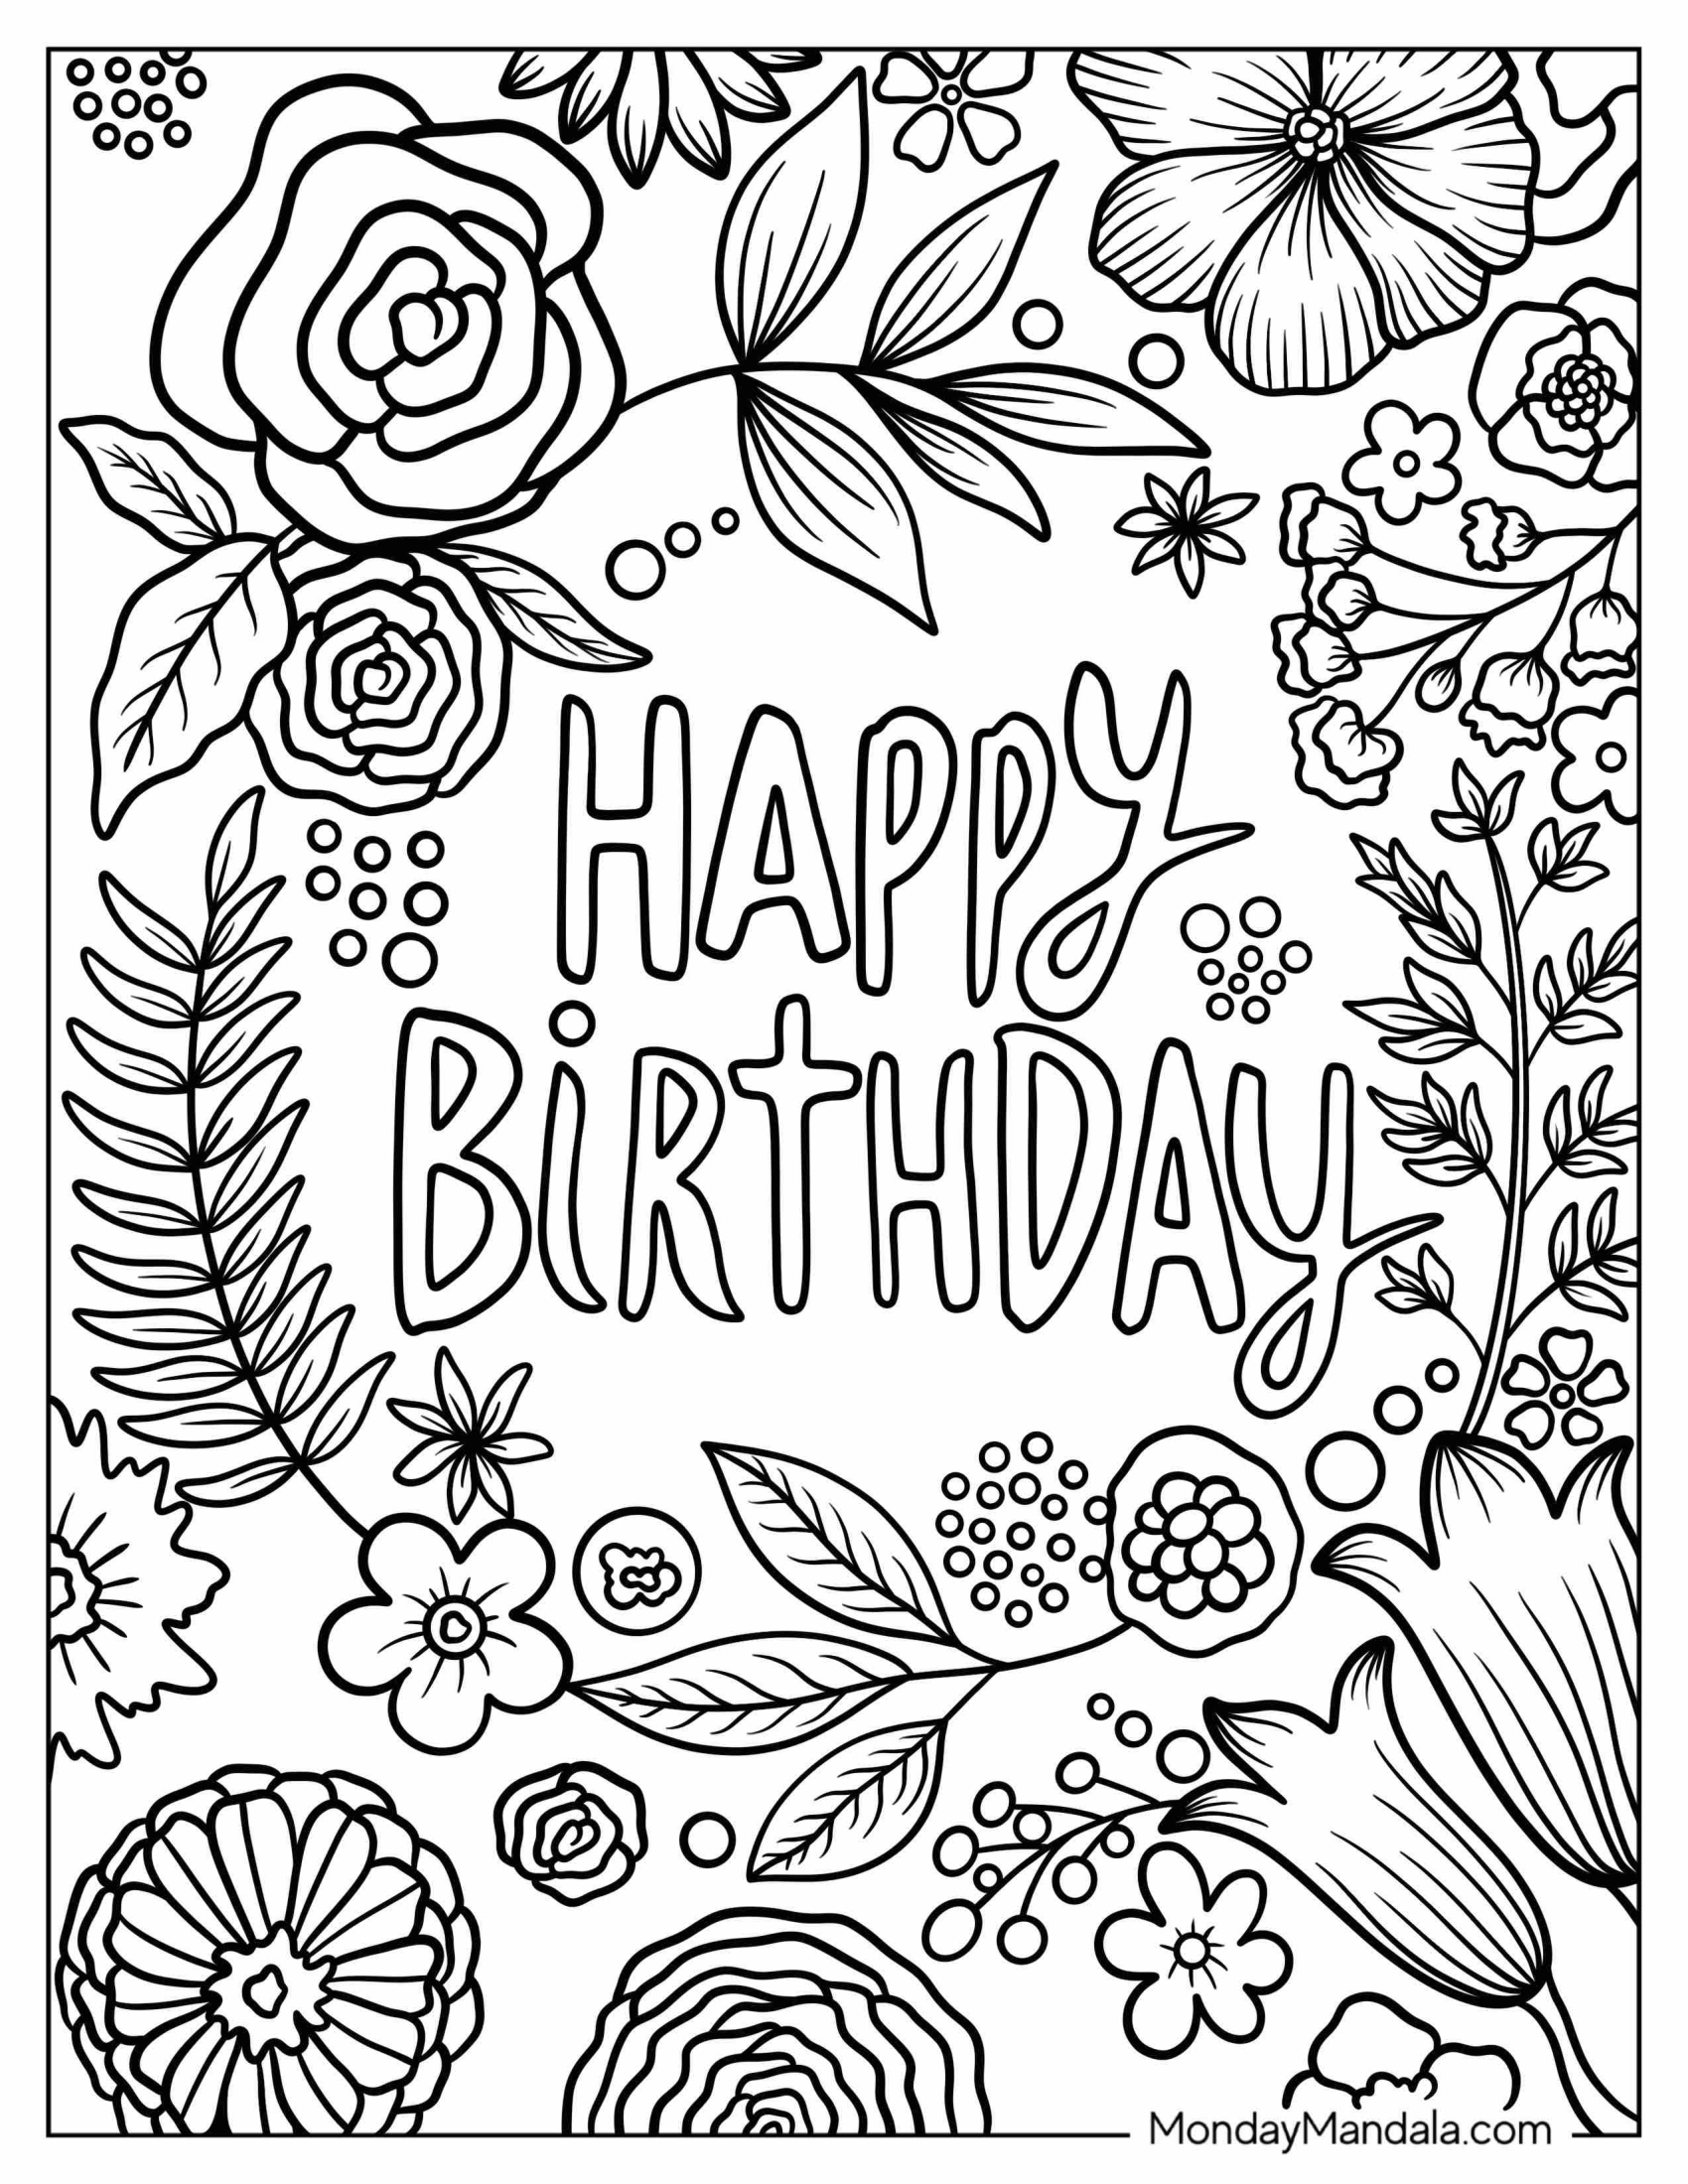
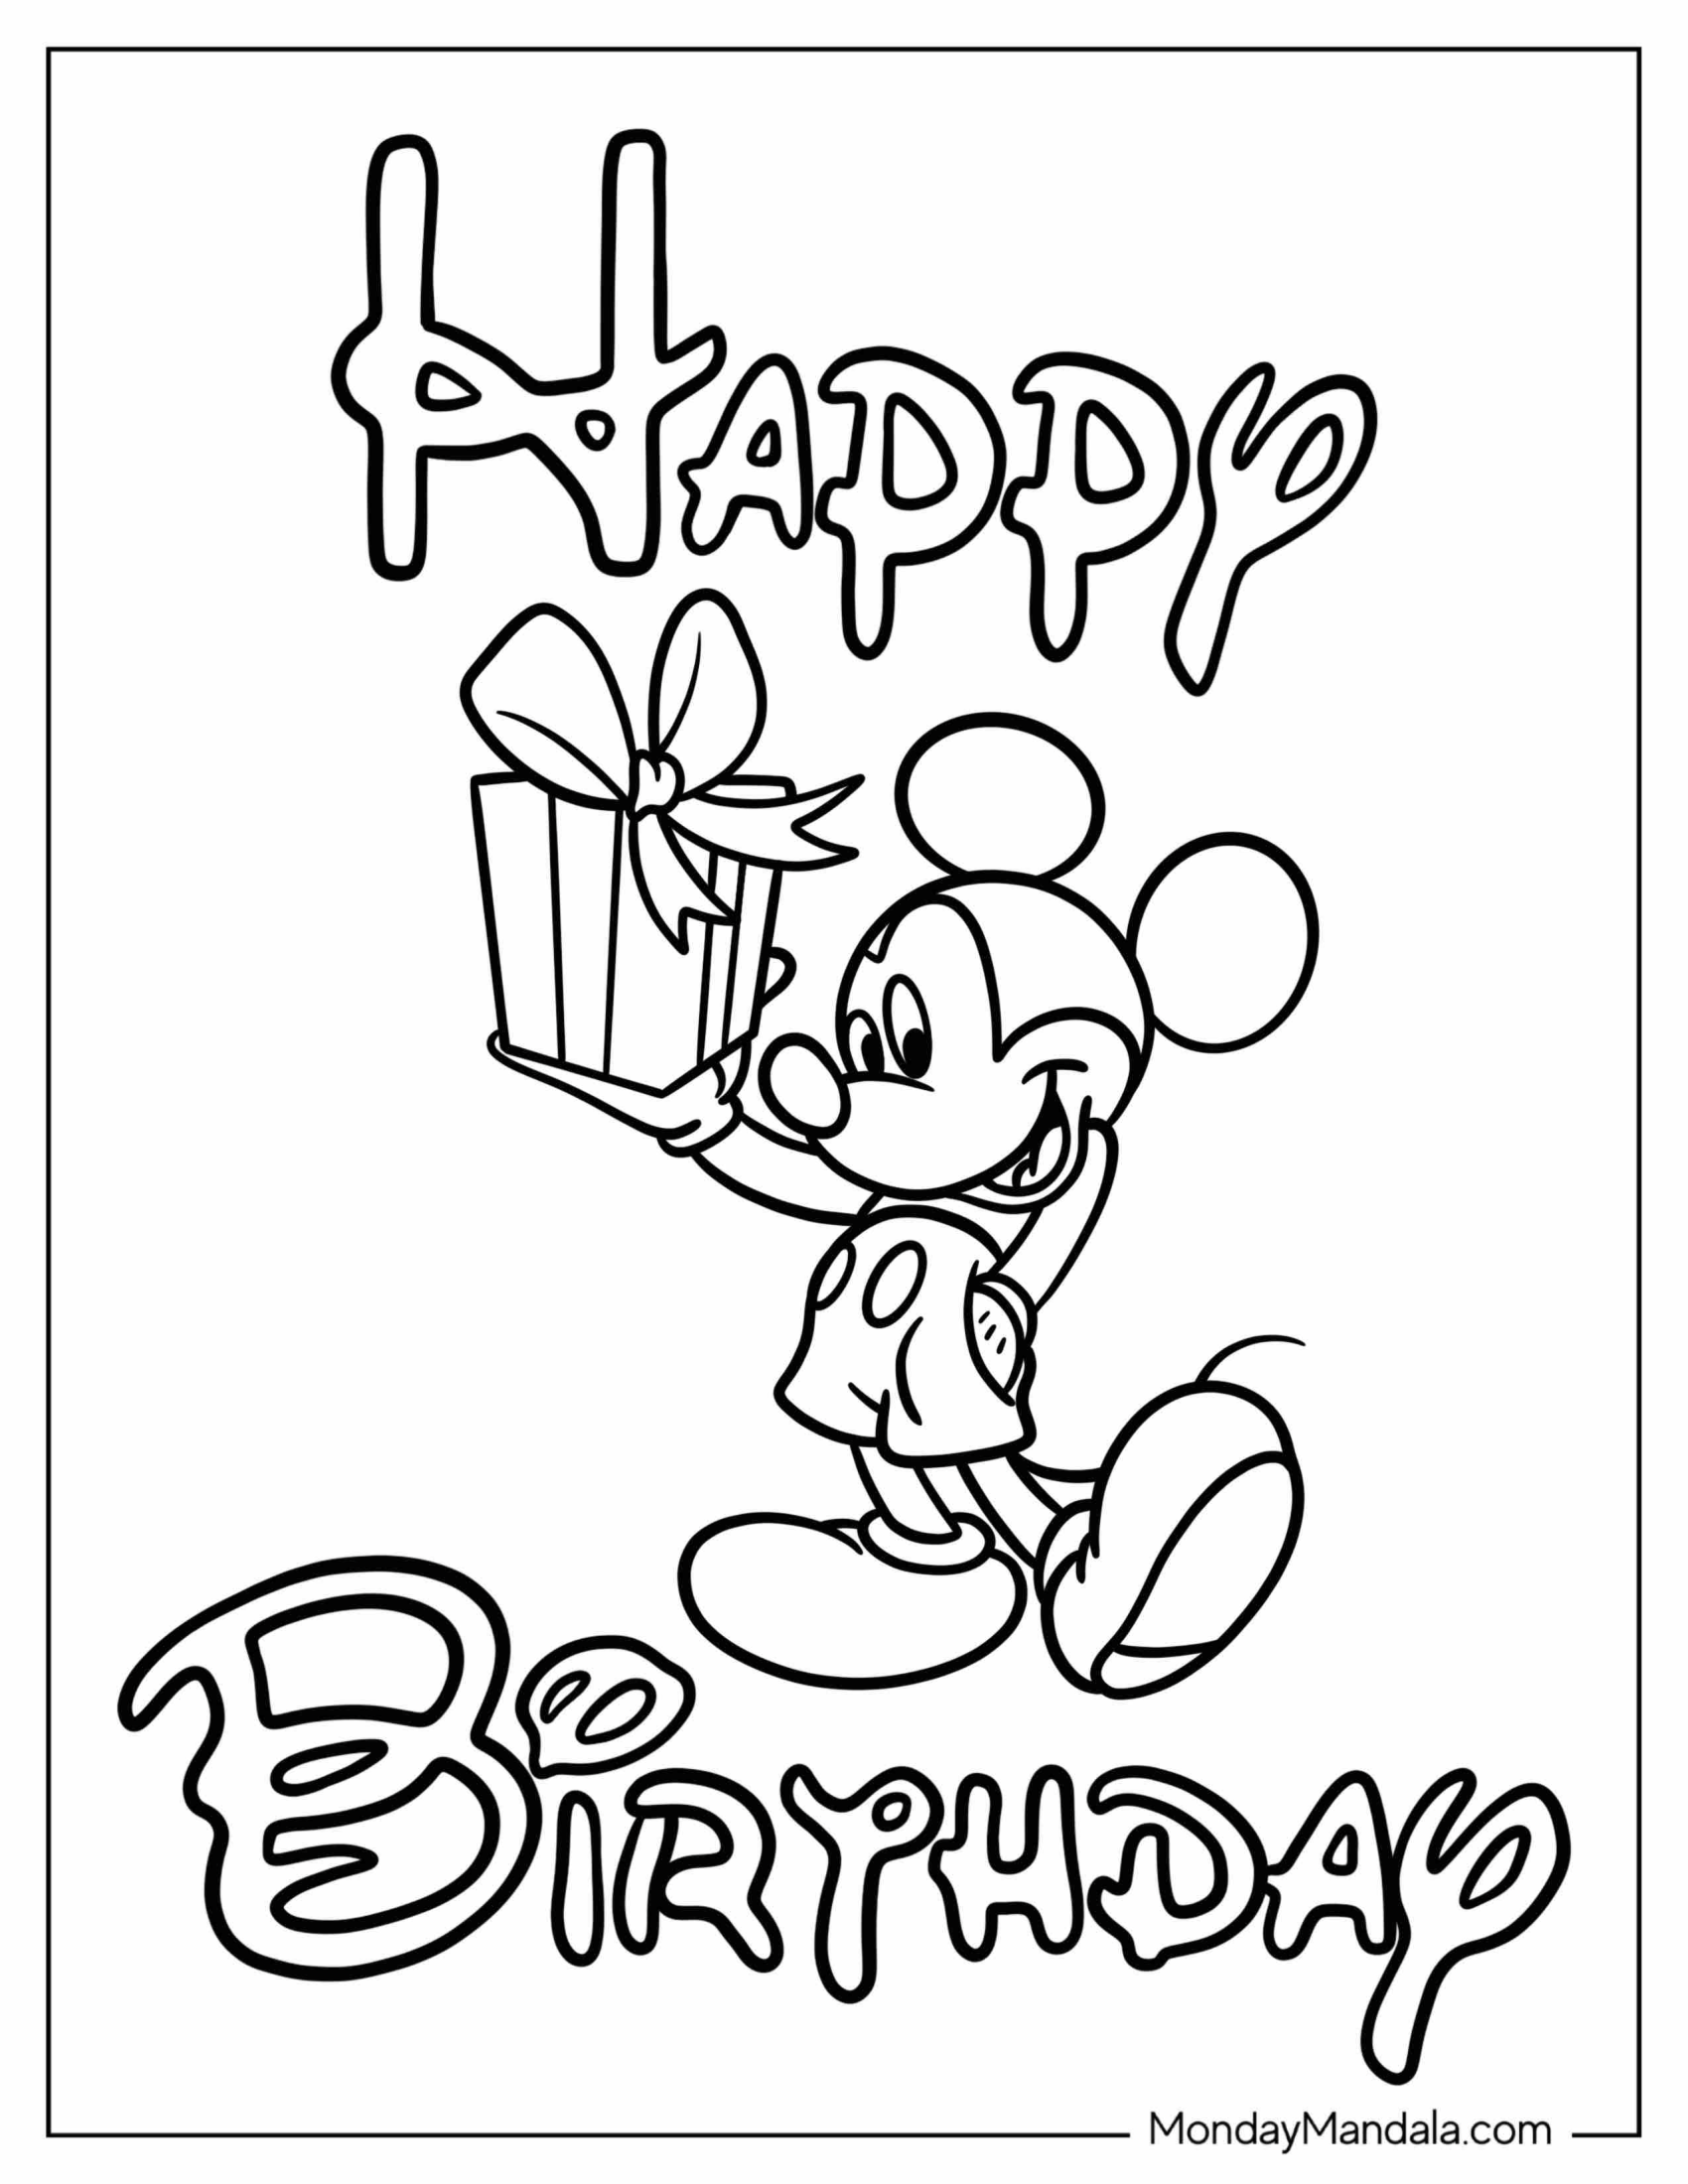
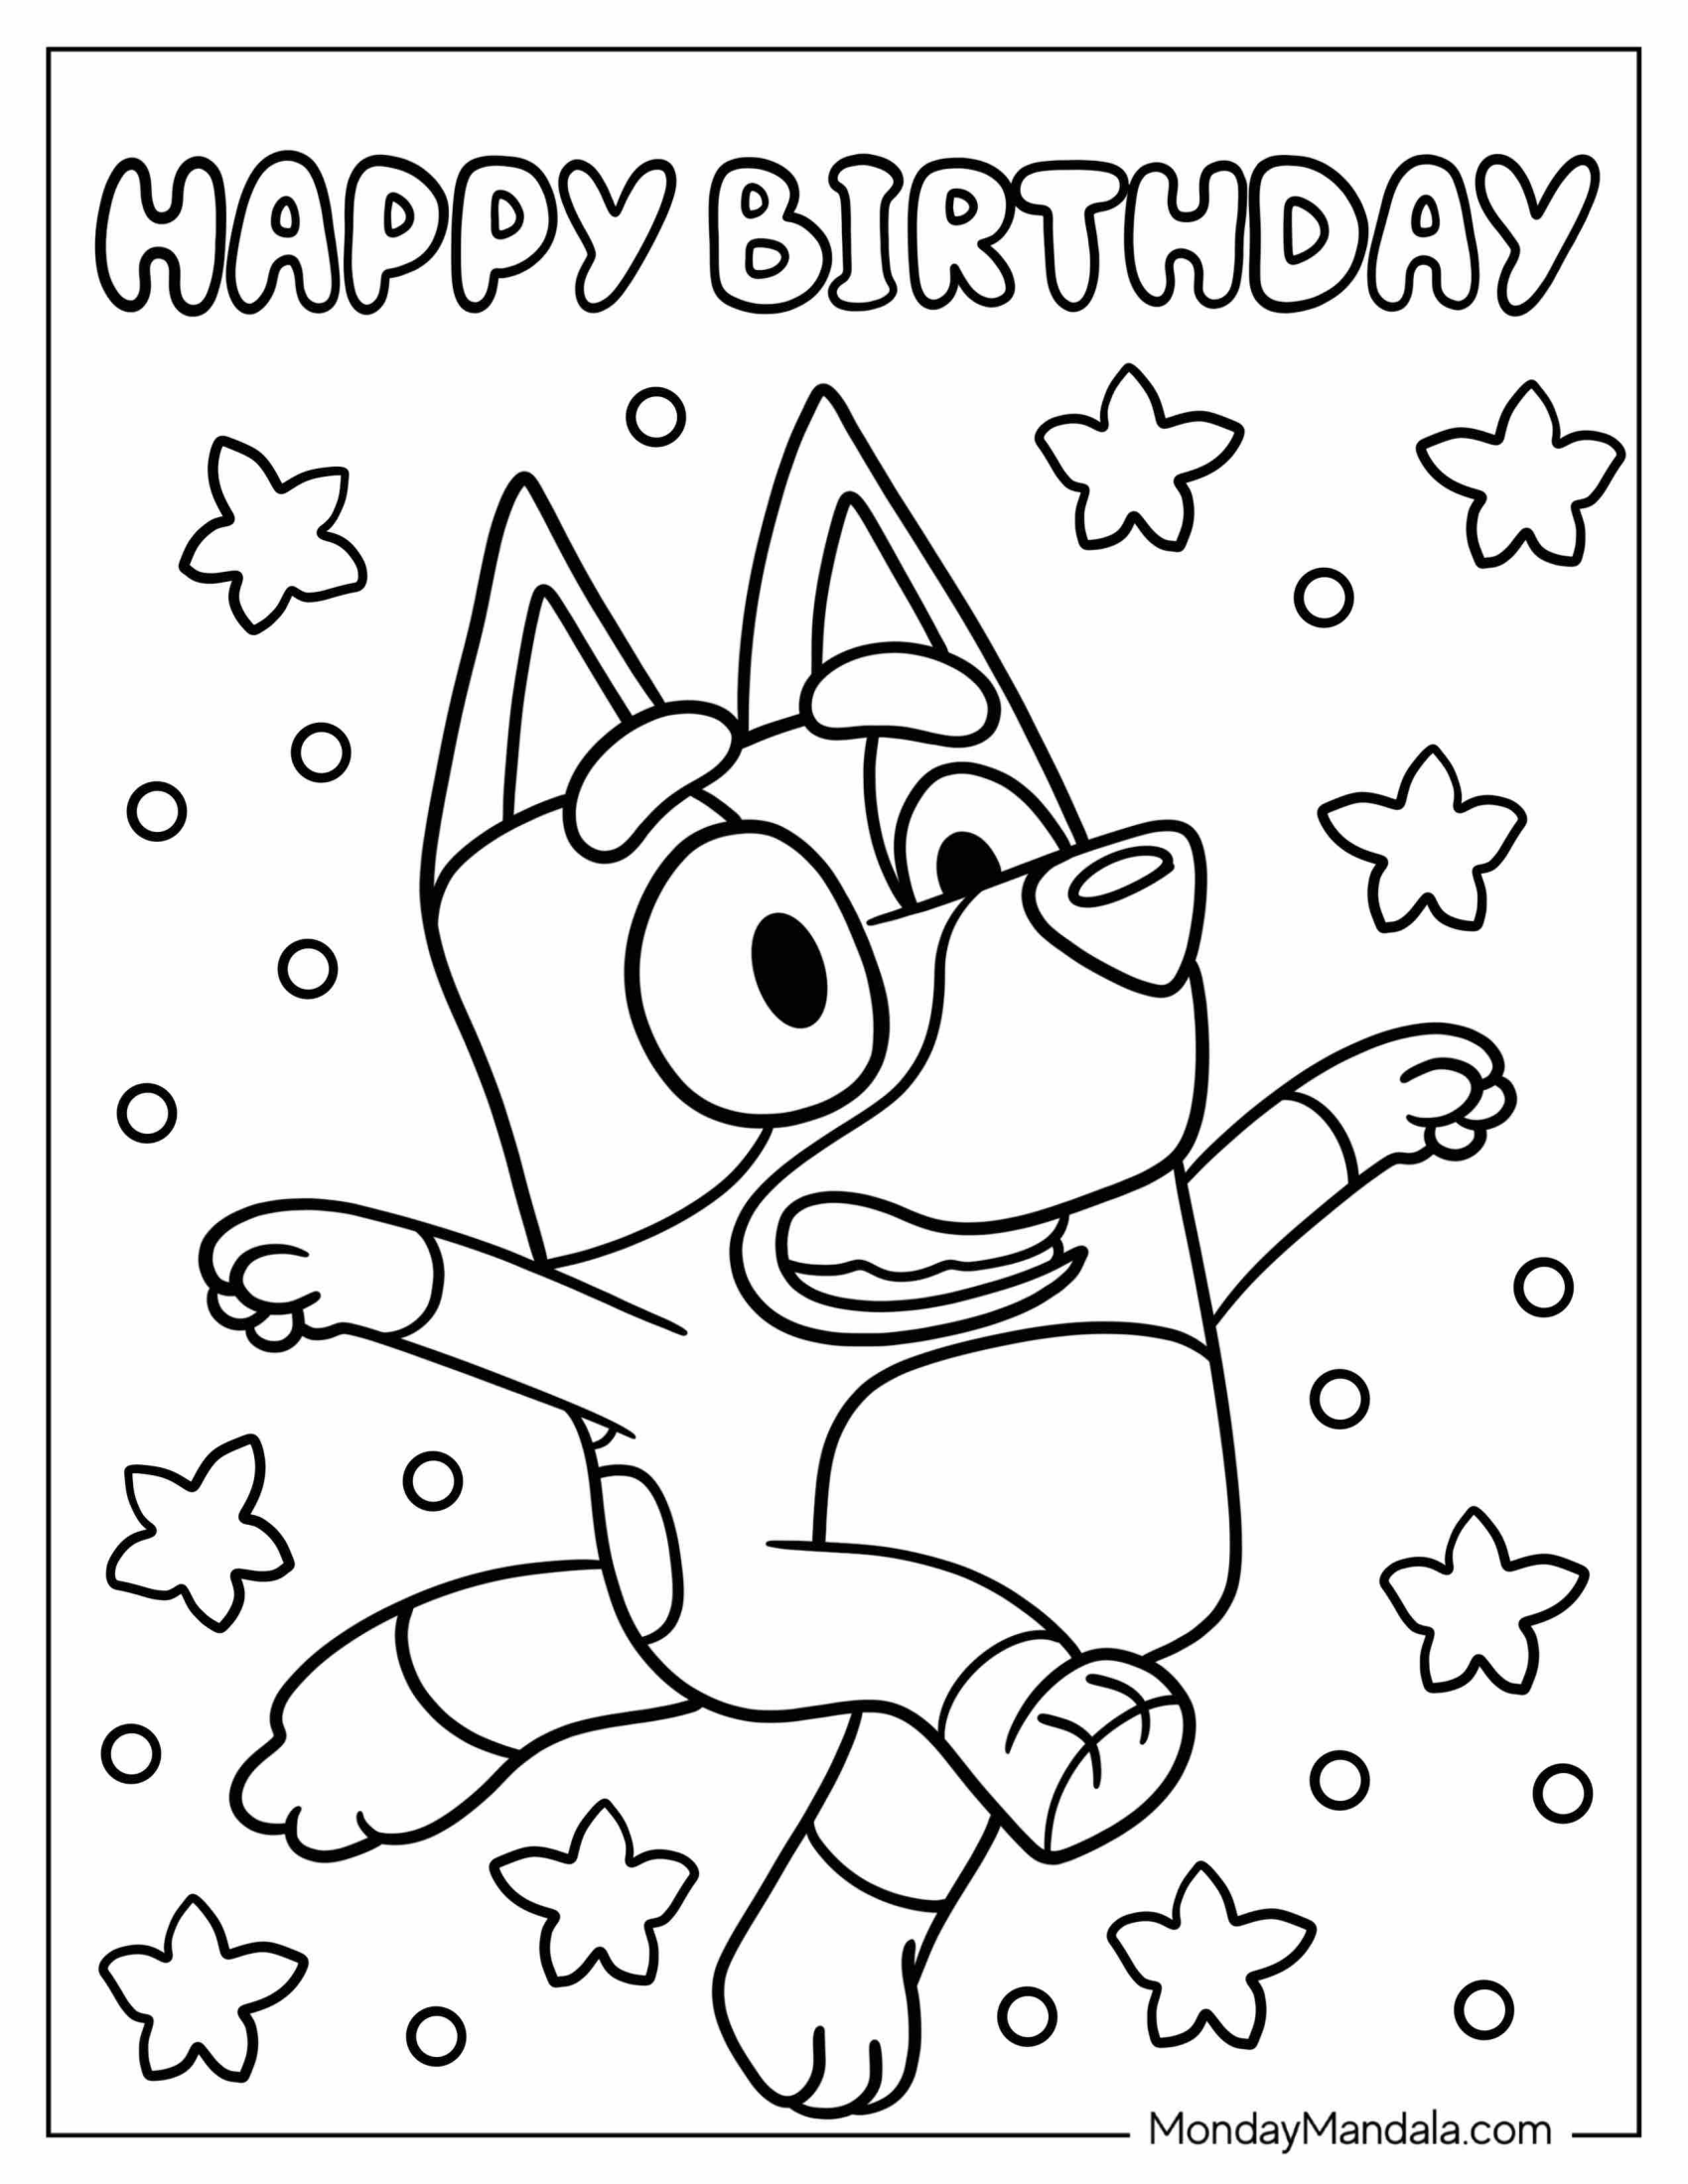
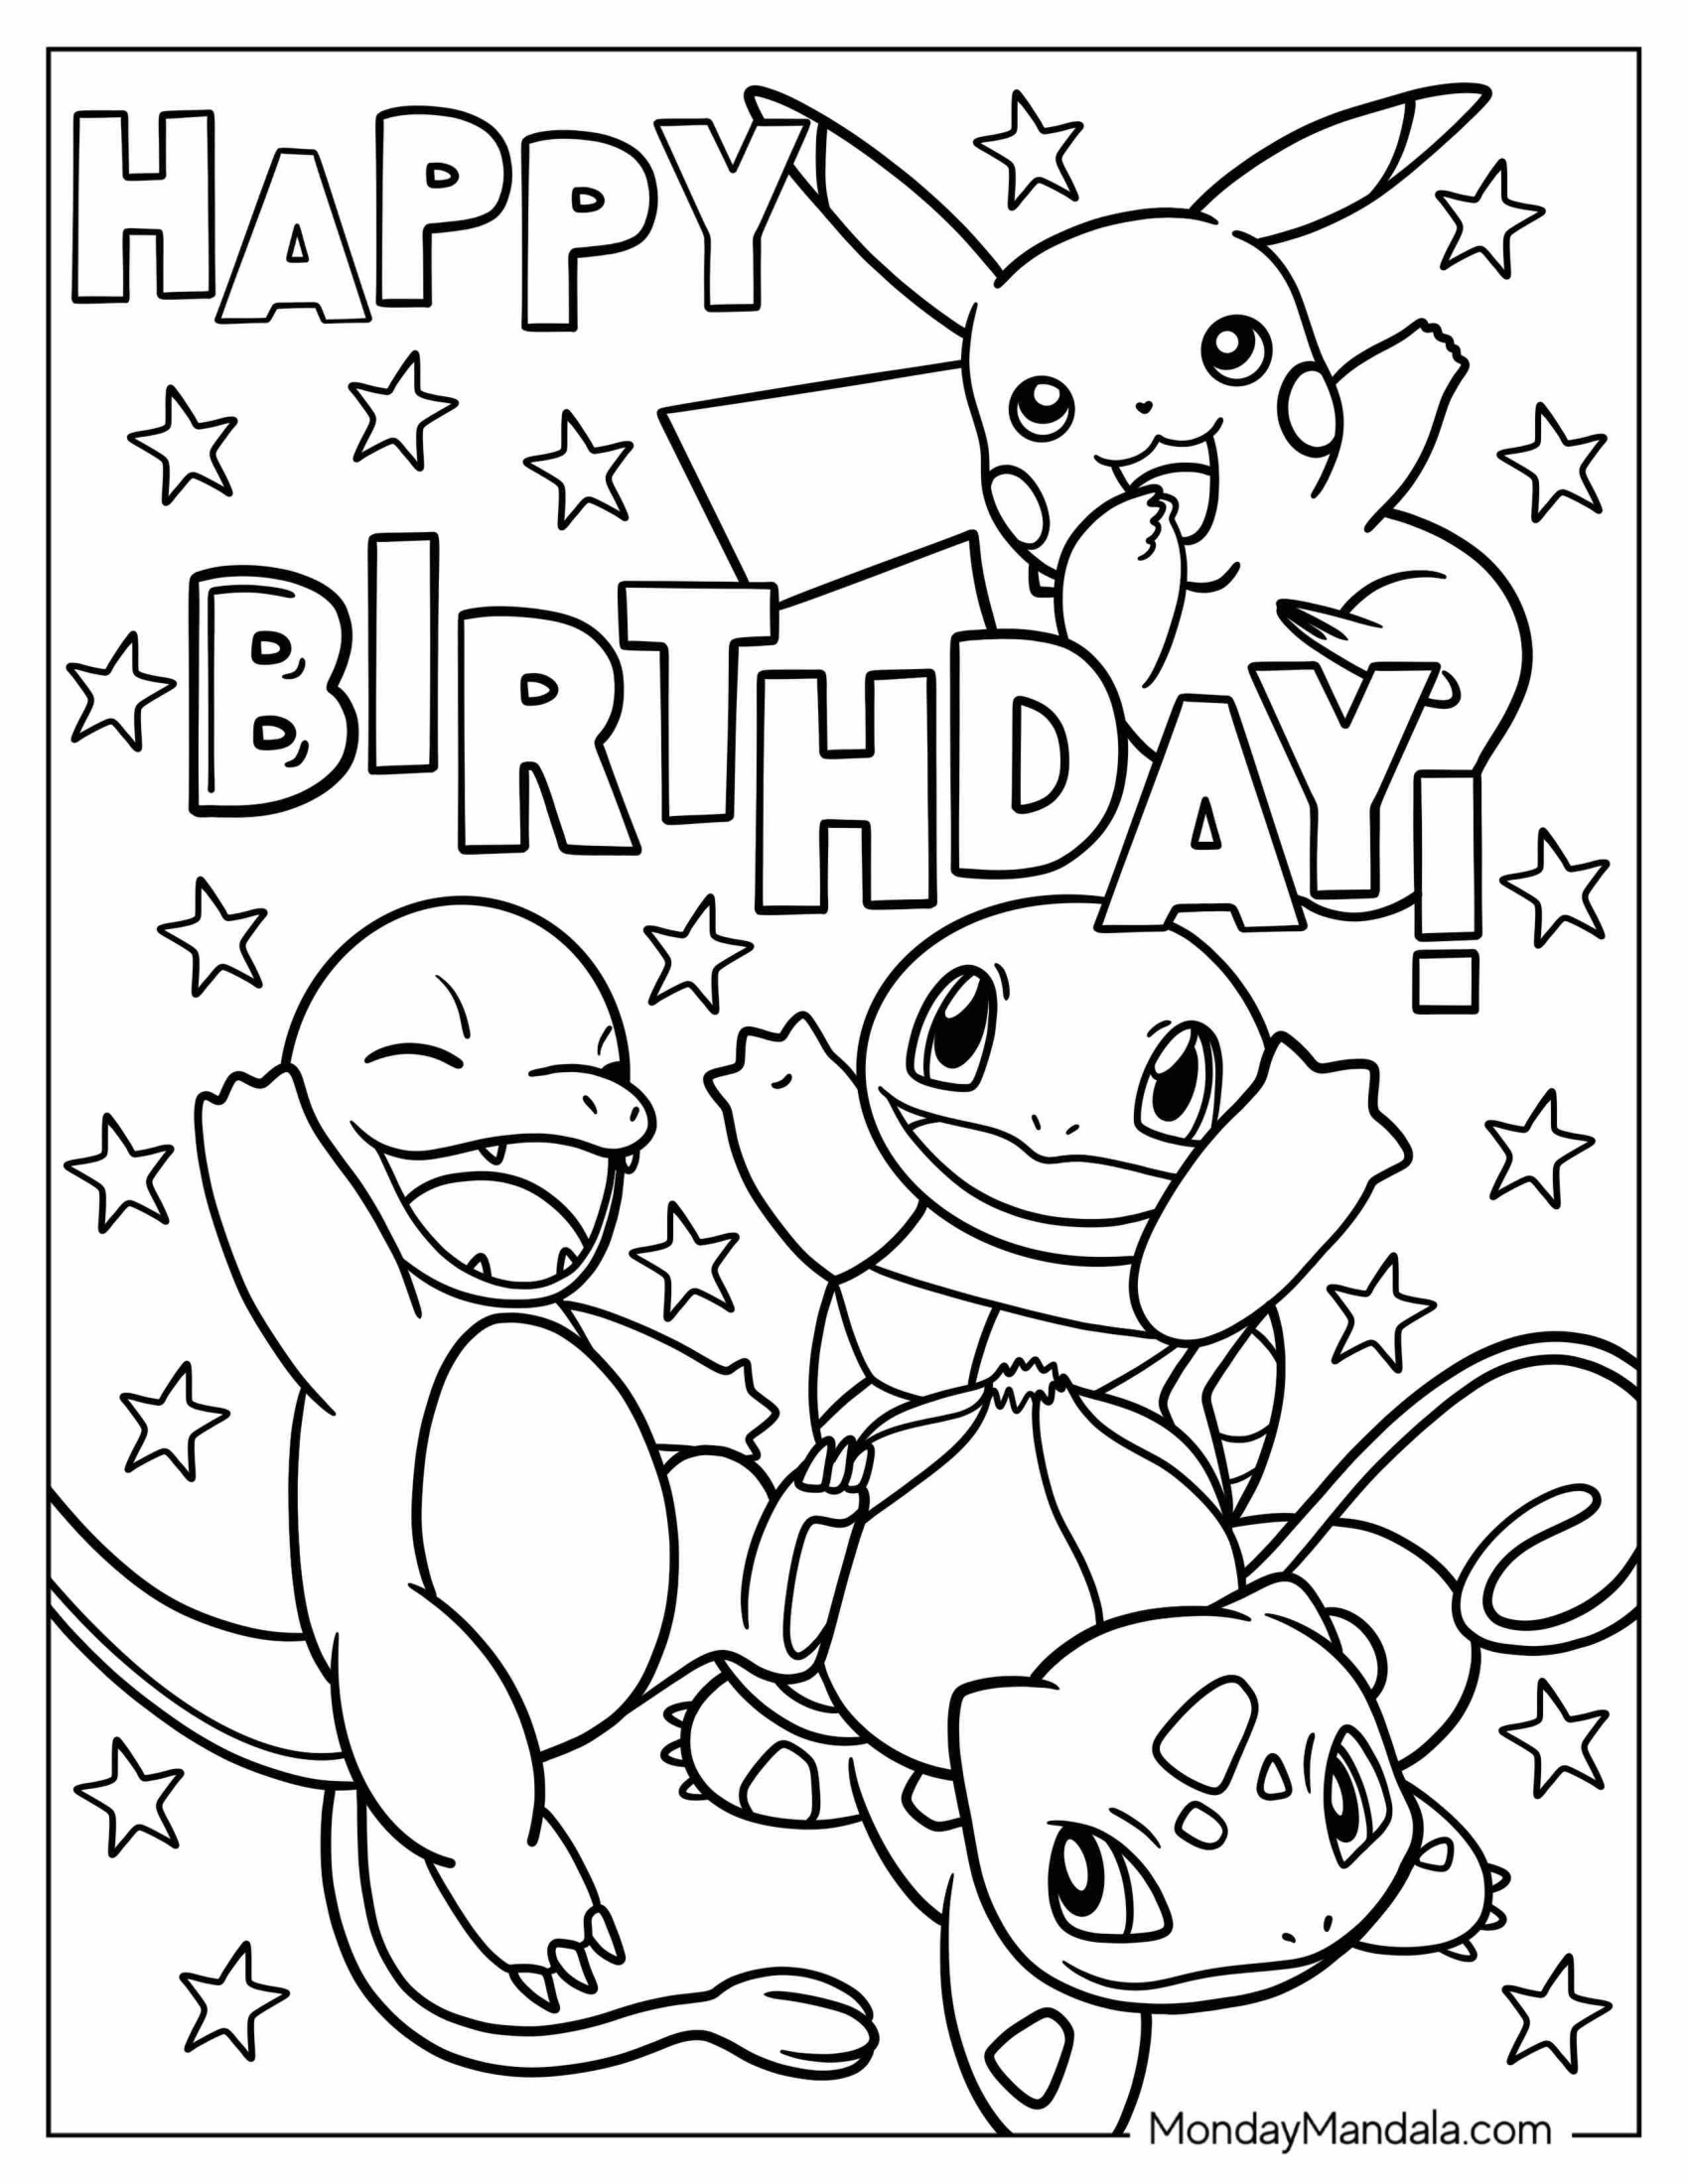
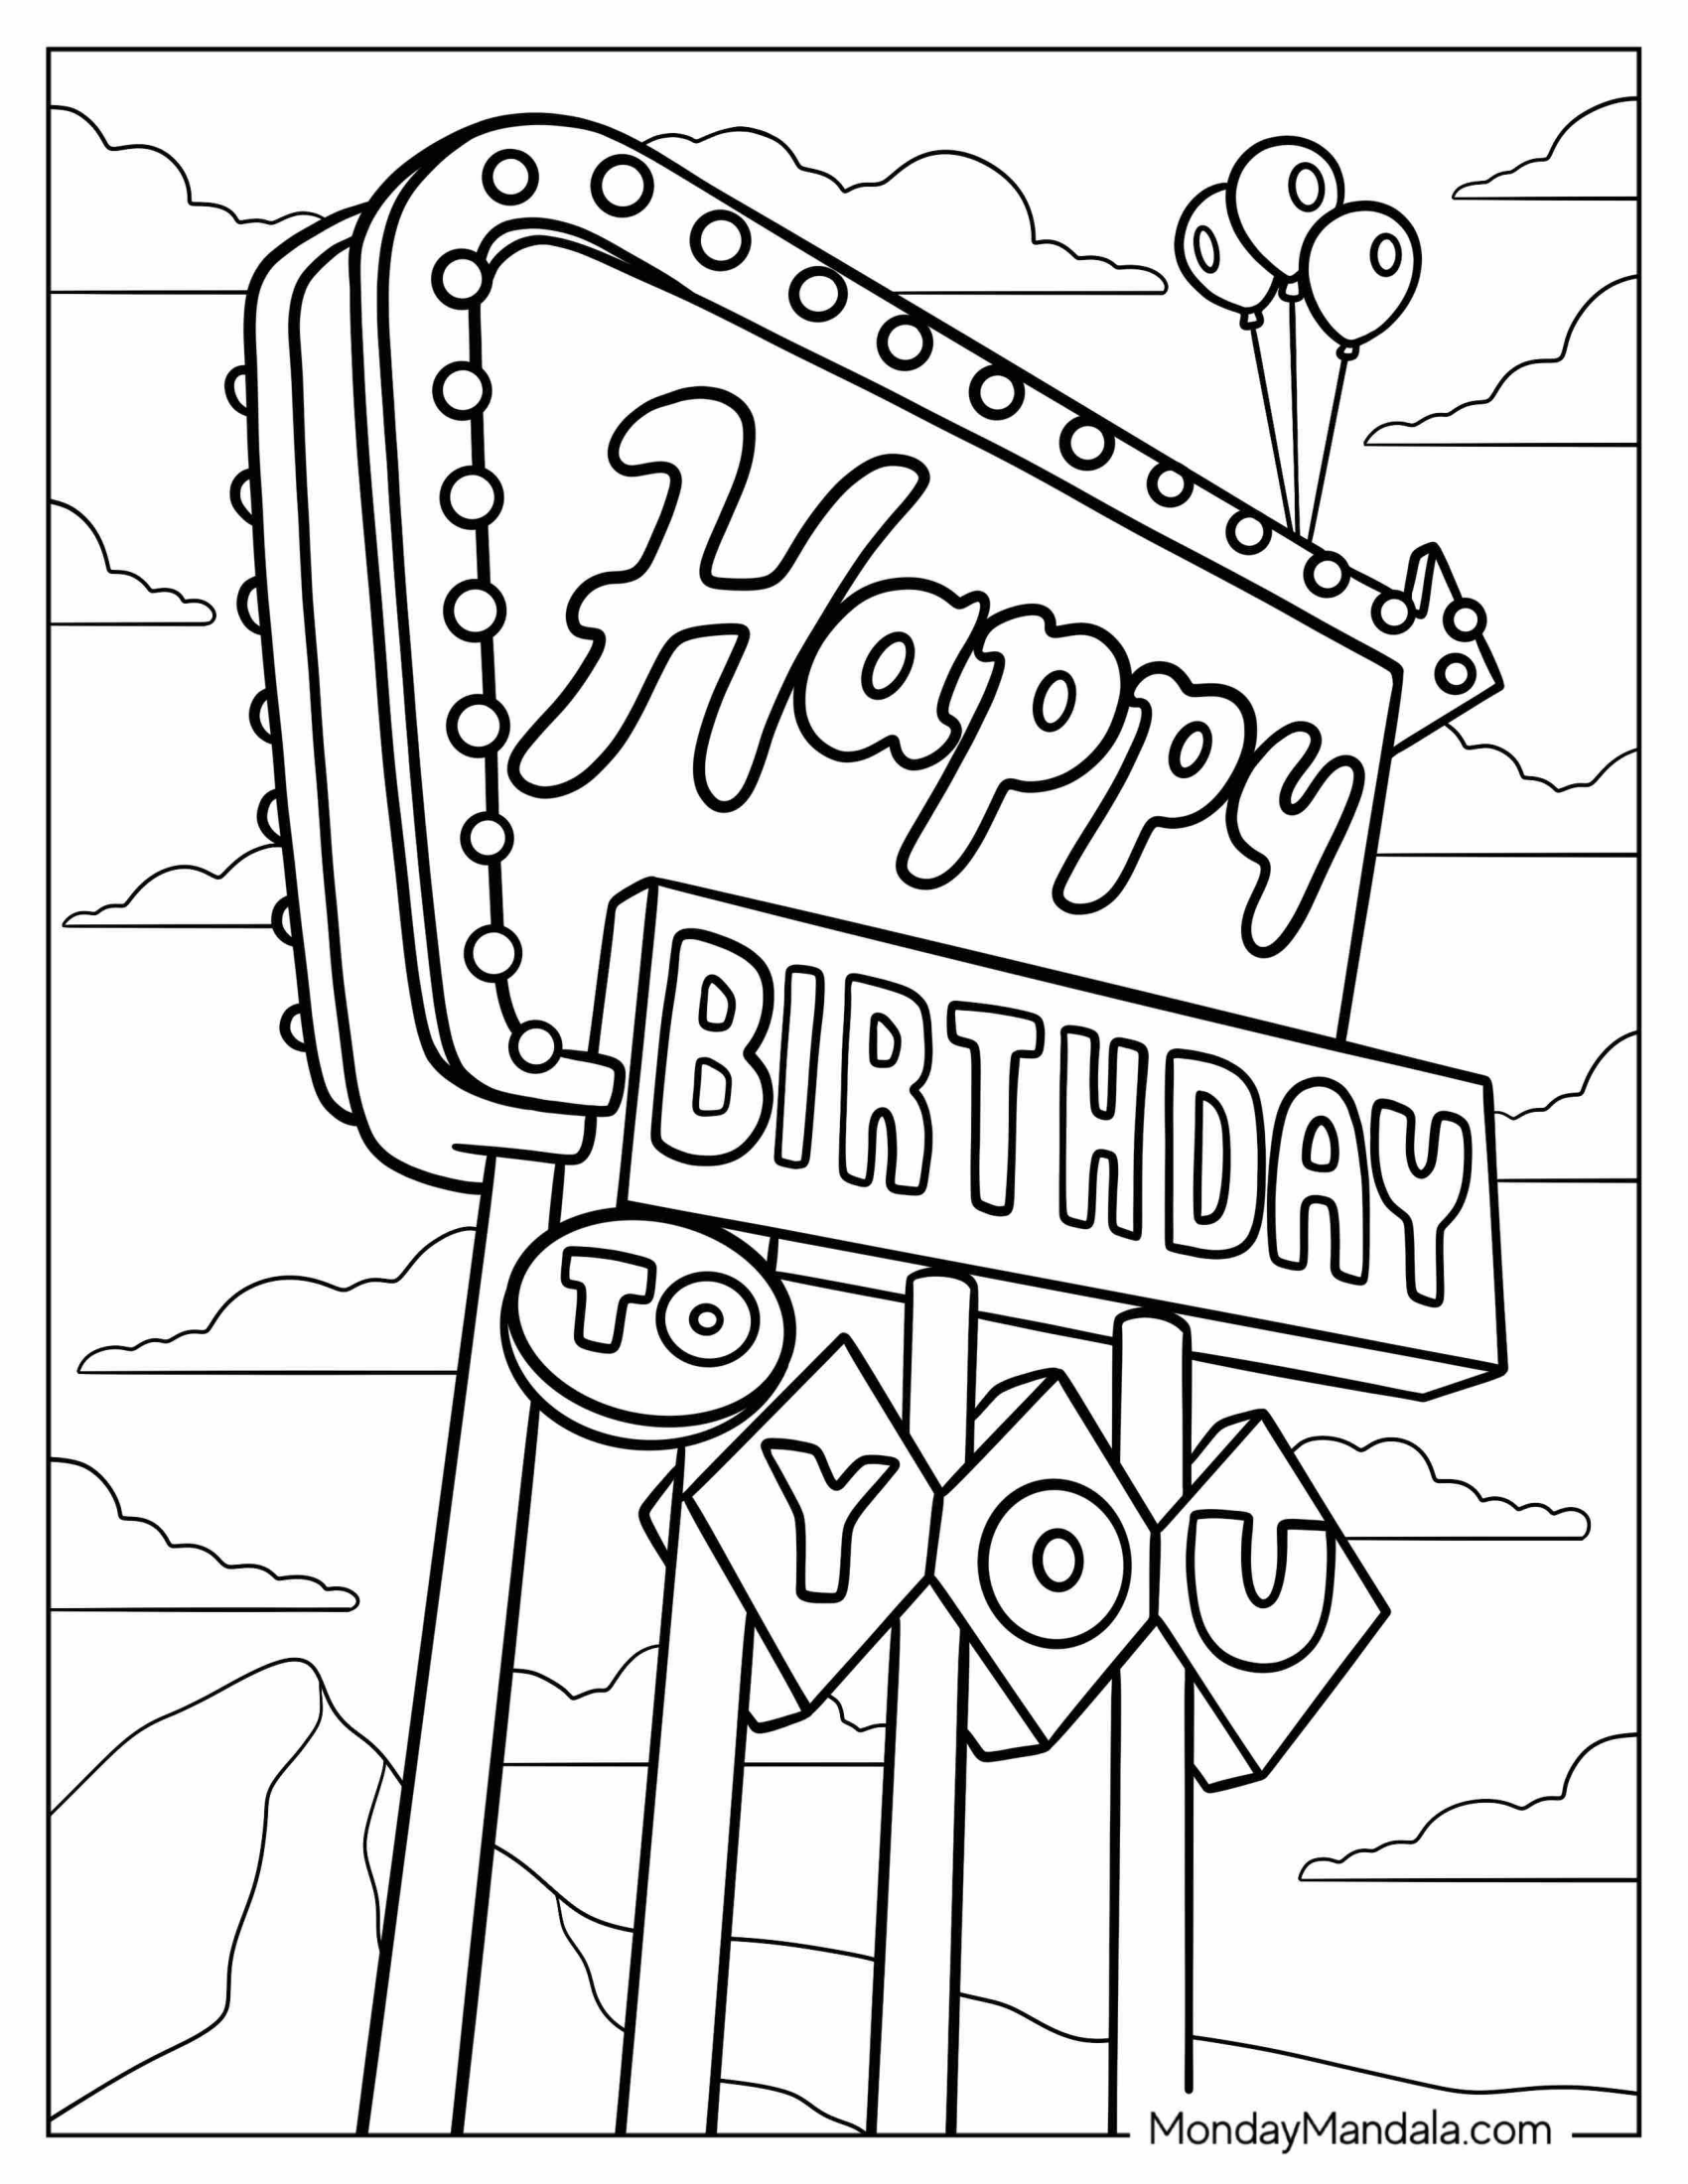
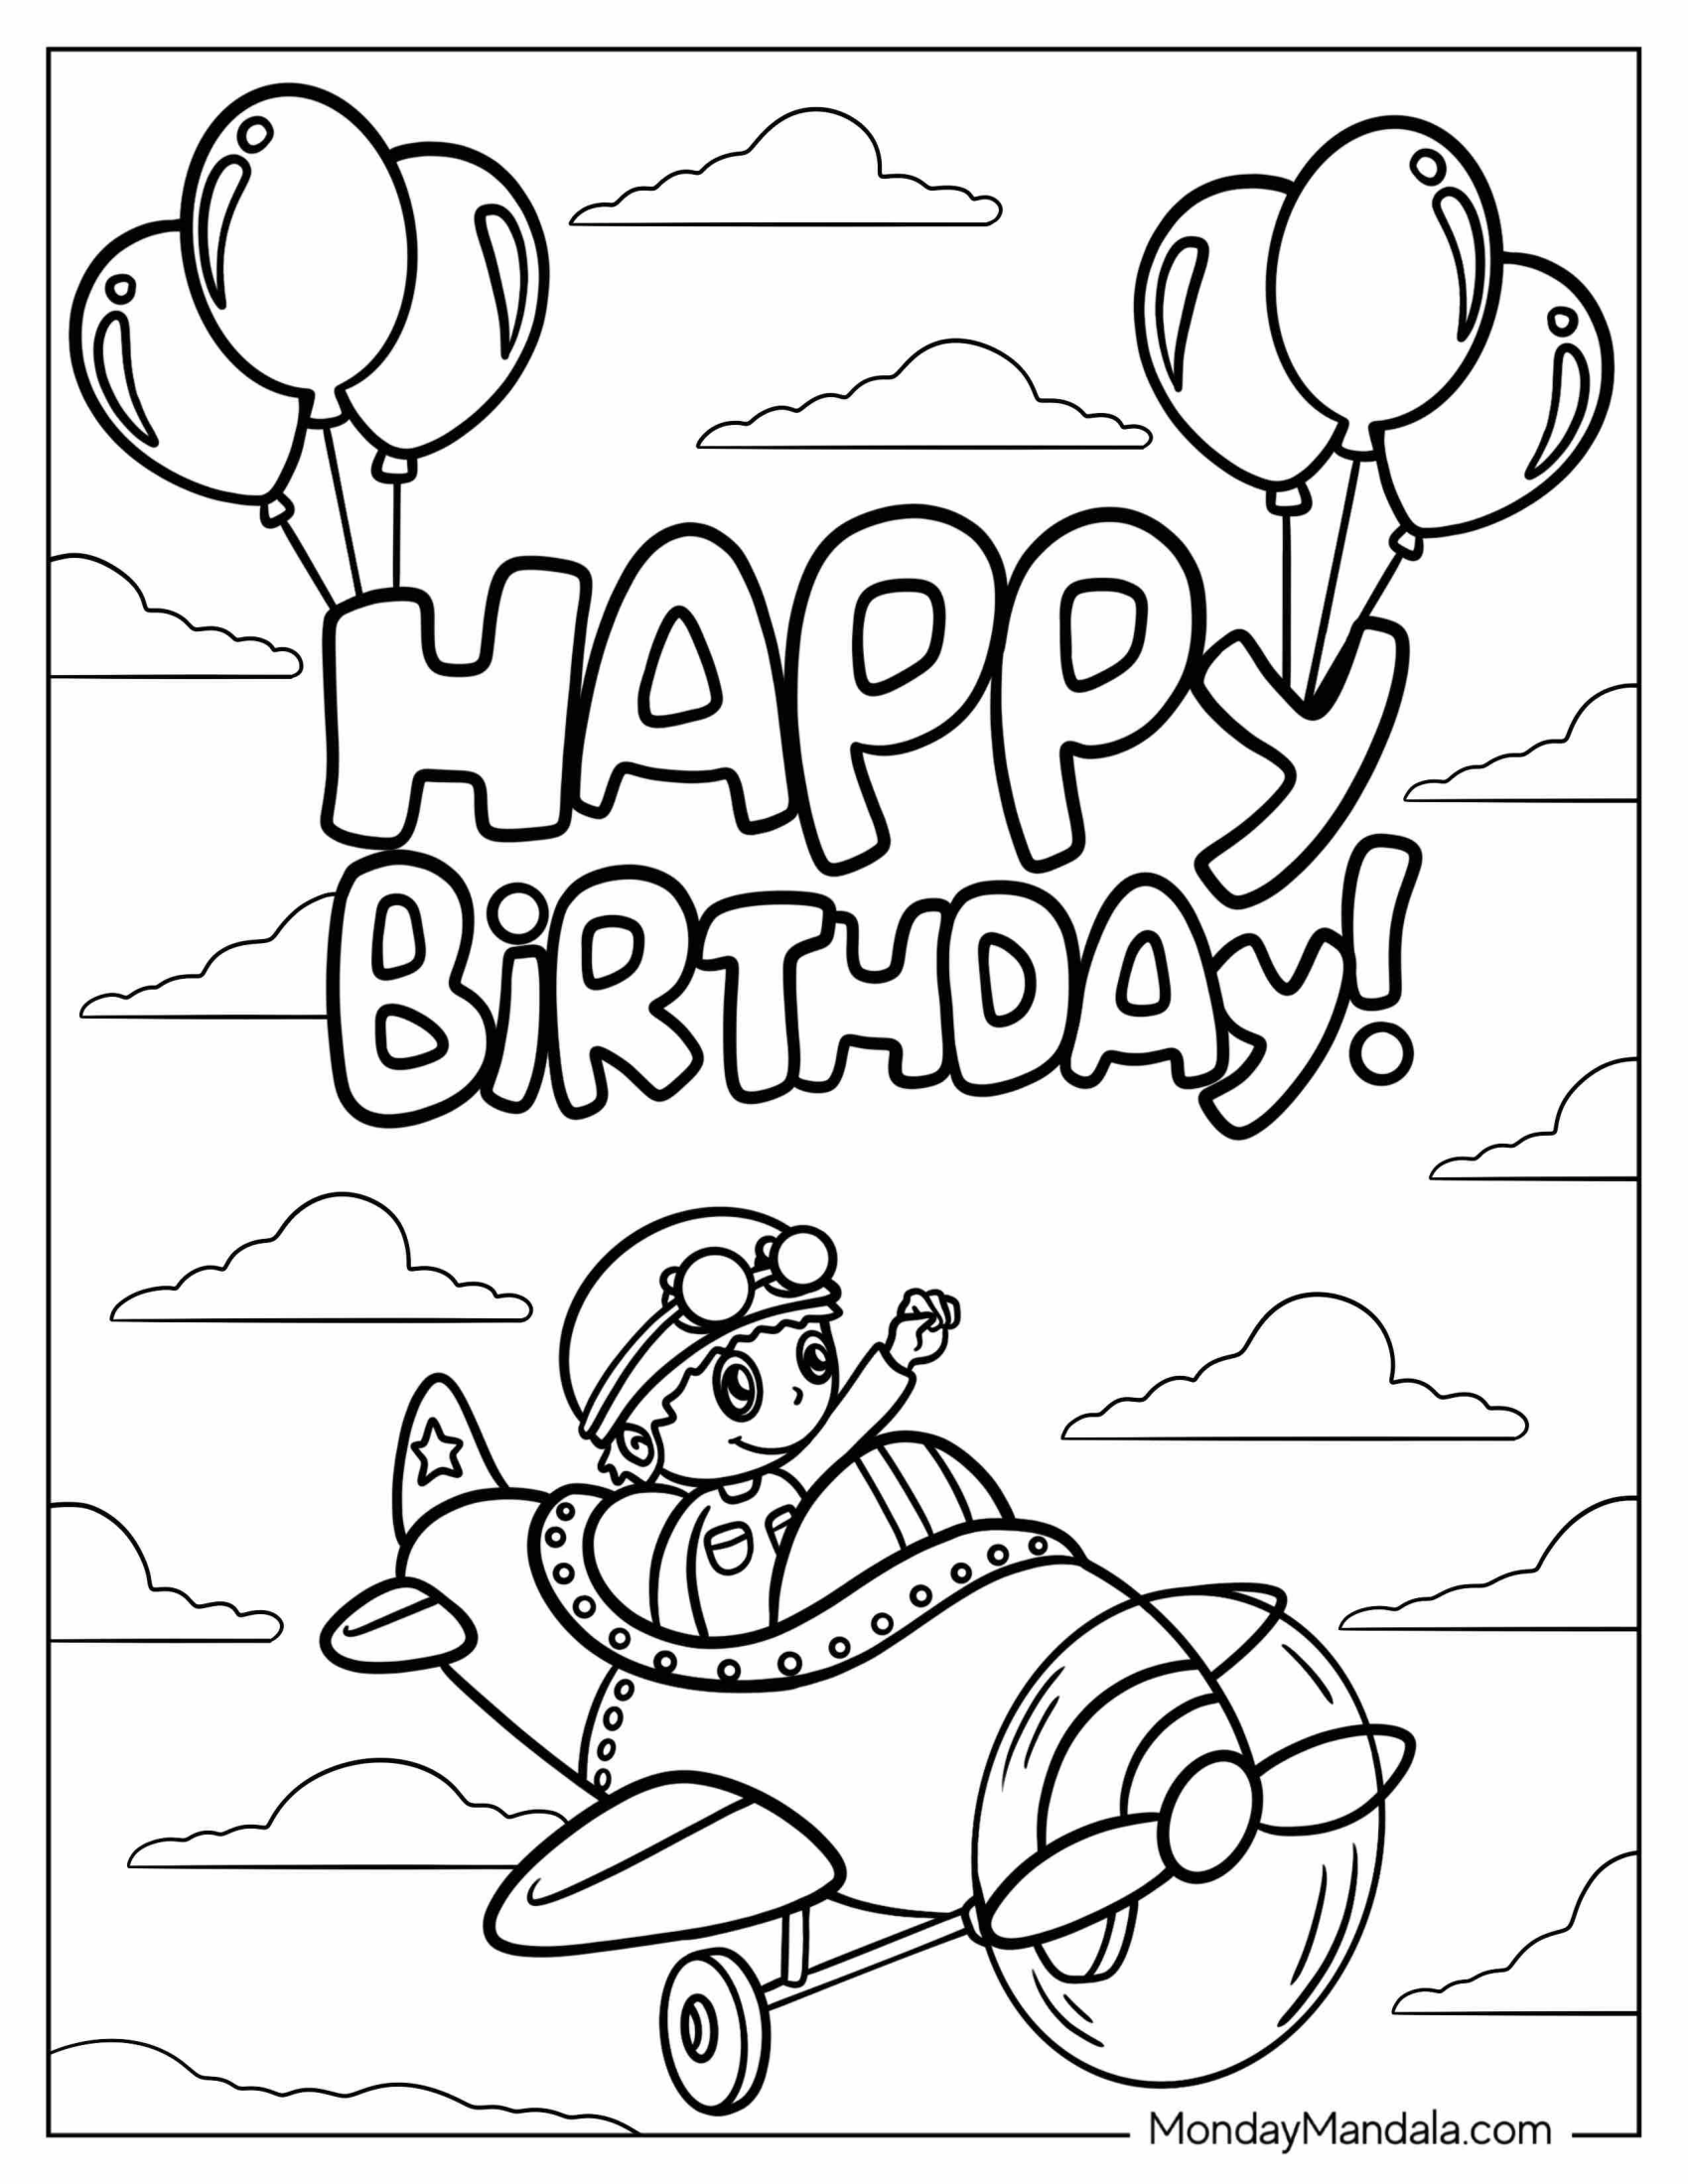
How to Get a Tire Bead to Seal: Tips and Tricks for a Leak-Free Ride

By Tony Markovich

Have you ever struggled with a tire that won’t seal properly? Perhaps you’ve changed a tire or had one repaired only to find out that it still won’t hold air. This can be frustrating, not to mention dangerous if you’re driving on an unsealed tire. But don’t worry, there are ways to get the bead to seal.

In this blog, we’ll cover everything you need to know about getting your tire bead to seal properly so you can get back on the road safely. From common causes of unsealed tires to simple solutions to fix the issue, we’ve got you covered. Whether you’re a DIY mechanic or simply trying to understand the problem better, read on for all the essential tips and tricks.

Inspect the Tire and Wheel

Are you finding it challenging to get a tire bead to seal? Well, it can be frustrating, but no worries, we’ve got you covered. One of the first things you need to do is inspect the tire and wheel carefully. Ensure that there are no damages or deformities to either the tire or the rim.

If there are any, make sure to fix them before attempting to mount the tire. Another crucial factor to consider is the cleanliness of the wheel. Dirt and debris can prevent the bead from sealing correctly, so make sure to clean the wheel thoroughly.

It’s also essential to check the valve stem for any damages and replace it if necessary. Lastly, confirm that the bead on the tire is in good condition, without any cuts or bulges, and that it’s sitting correctly on the rim. Proper inspection of the tire and wheel is the first step to getting a tire bead to seal correctly, so don’t skip it.

Check for Damage or Debris on the Tire or Rim

When it comes to maintaining your vehicle, one of the most essential tasks is inspecting your tires and wheels regularly. Not only does this ensure that your car runs smoothly, but it can also prevent accidents on the road. As you inspect your tires, be sure to check for any signs of damage or debris on both the tire and rim.

This includes looking for cuts, punctures, or bulges on the tire itself, as well as any dents or cracks on the rim. Any of these issues can be indicators of a bigger problem, such as a leak or a potential blowout. If you notice any damage or debris, it’s crucial to address it immediately by replacing the tire or repairing the rim.

This simple step can save you time, money, and potentially even your safety. So make it a habit to inspect your tires and wheels regularly, and enjoy a smoother, safer ride on the road.

how to get a tire bead to seal

Clean the Bead Seat on the Rim

When inspecting your tire and wheel, it’s crucial to check the bead seat on the rim. This area is where the tire sits on the wheel, and any dirt or debris can cause the tire to not seal correctly, leading to air leaks or even blowouts. Cleaning the bead seat is easy and only requires a few tools.

First, remove the tire from the wheel and thoroughly clean both the inside and outside of the rim’s bead seat. You can use a wire brush, sandpaper, or a simple scrub brush to get rid of any dirt or rust. After cleaning, dry the rim completely before reinstalling the tire.

Taking the extra time to inspect and clean the bead seat will help ensure the tire seals correctly and prevents any unexpected issues on the road.

Prep the Tire and Rim for Sealing

When it comes to sealing a tire bead on a rim, there are several steps you can take to increase your chances of success. The first step is to properly prepare both the tire and rim for sealing. Start by inspecting the rim for any rust or debris, and clean it thoroughly with soap and water.

Next, lubricate the bead of the tire with a suitable sealant or soap to help it slide onto the rim more easily. Once the bead is in place, inflate the tire to a moderate pressure and check for any leaks or gaps between the bead and rim. If any gaps are detected, deflate the tire and adjust the position of the bead until it fits snugly against the rim.

With a little patience and attention to detail, you can get your tire bead to seal perfectly and enjoy a safe and comfortable ride on your vehicle.

Apply Lubricant to the Bead of the Tire

Before sealing your tire and rim, it’s essential to prep the tire bead properly by applying lubricant. The lubricant allows the tire bead to slide into place more easily and helps prevent damage to the rim. To apply the lubricant, start by spraying a thin layer around the bead of the tire, making sure to cover the entire surface area.

Then, use your fingers or a brush to spread the lubricant evenly. Be careful not to apply too much, as this can cause the tire to slip or move around while you’re working on it. Once you’ve finished applying the lubricant, you can proceed with sealing the tire and rim as usual.

By taking the time to properly prep your tire and rim, you’ll ensure a smooth and secure seal that will keep your vehicle safe and running smoothly.

Seat the Tire on the Rim Properly

When it comes to mounting a new tire on a rim, it’s important to properly seat the tire to ensure optimal performance and safety on the road. The first step in this process is prepping the tire and rim for sealing. Start by inspecting the rim for any damage or debris that could prevent the tire from sealing correctly.

Clean the rim thoroughly and remove any dirt or rust that may be present. Next, lubricate the bead of the tire with a tire mounting lubricant. This will make it easier to slide the tire onto the rim without damaging the rubber.

Be sure to position the tire so that the bead sits in the center of the rim. As you inflate the tire, you should hear a distinct “pop” as the bead seats onto the rim. This will ensure a proper seal between the tire and rim.

Remember, a poorly seated tire can lead to reduced performance, increased wear, and even blowouts on the road. So take the time to prep your tire and rim properly to ensure a safe and comfortable ride.

Inflate the Tire Properly

When it comes to getting a tire bead to seal, one of the most essential steps is to properly inflate the tire. Before doing so, it’s important to check the recommended PSI for the tire, which can usually be found on the tire itself or in the owner’s manual. Overinflating or underinflating the tire can cause issues with sealing the bead, so it’s crucial to get it right.

Once you know the correct PSI, attach a tire pressure gauge to the valve stem and inflate the tire accordingly. Be sure to inflate the tire slowly and evenly, checking the pressure frequently to avoid overinflation. You can also use soapy water to check for leaks, which can prevent the bead from properly sealing.

By taking these steps, you can increase the likelihood of your tire bead sealing effectively and prevent any potential issues on the road.

Use a High-Volume Air Source to Seat the Bead

When inflating a tire, it’s important to use a high-volume air source to properly seat the bead. This ensures a secure fit and prevents the tire from slipping off the rim. The bead is the edge of the tire that grips onto the rim, creating an airtight seal.

Without a properly seated bead, the tire won’t inflate correctly or may even blow out while driving. Using a high-volume air source, such as an air compressor or air tank, is key in seating the bead quickly and efficiently. These sources provide a large volume of air at a high pressure, which forces the tire bead onto the rim.

It’s important to make sure the air pressure is sufficient for the size of the tire being inflated, as overinflating can cause the tire to burst. To avoid damaging the tire or rim, it’s important to use caution when inflating and to monitor the air pressure as you go. Pay attention to any hissing or popping sounds, which may indicate that the bead is not seated properly.

If this occurs, deflate the tire and start the inflation process again, making sure to use a high-volume air source and to check the bead as you go. Overall, ensuring that the tire is properly inflated is crucial for safe driving. By using a high-volume air source to seat the bead, you can be confident that the tire will stay securely in place and provide reliable performance.

So next time you inflate your tires, remember to use the right tools for the job and take your time to do it safely and correctly.

Monitor the Tire Pressure and Inflate as Needed

Properly inflated tires are crucial for safe and comfortable driving. Yet, many drivers overlook the importance of routine tire pressure monitoring and inflation until it’s too late. Underinflation can cause tires to wear out faster and create a hazardous driving situation, while overinflated tires lead to a harsh and bumpy ride.

To ensure the optimal performance of your car and the safety of its passengers, it’s important to check your tire pressure regularly and inflate them to the recommended levels. Typically, the proper inflation levels are indicated in the owner’s manual or on the placard attached to the driver’s door. To inflate your tires properly, use a reliable air compressor or a manual tire pump.

Don’t forget to check the pressure again after a few hours of driving or whenever your car has been exposed to extreme temperatures. A simple habit of regular tire pressure monitoring and inflation can prolong the lifespan of your tires and save you from unexpected roadside emergencies.

Test the Seal

If you’re having trouble getting your tire bead to seal, there are a few things you can do to troubleshoot the issue. First, make sure that the tire bead is properly seated on the rim. You can do this by visually inspecting the tire and rim, and ensuring that they are properly aligned.

Once you’ve confirmed that the tire is properly seated, try adding a small amount of air to the tire to inflate it slightly. This can help to push the bead into place and create a better seal. If neither of these methods work, you may want to try using a tire sealant or taking your tire to a professional for further assistance.

With a little patience and persistence, you should be able to get your tire bead to seal properly and get back on the road safely.

Test the Seal with Soapy Water

If you’re installing a new gasket or seal, it’s essential to test it before relying on it to protect against leaks. The easiest way to do this is by using soapy water. First, apply the sealant and allow it to dry completely.

Once it’s dried, mix a small amount of dish soap with water in a spray bottle. Spray the soapy water onto the area where the seal is located, and look for bubbles. If the seal is leaking, the pressure from the gas or liquid will cause the bubbles to form.

This simple test will ensure that your seal is tight and ready to perform its job properly. Don’t skip this step – it could save you from a lot of hassle down the road.

Check for Air Loss After Seal

After sealing your home or commercial property, it’s essential to test the seal and ensure there is no air loss. This involves checking for any air drafts or leaks that may have been missed during the sealing process. While it may seem like a hassle to perform this test, it’s critical to maintain the integrity of your seal and energy efficiency in the long run.

One way to test the seal is to use a smoke test, where smoke is blown around doors, windows, and other sealed areas to see if it seeps through any cracks or gaps. Another way is to use a handheld thermal leak detector to determine if there are any temperature changes along the seal, indicating possible air loss. By performing these tests, you can rest assured that your seal is working effectively, saving you money on energy costs and preventing uncomfortable drafts.

Final Thoughts

In conclusion, there are several steps you can take to get a tire bead to seal properly. First, ensure that the rim and tire are clean and free of debris. Secondly, apply bead sealant to the inner rim surface and bead of the tire to create a secure seal.

Additionally, consider using a tire bead lubricant or soapy water as a temporary solution to help the tire slide onto the rim more easily. Finally, inflate the tire to the recommended pressure and check for any leaks or unevenness in the bead seal. By following these steps, you can ensure that your tire is properly sealed, providing a safe and comfortable ride.

Remember to always prioritize safety and consult a professional if you are uncertain about any aspect of the process.

Conclusion

In conclusion, sealing a tire bead is like sealing a deal – it takes patience, persistence, and a bit of know-how. Just like in negotiations, you need to make sure all the pieces come together perfectly before you can shake hands and call it a success. So take your time, follow the steps, and don’t be afraid to get your hands dirty.

With a little effort, you’ll be rolling down the road with a perfectly sealed tire in no time – and who knows, maybe you’ll learn some negotiation skills along the way.”

FAQs

What is a tire bead?
The tire bead is the part of the tire that sits on the rim and forms an airtight seal.

Why won’t my tire bead seal?
There are several reasons why a tire bead may not seal, including damage to the bead or rim, improper inflation, or debris on the rim.

How can I clean the rim to help the tire bead seal?
Remove any debris from the rim with a wire brush or cloth, and consider using a sealant or lubricant specifically designed for tire beads.

What should I do if my tire bead won’t seal even after cleaning the rim?
Check for any damage to the tire bead or the rim, and consider replacing either or both if necessary.

Can I inflate the tire to force the bead to seal?
Inflating the tire beyond the recommended pressure can be dangerous and may cause the tire to explode, so it is not recommended.

Should I use a bead sealer product?
Bead sealer products can be effective in helping to seal stubborn tire beads, but it is important to choose a product that is compatible with both the tire and rim.

Can I use soap and water to help the tire bead seal?
Yes, a mixture of soap and water can be applied to the tire bead and rim to help lubricate the surfaces and facilitate the sealing process.

Rate this post