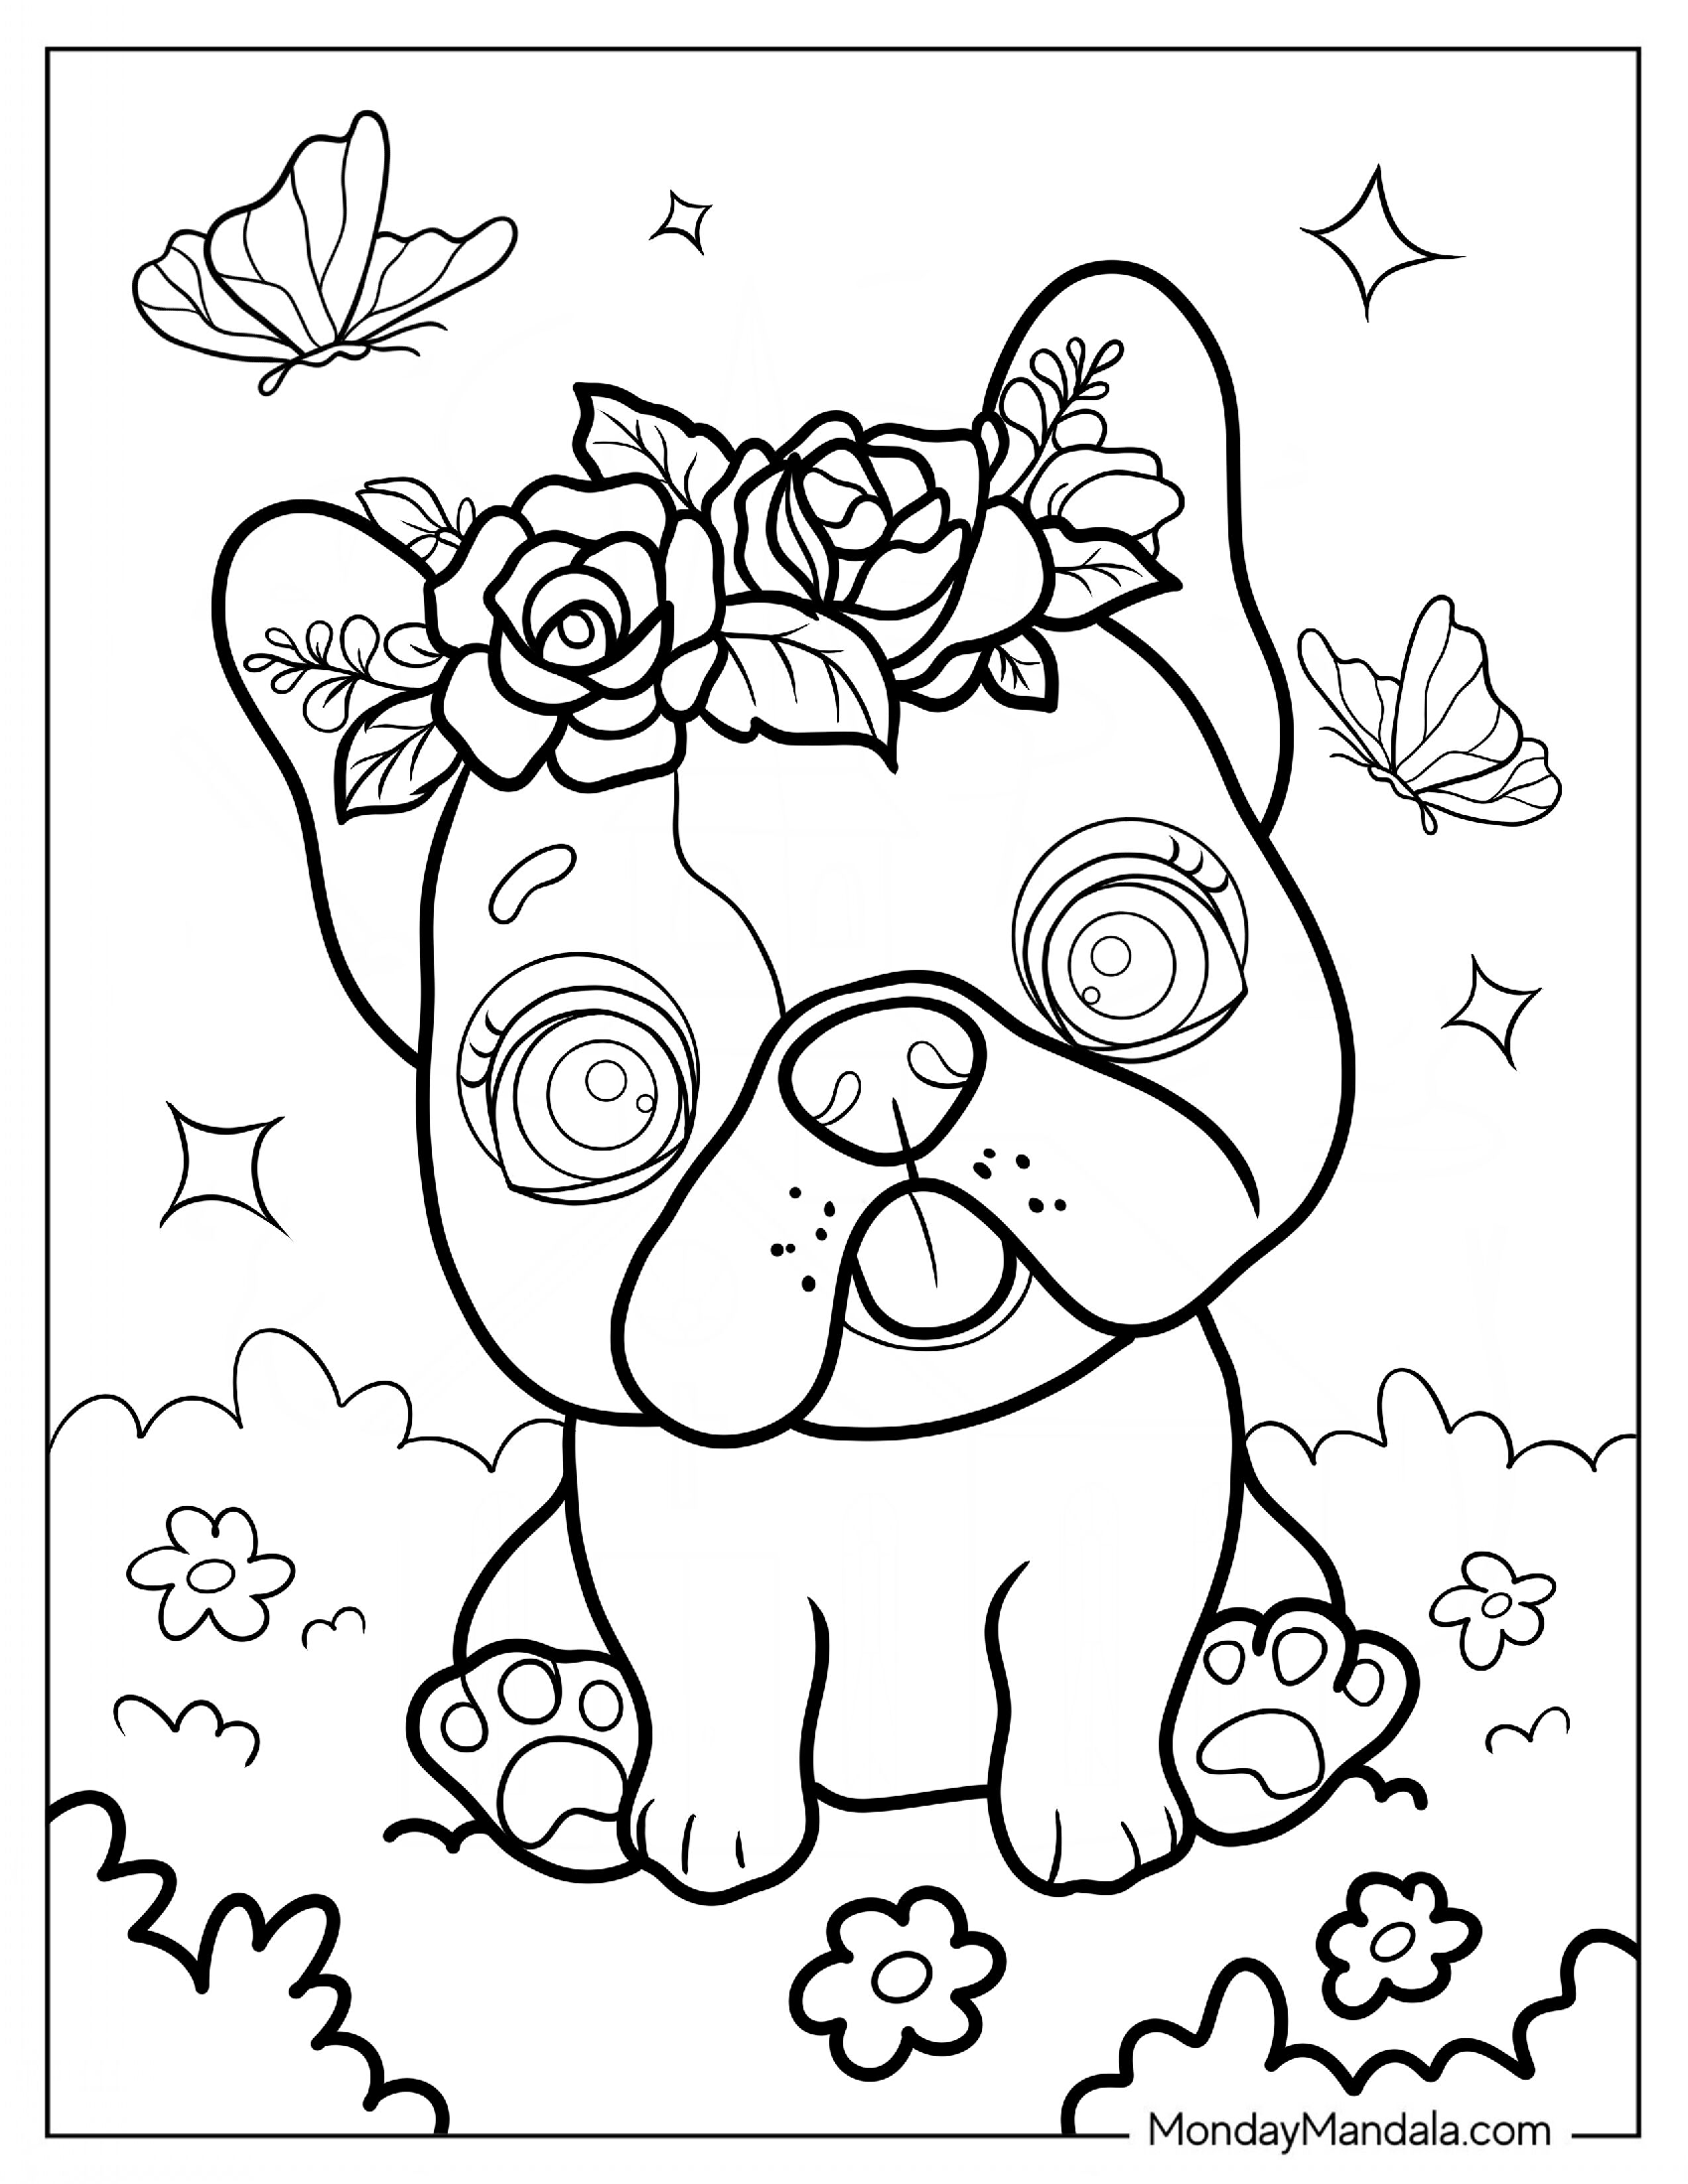
Are you ready to unleash your creativity and bring home the adorable charm of French Bulldogs? We’ve got you covered! In this article, we’ll be converting our popular French Bulldog Coloring Pages into free PDF printables, making it easy for you to download and start coloring right away. Using a simple formula of combining high-quality images with a range of colors and textures, our French Bulldog coloring pages will transport you to a world of relaxation and fun. Whether you’re a seasoned colorist or just looking for a new hobby, our free PDF printables are the perfect way to unwind and express your artistic side.
Free Printable French Bulldog Coloring Pages – Download Now


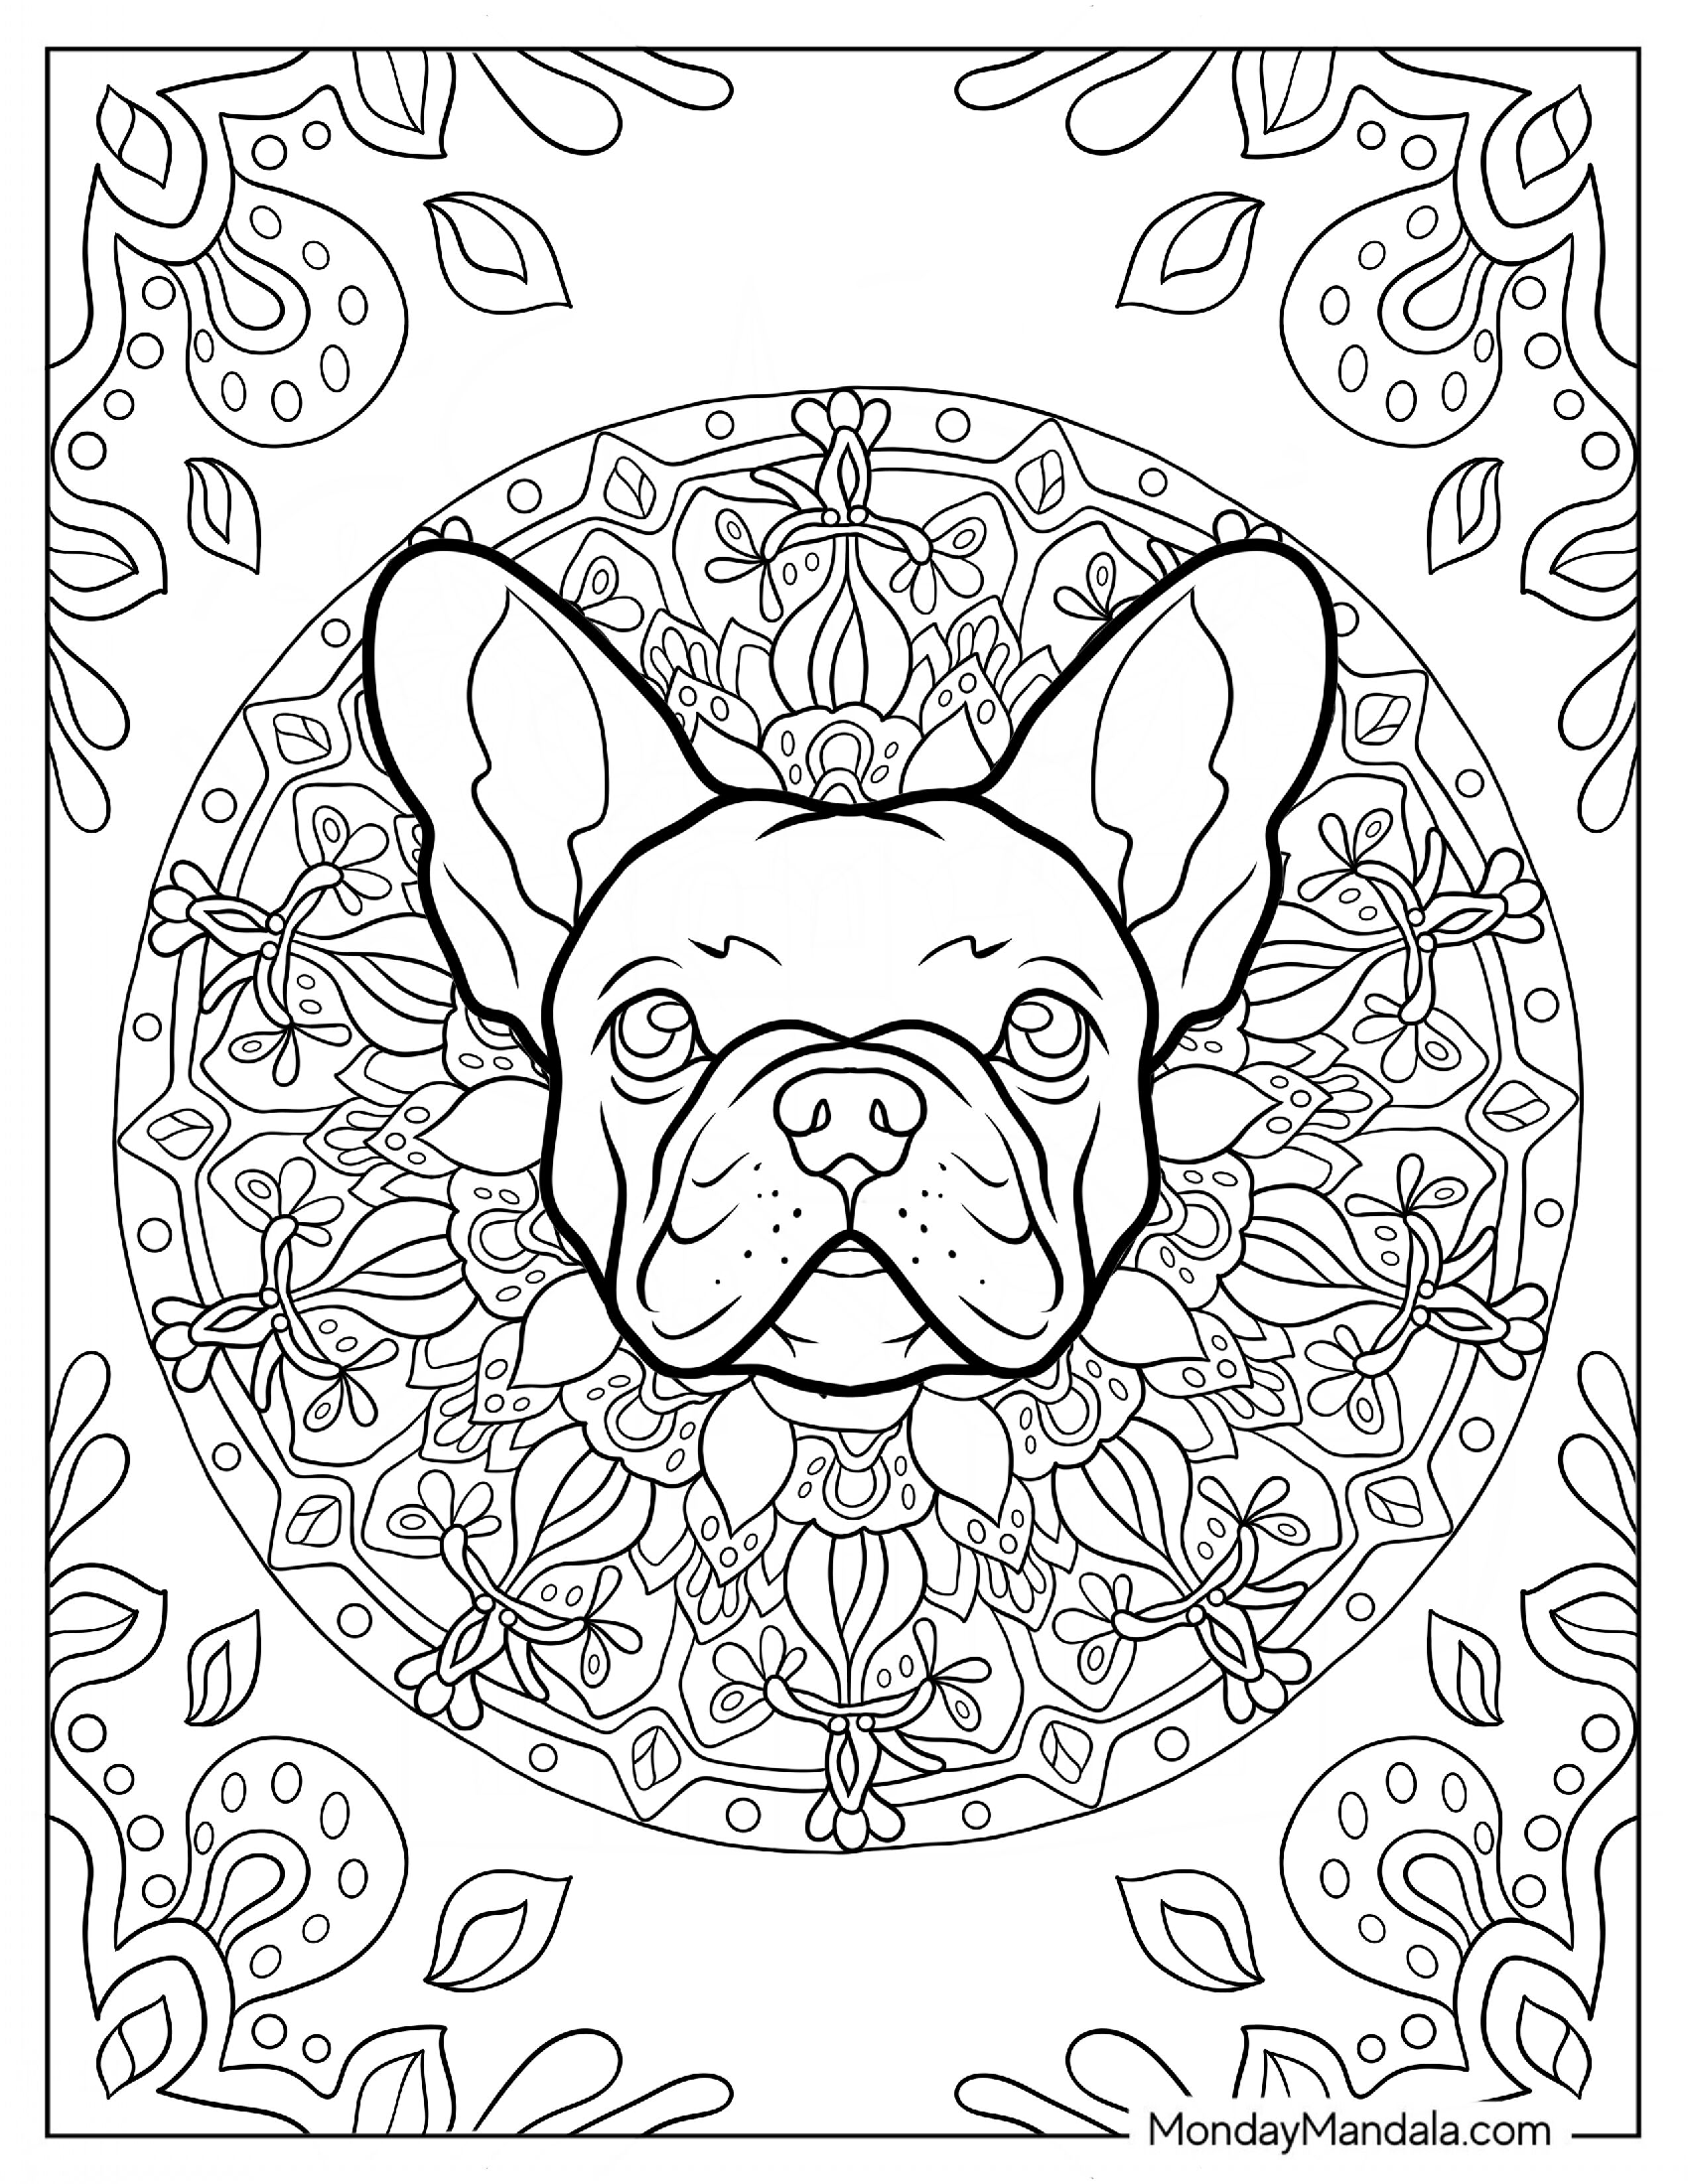
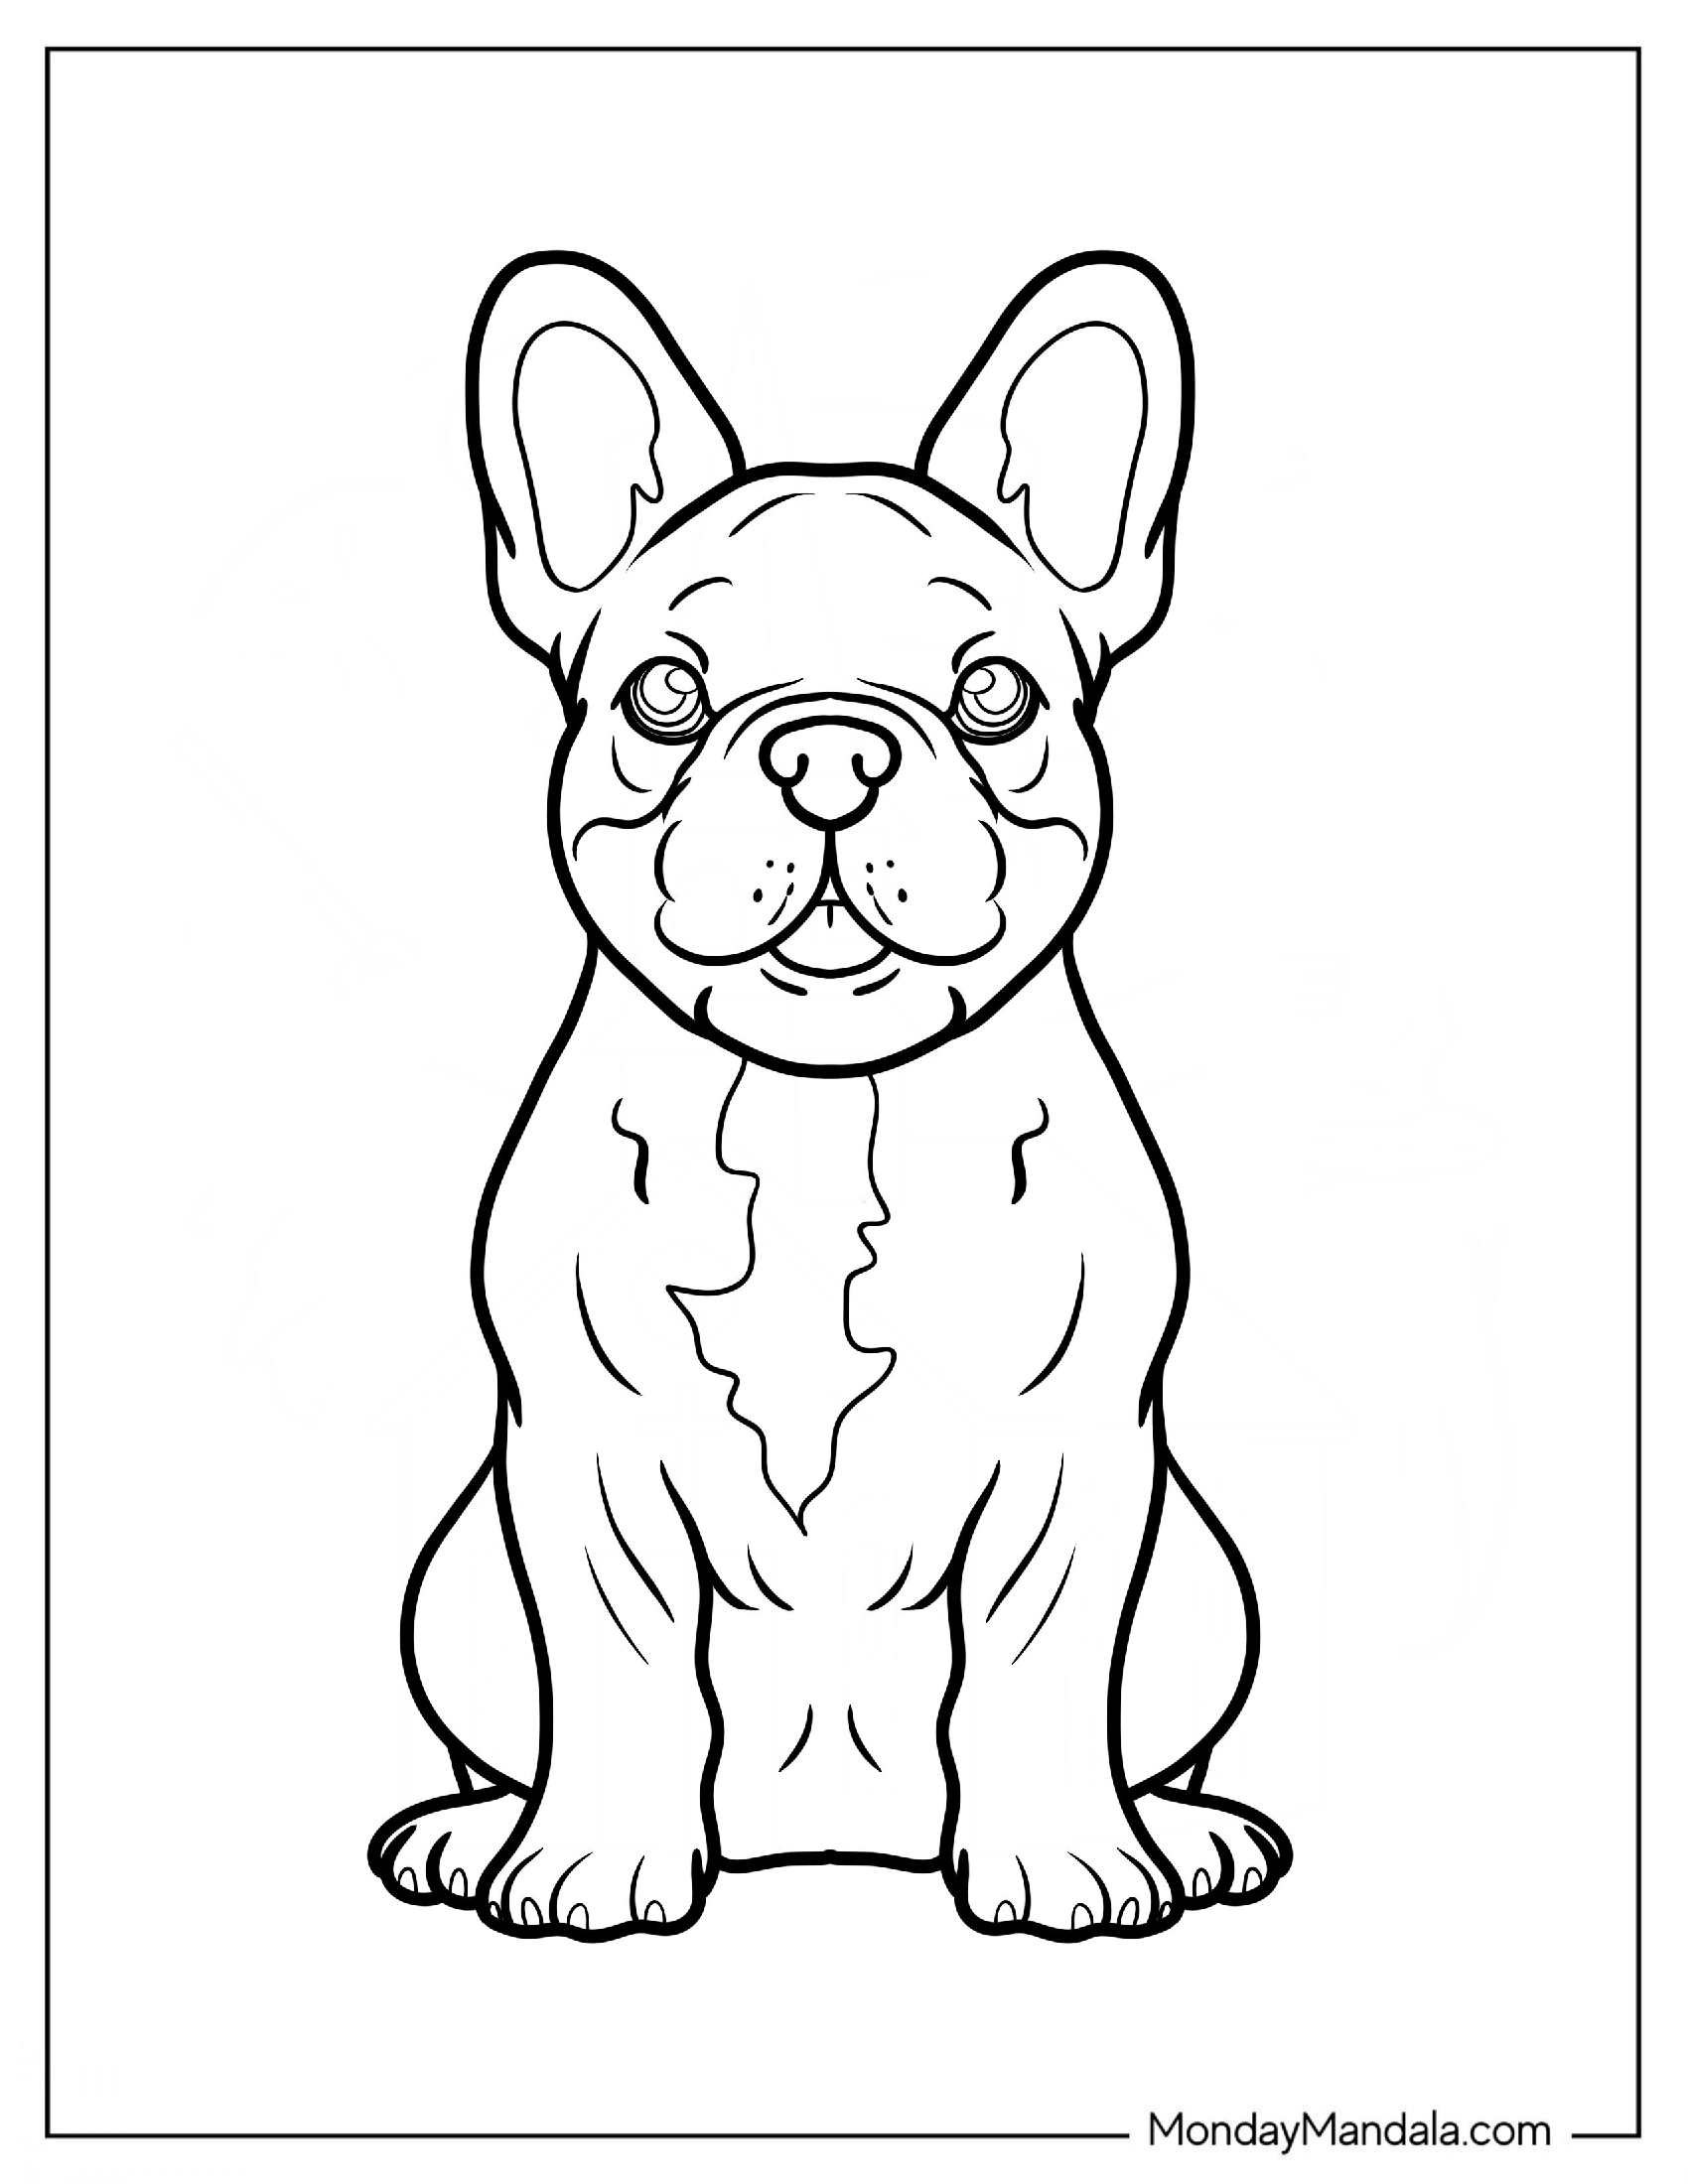
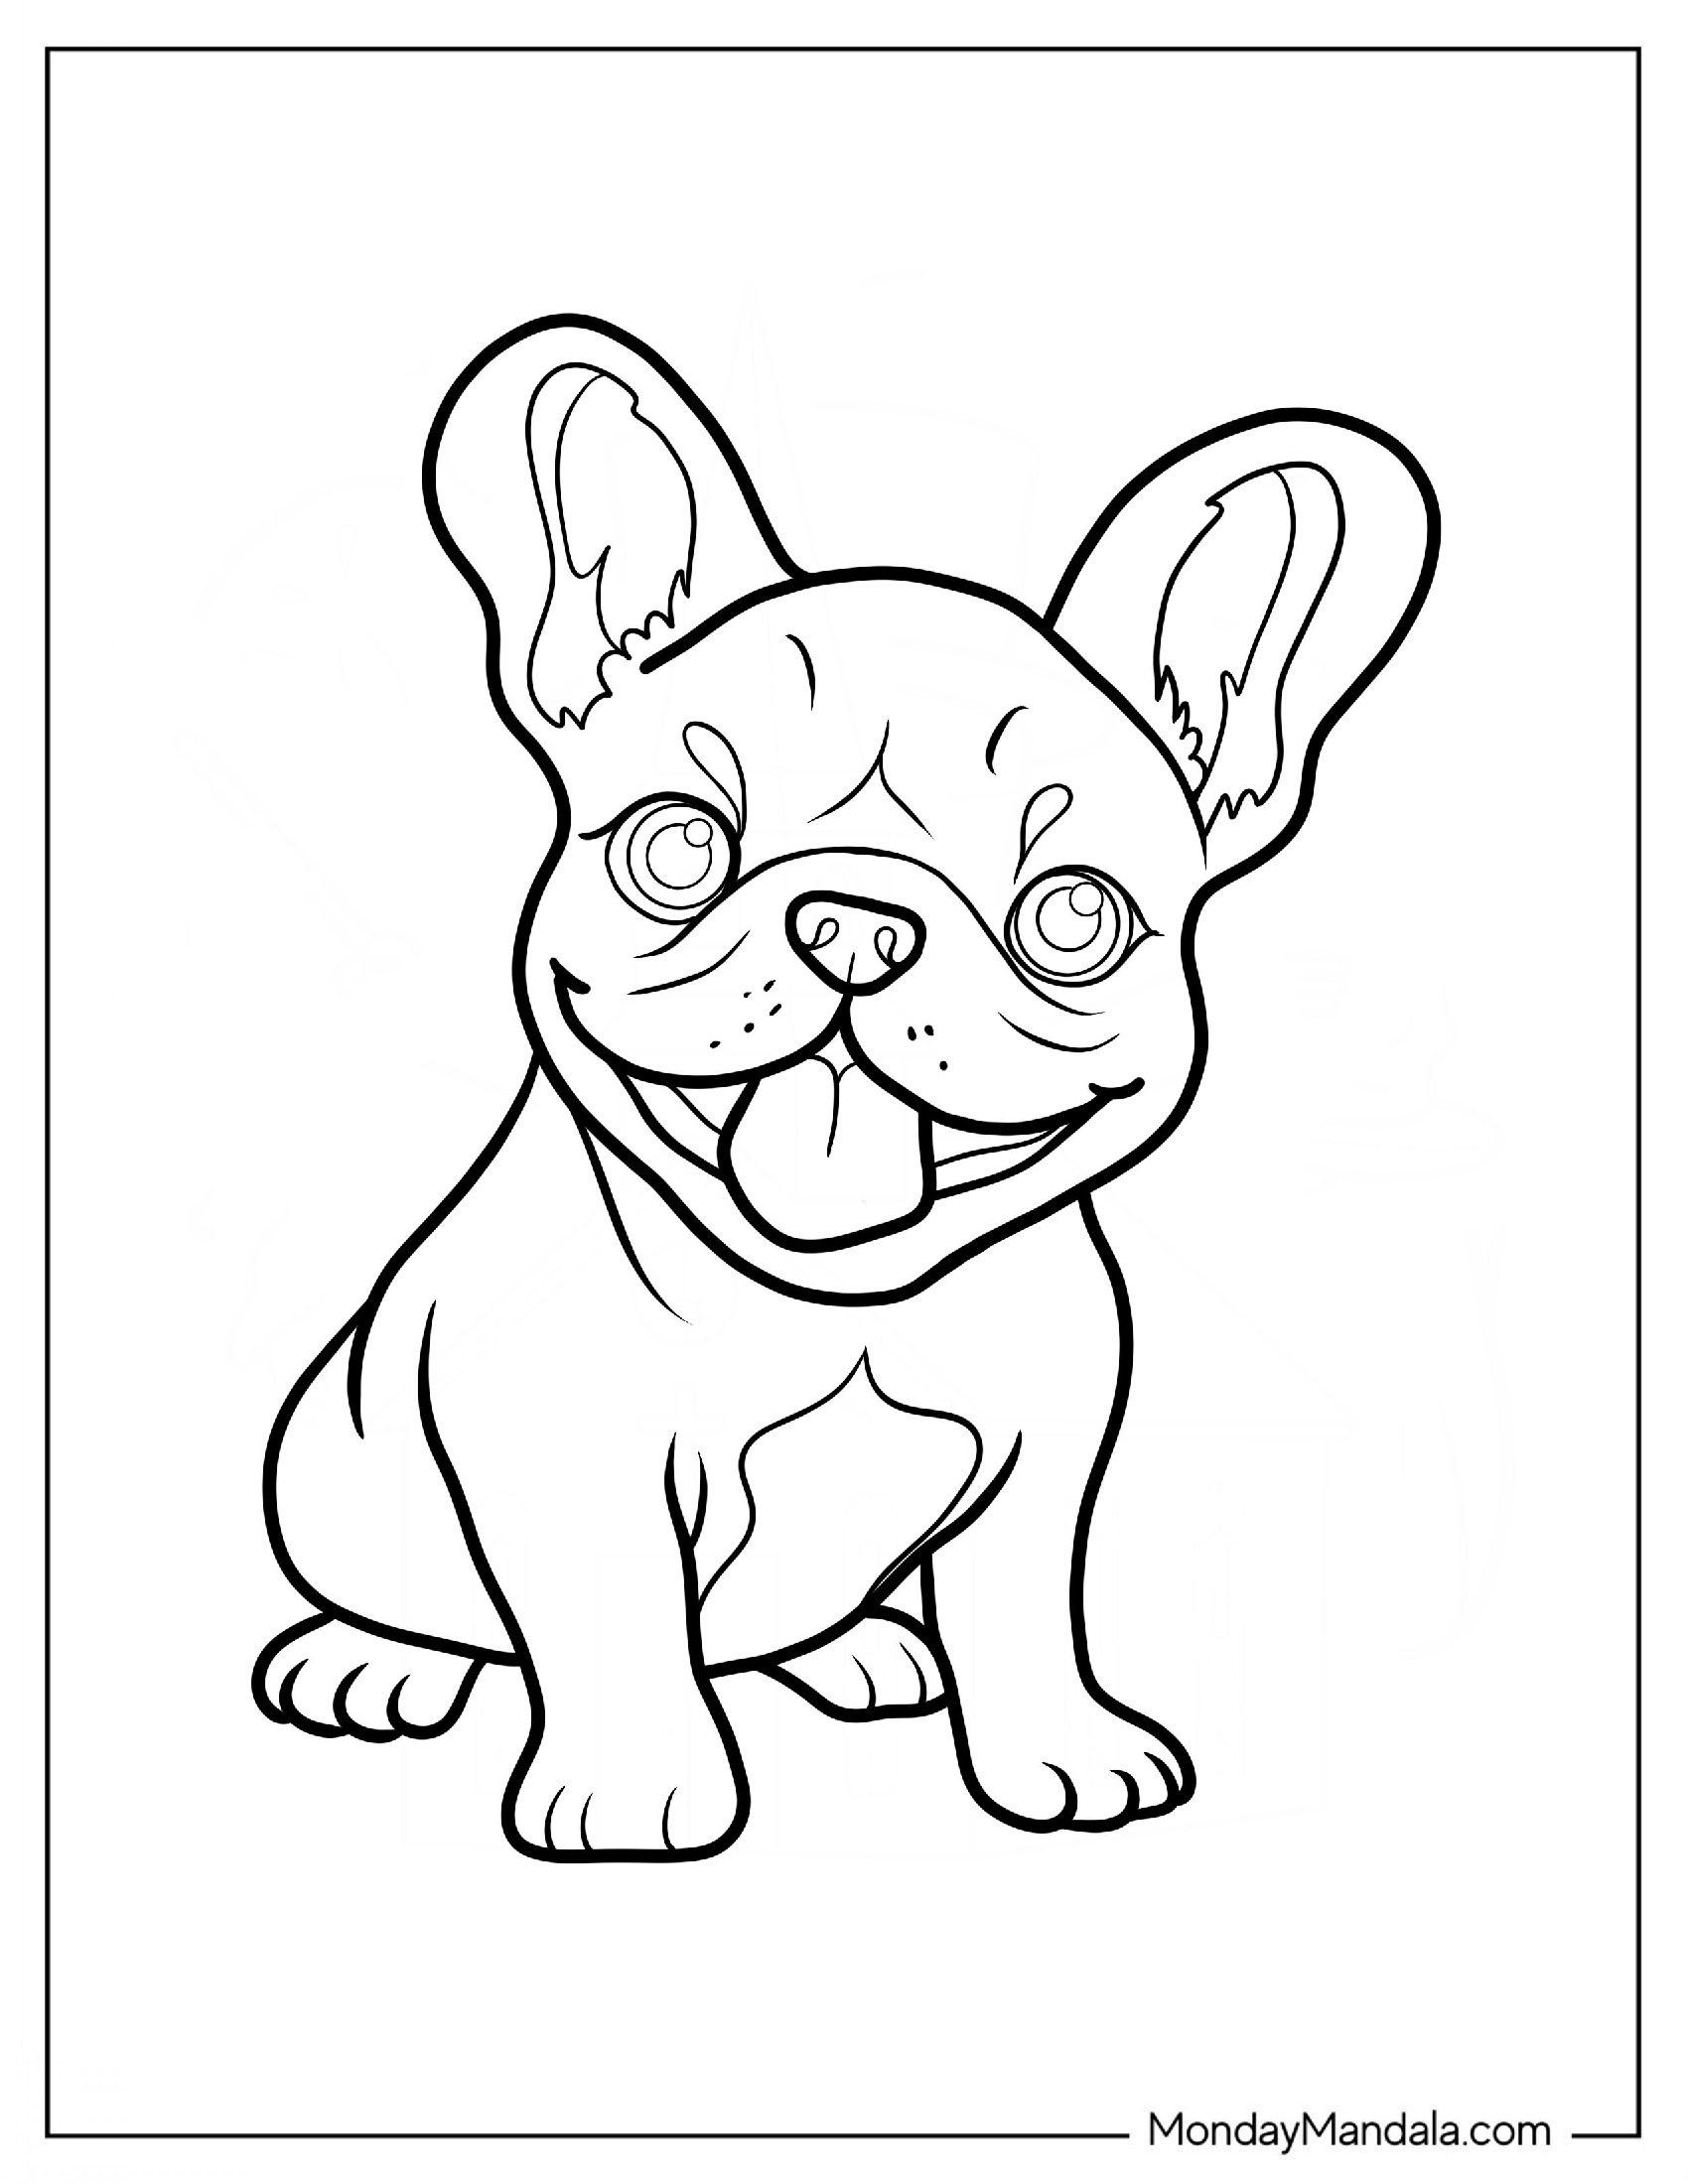
Unleash Your Creativity with Free French Bulldog Coloring Pages
French Bulldog coloring pages are a delightful way to spend quality time with your little ones while fostering their creativity and love for animals. In this article, we explored the world of French Bulldog coloring pages, providing you with a collection of free PDF printables that you can download and print at home. We also discussed the benefits of coloring for kids, including improved fine motor skills, reduced stress, and enhanced creativity. Whether you’re a parent, teacher, or simply a French Bulldog enthusiast, these coloring pages are sure to bring a smile to your face and a sense of joy to your heart. So go ahead, grab some crayons, and get ready to unleash your inner artist with our free French Bulldog coloring pages!