Are you a fan of the popular animated TV show “Bob’s Burgers”? Do you have kids who love coloring and want to bring their favorite characters to life? Look no further! We’ve converted the beloved “Bob’s Burgers Coloring Pages” into free PDF printables, making it easy for you to print and share with your little ones. Using a simple formula of taking the original images and converting them into a printable format, we’ve made it easy for you to enjoy this fun activity with your family.
Free Printable Bob’s Burgers Coloring Pages – Download Now

Unleash Your Creativity with Free Bob’s Burgers Coloring Pages
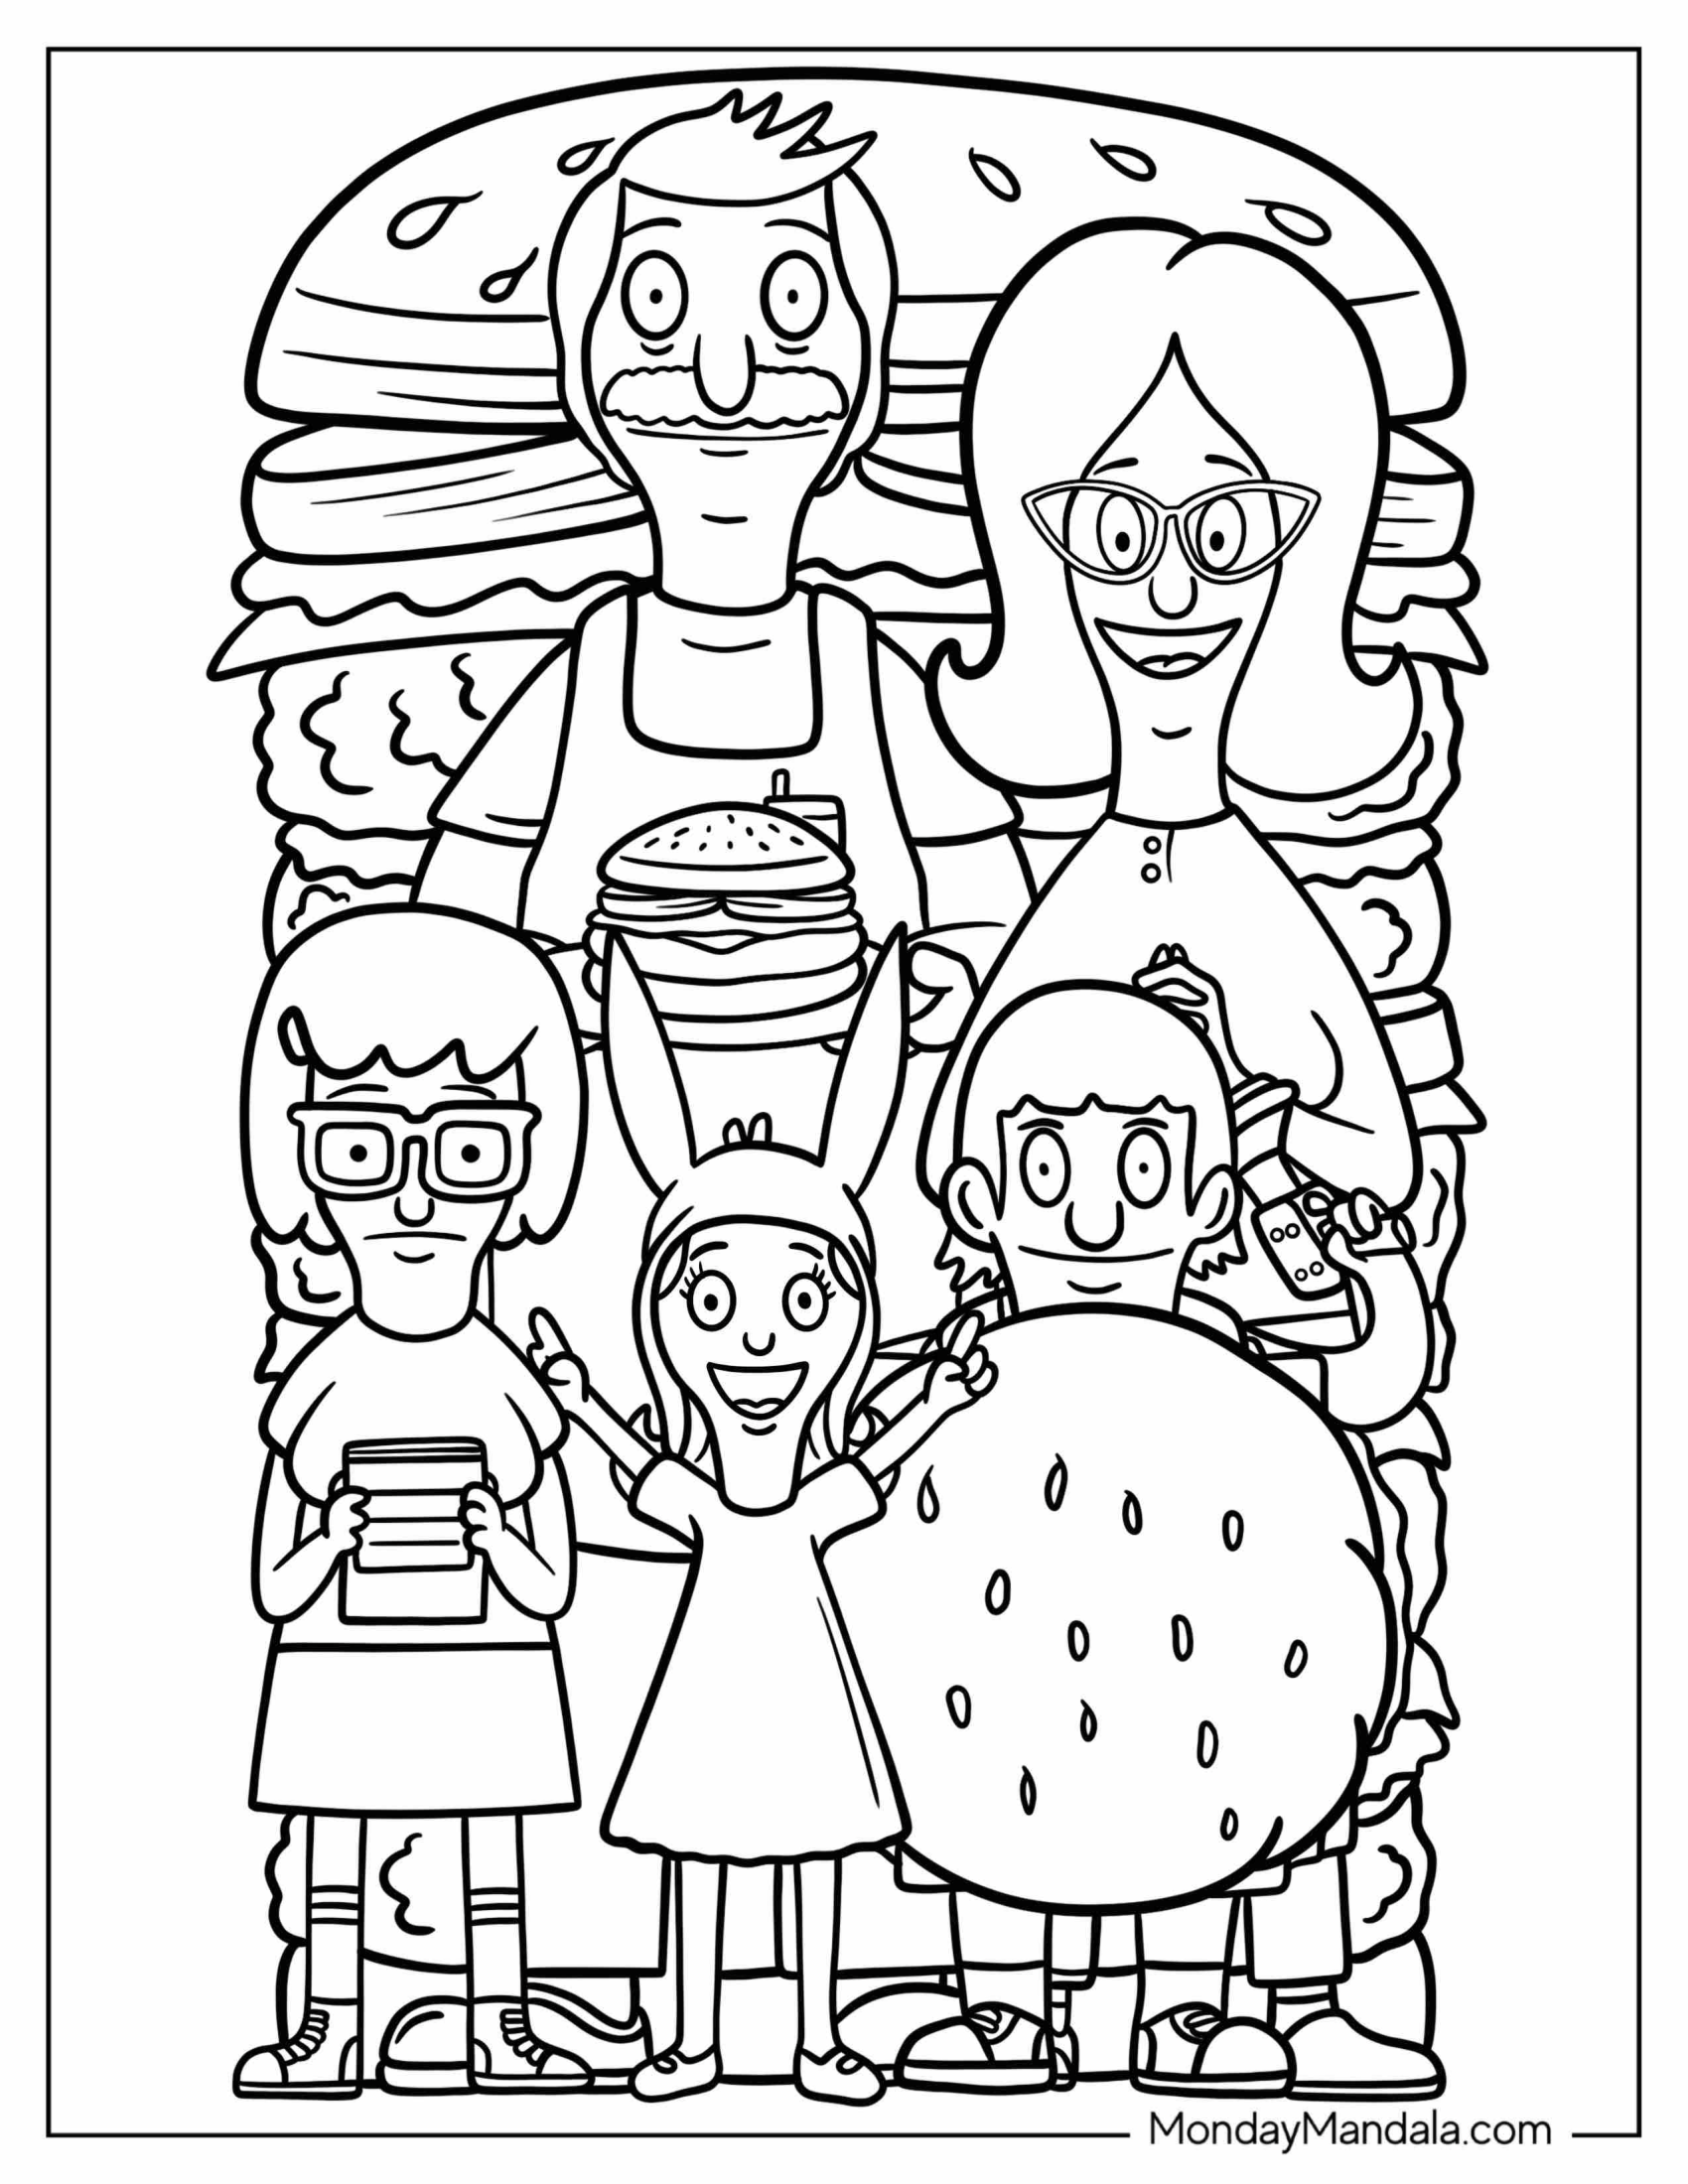
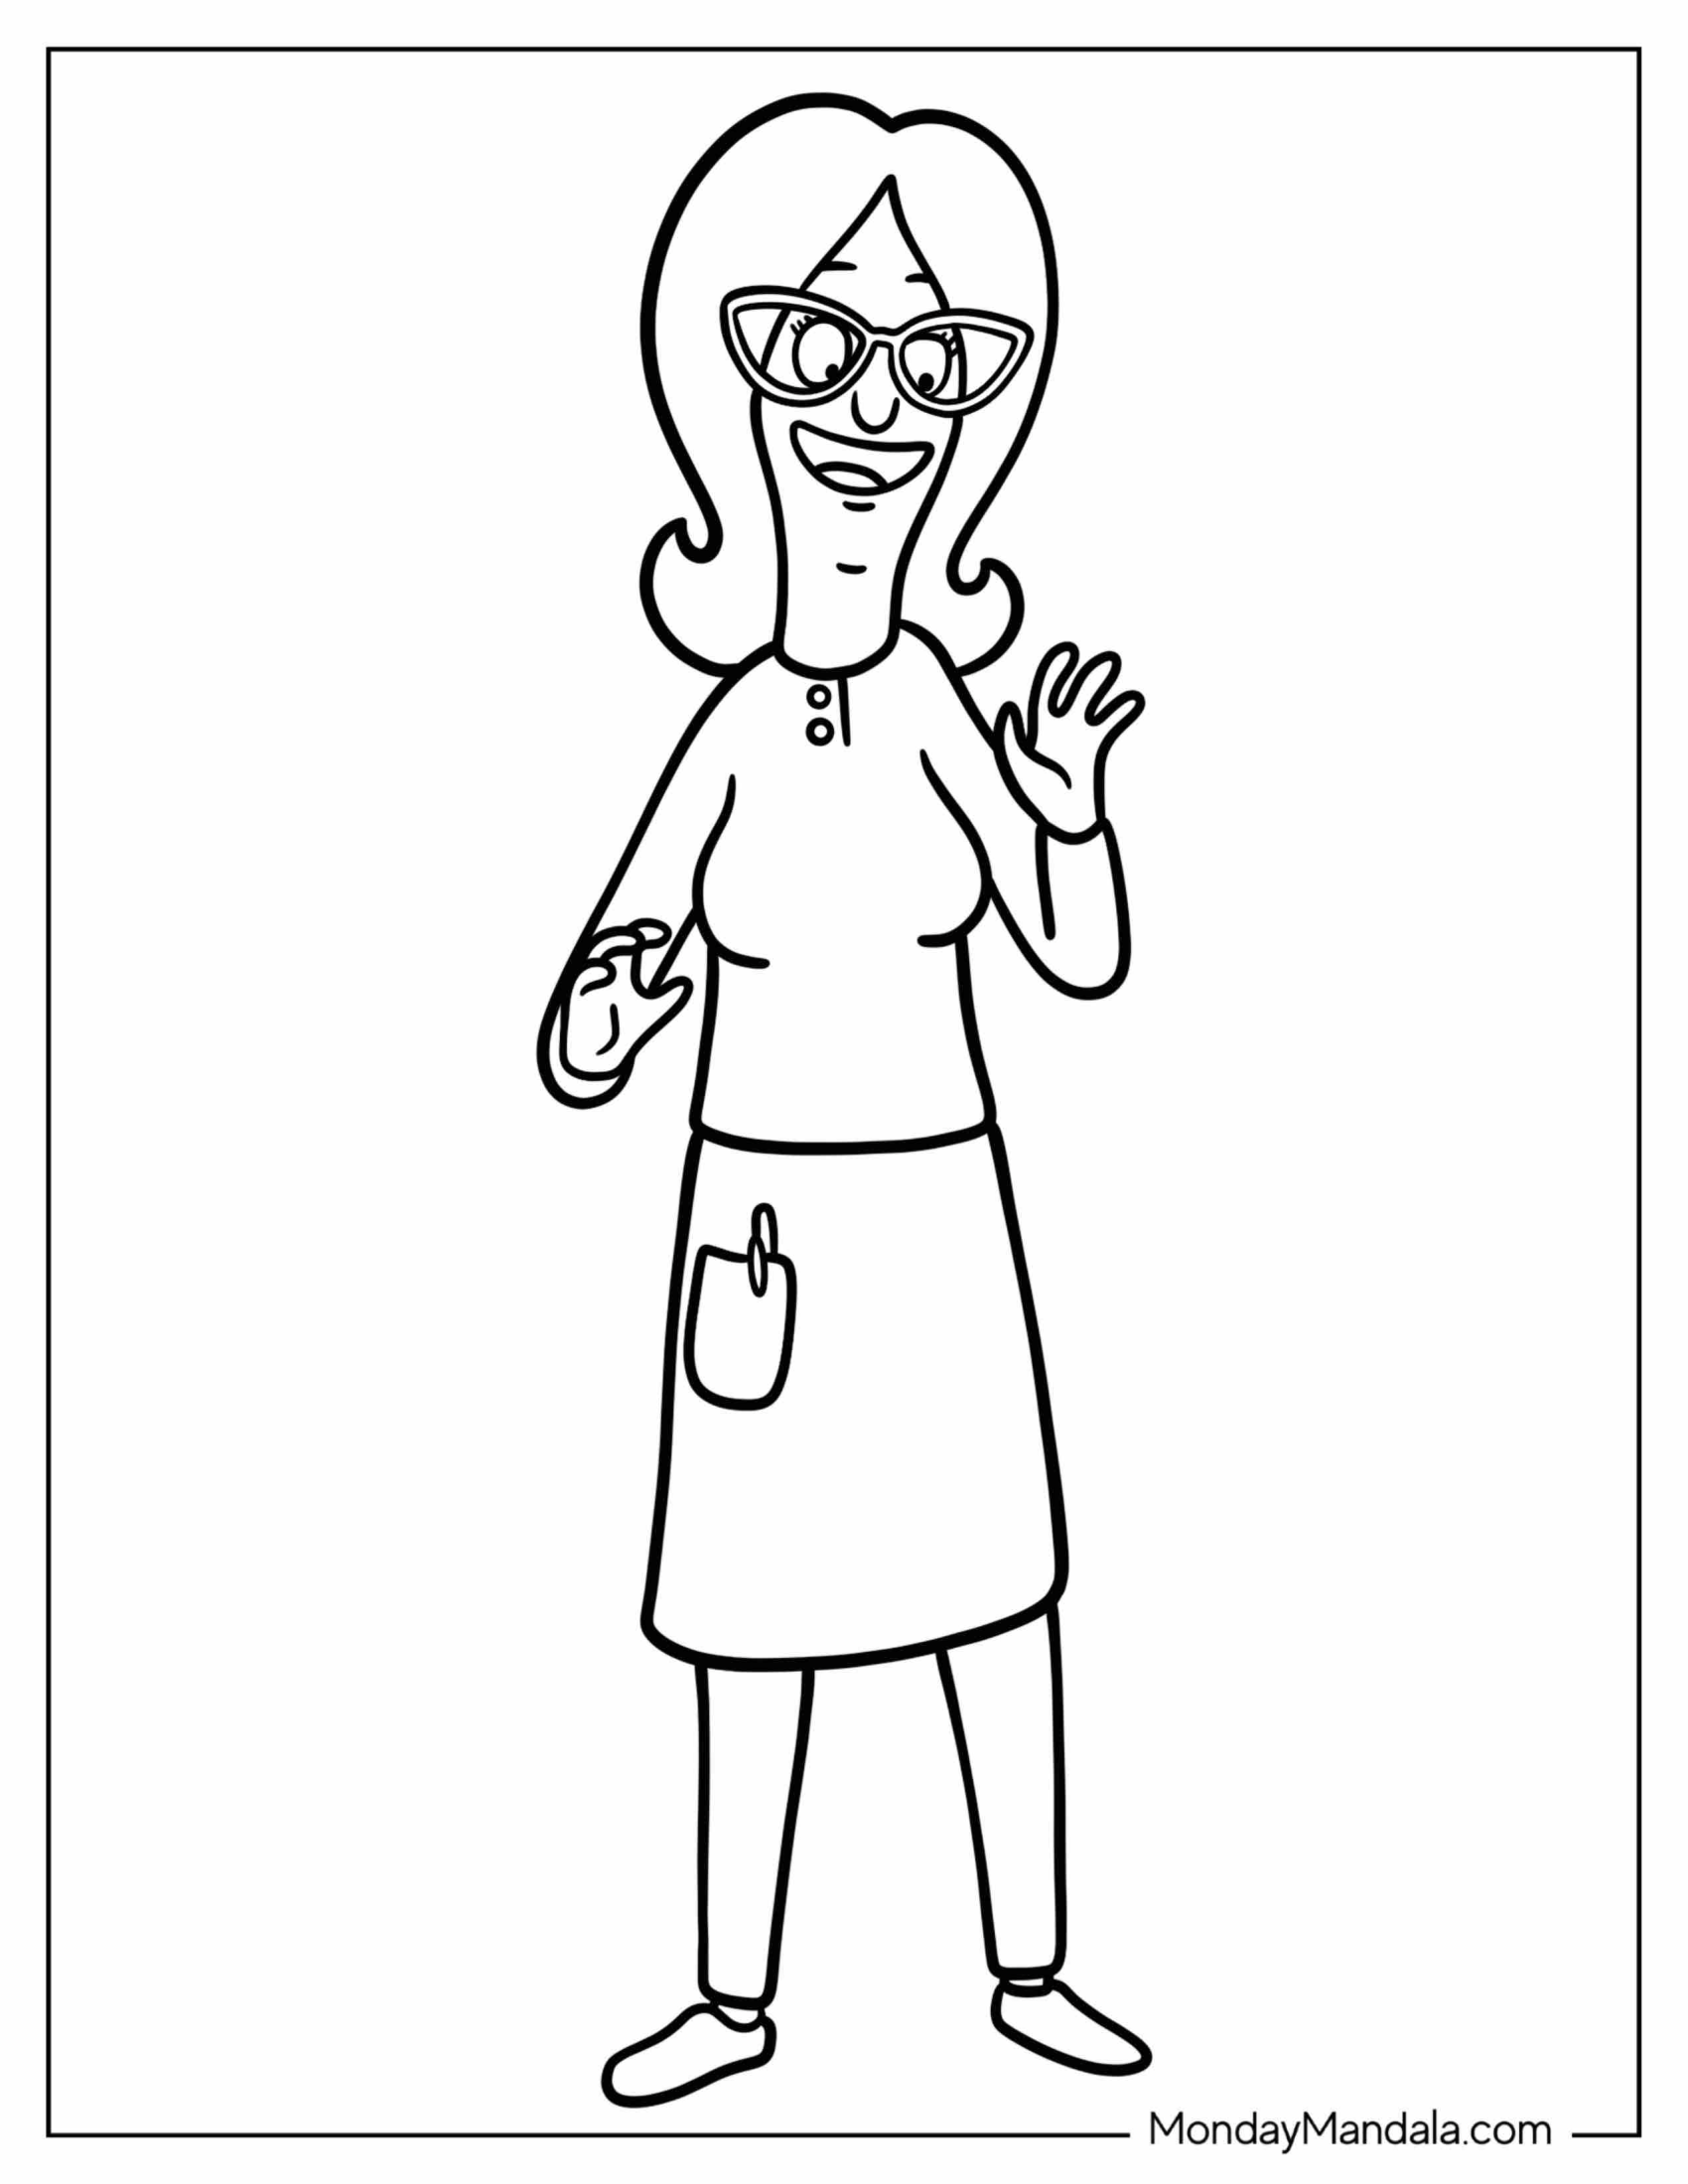
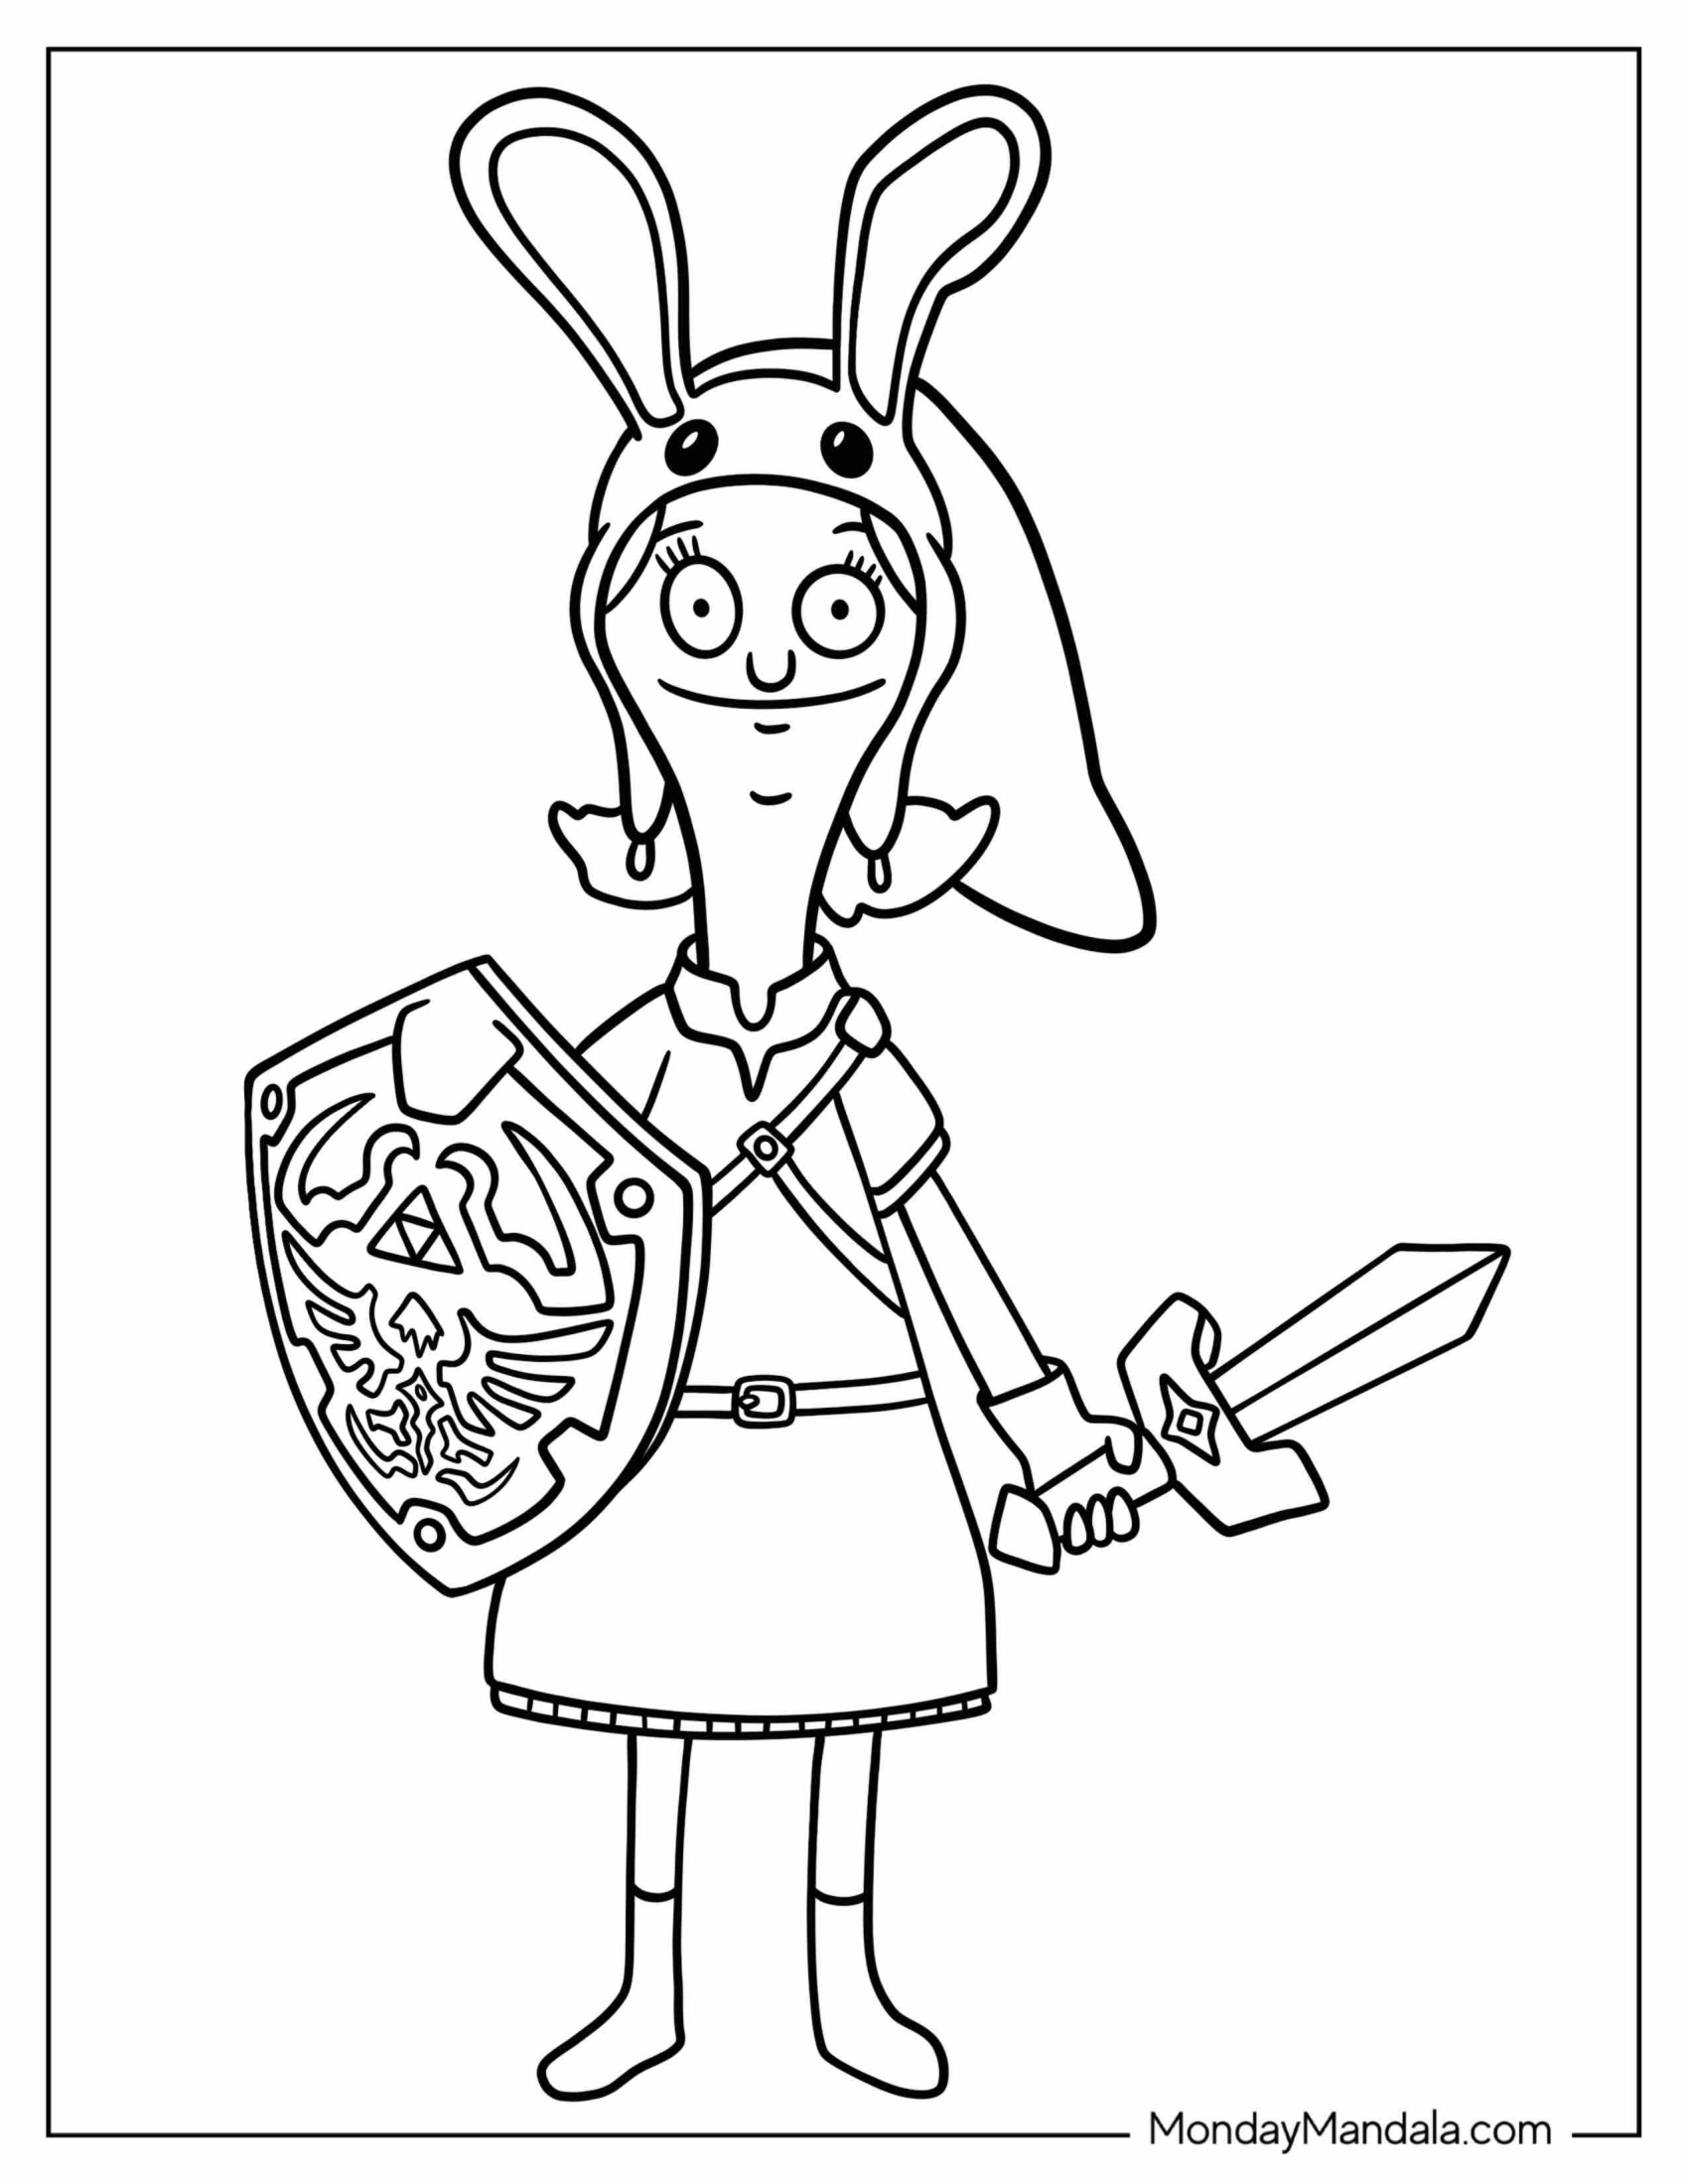
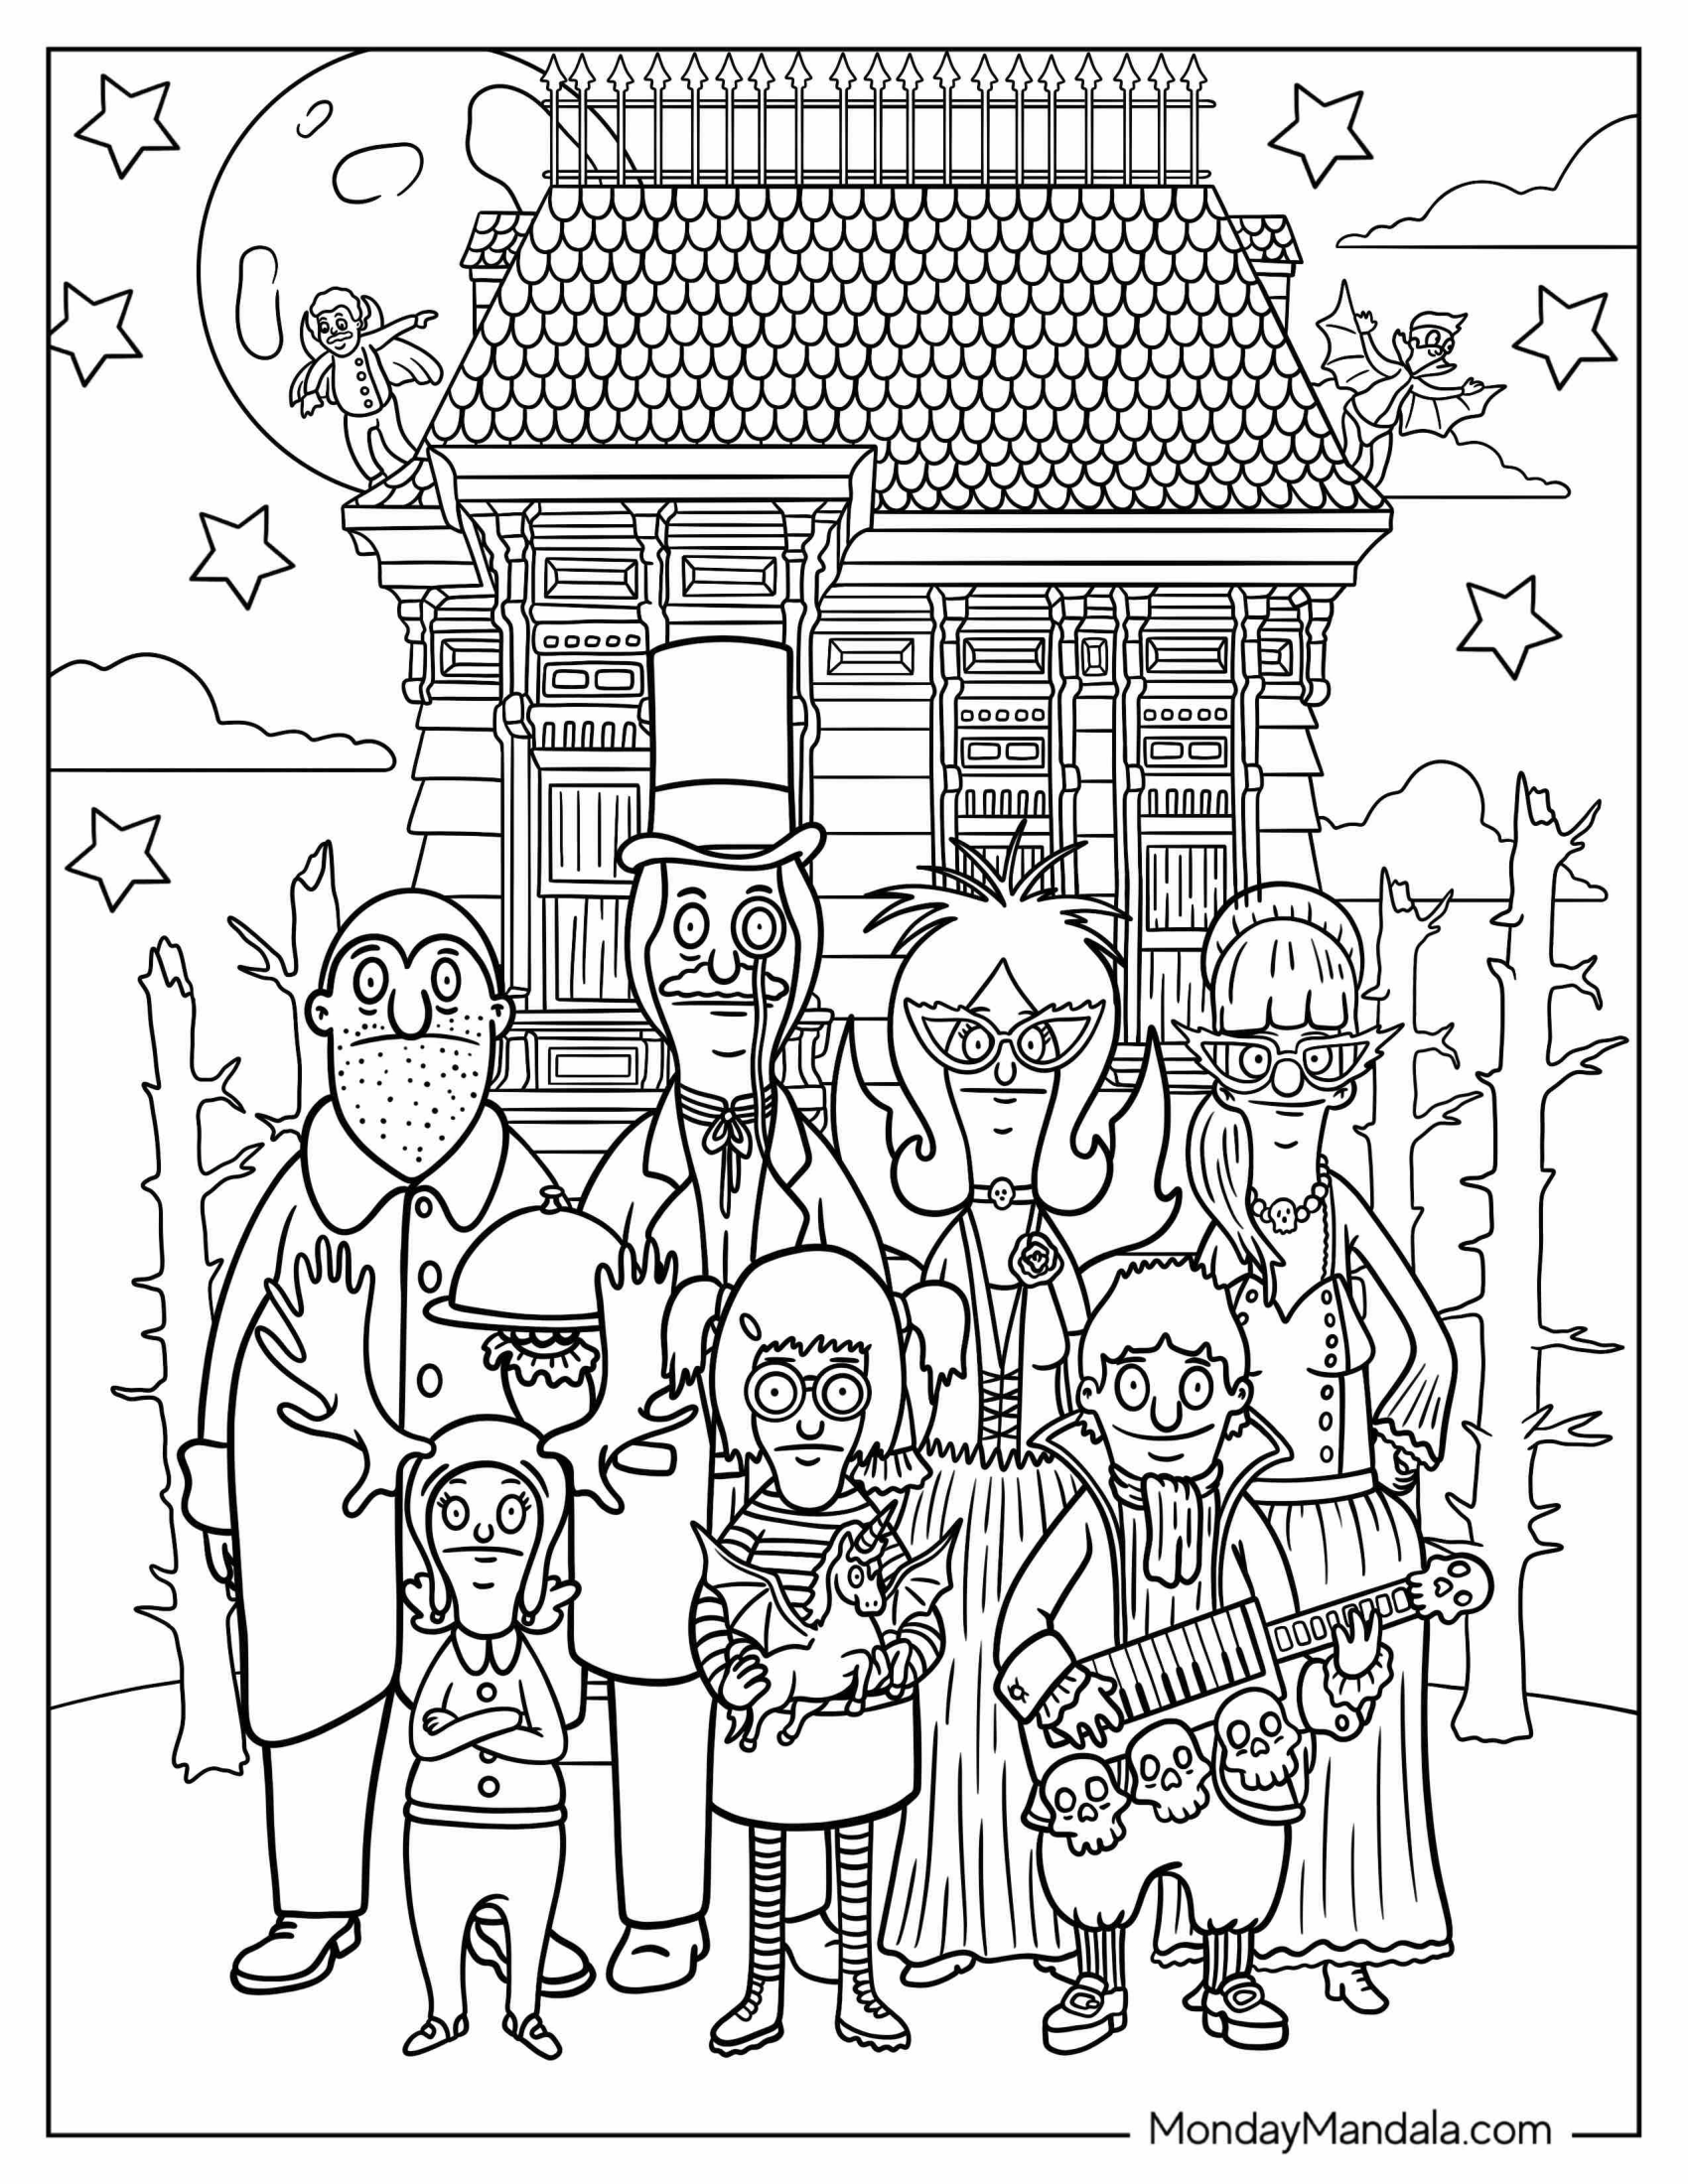
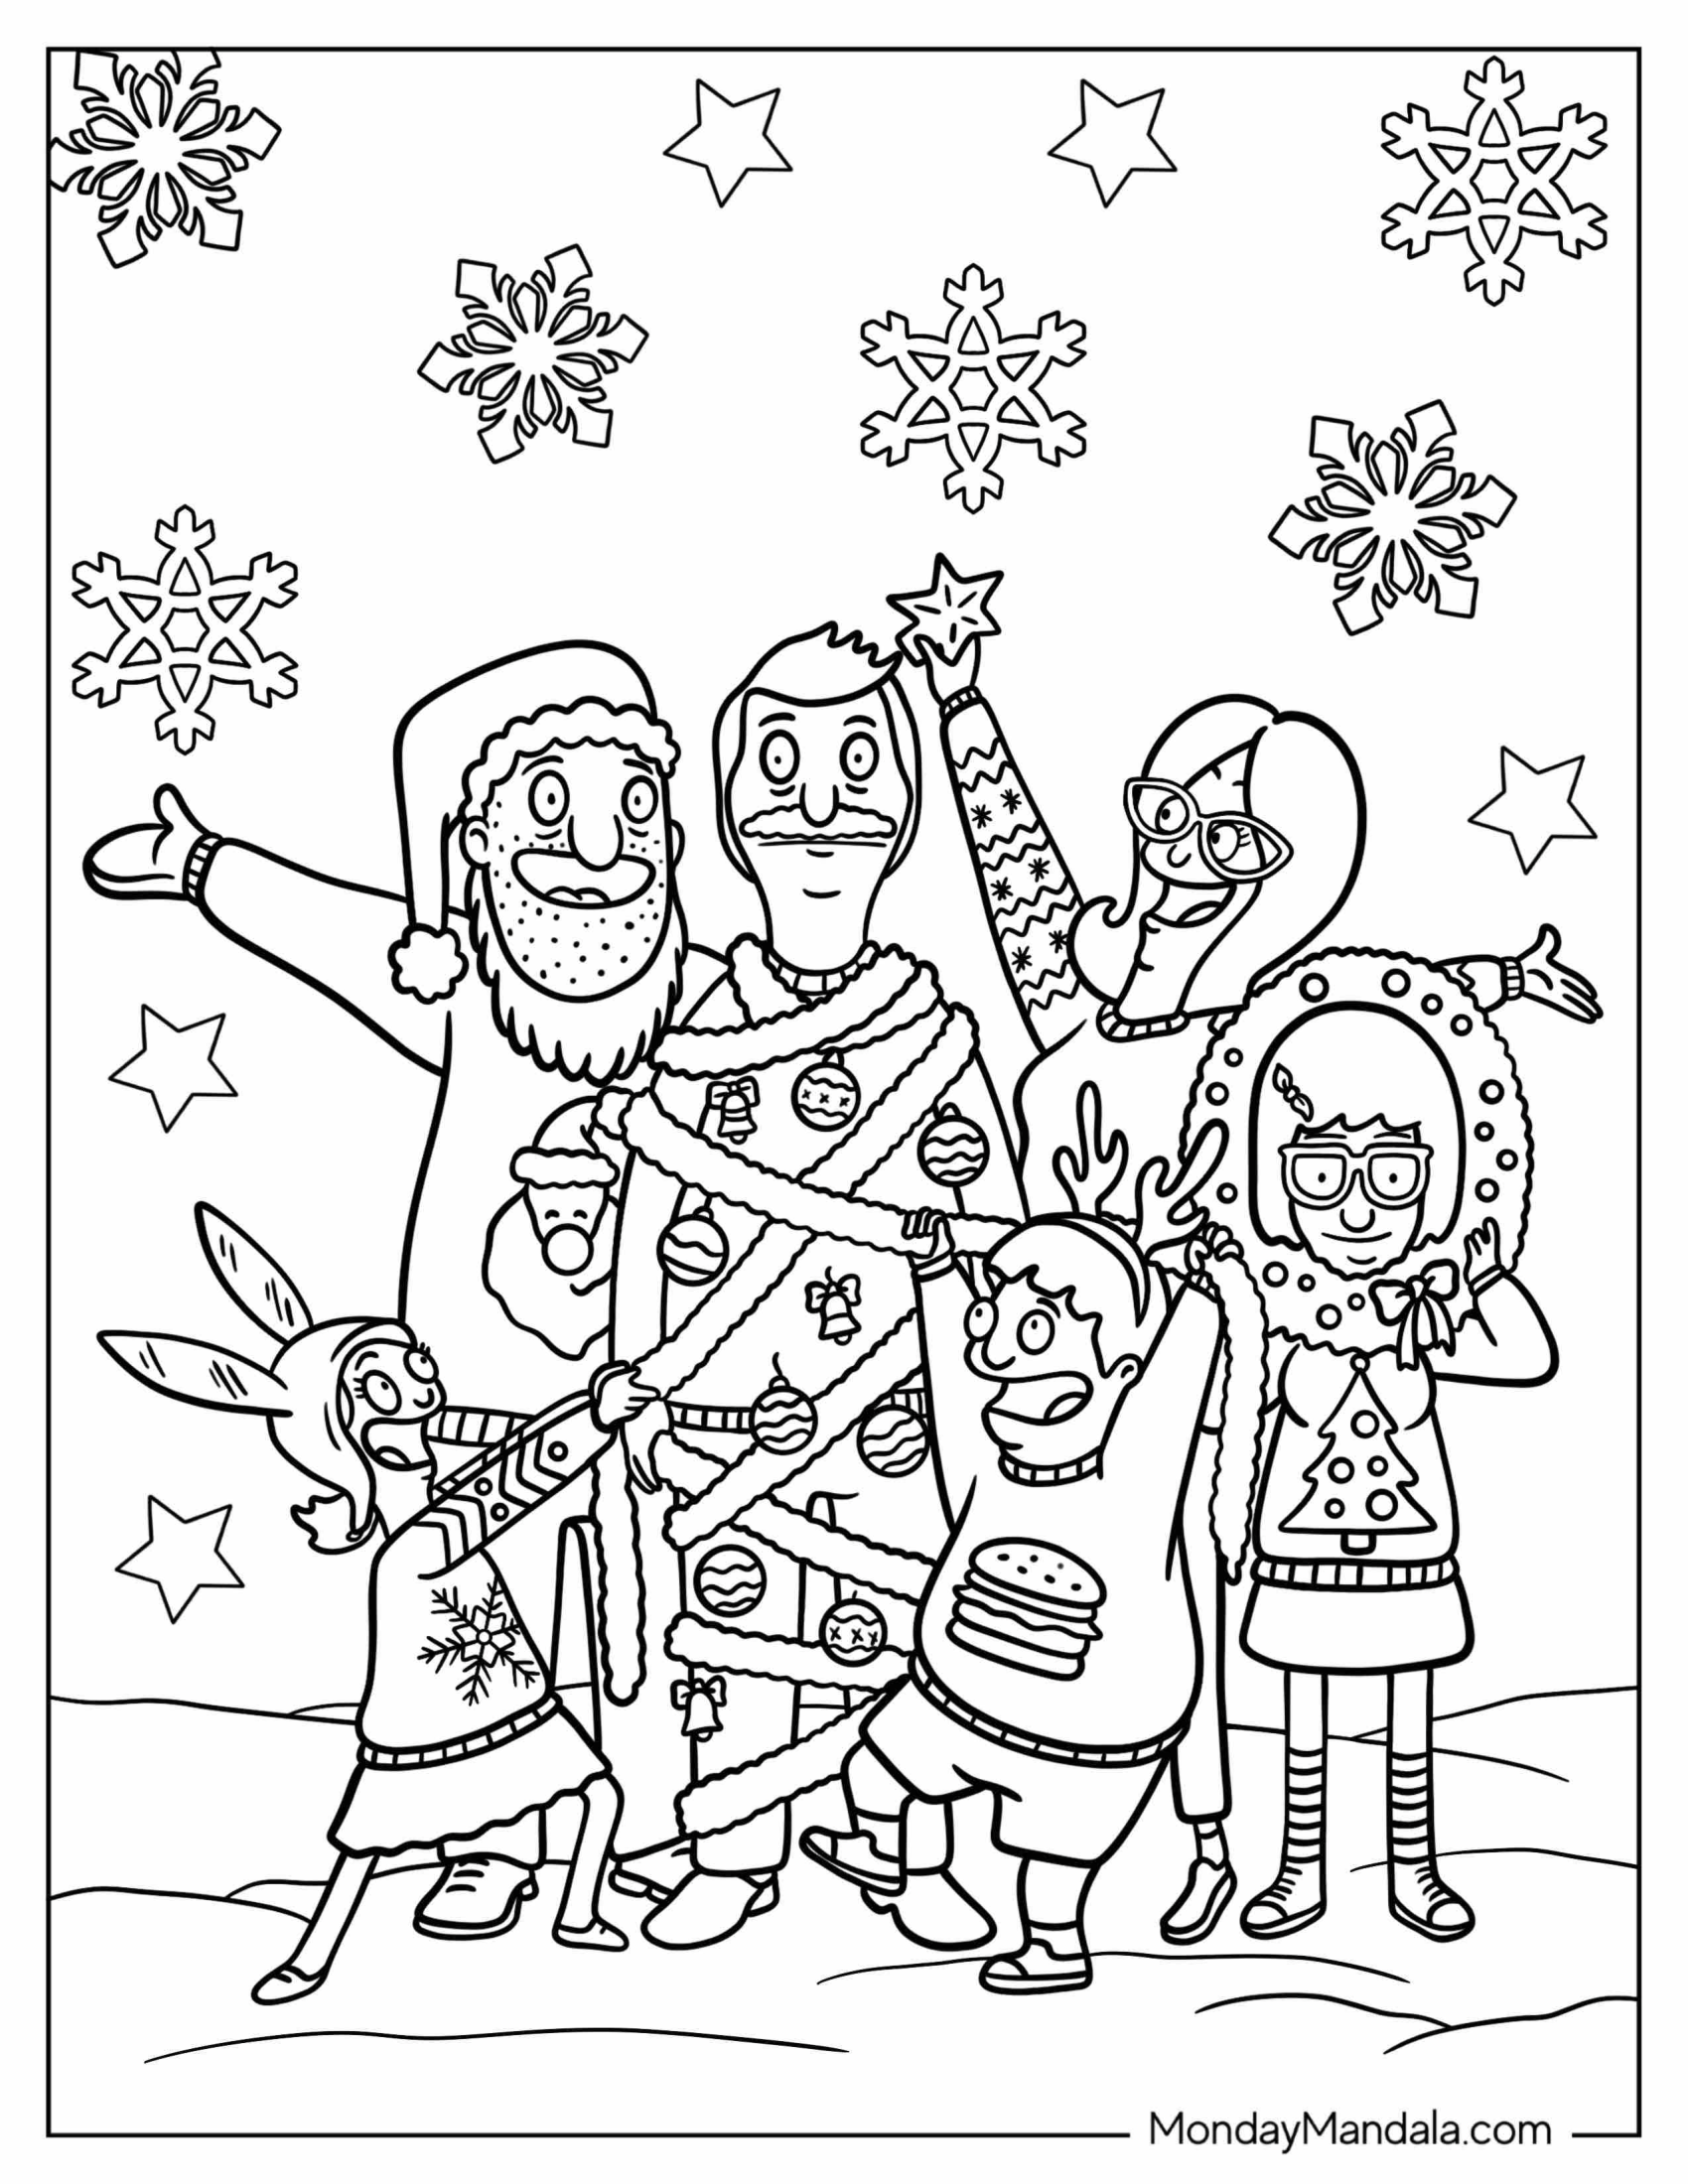
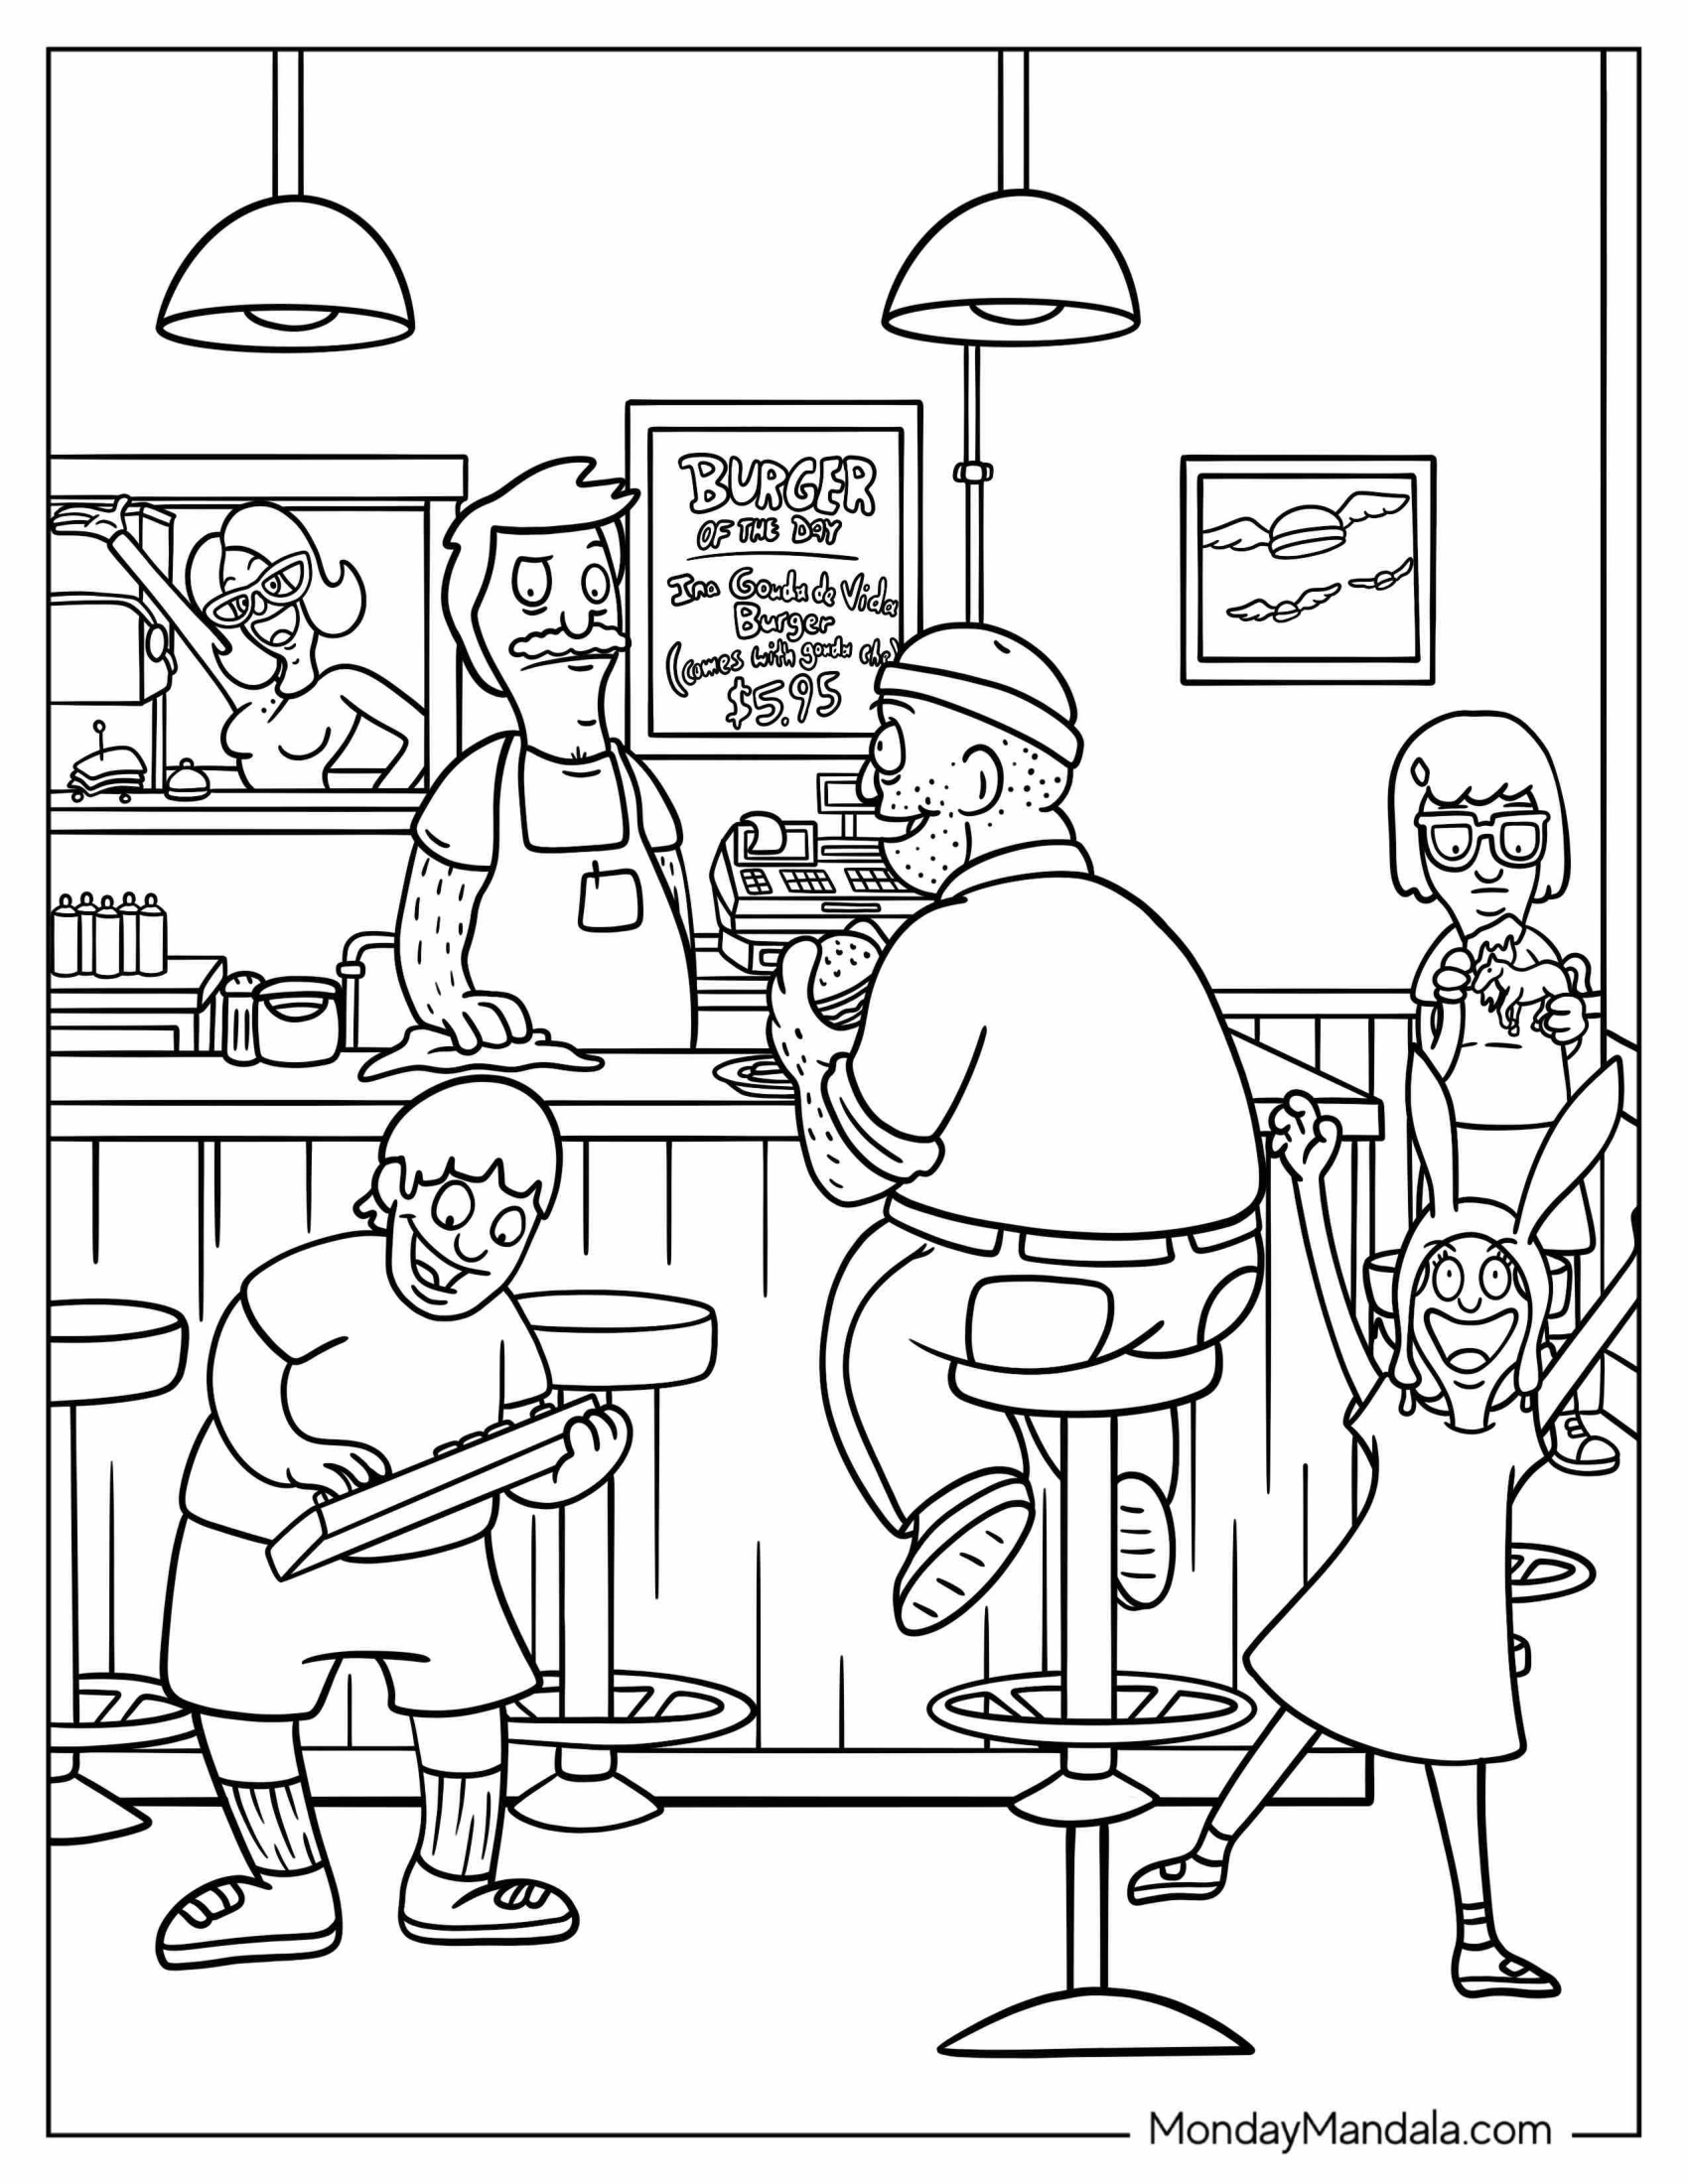
Bob’s Burgers Coloring Pages are a fun and creative way to engage with the beloved animated TV series. In this article, we’ve explored the benefits of coloring for both kids and adults, and provided a collection of free PDF printables featuring the show’s lovable characters. From Belcher’s burgers to Teddy’s quirky outfits, these coloring pages offer endless opportunities for imagination and self-expression. Whether you’re a fan of the show or just looking for a relaxing activity, Bob’s Burgers Coloring Pages are the perfect way to indulge in some creative fun. So grab your colored pencils and get ready to bring the world of Bob’s Burgers to life!