
Are you tired of struggling with old, stubborn tires that just won’t bead properly? It’s a common problem that can leave many automotive enthusiasts feeling frustrated and defeated. Fortunately, there’s a little-known trick that can make beading a tire easy and stress-free – the use of starting fluid. By following a few simple steps, you can use starting fluid to quickly and effectively bead your tires without any hassle.
This technique is highly effective and can save you time, money, and a whole lot of headache in the long run. So, if you’re ready to learn how to bead your tires like a pro, keep reading! In this article, we’ll explore everything you need to know about beading tires using starting fluid. From the basics of the process to tips and tricks for creating a safe and efficient bead, you’ll find all the information you need to get your tires ready for the road.
So, whether you’re a seasoned gearhead or just getting started with car maintenance, read on to discover the secret to beading tires with starting fluid.
Table of Contents
Introduction
If you’re ever in an emergency and need to bead a tire quickly, starting fluid can be a lifesaver. Beading a tire with starting fluid involves creating a small explosion within the tire that will cause a burst of air to seat the tire beads onto the rim. However, this process should only be done as a last resort, as it can be dangerous if proper precautions are not taken.
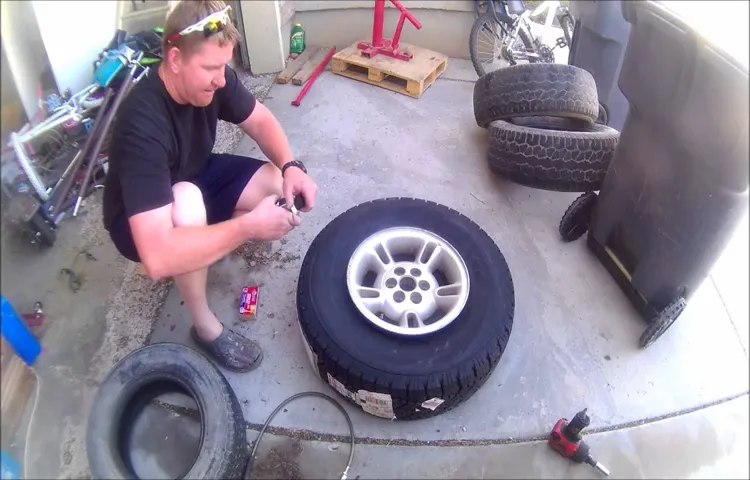
To start, ensure that your tire and rim are clean and dry. Remove the valve core with a valve core remover, and spray starting fluid into the tire while holding the opening away from your face and body. Then, ignite the fluid with a lighter or match, and quickly move away as the bead sets.
It’s crucial to wear protective gear, including gloves and eye protection, and to ensure that there are no sparks or open flames nearby. With caution and practice, you can bead a tire with starting fluid, but it’s important to always prioritize safety first.
What is beading a tire?
Introduction: Have you ever heard of beading a tire? If you’re not familiar with this term, it refers to a process where the tire is secured tightly onto the rim using a bead lock, ensuring that the tire and wheel stay in place even under extreme conditions. This technique is commonly used in off-road racing, where tires need to withstand the force and pressure of high-speed driving across rough, uneven terrain. Beading a tire can give drivers more confidence in their vehicle’s performance, as well as prevent costly and dangerous blowouts on the track.
But how exactly does beading a tire work, and why is it so effective? In this article, we’ll explore the ins and outs of this technique and its benefits for drivers.
What is starting fluid and why is it used?
Starting fluid, also known as engine starting spray, is a type of flammable spray that is used to help start engines, especially in cold weather conditions. It is a highly volatile mixture of substances that include ether, petroleum distillates, and other additives. This spray is typically used when the engine is having trouble starting due to cold weather or other issues, such as a weak battery or a clogged fuel system.
When sprayed into the engine’s air intake system, it can provide the additional spark that is needed to ignite the fuel and get the engine running smoothly. However, it should be used with caution as it can be dangerous to handle and can cause damage to the engine if used improperly. It is essential to follow the manufacturer’s instructions when using starting fluid and use it sparingly.
Tools and Materials Required
If you’re wondering how to bead a tire with starting fluid, you’ll need a few specific tools and materials. First, you’ll need some starting fluid, which can be found at most automotive stores. Additionally, you’ll need a tire iron to remove the tire, as well as a spray bottle and a tire bead sealer to help lubricate the rim.
A good pair of safety glasses is also recommended to protect your eyes from any debris that might fly up during the process. Once you have all your materials, take the tire off the car and deflate it completely. Then, spray a generous amount of starting fluid around the inside of the tire and place it back on the rim.
From there, use the tire iron to lever the tire onto the rim and insert the valve stem. Fill the tire with air and check for any leaks. If everything looks good, use a tire bead sealer to finish things off.
With a little patience and the right tools, beading a tire with starting fluid is a simple process that anyone can do.
Tire
If you’re planning to change your tire, then you might be wondering what tools and materials you’ll need. Firstly, you’ll need a spare tire that’s inflated to the recommended pressure level. Additionally, you’ll require a lug wrench to remove the lug nuts that hold the tire in place.
It’s also helpful to have a jack to lift the car off the ground, allowing you to access the tire easily. You don’t want your car to fall off the jack, so make sure the surface is level and stable. You can use a wheel chock to prevent it from moving.
A flashlight or portable work light can be helpful, too. It’s always best to be prepared for the worst, so it’s a good idea to keep an emergency kit in your car with items like gloves, a rain poncho, a tire pressure gauge, and a tire repair kit. By having all of these tools and materials on hand, you’ll be ready to change a tire and get back on the road in no time.
Starting Fluid
When it comes to fixing an engine that won’t start, one tool that can become incredibly handy is starting fluid. This tool is used to help ignite fuel inside the engine, particularly in cold weather. However, you’ll need more than just starting fluid to use it effectively.
Along with the fluid, have a set of pliers, a screwdriver, and a wrench on hand. You don’t want to be caught in the middle of a repair without the right tools. In addition, make sure you have safety goggles and gloves, as starting fluid can be toxic and harmful if not used correctly.
It’s important to read the instructions before using any new tool to avoid any potential safety hazards. With these tools and safety precautions in mind, you can troubleshoot why your engine won’t start and ensure it runs smoothly.
Valve Stem Core Tool
If you regularly work with tires, you know how important it is to have the right tools on hand. One essential tool that should be in every mechanic’s toolkit is a valve stem core tool. This tool is designed to help remove and replace the valve stem core, which is a small but crucial component of the tire’s valve system.
The valve stem core is responsible for maintaining proper tire pressure, which is vital for safe driving and optimal tire performance. To use the valve stem core tool, you’ll also need a valve stem removal tool, a new valve stem core, and a valve stem cap. With these tools and materials on hand, you can quickly and easily repair or replace valve stem cores as needed.
Overall, having a valve stem core tool at your disposal will make tire maintenance a breeze and ensure that your tires are always in top shape.
Air Compressor
One of the essential tools in any woodworking or metalworking shop is an air compressor. It is used for a wide range of tasks such as powering air-powered tools, inflating tires, and spraying finishes, among others. To get started with an air compressor, you will need some basic tools and materials.
Firstly, you will require a high-quality hose to connect the compressor to your tools. It’s important to choose the correct hose size and length for your specific needs. Secondly, you will need fittings that match the size of the hose to ensure a tight connection.
Then you need to check whether your compressor requires oil for lubrication and, if so, make sure you have enough oil before you start working. Additionally, an air pressure gauge is needed to monitor the pressure of the compressed air, which is crucial to avoid accidents. Finally, safety gear including ear protection, eye protection and work gloves are necessary when operating an air compressor.
Overall, by having these essential tools and materials, you can enjoy the capabilities of an air compressor and ensure a safe and efficient work environment.
Steps to Bead a Tire with Starting Fluid
If you’re out in the middle of nowhere and need to fix a flat tire, beading the tire with starting fluid can be a quick and easy solution. First, you’ll need to remove the valve core from the stem to allow air to flow freely. Next, spray some starting fluid on the inside edges of the tire and along the rim.
It’s important to be careful and avoid spraying too much, as starting fluid is highly flammable. Now, attempt to inflate the tire using a compressor or a portable air pump. You may need to use some force and a bit of wiggling to get the tire to pop into place on the rim.
Once you hear that satisfying “pop,” you can stop inflating the tire and replace the valve core. Of course, this is just a temporary fix until you can properly repair the tire or replace it altogether. Remember, safety should always be your top priority when beading a tire with starting fluid.
Step 1: Remove the valve core
Bead a Tire with Starting Fluid When it comes to changing a tire, you might be surprised to learn that there is more than one way to get the job done. One technique that is often used is beading the tire with starting fluid. This process involves creating a small explosion inside the tire that helps to push the beads into place.
To get started, you’ll need to remove the valve core from the tire. This will allow any remaining air to escape and make it easier to inject the starting fluid later on. Once you’ve removed the core, you’ll want to use a tire iron to loosen the tire from the rim.
This will help to create space and make it easier to insert the starting fluid. From there, you can apply the fluid and use a lighter to ignite it. The heat and pressure created will cause the tire to inflate quickly, locking the beads in place.
While the technique might sound a bit intimidating, it can be a great way to change a tire quickly and efficiently.
Step 2: Apply starting fluid to the bead
When it comes to beading a tire using starting fluid, the next step is to apply the fluid to the bead of the tire. Starting fluid is designed to help inflate the tire and establish a seal around the rim. To use the starting fluid, you’ll need to remove the valve core from the tire valve and then place the spray nozzle into the valve stem.
Gently press down on the spray button to release a small amount of fluid into the tire. You’ll want to make sure not to overinflate the tire, so only use a small amount of fluid and check the tire pressure frequently. Once the tire has been beaded, you can replace the valve core and fill the tire to the recommended pressure level.
With the help of starting fluid, beading a tire can be done quickly and efficiently.
Step 3: Reinstall the valve core
When it comes to beading a tire with starting fluid, there are a few important steps to follow. Once you’ve found the leak and patched it up, it’s time to reinstall the valve core. This can be a bit tricky, but it’s important to make sure it’s secure and tight.
Using a core removal tool, thread the valve core back into the valve stem clockwise, being careful not to over-tighten it. Once it’s snug, you’re ready to move on to the next step in the beading process. It’s important to note that if the valve core is loose or not installed correctly, air can leak out of the tire and cause further problems.
So take your time and make sure it’s properly installed before proceeding. Remember, safety first when it comes to working on your vehicle!
Step 4: Inflate the tire with an air compressor
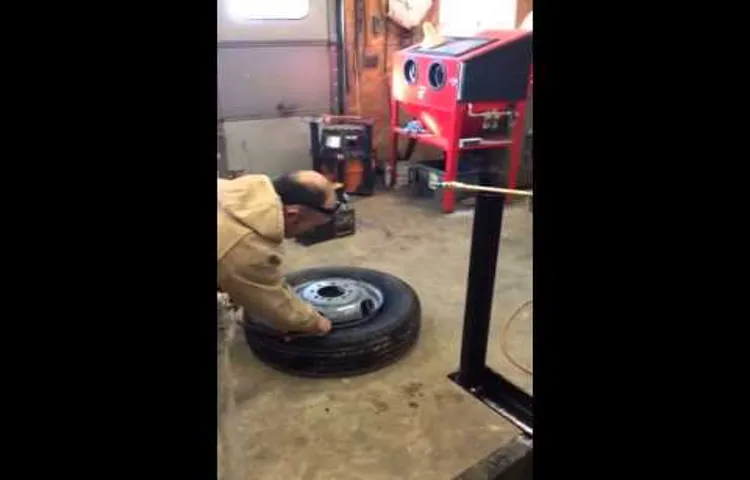
When it comes to bead a tire, using starting fluid can help make the process easier. First, make sure the rim is clean and free of any debris that could prevent the tire from seating properly. Then, apply a small amount of starting fluid to the edge of the rim and the bead of the tire.
Be sure to stand back a safe distance and avoid getting the fluid on any hot surfaces or flames as it is highly flammable. Next, use an air compressor to fill the tire to the recommended PSI while keeping an eye on the bead. If it doesn’t seat properly, give the tire a few sharp kicks to help it settle into place.
Once the bead is fully seated, double-check the tire pressure and make any necessary adjustments. With these steps, you’ll have successfully beaded your tire using starting fluid.
Cautionary Measures
If you’re in a situation where you need to bead a tire using starting fluid, caution is key. While this method can be effective, it can also be extremely dangerous if not done properly. First, ensure that you are in a well-ventilated area and that there are no sparks or flames nearby.
It’s also vital to wear protective eyewear and gloves to avoid any potential harm. When spraying the starting fluid, be sure to do so in short bursts and to keep your face and body away from the tire. It’s also important to note that using starting fluid should only be used as a last resort and that it’s always best to seek professional help if possible.
So, if you do find yourself in a situation where you need to bead a tire using starting fluid, take the necessary precautions and prioritize safety above all else.
Precautions to take while using starting fluid
When using starting fluid, it is essential to take some precautions to ensure safety. Firstly, it is vital to wear protective gear such as gloves and goggles to prevent contact with the eyes and skin. Secondly, be sure to follow the manufacturer’s instructions and use the correct amount of starting fluid for your engine.
Overusing the fluid can result in engine damage or fires. Always shake the can before using to ensure the contents are adequately mixed. Keep the can away from heat sources and open flames to avoid any accidental ignition.
Lastly, once the engine has started, dispose of the can properly and do not store or transport it in a hot environment as it could cause the can to burst. By taking these Cautionary Measures, you can ensure that using starting fluid remains safe and effective for your engine.
What to do if the tire does not bead
If you’re having trouble getting your tire to bead, don’t panic – there are some things you can try before taking it to a professional. First, make sure you’ve cleaned the rim and tire bead thoroughly to remove any dirt or debris. Next, try using some lubricant, like soap or tire mounting paste, to help the tire slide into place.
If that doesn’t work, you can try using a ratchet strap or zip tie to apply pressure and force the tire to seat properly. However, it’s important to be cautious when attempting these methods as they can be dangerous if not done correctly. If you’ve tried everything and the tire still won’t bead, it’s best to take it to a professional mechanic who can diagnose the issue and recommend a solution.
Remember to always put safety first and never attempt anything you’re not comfortable with.
Conclusion
In conclusion, beading a tire with starting fluid is a lot like solving a puzzle. It takes patience, precision, and a little bit of creativity. But once you’ve mastered the technique, you’ll be rolling down the road with confidence and style.
So next time you find yourself with a stubborn tire that just won’t bead, reach for that can of starting fluid and give it a try. Who knows, you might just become the talk of the town for your bead-beading skills!”
FAQs
What is beading a tire?
Beading a tire refers to the process of inflating a tire until the bead of the tire seals against the rim.
Can starting fluid be used to bead a tire?
Yes, starting fluid can be used to bead a tire. It is commonly used as a quick way to create a temporary seal between the tire and rim.
How do I bead a tire with starting fluid?
To bead a tire with starting fluid, spray a small amount around the rim where the tire meets the wheel. Be sure to stand back and use caution as starting fluid is highly flammable. Then, inflate the tire until it creates a seal against the rim.
What are the risks of using starting fluid to bead a tire?
The main risk of using starting fluid to bead a tire is the high flammability of the fluid. If not used properly, it can cause a fire or explosion. It can also be damaging to the tire if used in excess.
How long will the temporary seal created by starting fluid last?
The temporary seal created by starting fluid may only last until the tire is deflated again. It is not a permanent solution and should be used temporarily.
Is there a safer alternative to using starting fluid to bead a tire?
Yes, using a tire bead sealer is a safer and more reliable alternative to using starting fluid to bead a tire.
What should I do if I am unsure how to bead a tire safely?
If you are unsure how to bead a tire safely, consult a professional mechanic or tire specialist for assistance. It is better to be safe than sorry when it comes to working with tires.