
Hey there! Are you ready to dive into the fascinating world of “Introduction”? Well, you’ve come to the right place. In this blog, we’ll be exploring what an introduction is all about, why it’s so important, and how to craft an engaging one that hooks your readers from the get-go. Think of an introduction as the doorway to your content.
It’s the first impression you make on your readers, and we all know how important those can be. Just like meeting someone for the first time, you want to make a strong initial connection that leaves them wanting to know more. But why is the introduction so crucial, you might ask? Well, it’s your chance to grab the reader’s attention and draw them in.
It sets the tone for the rest of your content and provides a roadmap for what’s to come. A captivating introduction can make all the difference between a reader clicking away or eagerly continuing to explore what you have to say. Crafting an introduction takes careful thought and consideration.
You want to strike a balance between being concise and informative, while also being engaging and intriguing. It’s like finding the perfect opening line of a book or a movie that instantly hooks the audience and makes them want to keep reading or watching. So, how can you create an introduction that captures your readers’ attention? Well, it’s all about understanding your audience and tailoring your words to their needs and interests.
You want to create a sense of curiosity, an itch that can only be scratched by reading on. Think of it like a puzzle or a riddle, something that makes your readers think and wonder. But fear not! In this blog, we’ll be exploring various techniques and strategies to help you master the art of introductions.
We’ll discuss the power of storytelling, the importance of a strong thesis statement, and how to incorporate rhetorical questions and analogies to captivate your readers. So, if you’re ready to take your introductions to the next level and leave a lasting impact on your readers, buckle up and get ready for an exciting journey ahead. Trust me, you won’t want to miss it! Let’s dive in and unlock the secrets of creating captivating introductions together.
Table of Contents
What is an RV awning?
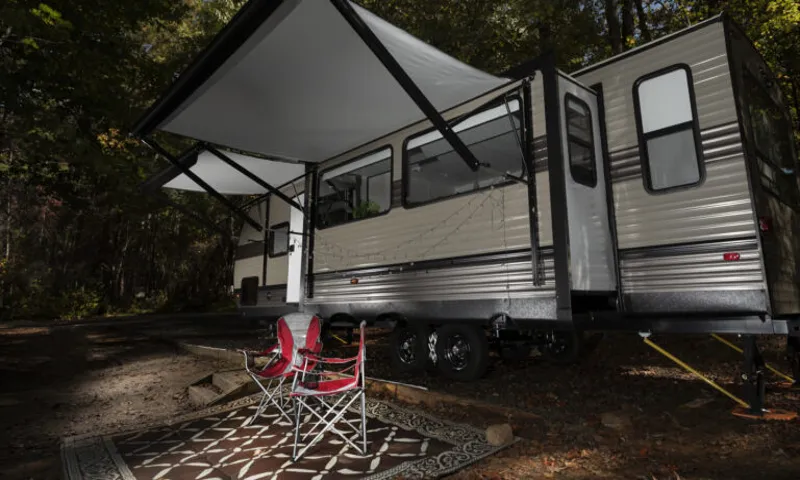
If you’re an RV owner, you probably know the importance of having a functioning awning. It provides shade and protection from the elements, making your outdoor living space more comfortable. But what do you do when your RV awning gets damaged and needs repairs? Well, the good news is that many awning issues can be fixed easily with a bit of DIY know-how.
One common problem is a tear or hole in the fabric. This can happen due to wear and tear or an accident. To fix it, you can use a patch kit that includes adhesive and a piece of matching fabric.
Simply clean the area around the tear, apply the adhesive to the patch and the damaged area, and press them together firmly. Another common issue is when the awning won’t retract or extend properly. This could be caused by a bent or damaged support arm.
In this case, you may need to replace the arm or adjust it back into shape. You can also check the awning’s motor or mechanism to ensure it’s functioning correctly. By following these simple steps, you’ll be able to repair your RV awning and get back to enjoying the great outdoors in no time.
Common issues with RV awnings
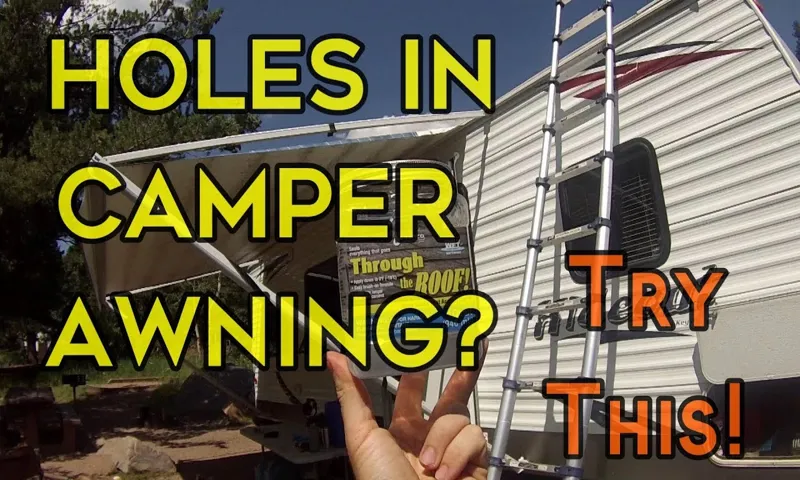
Are you experiencing issues with your RV awning? Don’t worry, you’re not alone. RV awnings are prone to common problems such as tears, holes, and roller malfunctions. Fortunately, repairing a RV awning can be a relatively simple task.
One of the most common issues is a tear or hole in the awning fabric. To repair this, you’ll need a patch kit or fabric repair tape. Simply clean and dry the area around the tear, then apply the patch or tape according to the instructions.
Another common problem is a roller that won’t retract or extend properly. This can often be fixed by lubricating the roller mechanism or adjusting the tension. If the issue persists, it may be necessary to replace the roller altogether.
Remember, it’s always a good idea to consult your RV’s owner’s manual or seek professional help if you’re unsure about any repairs. With a little effort and know-how, you’ll have your RV awning back in working order in no time.
Assessing the damage
Repairing a damaged RV awning can seem like a daunting task, but with the right tools and know-how, it can be a relatively simple process. The first step is to assess the extent of the damage. Is the fabric torn or frayed? Are any of the arms or poles bent or broken? Once you have a clear idea of what needs to be repaired, gather the necessary tools and materials.
This may include a replacement fabric, a sewing kit, a ladder, and various hardware. Next, carefully remove the damaged fabric and replace it with the new one. Sew it securely in place, making sure to reinforce any weak spots.
If the arms or poles are damaged, they may need to be replaced or repaired as well. In some cases, it may be necessary to call in a professional to handle more complex repairs. By assessing the damage and taking the appropriate steps, you can have your RV awning looking and functioning like new again in no time.
Tools and materials needed
When it comes to repairing a RV awning, you’ll want to have the right tools and materials on hand to get the job done efficiently. One of the most important tools you’ll need is a ladder or step stool to reach the awning. This will ensure your safety while working on the repair.
In addition, you’ll need a tape measure to accurately measure the length and width of the awning fabric. This will help you determine the size of the replacement fabric you’ll need. Other tools you may need include a screwdriver or drill to remove any screws or bolts holding the awning in place, as well as a sewing kit or fabric glue to repair any tears or holes in the fabric.
Lastly, you’ll want to have replacement fabric on hand to replace any damaged or worn-out sections of the awning. By having these tools and materials ready, you’ll be well-prepared to repair your RV awning and get back to enjoying your outdoor adventures.
Repairing a torn awning
If you own an RV, you know how important it is to have a functioning awning. It provides shade and protection from the elements, making your outdoor space more enjoyable. However, over time, awnings can become torn or damaged, leaving you in need of a repair.
Don’t worry, though, because repairing a torn awning is a relatively simple process that you can do yourself. First, you’ll need to assess the damage and determine the extent of the tear. If it’s a small tear, you may be able to use a patch kit to seal it up.
Simply clean the area around the tear, apply the patch, and smooth it out. If the tear is more significant, you may need to replace the entire section of fabric. This will involve removing the awning from the RV and carefully measuring and cutting a new piece of fabric to fit.
Once the new fabric is in place, you can reattach the awning to the RV and enjoy your repaired outdoor space.
Replacing a broken awning
If you have a broken awning on your RV, don’t worry! Repairing it can be a relatively simple process. The first step is to assess the damage and determine if it’s something you can fix yourself or if you’ll need to call in a professional. If the awning fabric is torn or has holes in it, you can easily replace it with a new piece.
Start by measuring the size of your awning so you know what size fabric to purchase. Once you have the new fabric, remove the old one by unscrewing the awning arms and sliding it out. Then, attach the new fabric by sliding it into the groove on the awning roller and securing it with the awning arms.
Make sure to tighten all the screws to ensure a secure fit. If the awning arms themselves are broken, you may need to replace them as well. Overall, repairing a broken RV awning is a manageable task that can be done with a little bit of time and effort.
Maintaining your RV awning
If you’re an avid RV traveler, you know just how important a well-functioning awning is for your outdoor living space. However, awnings can sometimes get damaged due to heavy winds, rain, or simply wear and tear over time. So, how do you repair a RV awning? First, check for any visible signs of damage, such as tears or loose material.
If there are any small tears, you can patch them up using a specialized awning repair tape or adhesive. For larger tears or significant damage, it may be necessary to replace the entire awning fabric. This can be done by carefully removing the old fabric and installing a new one.
It’s important to follow the manufacturer’s instructions and take proper safety precautions when repairing or replacing your RV awning. By keeping your awning in good condition, you can continue to enjoy your outdoor space while on the road.
Conclusion
In conclusion, repairing a RV awning is a bit like solving a Rubik’s Cube while riding a unicycle – it’s tricky, but with the right approach, it can be a breeze. Remember to gather all the tools and materials you need, and take your time to carefully assess the damage. Don’t be afraid to channel your inner MacGyver and think outside the box – sometimes, improvisation is the key to success.
And, of course, never underestimate the power of YouTube tutorials and online forums filled with fellow adventurers who have overcome awning-related challenges before you. So go forth, fearless wanderer, and may all your RV awnings stay sturdy and your camping trips be filled with shade and laughter.”
FAQs
How to repair a torn RV awning fabric?
To repair a torn RV awning fabric, you can use a patch kit specifically designed for awnings. Clean the area around the tear, apply the patch adhesive, and carefully place the patch over the tear. Allow it to dry completely before using the awning again.
What should I do if my RV awning won’t retract?
If your RV awning won’t retract, the first thing to check is if there is any obstruction preventing it from closing fully. Clear any debris or sticks that may be caught in the awning mechanism. If the problem persists, check the awning motor or spring tension, which may need adjustment or replacement.
How do I replace a broken RV awning arm?
To replace a broken RV awning arm, start by extending the awning fully to relieve tension. Remove the screws or bolts securing the arm to the RV and detach it from the awning rail. Install the new arm by reversing the steps, making sure it is securely attached. Test the awning to ensure it operates smoothly.
What is the best way to clean an RV awning?
To clean an RV awning, mix a mild detergent or RV awning cleaner with water in a bucket. Use a soft bristle brush or sponge to gently scrub the awning, focusing on any stains or dirt buildup. Rinse thoroughly with water and allow it to dry completely before retracting.
How often should I lubricate my RV awning?
It is recommended to lubricate your RV awning at least once a year or before and after an extended period of non-use. Use a silicone-based lubricant specifically designed for awnings, spraying it lightly on the moving parts, such as the arms, hinges, and springs.
Can I repair a bent RV awning frame?
In some cases, a bent RV awning frame can be repaired. Start by carefully assessing the extent of the damage. If it is a minor bend, you may be able to gently straighten it using a rubber mallet or a pipe as leverage. However, for significant damage, it is best to consult a professional for repair or replacement.
How do I prevent mold and mildew growth on my RV awning?
To prevent mold and mildew growth on your RV awning, make sure it is completely dry before retracting it. If it gets wet, open it up and allow it to dry in a well-ventilated area. Regularly clean your awning and inspect it for any signs of mold or mildew. If necessary, treat it with a mildew remover or anti-microbial spray.