
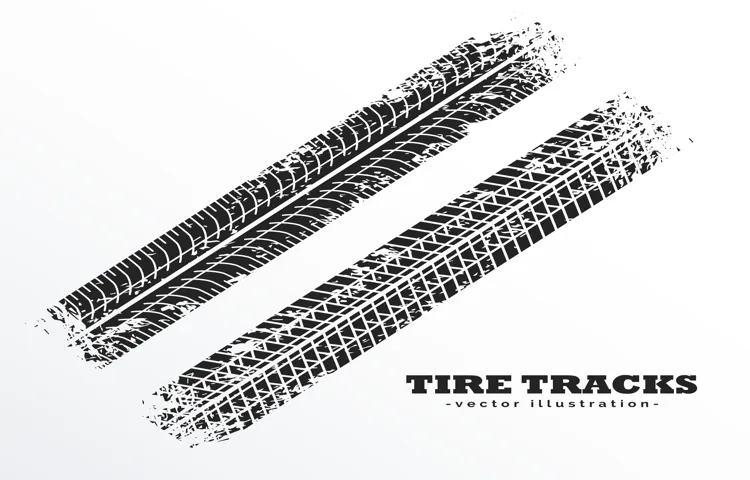
Tire tracks can add a gritty and realistic touch to your artwork, whether it’s for a comic book or a piece of concept art. They are an essential element in portraying motion and action in any vehicle-related scene. That’s why every artist should know how to draw tire tracks.
So, if you’re feeling a bit lost about how to get started, don’t worry. In this blog, we’ll give you step-by-step guidance on how to draw tire tracks that will impress your audience and elevate your art. From understanding direction and perspective to adding texture and shadow, we’ll cover everything you need to know to master the art of drawing tire tracks.
Let’s get started!
Table of Contents
Materials Needed
If you’re wondering how to draw tire tracks, you’ll need a few materials to get started. The first thing you’ll need is a piece of paper to draw on, whether that’s a blank sheet or a sketchbook. Next, you’ll need some drawing utensils, such as pencils, pens, or markers.
It’s up to you to decide what you prefer to work with. You may also want to have some erasers handy in case you make a mistake. Additionally, you can utilize a ruler or straight edge to ensure that your tire tracks have straight lines and are accurate in their proportions.
With these simple materials, you’ll be able to draw tire tracks like a pro in no time!
Pencil and eraser
If you want to create sketches, draw pictures or make some notes, the simplest and most fundamental materials you will need are a pencil and eraser. A pencil is a writing implement used to apply graphite or other colored materials to a surface, usually paper. Pencils come in many different shapes, sizes, and types of lead hardness.
Harder leads (greater H numbers) make a lighter and sharper line, while softer leads (greater B numbers) make a darker and thicker line. Therefore, if you want to draw with great detail, you should choose a harder lead (H or HB), and if you want to make bold drawings or shading, you should choose a softer lead (B or 2B). Additionally, an eraser is an essential tool for any artist, as it allows you to remove mistakes or unwanted marks.
You can use a rubber eraser, kneaded eraser, or even an electric eraser for more precise removal. Before starting a project, it’s crucial to have a good quality pencil and eraser to ensure a smooth and professional outcome. So, grab your pencil and eraser and let your creativity soar!
Paper or sketchbook
When it comes to creating art, choosing between paper and a sketchbook can be a tough decision. Both options have their advantages and it ultimately depends on the artist’s preference and the type of artwork they are creating. If the artist is looking for a more traditional and permanent medium, then paper may be a better choice as it can be mounted and framed.
However, if the artist wants to have a more interactive and portable way to create, then a sketchbook may be ideal. Sketchbooks are perfect for on-the-go drawing sessions and can include a variety of media such as pencil, ink, and watercolor. Ultimately, the choice between paper and sketchbook depends on the artist’s personal preference and the type of artwork they are creating.
Whether it’s a traditional piece or something more portable, both options have their benefits and can lead to beautiful works of art.
Ruler or straight edge (optional)
If you’re starting an art project, a ruler or a straight edge may come in handy. Although optional, these materials can help ensure the precision and accuracy of your artwork. A ruler is a flat piece of plastic, metal, or wood with marked measurements on it.
It’s often used for measuring and drawing straight lines. A straight edge, on the other hand, is a long, thin piece of material that can be metal, plastic, or wood. It’s often used in conjunction with a ruler to create perfectly straight lines or shapes.
Whether you’re a beginner or a pro, having a ruler or straight edge in your art kit can make a big difference in the outcome of your work. So, consider adding one to your collection if you haven’t already.
Step-by-Step Guide
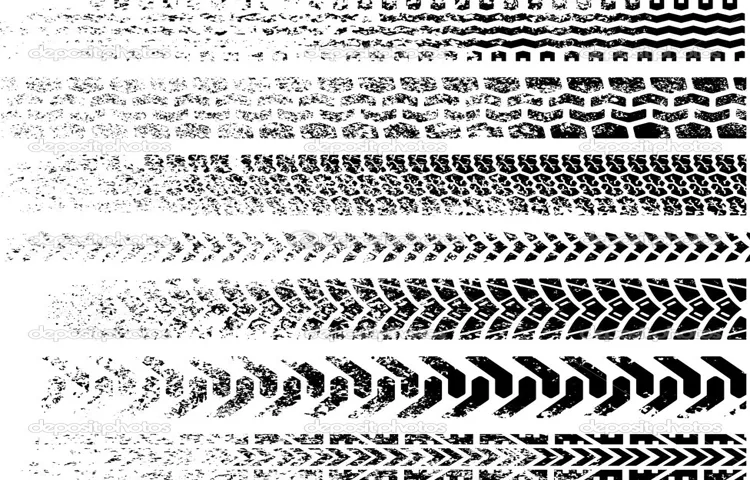
Learning how to draw tire tracks can be a useful skill for artists, animators, and designers who want to create realistic images of vehicles or outdoor scenes. Here’s a step-by-step guide to help you get started. First, choose the type of tire you want to draw and study its pattern.
Next, sketch the outline of the tire track and add details such as uneven edges, dirt, or debris. Then draw the individual treads of the tire track, paying attention to the direction and depth of each tread. Finally, shade the tire track to give it a 3D effect, using lighter tones on high points and darker tones on low points.
With practice, you can perfect your technique and create tire tracks that are authentic and visually appealing. So grab your pencil and start practicing to become a pro at drawing tire tracks!
Step 1: Draw the Outline of the Tire
If you’re looking to draw a tire, then step one is the most crucial step. You need to start by drawing the outline of the tire. Begin by drawing a large circle for the tire itself.
Keep in mind the size and shape of the tire that you want to draw. Then, inside the large circle, draw a smaller circle to represent the rim of the tire. Remember that the rim should be slightly smaller than the outer circle of the tire.
Once you’ve got these circles in place, you can start drawing the spokes of the wheel, which are typically located inside the smaller circle of the rim. The key is to make sure that the spokes are evenly spaced and that they point towards the center of the wheel. With these steps done, you can then move on to adding more detail to the tire, like the treads and any other features that you might want to include.
So go ahead and get started on your tire drawing, and remember that practice makes perfect!
Step 2: Add the Treads
Now that you have your stringers in place, it’s time to add the treads. Before you start, make sure you have your tread material ready. This can be wood, metal, or another sturdy material that can support weight and endure heavy use.
Cut the treads to the right size, ensuring they are not too long or too short for your staircase. Place them on top of the stringers, making sure they fit snugly and are uniformly spaced. If necessary, use screws or nails to secure them in place.
Once the treads are in place, sand them down to ensure they are smooth and even. This will prevent anyone from tripping or stumbling while using the stairs. With the treads installed, your staircase is really starting to take shape and will soon be ready for use.
Step 3: Add Depth and Texture
Adding depth and texture to your artwork is an important step in the creative process. By doing so, you can make your artistry stand out and give it a three-dimensional look. One way you can add depth is by utilizing shading techniques such as hatching, cross-hatching, and stippling.
Hatching involves creating lines that follow the contour of an object. Cross-hatching is when you add intersecting lines to create a darker shadow. Stippling, on the other hand, involves dotting the surface to create shading.
Another way to add depth is by using color and contrast. By using darker colors and shadows in the foreground and lighter colors in the background, you can create the illusion of depth. You can also add texture by utilizing different materials and techniques such as creating rough and smooth surfaces, adding patterns, or using impasto.
By incorporating these techniques and experimenting with different styles, you can add depth and texture to your artwork, making it stand out and be more visually appealing.
Step 4: Shade and Detail
Now that you’ve sketched out your drawing and inked your lines, it’s time to add some depth and realism with shading and details. One important thing to keep in mind is the light source in your drawing. This will determine where the shadows should fall and how intense they should be.
Start by lightly shading in the areas that are supposed to be in shadow, gradually building up the darkness until you achieve the desired effect. You can also use hatching and cross-hatching techniques to give the illusion of texture and depth. To add some extra dimension, try adding highlights to areas that catch the light.
As for details, take your time and don’t be afraid to zoom in and focus on small areas of your drawing. By adding intricate details like wrinkles, textures, and patterns, you can create a truly stunning piece of artwork that will grab the viewer’s attention. So, grab your pencils and get shading!
Tips for Realistic Tire Tracks
Drawing tire tracks may seem like a daunting task, but with the right techniques, you can create realistic and impressive tracks for your illustrations or designs. When drawing tire tracks, it’s important to consider the texture and shape of the ground. Think about the weight of the vehicle and how it affects the depth and width of the impression.
Start by sketching the basic outlines of the tracks, then add details such as the individual treads and any debris that may have been kicked up. Pay attention to the direction of the tracks and adjust the shape and spacing accordingly. To make the tracks appear more dynamic, consider adding lines that indicate the speed or force of the vehicle.
By taking these steps and really thinking about the movement of the vehicle, you can create tire tracks that are both realistic and attention-grabbing.
Reference images for accuracy
When creating tire tracks for a project, it is important to gather accurate reference images for the most realistic results possible. This may involve capturing your own images of tire tracks in real-life scenarios or finding high-quality images online. Once you have your reference images, it is important to pay attention to the details.
Look closely at the shape, size, and depth of the tracks, as well as the texture and surrounding environment. Use this information to guide your design and create tire tracks that look true to life. By taking the time to gather accurate reference images and paying close attention to the details, you can ensure a high degree of realism in your tire track designs.
Use varying line weights for depth
When it comes to creating realistic tire tracks in your artwork or design projects, one important tip you should keep in mind is to use varying line weights for depth. This means that the lines you use to create the tracks should not be of the same thickness throughout. To create a three-dimensional effect, use thicker lines for the parts of the track closest to the viewer, and gradually decrease the thickness of the lines as they move towards the edge of the track.
This will help to give the impression that the tire tracks are sinking into the ground. Additionally, you can use different colors or shading to further enhance the depth and realism of the tracks. By expertly utilizing line weight and other techniques, you can create tire tracks that look like they belong in the real world, adding a touch of authenticity and professionalism to your work.
Add additional details like rocks or debris
When it comes to creating realistic tire tracks, adding additional details like rocks or debris can really make a difference. These small, subtle additions can bring your tire tracks to life and make them appear much more authentic. Think about it – when a car drives over an unpaved road or a dirt path, there’s often debris and rocks that get kicked up and scattered around the tire tracks.
By adding these elements to your tracks, you can mimic that same effect and make them look like they were made by a real vehicle. Plus, incorporating other elements like plant life or soil color variations can further enhance the realism of your tire tracks. So next time you’re working on a project that requires tire tracks, don’t forget to add those finishing touches for an even more authentic look.
Final Thoughts
In conclusion, learning how to draw tire tracks is quite simple with the right approach. First, using reference images is a great starting point for understanding the anatomy and shape of tire tracks. Next, using pencils or charcoal with varying pressure and angle can create the variation in the width and depth of the tracks.
It’s important to remember that tire tracks are not always straight, sometimes they curve and change direction, so adding a bit of randomness can make the drawing appear more realistic. With practice and patience, anyone can master drawing tire tracks and add an extra element of realism to their artwork. Try using these tips and techniques the next time you draw a scene with tire tracks and see the difference it can make!
Conclusion
In conclusion, drawing tire tracks is as easy as taking a drive in the countryside (just without the dust and dirt!). With a little bit of practice and attention to detail, you can impress your friends and family with your artistic skills. So, get your pencil and paper ready and let’s hit the road! And remember, the key to drawing realistic tire tracks is not to skid your imagination!”
FAQs
What materials do I need to draw tire tracks?
To draw tire tracks, you will need paper, a pencil, an eraser, and a reference image of tire tracks.
How can I practice drawing tire tracks?
One way to practice drawing tire tracks is to find a flat surface outside, such as a concrete sidewalk or pavement, and use your finger to draw tracks in the dirt or dust.
What are some tips for drawing realistic tire tracks?
In order to draw realistic tire tracks, pay close attention to the shape and depth of the grooves, the direction of the tracks, and the width and spacing of the treads.
How can I add shading to my tire tracks to make them look more realistic?
To add shading to your tire tracks, use a blending tool or your finger to smudge the graphite in the areas where there would be shadows. You can also use a darker pencil for more defined shadows.
Is it possible to draw tire tracks in different weather conditions, such as rain or snow?
Yes, you can draw tire tracks in different weather conditions by adjusting the depth and shape of the grooves and adding appropriate shading to convey the texture and reflectivity of the surface.
What are some common mistakes to avoid when drawing tire tracks?
Common mistakes to avoid when drawing tire tracks include making them too uniform in shape and spacing, not paying attention to the direction and depth of the grooves, and ignoring the lighting and shading conditions.
Can I use other mediums, such as charcoal or ink, to draw tire tracks?
Yes, you can use other mediums to draw tire tracks. However, keep in mind that different materials will produce different effects and require different techniques to achieve realism and accuracy.