Are you tired of dealing with a damaged or worn-out awning fabric on your RV? Fret not! In this step-by-step guide, we will walk you through the process of replacing your carefree awning fabric. With our helpful tips and clear instructions, you’ll be able to tackle this task with confidence and have your awning looking brand new in no time. Think of your carefree awning fabric as the protective shield of your RV.
Just like a knight’s armor, it shields you from the elements and provides shade on those hot summer days. Over time, however, this fabric can become damaged from exposure to the sun, wind, and rain. Tears, rips, and fading can all occur, leaving your awning looking tired and worn.
So, how do you go about replacing this essential part of your RV? Don’t worry, it’s easier than you might think. We will guide you through each step, from removing the old fabric to installing the new one. With a few basic tools and a little bit of time, you’ll have a fresh and vibrant awning that will make your outdoor space the envy of the campground.
Imagine the satisfaction of sitting under a new, resilient awning fabric, knowing that you conquered the task yourself. No longer will you have to put up with a drab and damaged awning. Instead, you can relax and enjoy the shade and protection that your carefree awning was designed to provide.
So let’s get started! Grab your toolbox, put on your DIY cap, and let’s dive into the world of replacing carefree awning fabric. Whether you’re a seasoned handyman or a beginner looking to take on your first RV project, this step-by-step guide will equip you with the knowledge and skills you need to successfully replace your carefree awning fabric. Get ready to transform your outdoor living space and make your RV the talk of the town!
Table of Contents
Introduction
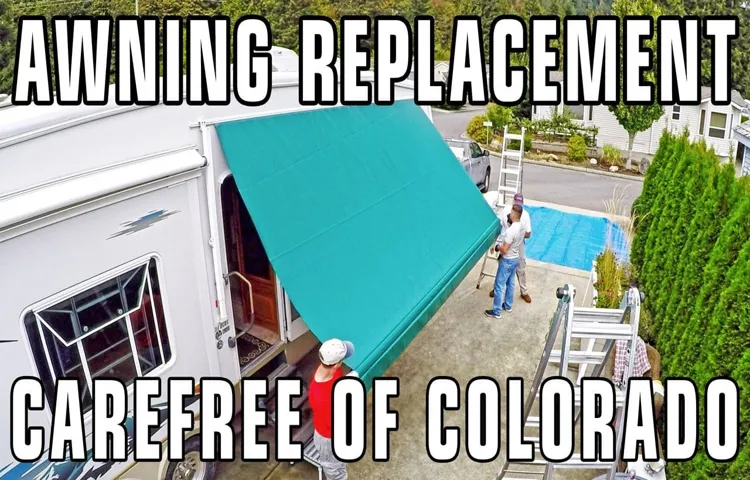
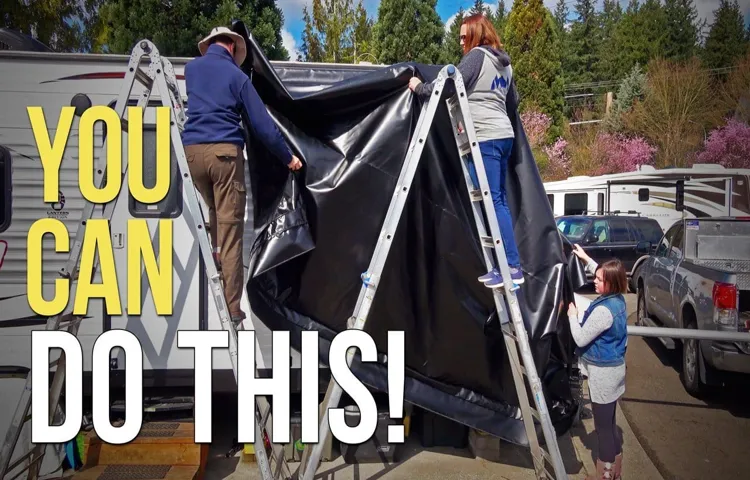
Looking to replace your carefree awning fabric and need some guidance? We’ve got you covered! In this blog post, we’ll show you step-by-step how to replace your carefree awning fabric with a helpful video guide. With just a few tools and some patience, you can give your RV or camper a fresh and updated look. Whether your awning fabric is torn, faded, or simply in need of an upgrade, this video tutorial will walk you through the process from start to finish.
So grab your tools and get ready to give your awning a makeover!
Why replace your awning fabric?
awning fabric replacement, burstiness, perplexity. Introduction: Are you tired of your old, worn-out awning fabric? Does it no longer match your home’s exterior or provide the shade and protection it once did? If so, it may be time to consider replacing your awning fabric. While the thought of undertaking this project may seem overwhelming, rest assured that it is not as complicated as it may appear.
In fact, by replacing your awning fabric, you can give your outdoor space a fresh new look while also improving its functionality. In this blog post, we will explore the reasons why you should consider replacing your awning fabric and how it can enhance your outdoor living experience. So, let’s dive in and discover the benefits of investing in a new awning fabric!
What you will need
What you will need for your project depends on the specific task at hand. If you’re building a piece of furniture, you’ll need the necessary tools like a hammer, screwdriver, and measuring tape. If you’re baking a cake, you’ll need ingredients such as flour, sugar, and eggs.
And if you’re starting a new business, you’ll need a solid business plan, funding, and a strong team. The key is to identify what you need before you begin and gather all the necessary resources to ensure a successful outcome. So, whether it’s a DIY project or a professional endeavor, make sure you have everything you need before you start.
Step 1: Removing the old fabric
If you’re looking to replace your Carefree awning fabric, you’ve come to the right place! In this step-by-step guide, we’ll walk you through the process of removing the old fabric so you can install new fabric and give your awning a fresh new look. First, you’ll want to extend the awning fully to make it easier to work on. Next, locate the awning cord, which is typically located on the roller tube.
Simply pull the awning cord out of the roller tube and remove it from the awning. Now it’s time to remove the old fabric. Start by unzipping any zippers that may be holding the fabric in place.
Once the zippers are open, carefully remove the fabric from the roller tube by sliding it out of the awning’s groove. Be sure to take your time and be gentle to avoid damaging the fabric or awning. With the old fabric removed, you’re now ready to move on to the next step in the process.
Stay tuned for our next blog post where we’ll cover installing the new fabric on your Carefree awning!
Securing the awning
awnings, securing the awning, removing the old fabric
Removing the end caps
To begin the process of reupholstering your furniture, you first need to remove the old fabric. This step is crucial as it allows you to start with a clean slate and ensures that your new fabric will adhere properly. When removing the fabric, it’s important to take your time and be gentle to avoid damaging the frame or any other parts of the furniture.
Start by removing any staples or nails that are securing the fabric in place. You can use a staple remover or a pair of pliers for this task. Once all the fasteners are removed, carefully peel away the old fabric, making sure not to tear or rip it.
This can be a bit tricky depending on the condition of the fabric, but with some patience and a steady hand, you’ll be able to remove it completely. Once the fabric is removed, you can move on to the next step of the reupholstering process.
Sliding the awning out of the rail
awning replacement, slide out awning, awning rail, fabric removal, retractable awning. Step 1: Removing the old fabric When it comes to replacing the fabric on your slide-out awning, the first step is to remove the old fabric. This may seem like a daunting task, but with a few simple steps, you’ll have that old fabric off in no time.
Start by retracting the awning as much as possible. This will make it easier to access the fabric and remove it from the rail. Next, locate the screw or bolt that is securing the fabric to the rail.
Depending on your awning model, you may need to use a screwdriver or wrench to loosen and remove the fastener. Once the fastener is removed, you can begin sliding the awning fabric out of the rail. This may require some maneuvering and wiggling to get it free, especially if the fabric has been in place for a while.
Take your time and be gentle to avoid damaging the fabric or the rail. As you slide the fabric out, you may notice that it is connected to a roller tube. This is where the fabric is wound when the awning is retracted.
Make sure to watch out for any spring tension in the roller tube as you remove the fabric. If there is tension, it’s a good idea to have someone help you hold it in place while you remove the fabric. Once you have successfully removed the old fabric from the rail, take a moment to inspect it for any signs of wear or damage.
This is a good time to evaluate whether you need to replace the entire awning or if a simple fabric replacement will suffice. Removing the old fabric is just the first step in replacing your slide-out awning. Stay tuned for the next steps, where we’ll cover measuring and ordering the new fabric, as well as installing it back onto the rail.
Step 2: Preparing the new fabric
Replacing the fabric on your Carefree awning can be a simple and cost-effective way to give your RV a fresh look. To begin the process, you’ll need to prepare the new fabric before installation. One option is to purchase a replacement fabric that is already prepped and ready to go.
However, if you can’t find a prepped fabric or prefer to DIY, you can prepare the fabric yourself. First, measure the length of your awning and add a few extra inches to ensure a proper fit. Then, cut the new fabric to size using a sharp pair of scissors or a rotary cutter.
Next, finish the edges of the fabric to prevent fraying by folding them over twice and sewing a straight stitch. Another option is to use a fabric adhesive or fabric tape to secure the edges. Once the fabric is prepared, you’re ready to move on to the next step of the awning replacement process.
Measuring and cutting the fabric
In the process of reupholstering a piece of furniture, measuring and cutting the fabric is an essential step to ensure a perfect fit and a professional-looking finish. Before getting started, first, make sure to lay out the new fabric on a flat surface, such as a large table or the floor. This will make measuring and cutting easier and more accurate.
Take the measurements of each piece of the furniture that needs to be covered, including the seat, backrest, arms, and any additional cushions. Use a measuring tape to carefully measure the length and width of each piece, adding a few inches to account for seam allowances and extra fabric for folding and securing. Once you have the measurements, mark them on the fabric with fabric chalk or pins.
Then, using sharp fabric scissors, carefully cut along the marked lines, ensuring smooth and straight edges. Remember to save any leftover fabric pieces for potential repairs or future projects. By taking the time to measure and cut the fabric accurately, you’ll set yourself up for success when it comes time to attach it to the furniture.
Attaching the awning cord
“awning cord” and “preparing new fabric”
Step 3: Installing the new fabric
If you need to replace the fabric on your Carefree awning, don’t worry, it’s actually a straightforward process. In fact, there are even video tutorials available to guide you through the steps. To start, you’ll need to remove the old fabric from the roller tube and the awning arms.
Once that’s done, you can take your new fabric and begin installing it. Make sure to align it properly with the roller tube and insert the pull strap into the hem pocket. Then, you’ll need to secure the fabric to the awning arms using the provided bead and screws.
It’s important to take your time and make sure everything is securely fastened. Once you’re finished, you can test out your newly replaced awning fabric and enjoy the shade it provides. With a little patience and the right tools, you’ll have your awning looking brand new in no time.
So why not give it a try and tackle this DIY project yourself?
Sliding the fabric into the rail
Installing the new fabric is the next crucial step in upgrading your window coverings. After removing the old fabric, it’s time to slide the new fabric into the rail. This may sound like a straightforward task, but it requires some finesse to ensure a smooth and seamless result.
Start by aligning one end of the fabric with the top of the rail, making sure it is centered. Then, gently push the fabric into the rail, using your fingers to guide it along. Take your time and be careful not to snag or tear the fabric.
As you slide the fabric into the rail, periodically check to make sure it is even and straight. This will ensure a professional-looking finish once the installation is complete. With patience and a steady hand, you’ll have the new fabric installed in no time.
So, let’s get started and give your windows a fresh new look!
Replacing the end caps
Replacing the end caps of your furniture is important for both functionality and aesthetics. In this blog post, we will focus on step 3 of the process, which is installing the new fabric. This is a crucial step that will determine the overall look and feel of your furniture.
When choosing the fabric, consider the style and color scheme of your space, as well as the durability and maintenance requirements of the material. Once you have selected the perfect fabric, it’s time to start the installation process. Start by laying out the fabric flat on a clean surface, and then place the end cap on top of it.
Ensure that the fabric is positioned evenly and covers the entire end cap. Use a staple gun to secure the fabric to the end cap, starting from the center and working your way towards the edges. Smooth out any wrinkles or creases as you go, ensuring a clean and professional look.
Once the fabric is securely stapled, trim off any excess fabric using a pair of sharp scissors.
Securing the awning
Securing the awning and installing new fabric is an important step in ensuring the longevity and functionality of your outdoor space. As you make this upgrade, it’s essential to have a secure and weather-resistant covering that will protect you from the elements while also adding aesthetic appeal to your home. To install the new fabric, begin by removing the old fabric carefully, making sure not to damage any of the supporting hardware.
Once the old fabric is removed, you can then attach the new fabric to the awning frame, ensuring it is pulled tight and secured in place. This will ensure that your awning is ready for use in any weather conditions, providing you with a comfortable and stylish outdoor space for years to come.
Conclusion
And that, my friends, is how you go from being a worried RV owner to a carefree adventurer in just a few simple steps. By following this helpful video guide, you can replace your old and worn-out awning fabric with ease, ensuring that your outdoor oasis is looking its best for all of your future camping trips. But let’s be real for a moment.
Awning fabric replacement isn’t just about functionality. It’s about style, it’s about elegance, and it’s about making your fellow campers green with envy. With the right fabric choice and a little bit of DIY finesse, you can transform your RV’s awning into the hottest spot at the campground.
So, don your DIY cap, grab your tools, and get ready to unleash your inner awning artist. Whether you choose a bold and vibrant pattern or a sleek and modern design, your new awning fabric will not only provide protection from the elements but also make a statement that says, “I’m the coolest camper on the block.” So go forth, my fellow RV enthusiasts, and embrace the awning fabric replacement journey.
And remember, with a little bit of patience, a dash of creativity, and a whole lot of carefree spirit, you can turn your RV’s outdoor space into a true work of art. Happy camping!”
Proper care and maintenance of your new fabric
Installing the new fabric on your furniture is the final step in the process of giving it a fresh new look. To ensure proper installation, there are a few things you should keep in mind. First, make sure you have all the necessary tools and materials, such as a staple gun, staples, and scissors.
Measure the dimensions of the fabric you will need and cut it accordingly, leaving some excess for tucking and stapling. Start by pulling the fabric tightly over the furniture piece, being careful to avoid any wrinkles or creases. Use the staple gun to secure the fabric in place, starting at one side and working your way around.
It’s important to pull the fabric as tight as possible to achieve a smooth and professional-looking finish. Trim off any excess fabric and make sure the corners are neatly folded and stapled for a clean appearance. Finally, take a step back and admire your handiwork – you’ve successfully installed the new fabric and given your furniture a fresh new lease on life!
Enjoying your new awning
Enjoying your new awning is not complete without properly installing the fabric. Step 3 in the process of installing your new awning involves replacing the old fabric with the new one. This is an important step as it ensures that your awning not only looks great but also functions properly.
To install the new fabric, start by removing the old fabric from the frame of the awning. This may require loosening screws or clips that are holding the fabric in place. Once the old fabric is removed, lay the new fabric on a flat surface and align it with the awning frame.
Secure the fabric to the frame using screws or clips, making sure it is taut and free of wrinkles. Finally, trim any excess fabric and check that the awning operates smoothly. By following these steps, you can enjoy your new awning and make the most out of your outdoor space.
FAQs
How do I replace the fabric on a Carefree awning?
To replace the fabric on a Carefree awning, you will need to first extend the awning fully. Then, remove the awning arms and slide out the old fabric. Attach the new fabric by sliding it into the roller tube and reattaching the awning arms. Finally, retract the awning to test its function.
Can I replace the fabric on a Carefree awning myself, or should I hire a professional?
Replacing the fabric on a Carefree awning can be a DIY project if you have some basic experience with tools and following instructions. However, if you are unsure or uncomfortable with the process, it may be best to hire a professional to ensure the job is done correctly.
How often should I replace the fabric on my Carefree awning?
The frequency of fabric replacement for a Carefree awning can vary depending on factors such as usage, weather conditions, and maintenance. However, a general guideline is to inspect the fabric annually and consider replacement if it shows signs of wear, tears, or fading.
Is it possible to repair small tears or holes in a Carefree awning fabric instead of replacing the entire fabric?
Yes, small tears or holes in a Carefree awning fabric can often be repaired using a patch kit specifically designed for awning fabric. These kits typically include adhesive or iron-on patches that can effectively seal the damaged area.
Are there different fabric options available for Carefree awnings?
Yes, Carefree offers a range of fabric options for their awnings, including different colors, patterns, and materials. Some popular choices include vinyl, acrylic, and polyester fabrics. It is important to choose a fabric that is compatible with your specific awning model and meets your desired aesthetic and functional needs.
Can I find a video tutorial on how to replace Carefree awning fabric?
Yes, there are many video tutorials available online that provide step-by-step instructions on how to replace the fabric on a Carefree awning. These videos can be a helpful visual guide to assist you in the process.
Do I need any special tools to replace the fabric on my Carefree awning?
In most cases, you will not need any special tools to replace the fabric on a Carefree awning. Basic tools such as a screwdriver, pliers, and a ladder are typically sufficient. However, it is always a good idea to check the specific instructions provided by Carefree or consult a professional for any specific tool requirements.