
Have you ever been stranded on the side of the road with a flat tire? It’s not a pleasant experience, especially if you don’t know how to reseat a tire. Reseating a tire can save you the hassle and cost of getting a tow truck or calling for roadside assistance. It’s a straightforward task that anyone can do with the right tools and knowledge.
In this blog, we’ll guide you through the steps to reseat a tire and get back on the road in no time. Whether you’re a seasoned driver or a new one, this crucial skill is one that you’ll be glad you have when you need it the most. So, buckle up, roll up your sleeves, and let’s dive into the world of reseating tires!
Introduction
If you’re experiencing a wobbly or uneven ride, it may be time to reseat your tire. Reseating a tire can be a bit challenging, but with the right tools and approach, you can easily do it yourself. Start by removing the wheel from your vehicle and inspecting the tire for any damage.
Next, use a tire iron to pop the tire bead off the rim. Once it’s off, clean the rim and apply a lubricant to the bead and rim. Then, use a tire lever to carefully push the bead back onto the rim.
Work your way around the tire, making sure it’s evenly seated on the rim. Finally, use an air compressor to inflate the tire to the recommended pressure. And voila, you’ve successfully reseated your tire! Remember, regular tire maintenance is crucial for safe and smooth driving.
What is Reseating a Tire?
Reseating a tire is a process of taking out the tire from the rim and then putting it back in place to ensure it is properly seated. When tires are mounted on rims, there is a chance that they might lose their proper positioning over time, leading to vibration, uneven wear, and other issues. Reseating is done to ensure that the tire sits firmly and evenly on the rim, making it perform better and last longer.
It involves removing the tire, inspecting it for damage, cleaning the bead area, applying lubricant, and finally, inflating it to the manufacturer’s recommended PSI. This process is usually done by a professional mechanic, but it can also be done by a DIY enthusiast using the right tools and techniques. By reseating your tires properly, you will not only improve your car’s handling and safety but also save money by avoiding premature tire replacement.
Why Reseat a Tire?
Reseating a tire is a crucial maintenance practice for any car owner. It’s the process of removing the tire from the wheel, cleaning it, and then reattaching it to the wheel. This procedure is recommended if you notice any vibrations while driving, uneven tire wear, or a loss of pressure.
The main keyword used organically in this blog section is “Reseat tire,” which is essential to ensure search engines find this page and provide information to readers. Not only does reseating a tire ensure that your car drives smoothly, but it also enhances the life of your tires, improves fuel efficiency and safety as it helps avoid sudden blowouts, and reduces the chances of getting stranded on the side of the road. In this article, we’ll discuss why reseating tires is necessary and how often you should consider having them done.
Tools Needed
If you need to reseat a tire, there are a few tools you’ll need to have on hand. First and foremost, you’ll need a jack to lift the vehicle and a lug wrench to remove the wheel. It’s also a good idea to have a tire iron to help pry the bead of the tire over the rim.
Additionally, a tire gauge can be helpful to ensure you’re inflating the tire to the correct pressure. Finally, if you’re having trouble getting the tire to seat properly, using a bead sealer can help create airtight seals and prevent future leaks. By having these tools at the ready, you’ll be well-equipped to successfully reseat your tire and get back on the road in no time.
Jack and Jack Stand
Before attempting to change a tire, it’s important to make sure you have the right tools. Two essential pieces of equipment for any tire change are a jack and jack stand. The jack and jack stand work together to safely elevate your vehicle for tire changes or repairs.
The jack serves as the initial lifting mechanism, while the stand is designed to keep the vehicle steady once it’s lifted. When selecting a jack, make sure it’s rated for your vehicle’s weight. For most passenger cars, a 2-ton jack is adequate, but larger vehicles like trucks will require a heavier-duty jack.
Jack stands should also be rated for the weight of your vehicle, and you should always use them in pairs. Safety should always be the top priority when working on your vehicle, so it’s important to invest in quality equipment to avoid accidents or injuries. With the right tools, changing a tire is a simple task that can be done in a matter of minutes.
Lug Wrench
When it comes to changing a flat tire, having the necessary tools on hand can make all the difference. One of the most important tools to have in your tire-changing arsenal is a lug wrench. This wrench is specifically designed to tighten or loosen lug nuts, which keep your wheels securely in place.
Without a lug wrench, it can be nearly impossible to change your tire, making it important to always keep one in your vehicle. When shopping for a lug wrench, it’s essential to choose one that fits the size of your lug nuts, as not all wrenches are created equal. Once you’ve found the right size, be sure to practice changing a tire with the wrench before you find yourself stuck on the side of the road with a flat.
With a little bit of preparation and the right tools, changing a tire can be a simple and stress-free experience.
Tire Iron
If you plan on changing a tire, having a tire iron is vital. This tool enables you to loosen and tighten the lug nuts that hold the wheel in place. When purchasing a tire iron, it’s essential to get the right size for your car.
It’s also worth considering getting a lug wrench as this can make changing a tire much easier. A lug wrench is a tire iron with a unique shape that can help you apply more torque when working on stubborn lug nuts. Another tool that you might find useful is a small jack, which can lift the car and make changing a tire safer and more accessible.
Remember, changing a tire can be dangerous, so it’s crucial to ensure that you have all the necessary tools and equipment before attempting it. With the right tools and a little knowledge, changing a tire can be straightforward and hassle-free.
Steps to Reseat a Tire
If you ever find yourself in a situation where you need to reseat a tire, don’t worry, it’s actually a fairly simple process. First, ensure your car is in park and turn off the engine. Loosen the lug nuts on the wheel that needs to be reseated, but don’t take them all the way off.
Then, use a jack to lift the car off the ground until the wheel is no longer touching the surface. Next, firmly hit the backside of the tire with a rubber mallet or a piece of wood until it sits flush against the wheel hub. Tighten the lug nuts securely in a star pattern, ensuring equal torque on each nut.
Finally, lower the car back to the ground and double-check that the lug nuts are tightened to the correct specifications. That’s all there is to it! With these steps, reseating a tire should be a breeze.
Step 1: Loosen Lug Nuts
If you want to reseat a tire on your vehicle, there are several steps you need to take. The first step is to loosen the lug nuts. Lug nuts hold the tire securely in place, so you need to loosen them before you can remove the tire.
To do this, you’ll need a lug wrench or socket wrench, which should fit over the lug nuts. Place the wrench on the first lug nut, and turn it counterclockwise. You might need to use some force to get it started, especially if the lug nuts are tight.
Once you’ve loosened the first lug nut, continue on to the rest of them, but don’t remove them just yet. Once you’ve loosened all the lug nuts, you’re ready to move on to the next step. Remember, if you don’t loosen the lug nuts, you won’t be able to get the tire off, so be sure to take this step seriously.
Keyword: reseat a tire
Step 2: Jack Up the Car
Once you’ve gathered your tools and selected the proper tire, it’s time to move on to the next step in reseating a tire: jacking up the car. This is an essential step as it provides the necessary clearance for removing and replacing the tire. To begin, you’ll need to locate the car’s designated jacking points; these are typically indicated in the vehicle’s manual and are often located near the tires.
Once you’ve found the jacking point, place the jack securely in position and begin cranking it to raise the car. Remember to double-check that the jack is stable and securely in place before proceeding. Once the car is lifted, you can then proceed to remove the lug nuts and take off the tire.
Don’t forget to check the replacement tire’s air pressure and make sure it’s at the appropriate level before mounting it. With proper care and attention to detail, you’ll have your car ready to hit the road in no time!
Step 3: Remove the Tire
Once you have loosened the lug nuts, it’s time to remove the tire. It’s essential to be cautious while doing this because a misplaced tire can cause significant harm. It’s best to keep one hand on the tire to assist it in coming off gradually.
Additionally, you can use a tire iron to gently pry the tire off, working from one side to the other before the tire comes off completely. Although removing the tire is the easiest of the three steps, it can still be a bit tricky. If you’re struggling, take a break and come back to it when you’re feeling more confident.
Remember to take your time and be patient to reseat the tire securely.
Step 4: Inspect the Rim and Tire Bead
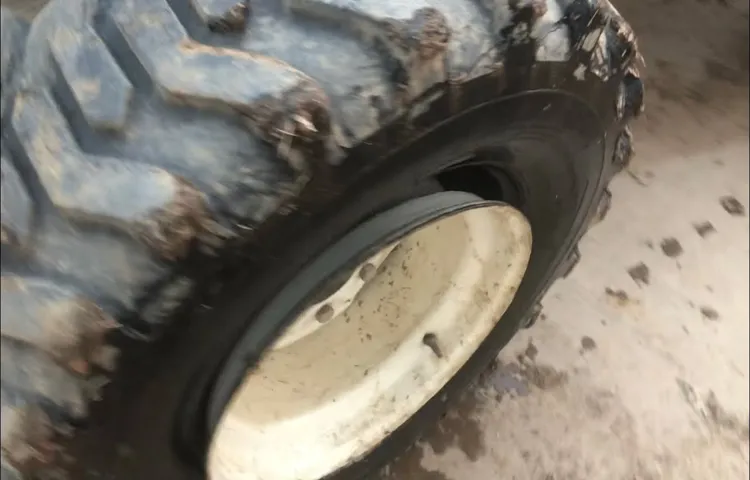
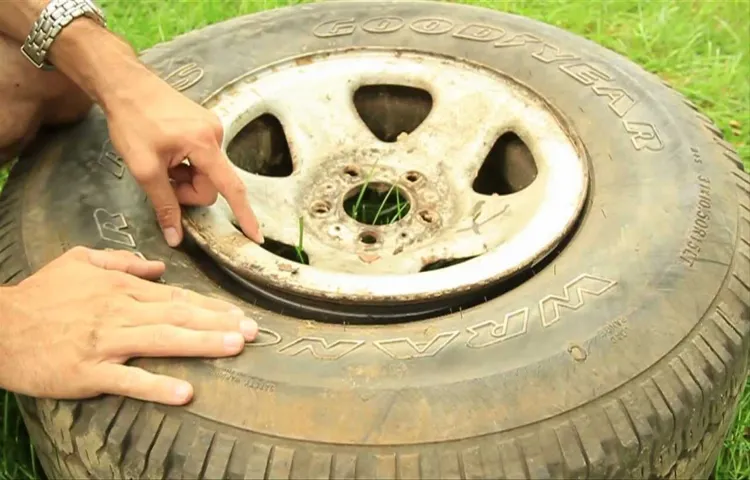
Now that we’ve successfully removed the tire and inspected the inside of the rim, it’s time to move on to the next step of reseating a tire – inspecting the rim and tire bead. The purpose of this step is to ensure that these components are free from damage or debris that could cause the tire to not seat properly or leak air. Start by checking the rim for any visible cracks or dents.
Even a small hairline crack could cause issues in the long run and should not be ignored. Next, check the tire bead, which is the part of the tire that sits on the rim. Ensure that it is free from cracks, chips, or any other kind of damage.
It’s also important to inspect the bead seating surface on the rim. A bead seating surface that is dirty or corroded could cause the tire to not seat properly, leading to air leaks. Use a wire brush or rag to clean the seating surface and rim, ensuring that there is no debris left behind.
Once you have thoroughly inspected the rim and tire bead, you’re ready to move onto the final step of reseating the tire. By taking the time to inspect these components, you’re ensuring that your tire will seat properly and provide a safe and comfortable driving experience.
Step 5: Clean the Rim and Tire Bead
When trying to reseat a tire on your car, it’s crucial to make sure that the rim and tire bead are as clean as possible. This step is often overlooked, but can make all the difference in the success of your tire reseat. Use a clean cloth and some rubbing alcohol to wipe down the rim and tire bead.
This will help to remove any dirt, debris, or old sealant that could prevent the tire from sealing properly. Think of it like trying to put a lid on a dirty jar – it’s just not going to seal tightly or stay in place. By taking the time to clean the rim and tire bead thoroughly, you’ll give your reseat the best chance for success.
Step 6: Reinstall the Tire
To successfully reseat a tire, it is important to follow the steps in order. Step 6 requires the tire to be reinstalled onto the car. Before doing so, ensure that the tire and rim are clean and free of debris or damage.
Carefully align the holes on the rim with the studs on the car, making sure they are lined up correctly. Gently push the tire onto the wheel and hand tighten the lug nuts until they are snug. It is important not to overtighten the lug nuts as this can cause damage to both the tire and the car.
Once all lug nuts are hand tightened, use a torque wrench to tighten them to the manufacturer’s recommended level, typically found in the car’s manual. Finally, lower the car from the jack and give the tire a final check to ensure it is securely in place. With these simple steps, reseating a tire is a safe and easily completed task.
Step 7: Tighten Lug Nuts and Lower the Car
After successfully mounting the new tire onto your car, you’ll want to make sure it’s secure and won’t fall off while driving. The last step is to tighten the lug nuts and lower the car back onto the ground. Grab your lug wrench and tighten the lug nuts in a star pattern, starting with one nut and then moving to the opposite one.
This will ensure equal tightening and prevent damage to the wheel. Once all the nuts are snug, use a torque wrench to tighten them to the manufacturer’s recommended torque level. After the lug nuts are tight, lower the car off the jack stands and onto the ground.
Finally, using your lug wrench, give each lug nut one final tightening to make absolutely certain that the tire is secure. Always double-check your work before hitting the road. Happy driving!
Conclusion
When it comes to reseating a tire, it may seem like a daunting task, but fear not! With a few simple steps, you’ll have that tire snug and secure in no time. Remember to loosen the lug nuts, jack up the car, remove the tire, clean the wheel and tire, align the valve stem, apply lubricant, and finally, use a tire iron to reseat the tire. It’s like putting a puzzle piece back in its place – satisfying and easy once you know the trick.
So, whether you’re a professional mechanic or an amateur DIY-er, reseating a tire is a skill that everyone can master. And who knows, maybe one day you’ll impress your friends with your tire-reseating abilities and be the talk of the town!”
When to Reseat a Tire
Reseating a tire is a process that involves removing the tire from the wheel and fitting it back in place correctly. It’s a task that can help ensure maximum performance and safety while driving. When should you consider reseating a tire? Well, if you notice that your tire is losing pressure frequently, it may be an indication that the seal between the tire and the wheel is not working correctly.
Additionally, if you hit a curb or a large pothole, it can cause the tire to slip off the mounting bead, which can result in a flat or even a blowout. The steps to reseating a tire involve a few simple but essential tasks. First, remove the tire from the wheel.
Next, inspect the bead seat area for any damage or debris, which can prevent the tire from seating correctly. The wheel rim also needs to be examined for any signs of damage, such as cracks, bends, or corrosion. Cleaning both the bead seat and wheel rim is the next task.
Once clean, apply a bead sealer to the bead seat area of the wheel and then reseat the tire onto the wheel rim using a tire machine, making sure the tire is evenly seated. Finally, inflate the tire to the correct pressure, and check for leaks or any other issues. Regularly reseating a tire can help prolong its life, improve fuel economy, and provide a safer driving experience.
Benefits of Reseating a Tire
Reseating a tire can have many benefits and ultimately extend the life of your tires while improving vehicle performance. The process involves breaking the seal between the tire and rim and then reseating it to create a airtight seal, which can help prevent air leaks and maintain tire pressure. This helps to ensure better traction, handling, and fuel efficiency, and can reduce the risk of blowouts or other tire-related accidents.
To reseat a tire, first, remove the wheel and tire from the vehicle using a jack and lug wrench. Next, carefully clean the rim and tire bead to remove any dirt or debris. Then use a tire bead lubricant to ease the tire back onto the rim, making sure it is seated evenly around the circumference.
Finally, use an air compressor to inflate the tire to the specified pressure, and make sure the valve stem is properly tightened. By following these simple steps, you can ensure your tires are reseated properly and enjoy their many benefits for miles to come.
Safety Precautions
When it comes to reseating a tire, it can be quite a daunting task if you don’t know what you’re doing. However, with the right safety precautions and steps, it can be a hassle-free process. Firstly, make sure that you are working in a well-lit area and that your vehicle isn’t on an incline as this could cause the car to roll.
Before beginning, make sure that you have all the necessary tools such as a lug wrench, tire jack, and safety gloves. Once you’ve secured these, remove the tire and inspect it for any damage. Then, remove the old valve stem and fit in the new one before placing the tire back onto the wheel.
This is where the reseating process comes in. Using a tire jack, apply pressure on the tire and work it into the rim by tapping it with a hammer. Once the tire has been successfully reseated, tighten the lug nuts using a star pattern.
Always remember to check the tire pressure and alignment before driving. By following these simple steps and being cautious, you can reseat a tire without any problems.
FAQs
What is tire reseating?
Tire reseating refers to the process of removing and reinstalling a tire on its rim to ensure proper alignment and pressure.
Why do I need to reseat my tire?
You may need to reseat your tire if it has become unaligned or if the pressure has dropped significantly due to a leak or other issue.
How do I know if my tire needs to be reseated?
Signs that your tire may need to be reseated include a wobbly feeling while driving, uneven wear on the tire, or a noticeable drop in tire pressure.
Can I reseat my tire myself?
It is possible to reseat your tire yourself if you have the proper tools and experience, but it is often safer to have a professional perform the task.
How much does it cost to have a tire reseated?
The cost of having a tire reseated can vary depending on the type of vehicle and the extent of the work needed, but it typically ranges from $20 to $100.
How long does tire reseating take?
The time it takes to reseat a tire can vary depending on the type of vehicle and the extent of the work needed, but it typically takes less than an hour.
Is tire reseating a common repair?
Tire reseating is a relatively common repair for vehicles, as it helps to ensure proper alignment and prevent potential safety hazards on the road.