Have you ever tried to change a tire and struggled to seat the bead properly? It can be a frustrating experience, especially if you’re on the side of the road or in a hurry. But fear not, with some basic knowledge and a few simple steps, seating tire beads can be a breeze. In this blog post, we’ll walk you through the process of seating a tire bead, from preparation to completion.
So, put on your handyman cap, grab some tools, and let’s get started!
Table of Contents
Introduction
Learning how to seat a tire bead is essential for any vehicle owner, as it can save you time and money in the long run. Seating the tire bead involves creating a tight seal between the tire and the rim to ensure proper inflation and prevent any air leaks. To seat the bead, you must first remove any debris or rust from the rims with a wire brush and then clean the tire bead with soap and water.
Once you have prepared the surfaces, apply tire lubricant to the bead and rim to reduce friction during installation. Using a tire iron, carefully work your way around the circumference of the tire, pulling it over the rim until it positions squarely and evenly. Finally, use an air compressor to inflate the tire until it reaches the recommended pressure.
By following these steps, you can ensure a secure and safe tire installation.
What is a Tire Bead?
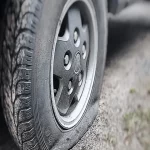
A tire bead is a vital component of a tire that enables it to function correctly. It is a ring-shaped part of a tire that attaches the tire to the rim of a wheel. The tire bead is constructed from high-strength steel wires and is coated in rubber to improve its grip.
The bead is responsible for securing the tires to the rims and creating an airtight seal. The tire bead is subject to high forces and stresses, requiring the use of sturdy materials to enhance its durability. Without the bead, tires cannot maintain their shape, and they won’t be able to support the vehicle’s weight.
Understanding the importance of a tire bead is crucial in maintaining tire safety and performance.
Why Seating the Tire Bead is Important?
Seating the tire bead is a crucial step in the process of replacing tires. It refers to the action of getting the tire’s inner edges to attach themselves to the rim’s flanges securely. Proper bead seating is essential for the tire to function well, as it keeps the tire in place and creates an airtight seal between the tire and the wheel.
If the bead isn’t correctly seated, it can lead to a host of issues such as wobbling, uneven wear, and even tire blowouts. Therefore, it is crucial to ensure the tire bead is correctly seated during the installation process. It is essential to understand why seating the tire bead is important to ensure safety while driving.
Steps to Seat the Tire Bead
Seating the tire bead can be a challenging task, but there are some steps that can make it easier for you. Firstly, ensure that the tire is properly mounted on the rim, and all the old sealant is removed. Next, lubricate the bead of the tire with a soapy solution, which will help the tire to move readily into place.
Now, using a tire lever, start pressing the bead towards the rim from the side opposite to where you are standing. Once you’ve got about 2-3 inches of the bead in place, put the tire lever aside and start using your hands to press the remaining tire bead. In case the tire bead pops out, don’t get disheartened.
Simply push it back in and continue pressing until the entire bead fits perfectly around the rim. Lastly, inflate the tire up to the recommended pressure and rotate it in case of any abnormalities. By following these steps, you can easily seat the tire bead without any hassle.
Step 1: Choose the Right Tire Pressure
When it comes to seating your tire bead, there are a few steps you should follow to ensure a successful outcome. The first step is choosing the right tire pressure. Different tire sizes and types require different pressure levels, so it’s crucial to check your manufacturer’s recommendation or consult with a professional tire technician.
Having the correct tire pressure will not only help prevent tire bead seating problems, but it will also increase the longevity of your tires and improve vehicle performance. Make sure to double-check the pressure with a gauge before attempting to seat the bead, as overinflated or underinflated tires can cause issues during the process. By prioritizing the correct tire pressure, you’ll set yourself up for a seamless tire bead seating experience.
Step 2: Apply Bead Sealer
When it comes to seating the tire bead, one crucial step is to apply bead sealer. This step involves coating the edges of the rim with the sealer to prevent air from escaping around the bead area and promoting a tight seal. Bead sealer acts as a sticky glue-like substance that fills gaps and cracks between the tire and rim’s surface, ensuring air cannot leak out.
It is essential to apply it evenly and thickly to ensure proper sealing. Using bead sealer can significantly reduce the chances of tire bead leaks over time as it acts as an added layer of security. Properly sealing the bead is an intricate process that requires skill, care, and attention to detail, but when done correctly, it results in a safe and secure tire fitting that provides a more enjoyable driving experience.
Step 3: Position the Tire
After successfully seating the tire bead, the next step is to position the tire. It’s essential to ensure that the tire is correctly aligned with the rim to prevent any imbalance or wobbling while driving. Positioning the tire may seem like a simple task, but it requires some finesse to do correctly.
Start by examining the tire’s sidewall, which has a marking indicating the maximum pressure that the tire can withstand. Rotate the tire until the valve stem is positioned near the marking. This is crucial because it makes it easier to inflate the tire to the recommended level.
Additionally, ensure that the tire’s tread pattern is correctly aligned with the direction of motion. Double-check the alignment before tightening the lug nuts and lowering the vehicle. In summary, positioning the tire correctly is critical in maintaining a smooth and safe driving experience.
Step 4: Inflate the Tire
After successfully lubing the beads and the rim and putting the valve core back into the stem, you are now ready to inflate the tire. Start by checking the recommended PSI (pounds per square inch) for your tire, which is usually indicated on the sidewall. Make sure that the pump you are using is compatible with your valve stem type.
Carefully attach the pump nozzle onto the valve stem, making sure it is seated properly. Begin to pump air into the tire slowly and steadily, checking the tire sidewall often to see if the bead is seating properly. If it is not, you may need to adjust the position of the tire or release some air from the tire and start over.
Once the tire bead is seated properly on both sides, inflate the tire to the recommended PSI using short bursts of air. Check the tire pressure with a gauge to ensure that it is at the recommended level. It’s important to note that overinflating the tire can be dangerous, causing it to burst.
Similarly, underinflated tires are prone to wear and tear on the edges, causing unstable handling and reduced gas mileage. Inflating the tire is the final step in the process of seating the tire bead. Now that your tire has been properly seated, you can confidently hit the road, knowing that your tire is securely mounted to the rim and ready to handle any driving conditions.
Tips for Seating Tire Beads
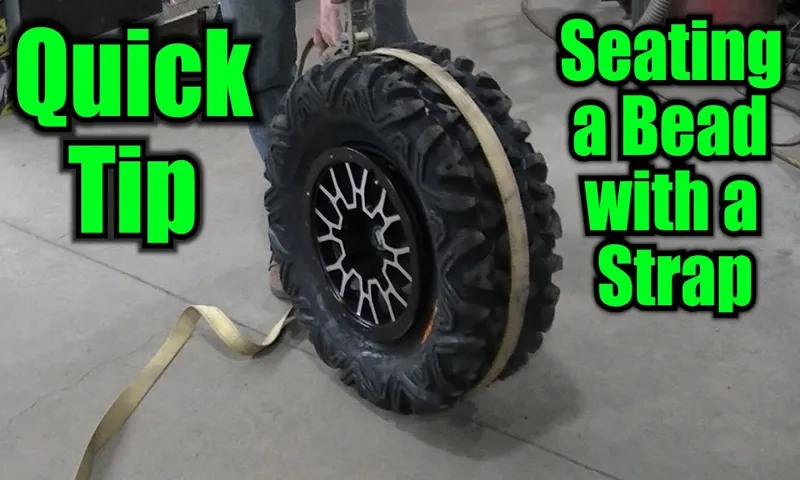
Seating tire beads can be a tricky task, but with the right tips and techniques, it can be done with ease. Firstly, it’s important to ensure that the tire is properly mounted on the rim and that the bead is evenly seated. One effective method is to use a tire bead seater tool, which delivers a burst of compressed air to quickly inflate and seat the tire.
Alternatively, you can also use a tire iron or pry bar to gently push the tire bead into place. It’s important to take your time with this process and make sure that the tire bead is evenly seated around the entire circumference of the rim. Additionally, it’s a good idea to lubricate the tire bead and rim with a soapy solution to help the tire bead slide into place more easily.
By following these tips, you can successfully seat your tire bead for a safe and secure ride.
Tip 1: Use Tire Lubricant
If you are changing or installing new tires on your vehicle, seating the tire beads can be a difficult task. However, there are a few tips that you can follow to make the process easier. One of these tips is to use tire lubricant.
Tire lubricant is a substance that is applied to the tire beads before they are seated. This helps to reduce friction between the tire bead and the rim, allowing the bead to slide easily into place. The lubricant also helps to ensure that the tire bead is seated evenly around the entire circumference of the rim.
Using tire lubricant is especially important when seating run-flat tires or tires with stiff sidewalls, as these can be particularly difficult to seat without lubrication. Overall, using tire lubricant is a simple yet effective tip for seating tire beads, and can save you time and frustration in the long run.
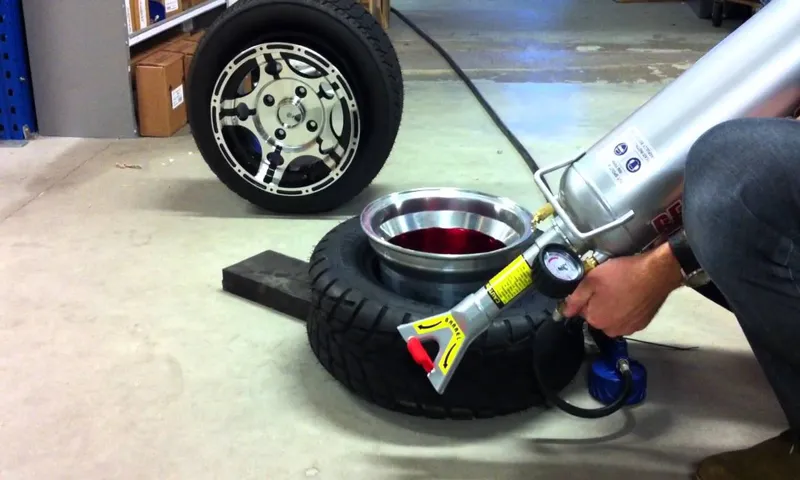
Tip 2: Use a Bead Blaster
If you’re struggling to seat tire beads, one handy tool to have in your arsenal is a bead blaster. A bead blaster uses compressed air to create a burst of force that helps push the tire bead onto the rim. This can be especially helpful if you’re working with larger tires, or if you’re dealing with difficult or stubborn beads.
Bead blasters can be found at most automotive shops or online retailers, and they’re fairly easy to use. Simply attach the bead blaster to your air compressor, hold the nozzle up against the tire bead, and pull the trigger. The burst of air should help pop the bead onto the rim.
Just be careful not to overdo it, as too much force can damage the tire or the rim. By using a bead blaster, you can save yourself time and frustration and get your tires seated properly.
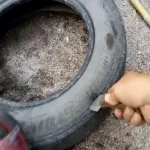
Tip 3: Check the Tire for Damage
When it comes to seating tire beads, it’s important to thoroughly check the tire for any damage before starting the process. Even minor cracks, cuts, or bulges can cause air leaks and prevent the tire from seating properly. Additionally, it’s crucial to ensure that the tire is free of any debris or foreign objects that could interfere with the bead seating process.
It’s also a good idea to double-check that the tire is the correct size and type for your vehicle, as this can also impact the seating process. By taking the time to inspect the tire and clear any potential obstacles, you can increase your chances of successfully seating the tire beads and ensuring a safe and smooth ride.
Conclusion
In conclusion, seating a tire bead is like getting yourself out of a sticky situation – it takes some effort and determination, but once you’ve done it, you feel like a true champion. With the proper tools and technique, you’ll be able to conquer any stubborn tire and take on the road with confidence. So next time you find yourself struggling to get that bead to pop, stay focused and don’t give up – just remember, the sweet satisfaction of a well-seated tire is always worth the effort!”
FAQs
What is the tire bead seating process?
The tire bead seating process is the way in which the tire bead is pressed against the rim to ensure an airtight seal.
What tools are required for seating tire bead?
The tools required for seating tire bead include an air compressor, tire levers, and tire sealant.
What are the common reasons for tire bead seating issues?
Some common reasons for tire bead seating issues are low tire pressure, damaged rims, or improperly sized tires.
How can I ensure proper tire bead seating?
To ensure proper tire bead seating, make sure the tire and rim are clean, apply tire sealant, and use the correct tire pressure.
Can I use a manual tire bead seating tool?
Yes, a manual tire bead seating tool can be used to ensure proper tire bead seating, although it may require more effort.
What is the best way to fix a tire bead seating problem?
The best way to fix a tire bead seating problem is to remove the tire, clean the rim and tire, and try again with fresh sealant and correct pressure.
When should I seek professional help for tire bead seating issues?
If you have tried multiple times to seat the tire bead and are still experiencing issues or if you suspect damage to the rim, it may be best to seek professional help.